A Guide to Boat Oxidation Remover
That chalky, faded look on your boat's gelcoat is more than just an eyesore—it's a sign of oxidation. To bring back that deep, rich color, a dedicated boat oxidation remover is your best bet. These aren't just fancy soaps; they're specialized compounds designed to gently buff away the damaged top layer of the gelcoat, revealing the vibrant, glossy finish hiding underneath.
What Is Boat Oxidation and How Do You Fix It

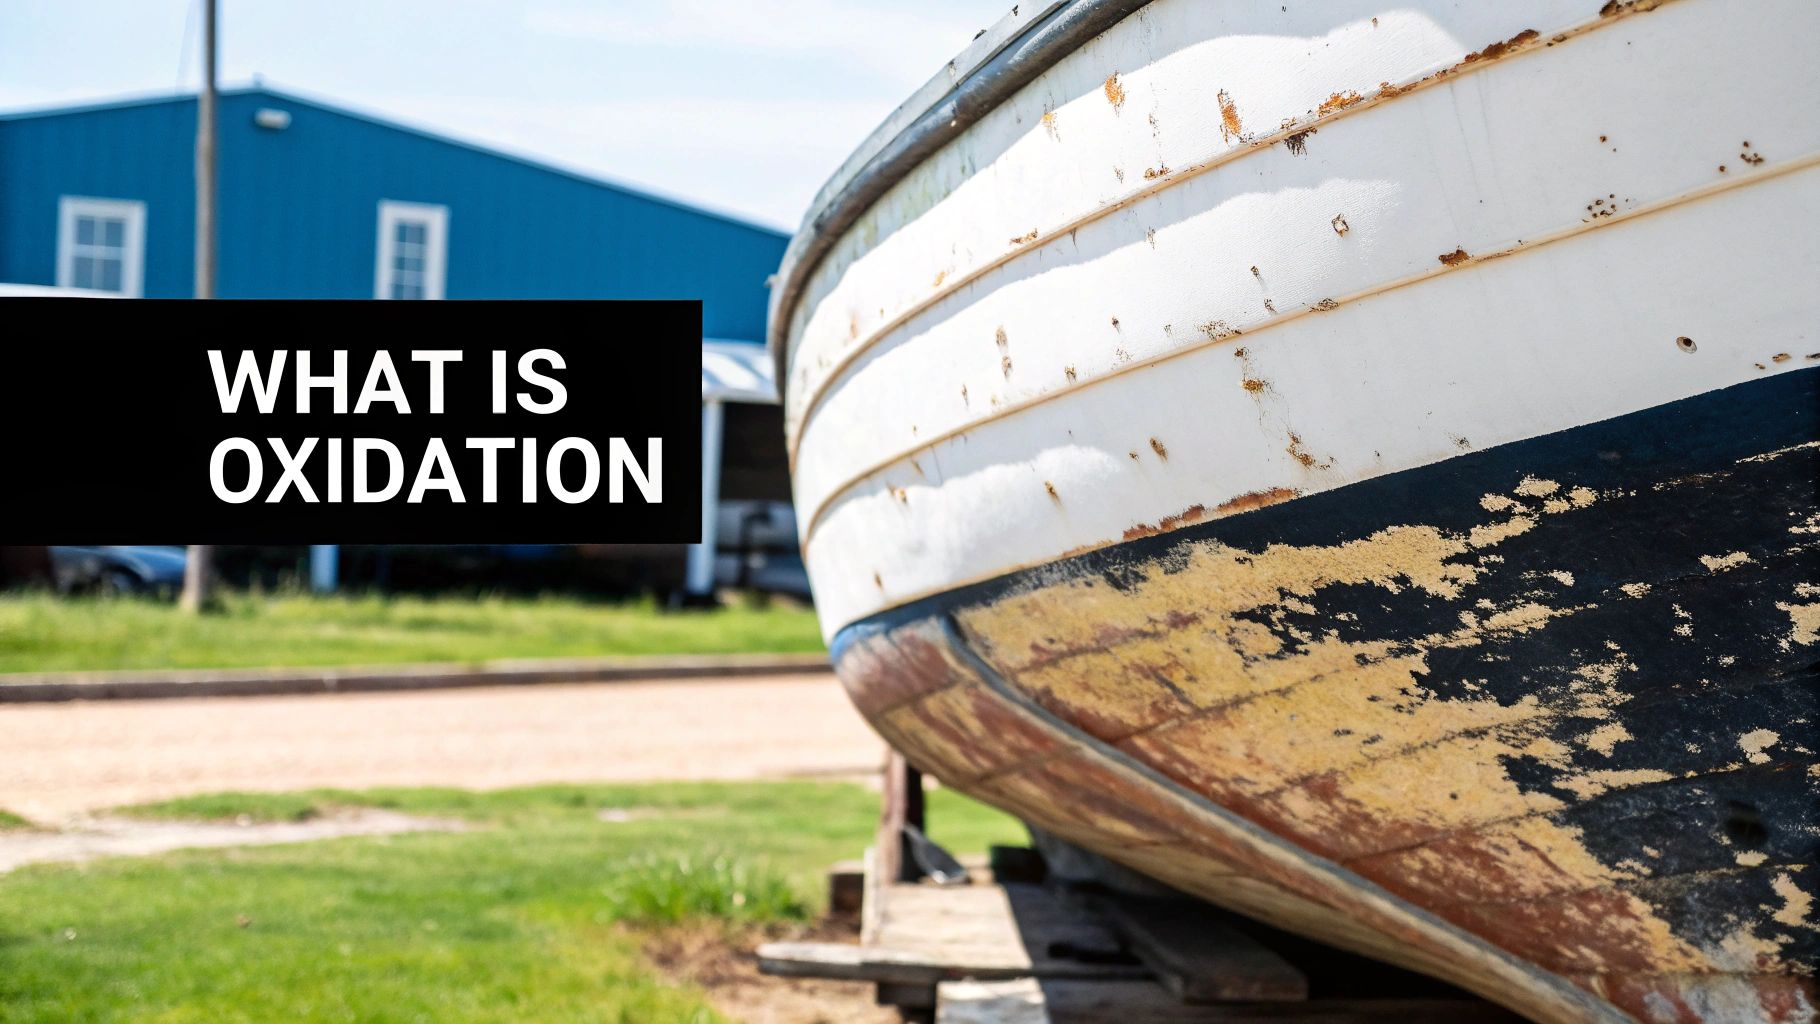
If your boat's hull is looking dull, discolored, or has a chalky feel, you're looking at oxidation. It’s what happens when the gelcoat—the protective skin on a fiberglass boat—gets hit with a one-two punch of oxygen and UV rays from the sun. This chemical reaction breaks down the gelcoat's polymers, stripping it of its original color and high-gloss shine.
Things like saltwater, high humidity, and even air pollutants can kick this process into high gear. Before you know it, a once-gleaming vessel can look like a faded shadow of its former self. It’s a super common headache for boat owners, but the good news is, it's completely fixable if you tackle it the right way.
Diagnosing the Severity on Your Own Boat
Before you grab the polisher, you need to figure out what you’re up against. Not all oxidation is created equal, and assessing the damage first will help you choose the right product and save you a lot of elbow grease.
To get a quick read on your boat's condition, you can use a simple chart like this one. It helps you match what you're seeing on your hull to the right course of action.
Oxidation Severity and Recommended Actions
| Severity Level | Visual Cues | Recommended Action |
|---|---|---|
| Light | Surface looks slightly dull or hazy; most of the color is still present. | A fine-cut boat polish or an all-in-one cleaner wax should do the trick. |
| Medium | Noticeable fading; a chalky residue comes off on your hand when you wipe it. | You'll likely need a medium-cut compound or a dedicated oxidation remover. |
| Heavy | Gelcoat is extremely chalky, heavily faded, and may feel rough to the touch. | A heavy-duty rubbing compound is necessary to cut through the damage. |
This table is a great starting point for figuring out just how much work lies ahead.
Pro Tip: Try the "wet test." Wash a small test spot and see how it looks while it's still wet. If the color and shine pop back to life, the oxidation is probably just on the surface and will be easy to fix. If it stays dull and faded, you’re looking at a more serious case that needs more muscle.
Why It's More Than a Cosmetic Problem
Ignoring oxidation isn't just about looks; it's about protecting your boat. The gelcoat is your first line of defense against water getting into the fiberglass. When that barrier starts to break down, the fiberglass becomes vulnerable to moisture, which can lead to some serious structural problems down the road.
Staying on top of it not only keeps your boat looking sharp but also protects its value and integrity for the long haul. A good cleaning routine is a great place to start, and you can learn more by checking out our guide on how to properly clean a boat.
This isn't a niche issue, either. The market for these products is massive. In 2023, the global boat oxidation removers market was valued at around USD 240 million and is expected to keep growing. That tells you just how many boaters are out there fighting the good fight to keep their vessels in top shape. You can dig into the numbers and trends in the full report on the boats oxidation removers market.
How to Choose the Right Oxidation Remover
Picking the right boat oxidation remover isn't about finding the single "best" product on the shelf. It’s about finding the right product for your boat, right now. I've seen folks grab the most heavy-duty rubbing compound they can find for some light hazing, which is total overkill and just grinds away perfectly good gelcoat. On the flip side, a gentle cleaner wax won't even make a dent in a hull that's chalky and sun-beaten.
Your choice here really dictates how the job will turn out and how much elbow grease you'll have to put in.
The trick is to get a good read on two things: your boat's surface and how bad the oxidation actually is. Are you working with a gelcoat finish or is it painted? They react very differently. A product made for the tough, thick skin of a gelcoat could be way too aggressive for a painted surface.
And then, how deep is the damage? A brand-new boat that just got a little cloudy after its first season needs a completely different game plan than a classic that's been sitting out in the elements for a decade. Matching the product’s strength to the level of oxidation is the most critical call you'll make in this whole process.
Chemical vs. Abrasive Removers
Most oxidation removers you'll find fit into two camps: chemical or abrasive. Chemical removers use specific acids or other active ingredients to break down and dissolve that chalky top layer, often without a ton of scrubbing. These are fantastic for light to moderate oxidation and can save you a lot of time and effort.
Abrasive compounds, on the other hand, are basically liquid sandpaper. They're packed with tiny, microscopic particles that physically scrub away the damaged, oxidized layer of gelcoat. These are your heavy hitters for medium to severe oxidation. They come in different levels of "grit," from fine-cut polishes all the way up to aggressive rubbing compounds.
Expert Tip: Always, always start with the gentlest product you think could possibly get the job done. You can easily move up to something stronger if you need to, but you can't add gelcoat back once you've stripped it away. A quick test in a small, out-of-the-way spot will save you a world of headache.
Factors That Influence Your Choice
Choosing the right bottle isn't a one-size-fits-all deal. To nail it, you need to think about a few key things:
- Boat Surface Material: First and foremost, is your hull gelcoat or is it painted? Products are formulated specifically for one or the other. Using the wrong type can give you disappointing results or, worse, cause damage.
- Oxidation Severity: Go back to that "wet test" we talked about. If splashing water on the hull makes the color pop right back to life, a light polish or a good cleaner wax should be all you need. If it still looks dull and faded when wet, you're going to need a true rubbing compound to cut through the damage.
- Product Type: For light oxidation, an all-in-one cleaner wax can be a convenient time-saver. For a serious restoration project, you'll get a much more professional and longer-lasting result by using a multi-step system: a compound to correct, a polish to refine the shine, and then a wax to seal and protect it all.
This commitment to proper maintenance is a big part of why the marine care industry keeps growing. The global market for boat polish—a close cousin to oxidation removers—hit about USD 145 million and is expected to reach USD 198 million by 2033. You can read more about these kinds of industry trends over at DataHorizzon Research.
Gathering Your Tools for a Flawless Finish

I've learned this the hard way: a professional-looking result starts long before you even crack open a bottle of boat oxidation remover. Think of it like a painter prepping a canvas. Just showing up with a rag and some compound is a recipe for a frustrating afternoon and a patchy, disappointing finish.
Having everything you need within arm's reach makes the whole process so much smoother. Set up your little "workshop" right there on the dock or in the driveway before you begin. This simple step stops those constant, annoying trips back to the garage and lets you stay focused on the real job—bringing that brilliant shine back to your boat.
Your Essential Supply Checklist
Before you get started, do a quick run-through of this checklist. Trust me, having these items ready will save you a ton of time and is the key to getting that even, swirl-free finish on your gelcoat.
- The Right Boat Oxidation Remover: This is your hero product. Make sure you have the compound or polish that matches your boat's level of oxidation. If you're wondering what to use for the final protective layer, our guide on how to wax a boat can point you to the best protectant for the job.
- High-Quality Microfiber Towels: You can never have too many. I like to keep separate stacks for applying the product, wiping off the residue, and the final buff. This prevents you from accidentally rubbing old, gritty compound back onto your freshly polished surface.
- Painter's Tape: Absolutely essential for masking off any areas you don't want the polisher to touch. Think vinyl decals, rubber trim, and metal hardware. It's a small step that prevents big headaches from accidental scuffs or stains.
- Safety Gear: Don't even think about skipping this. At the very least, you need nitrile gloves to keep the chemicals off your skin and a good pair of safety glasses. Product "sling" from a polisher is a real thing, and you don't want that stuff in your eyes.
Here's a pro tip that can make or break your results: Never, ever try to work on a dirty surface. Always start with a thorough wash using a quality boat soap and plenty of fresh water. Applying an oxidation remover over a layer of grime just grinds that dirt right into the gelcoat, creating more scratches than you remove.
Choosing Your Application Method
How you apply the product is just as important as the product itself. For small, tight spots or very light touch-ups, going by hand with a microfiber applicator pad can work just fine. It gives you fantastic control around tricky areas like decals or cleats.
But for anything bigger than a small section? A machine polisher is your best friend. This isn't about being lazy; it's about getting the job done right. A random orbital polisher is the go-to tool for any DIY boater. It delivers the consistent speed and pressure needed to properly break down the abrasives in the compound, something your arms just can't do for hours on end.
This machine ensures an even, consistent cut across the entire hull, saving you an incredible amount of time and delivering a far superior, professional-grade shine.
Applying Oxidation Remover Like a Pro
Alright, this is the fun part—watching that chalky, faded hull come back to life with a deep, glossy shine. The secret here isn’t elbow grease or brute force; it's all about a smart, methodical approach. Forget trying to knock out an entire side of the boat in one go. The real key to making any boat oxidation remover work its magic is to break the job down into small, manageable chunks.
I always work in a 2x2 foot square. Seriously, stick to this size. It forces you to focus on one small area at a time, ensuring the product does its job without drying out. This little trick is what prevents those patchy, uneven results you see when people get impatient and try to cover too much ground at once.
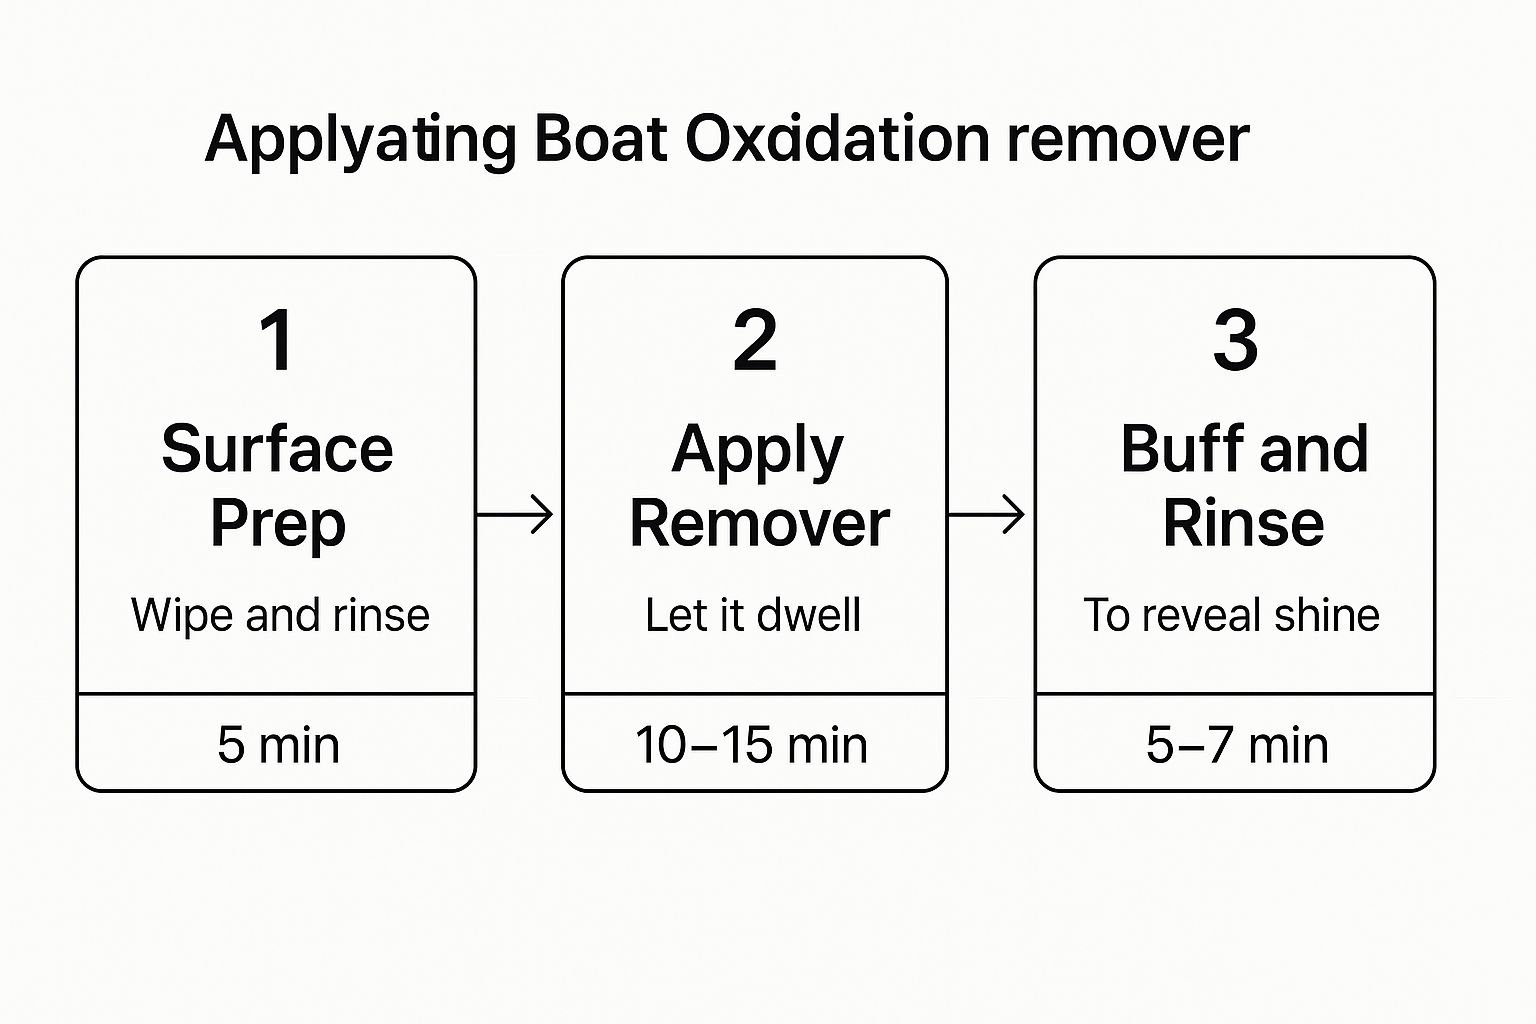
This simple workflow shows you exactly how to tackle each section. It's a quick, repeatable process you'll get the hang of in no time.  Notice how much of the process is just letting the product sit and work? That's your cue to let the remover do the heavy lifting, not your arms.
Start With a Test Spot
Before you go all-in, you have to do a test spot. I can't stress this enough. Find a small, out-of-the-way area to test your oxidation remover and pad combo. This is how you avoid disaster, like accidentally burning right through the gelcoat or realizing your compound is way too aggressive for your boat's finish.
This quick test lets you dial in your technique and make sure you're getting the shine you want. If it looks great, awesome—you're good to go. If not, you can switch to a less aggressive pad or a different product without having made a mess of a huge section.
A test spot isn't just a suggestion; it's your insurance policy against a bad result. It takes five extra minutes but can save you hours of corrective work later.
Nailing the Application Technique
Once you're happy with your test spot, you can get to work with confidence. Your goal is an even, consistent cut across the gelcoat, and that comes down to how you handle the polisher.
- Product Amount: Don't go crazy with the compound. For a 2x2 section, four or five pea-sized dots of boat oxidation remover on your pad is all you need.
- Spreading the Product: Before hitting the power button, gently press the pad against the gelcoat. This simple move stops the product from slinging all over you and the boat. Start the polisher on its lowest speed and just spread the compound around your working area.
- The Cross-Hatch Pattern: Now, bump up the speed. Move the polisher in slow, overlapping passes—first side to side, then up and down. This cross-hatch pattern is the professional's secret to getting full coverage and a finish free of swirls and holidays.
Keep light to moderate pressure on the tool. You want to let the weight of the polisher and the abrasives in the remover do the work for you.
Mastering Polisher Speed and Pressure
Finding that sweet spot between speed and pressure is what really separates a DIY job from a professional detail. Too much of either creates heat, and heat is the enemy. It can "burn" the gelcoat, causing permanent damage.
With most random orbital polishers, a speed setting between 4 and 5 is perfect for cutting through oxidation. Move your arm slowly and deliberately, about one inch per second. After you've made a few overlapping passes, grab a clean microfiber towel and wipe the residue off to check your work.
If the oxidation is gone and the shine is popping, you’re ready for the next section. Just make sure to overlap your last square by a few inches to blend everything seamlessly. Repeat this process across the whole hull, and you'll have a boat that looks brand new. If you're looking for a product that pairs perfectly with this method, check out the options from Better Boat.
Locking In Your Shine with Lasting Protection
Getting the oxidation off is a huge win, but don't hang up the polisher just yet. After all that hard work with a boat oxidation remover, you’ve basically stripped away the damaged, chalky top layer of your gelcoat. What's left is a fresh, raw surface.
Think of it like exposed skin after a deep exfoliation. This new surface is incredibly vulnerable and acts like a magnet for UV rays and every bit of grime in the water.
Without a protective sealant, you're leaving the door wide open for oxidation to come roaring back, often even faster than it appeared the first time. The final step isn't just about adding a bit more gloss; it’s about building a tough shield to preserve that shine you worked so hard for and make future clean-ups a whole lot easier.
Choosing Your Protective Shield
With the heavy compounding done, your boat’s gelcoat is crying out for a high-quality sealant. You’ve got a few solid options, and each one offers a different mix of shine, durability, and elbow grease to apply. Your choice really boils down to how much time you want to spend and how long you want the protection to hold up.
Here’s a quick rundown of the most common follow-up products:
- High-Quality Marine Polish: I like to think of this as the refining step. It uses very fine abrasives to knock out any lingering swirl marks left by the heavy compound. This maximizes the gloss and gets the surface perfectly prepped for its final protective coat.
- Durable Marine Wax: This is the classic, tried-and-true method. A good carnauba or synthetic marine wax lays down a rich, deep shine and provides a solid barrier against sun and water. It's fairly easy to apply, but you'll likely be reapplying it every 3-4 months to keep that protection solid.
- Modern Ceramic Coatings: For those who want the longest-lasting protection, this is the way to go. A ceramic coating cures into a hard, chemical-resistant shell over the gelcoat that can last for a year or even longer. It offers top-tier protection and makes the boat ridiculously easy to clean—dirt and water just bead up and slide right off.
The goal is to create a hydrophobic and UV-resistant layer. This barrier not only stops the sun from causing more fading but also repels water, preventing mineral deposits and making your next wash-down a breeze.
Creating a Simple Maintenance Routine
Once your boat is sealed and protected, keeping it looking great is surprisingly simple. You've already done the heavy lifting. Now, it’s just a matter of a straightforward maintenance routine to make that protective coat last.
A Simple Schedule:
- Rinse After Each Use: A quick freshwater rinse after every trip is non-negotiable. It stops salt from sitting on the finish and eating away at your sealant.
- Wash Monthly: Use a gentle, pH-neutral boat soap every few weeks. This will lift any grime without stripping your wax or sealant.
- Reapply Protection Seasonally: Depending on what you used, plan on reapplying your wax or sealant every 3-6 months to maintain that protective shield. If you want to really get this process dialed in, you can learn all about how to properly wax a boat in our detailed guide.
This routine turns what was a major restoration project into simple, manageable upkeep. It's no wonder so many boat owners are investing in this final step. The global market for boat oxidation removers and related care products was valued at approximately USD 1.2 billion and is projected to climb to USD 1.8 billion by 2033. You can read more about these boating maintenance market trends to see just how many owners are committed to protecting their vessels.
Common Questions About Boat Oxidation Removal

Even with the best plan in hand, a few questions always seem to surface right in the middle of a big boat restoration project. Let's walk through some of the most common ones I hear from boat owners when they're tackling oxidation. Getting these answers straight can save you a ton of time and make sure you end up with that deep, lasting shine you're shooting for.
Can I Use Car Oxidation Remover on My Boat?
This is probably the question I get asked most, and the answer is a hard no. It’s an easy mistake to make—they seem like they do the same thing, right? But automotive products just aren't built for the abuse of a marine environment.
A boat's gelcoat is significantly thicker and harder than the clear coat on your car. Because of this, a true boat oxidation remover is formulated with more aggressive abrasives designed specifically to cut through that tough, chalky layer.
On top of that, marine-specific formulas are packed with agents to fight off the relentless UV exposure and corrosive salt that boats live in. If you use a car product on your boat, you'll get a weak, short-lived shine at best. At worst, you could damage the gelcoat, leaving you with a much bigger headache than when you started.
How Do I Know If the Oxidation Is Too Severe to Fix?
This is a big one. You don’t want to burn a whole weekend on a project that was destined for a professional from the start. Luckily, there's a simple way to gauge the damage: the "wet test."
Just wash a small, heavily oxidized spot on your hull and take a close look while it's still wet.
- Good News: If the original color and gloss pop back to life, the oxidation is probably just surface-level. A quality boat oxidation remover and a good polisher should bring it back beautifully.
- Bad News: If the surface stays dull and chalky even when wet, the damage is likely too deep for a DIY fix. If you can actually see the fiberglass weave underneath, the gelcoat is toast. At that point, you're looking at professional wet sanding or even a full re-gelcoating job.
How Often Should I Use a Boat Oxidation Remover?
You need to think of heavy-duty oxidation removal as a one-time restoration project, not a piece of your regular maintenance routine. The whole point is to cut back that damaged top layer, restore the original finish, and then lock it in. You absolutely should not be compounding your entire hull every season.
Once you’ve done the hard work of restoring the surface, your game plan shifts entirely to protection.
The key is prevention. After the initial restoration, applying a high-quality marine wax or sealant every 3-4 months is essential. With consistent washing and protection, you should only need a light polish or cleaner wax once a year to keep heavy oxidation from ever coming back.
This proactive mindset is at the core of smart boat ownership. For a deeper dive, check out our essential boat maintenance tips that every boat owner should know.


