How to Polish a Boat for a Mirror Finish | Expert Tips
When we talk about polishing a boat, we’re really talking about a three-part dance: cleaning the surface, cutting back oxidation with a machine polisher, and then laying down a protective layer of wax or sealant.
This isn't just about making it look good for the dock. It’s a process that corrects surface imperfections and builds a barrier against the sun and saltwater, which goes a long way in preserving your boat's value and appearance.
Why Polishing Your Boat Is a Critical Investment
Before you even plug in a buffer, it’s important to get your head around what you're actually doing. Knowing how to polish a boat is less about the shine and more about preservation. Think of your boat’s gelcoat like your own skin—it’s the protective outer layer that shields everything underneath from the elements. And just like skin, it takes a beating over time.
The Unseen Enemy: Oxidation
Your main opponent here is oxidation. All that constant exposure to UV rays and oxygen causes the gelcoat to break down on a chemical level. The result? That dull, chalky, and faded look we all dread. If you let it go, that chalkiness isn't just ugly; it's a sign that your gelcoat is becoming porous and weak.
A porous surface is a magnet for trouble. It soaks up contaminants, salt, and moisture like a sponge, which just speeds up the decay and can lead to bigger headaches like blistering or cracking down the road. Polishing physically strips away this dead, oxidized layer to reveal the fresh, healthy gelcoat hiding underneath.
Key Takeaway: Polishing isn't a cosmetic touch-up. It's a restoration project that removes the damaged outer layer of your boat's gelcoat, stopping further decay and extending its life.
More Than Just a Pretty Finish
Getting past the oxidation is only half the battle. A proper polish and wax job creates a serious shield for your boat. This protective barrier pays you back in several ways, saving you time and money.
- UV Ray Defense: A good marine wax or sealant is like sunscreen for your boat. It deflects those harmful ultraviolet rays that are the main culprit behind fading and chalking.
- Corrosion Prevention: It makes the surface hydrophobic, meaning it sheds saltwater. This keeps corrosive salt crystals from settling in and eating away at your gelcoat and hardware.
- Easier Cleaning: A smooth, sealed surface is non-porous. That means grime, salt spray, and bird droppings wash right off instead of sticking and staining.
- Enhanced Resale Value: Let's be honest, a boat with a deep, glossy finish screams "well-maintained." It can significantly boost its market value compared to a neglected, chalky vessel sitting next to it.
It's clear that boat owners are catching on. The global boat polish market was valued at around USD 145 million in 2024, and that number is growing because boaters understand that this kind of maintenance is essential. You can learn more about the boat polish market growth trends on datahorizzonresearch.com.
When you get right down to it, learning how to polish your boat is a direct investment in its longevity, its value, and your own pride when you pull up to the dock.
Assembling Your Boat Polishing Toolkit

Getting that professional, mirror-like finish isn't about elbow grease alone; it's about having the right gear. If you try to polish your boat without the proper equipment, you're not just setting yourself up for a disappointing result—you could actually make things worse by adding new scratches or ugly swirl marks. A well-chosen toolkit is your first real step toward a flawless shine.
The absolute heart of your setup is the machine polisher. For anyone new to this, I can't recommend a dual-action (DA) polisher enough. Its random orbital motion is way more forgiving than a direct-drive rotary machine. This dramatically lowers the risk of you burning right through the gelcoat, but it still packs enough punch to knock out moderate oxidation.
Rotary polishers? They're powerful beasts, and honestly, they're best left to the pros until you've got a lot of experience. They spin faster and generate more heat, which is great for tackling heavily oxidized hulls but also makes them incredibly risky for a beginner. Stick with a DA polisher—it's the safest and smartest way to learn.
Compounds, Polishes, and Pads
Once you’ve got your machine, you need to pick the right abrasives and pads to go with it. Think of these as a team that works together to bring your gelcoat back to life. The key is to have a system that takes you from aggressive correction all the way down to a fine finish.
- Rubbing Compound: This is your heavy hitter for cutting through that chalky, faded gelcoat and buffing out surface scratches. Consider this the initial "sanding" phase of the job.
- Fine Polish: After you've done the heavy lifting with the compound, the polish comes in to clean up any haze or swirl marks left behind. This is the magic step that creates that deep, wet-looking gloss.
- Wool Pads: These are aggressive and should be paired with your rubbing compound. The natural fibers create more friction and heat, which helps the compound chew through severe oxidation much faster.
- Foam Pads: You'll see these in different densities. A firmer foam pad can be used for compounding (if the oxidation isn't too bad), while a soft finishing pad is perfect for applying your polish and refining the surface.
So many people make the mistake of trying to make one product do everything. It just doesn't work. A compound's job is to correct damage. A polish's job is to create shine. Using them in the right order isn't optional if you want that mirror finish.
Before you start buffing, it's smart to have all your supplies laid out and ready to go. Here's a quick checklist of the essentials you'll need to get the job done right.
Essential Polishing Tools and Supplies
| Item | Primary Use | Pro Tip |
|---|---|---|
| Dual-Action Polisher | Applying compounds and polishes safely and effectively. | Look for a model with variable speed control. Start slow until you get a feel for it. |
| Rubbing Compound | Removing heavy oxidation, stains, and scratches. | Only use this on areas that truly need it. It’s an abrasive, not a wax. |
| Fine Polish | Removing fine swirls and creating a high-gloss shine. | A little goes a long way. Work in small, 2x2 foot sections. |
| Wool & Foam Pads | Applying the products to the hull. | Dedicate specific pads for compound and polish to avoid cross-contamination. |
| Marine Boat Soap | Cleaning the boat before polishing. | A clean surface is non-negotiable for good results. |
| De-Waxing Solvent | Stripping old wax from the hull. | Old wax will just clog your pads and prevent the compound from working. |
| Microfiber Towels | Wiping away residue and final buffing. | Get a big pack. You'll go through more than you think, and you never want to use a dirty one. |
Having these items on hand will make the entire process smoother and ensure you’re not caught off guard mid-project.
Essential Prep and Finishing Supplies
Beyond the main event of polishing, a few other items are absolutely critical. Don't skimp on the prep work; it really is the foundation of a great finish.
You’ll need a good marine boat soap to get the surface perfectly clean before you start. I also recommend a de-waxing solvent to strip any old wax that could gum up your polishing pads and mess up your results.
Finally, stock up on clean microfiber towels. I’m talking at least a dozen. You'll need them for wiping off compound residue, buffing away polish, and making sure you don’t cross-contaminate your products as you move from one step to the next.
The Critical Prep Work Before You Polish

Here’s a hard truth: skipping the prep work is the #1 reason boat owners get disappointing results. You simply can't get a high-gloss shine on a dirty, contaminated surface.
Think of it like painting a wall. You wouldn't just slap a fresh coat over dust and grime, right? Same logic applies here. The entire goal of this stage is to create a perfectly clean slate for your compound and polish to work their magic.
This process is way more than a simple rinse-off. You need to get rid of every trace of salt, dirt, and—most importantly—any old, crusty wax that’s still clinging to the hull. If you don't, your polishing pads will immediately clog with gunk, making them useless and potentially scratching the very surface you're trying to perfect.
The Initial Washdown
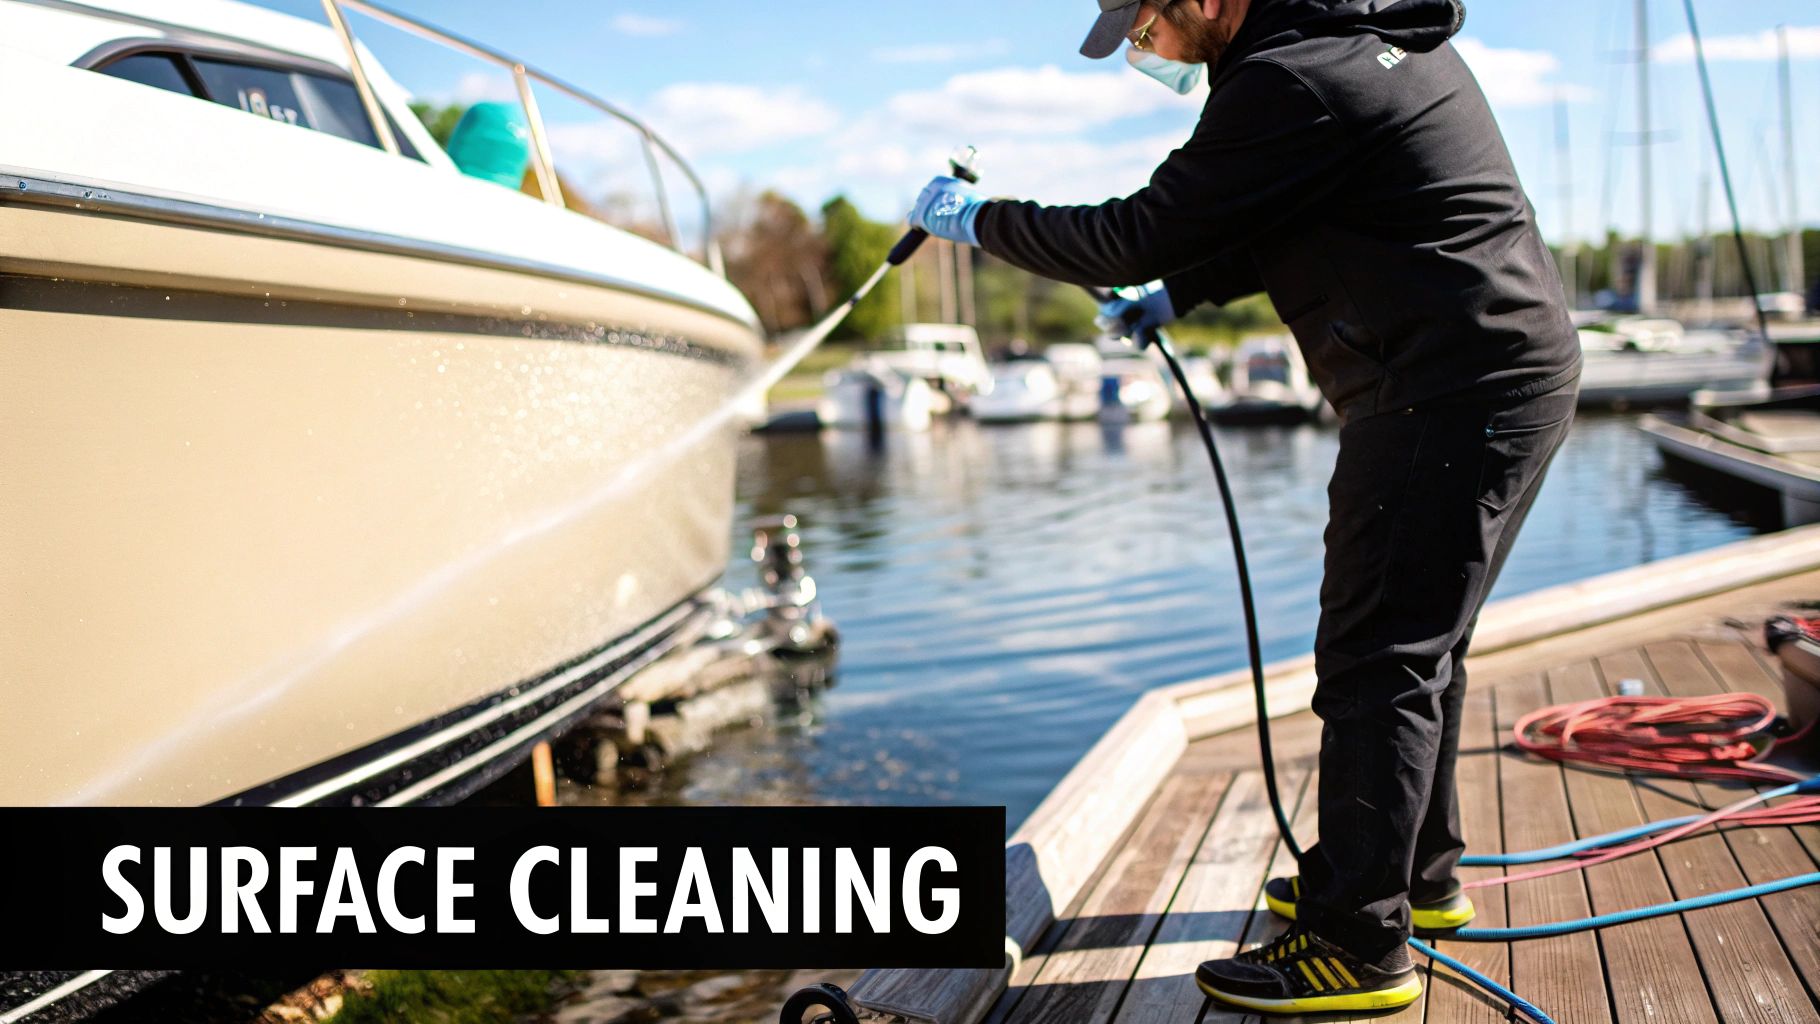
Kick things off with a thorough wash using a high-quality marine boat soap. Unlike dish soap, which will strip essential oils from your gelcoat and dry it out, a dedicated boat soap is formulated to be tough on grime but gentle on your boat's finish.
Always work from the top down. Scrub every inch to lift away surface contaminants like salt spray and bird droppings.
Pro Tip: Never wash your boat in direct, harsh sunlight. The heat will bake the soap onto the surface before you can rinse it, leaving behind a streaky, stubborn film. Always work in the shade or on a cooler, overcast day.
Once you’ve scrubbed the entire area you plan to polish, give it a comprehensive rinse with fresh water. You want to make absolutely sure no soapy residue is left behind.
For a deeper dive into the best washing methods, our complete guide on how to clean a boat will make sure you get this foundational step just right.
Chemical Decontamination
With the surface dirt gone, it's time for the step most people miss: stripping the old wax. Even if you can't see it, there's almost certainly a layer of degraded wax or sealant on the hull. This is where a dedicated de-waxing solvent or an all-in-one wash and wax remover becomes essential.
Apply the cleaner according to the product directions, working in small, manageable sections. This chemical cleaning dissolves those old protective layers that would otherwise stop your new polish from bonding to the gelcoat and creating that lasting shine you're after.
Assess the Oxidation Level
Finally, with a truly clean and stripped surface, you can accurately diagnose the condition of your gelcoat. This final inspection is what dictates your entire polishing strategy. Run your hand across the hull.
- Light Oxidation: Does your finger pick up a light, chalky residue? Is the color just a bit faded? This is the best-case scenario and will likely only require a fine polish.
- Moderate Oxidation: If the surface feels rough and the color is noticeably dull and milky, you're dealing with moderate oxidation. You'll need to start with a medium-cut compound.
- Heavy Oxidation: Is the gelcoat almost white and very chalky, with a complete loss of gloss? This calls for an aggressive rubbing compound and a wool pad to cut through that dead top layer.
Correctly identifying the damage level prevents you from wasting hours with a product that isn't strong enough—or, even worse, using an overly aggressive compound on a finish that doesn't need it. Think of this assessment as your roadmap for the steps ahead.
Mastering the Art of Machine Polishing
Now that your boat's hull is prepped and ready, it's time for the magic. Machine polishing is where the real transformation happens, and trust me, it’s a skill anyone can pick up with the right approach. Forget about muscling the machine or using frantic movements. The real secret is to be methodical and let the tool do the work for you.
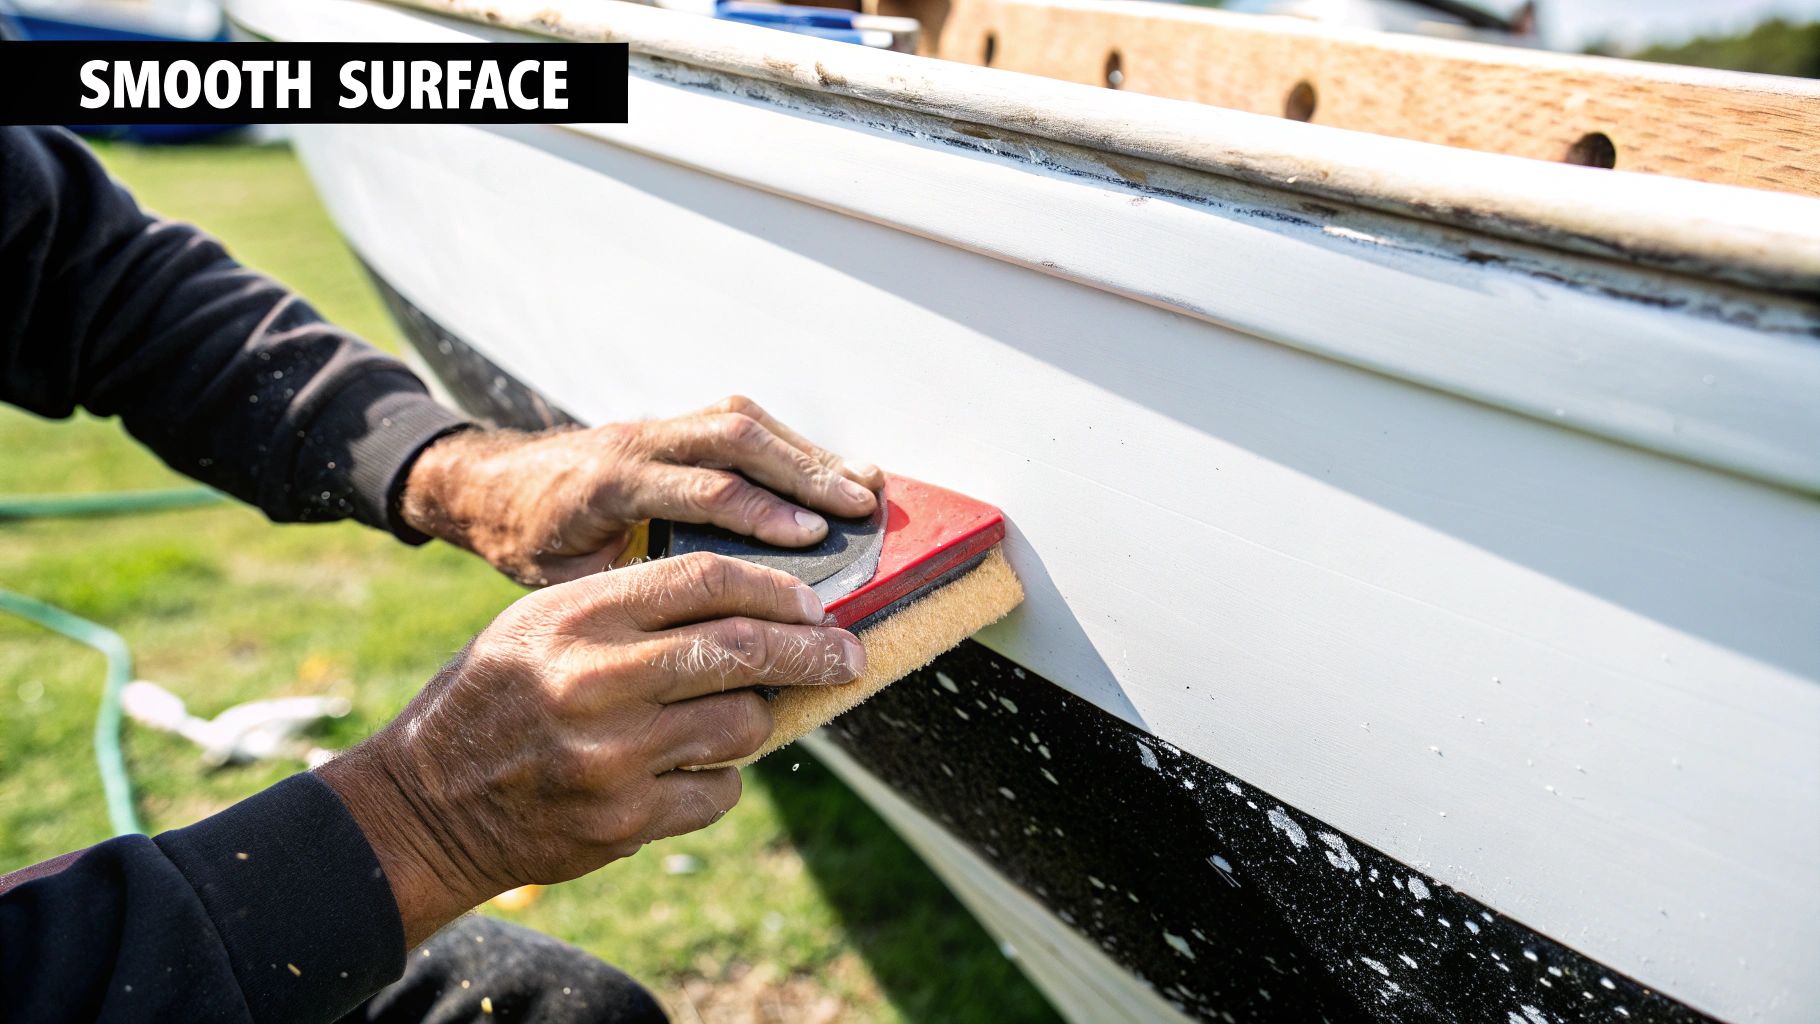
The first rule of thumb is to work in small, manageable sections. Think of the hull as a grid of 2x2 foot squares. This isn't just to keep things organized; it's critical for working the compound or polish completely before it has a chance to dry out. Rushing this leads to a hazy, uneven finish, and nobody wants that.
Setting Up for Success
Before you even think about pulling the trigger on your polisher, get the pad ready. Squeeze a few small, pea-sized dots of your rubbing compound onto the wool or foam pad. You don’t need to slather it on—too much product just makes a mess and wastes good compound.
Next, gently press the pad against your 2x2 foot section before turning the machine on. Just a few dabs will spread the compound around. This simple move stops the compound from flying everywhere the moment the pad starts spinning. Always, and I mean always, start the machine on its lowest speed while it's in contact with the hull.
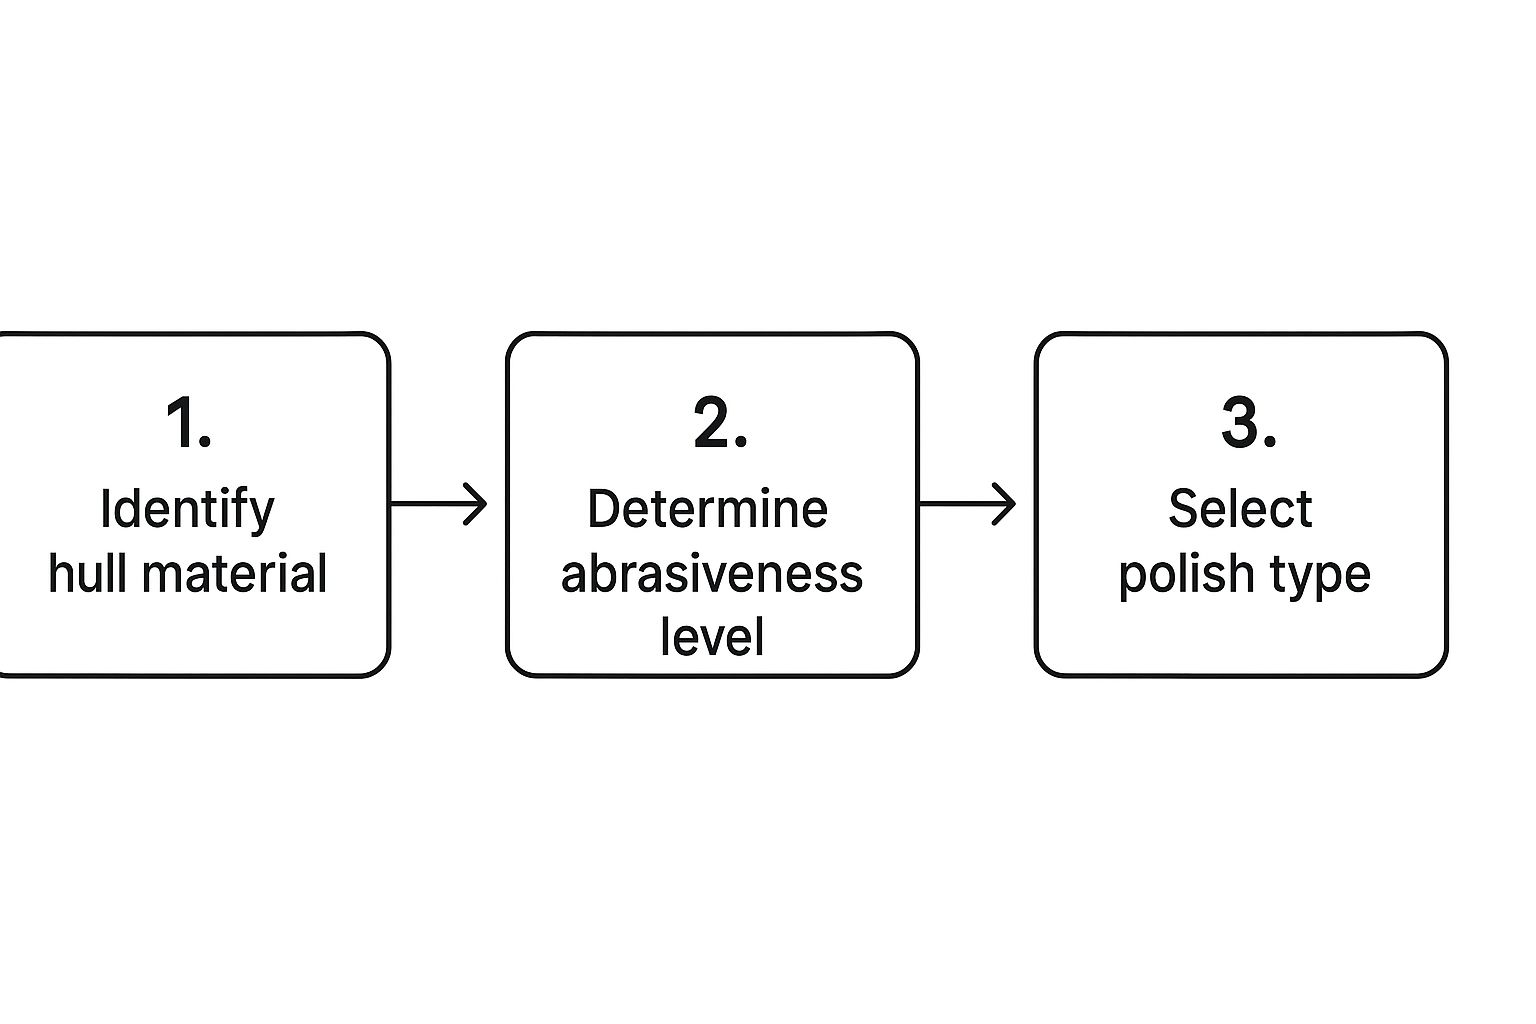
Getting the right product is just as important as the technique. The image below is a great little cheat sheet for this.

As you can see, it all comes down to your hull type and how much oxidation you're dealing with. Match the product's abrasiveness to the job at hand.
Executing the Perfect Pass
To get that perfectly even, mirror-like surface, you need to use a cross-hatch pattern. It sounds technical, but it’s easy.
- Move the polisher slowly across your section, from left to right.
- Then, go back over the same area, this time moving up and down.
This overlapping motion is your guarantee that you won't miss any spots and that the abrasives are breaking down the oxidation uniformly.
Keep the polisher pad flat against the hull. You only need to apply enough pressure to keep it steady. Let the machine's weight do the cutting. If you push down hard, you’ll generate a ton of heat that can permanently burn or damage your gelcoat, not to mention make the polisher a nightmare to control.
Here's a tip I learned the hard way: slow down. A common rookie mistake is zipping across the surface too fast. Slow, deliberate passes are way more effective. You're aiming for a crawl—about one inch per second—to give the compound time to work its magic.
From Correction to Refinement
This first stage with the rubbing compound is all about correction. Its one and only job is to cut through that dead, chalky layer of oxidized gelcoat. You’ll know a section is done when the compound starts to look clear or oily. That's your cue to stop the machine, wipe the residue off with a clean microfiber towel, and take a look at your handiwork.
Once you’ve compounded the entire hull and banished the oxidation, you’re going to do it all over again. But this time, you’ll switch to a fine marine polish and a fresh, soft foam finishing pad.
This is the refinement step. This gentler polish buffs out any micro-scratches or haze left by the compound, which is what gives you that deep, wet-looking gloss. The principles are the same whether you're working on a boat or a car; you can learn more about how to polish car paint for a showroom shine if you're curious.
It’s no surprise that boat owners are investing in these results. The global market for boat polish is expected to hit around USD 500 million in 2025 and grow at about 6% each year after that.
This boom is all thanks to more people getting into recreational boating and realizing how crucial it is to protect their investment from the sun and salt. It just goes to show that the time you're putting in now is well worth it.
Locking in Your Shine With Waxes And Sealants

You've put in the hours with the machine polisher, and the results are stunning. That deep, wet gloss is back, and you can see your reflection in the hull. But if you stop here, all that hard work will start to fade in a matter of weeks.
Polishing restores the shine, but applying a protective layer of wax or sealant is what locks it in for the long haul. This final step creates a sacrificial barrier, shielding your freshly polished gelcoat from the very things that caused the oxidation in the first place: UV rays, salt spray, and grime. Without this shield, your boat's finish is left exposed and vulnerable.
Choosing Your Protective Layer
The world of boat protection has come a long way, and you've got several great options. Your choice really comes down to the look you want, how much time you're willing to spend, and how long you expect the protection to last.
-
Carnauba Wax: This is the classic choice for boaters who love a deep, warm, and rich glow. It's a natural product that produces a beautiful finish, but it typically has the shortest lifespan, often needing a fresh coat every 2-3 months.
-
Polymer Sealant: These are synthetic products engineered for durability. A sealant might not have the same "wet look" as carnauba, but it creates a slick, glass-like shell that offers superior protection and can last 4-6 months or even longer.
-
Ceramic Coating: This is the top-tier stuff in surface protection. Ceramic coatings form a semi-permanent, hardened glass layer on your gelcoat. They offer the best durability by far, lasting a year or more, but the application is more technical and less forgiving if you make a mistake.
The trend in marine care is clear: owners are moving toward premium, high-performance products that provide serious scratch and UV resistance. It shows that savvy boaters see polishing and sealing not just as cosmetic, but as a critical part of protecting their vessel's life and value.
Application For A Streak-Free Finish
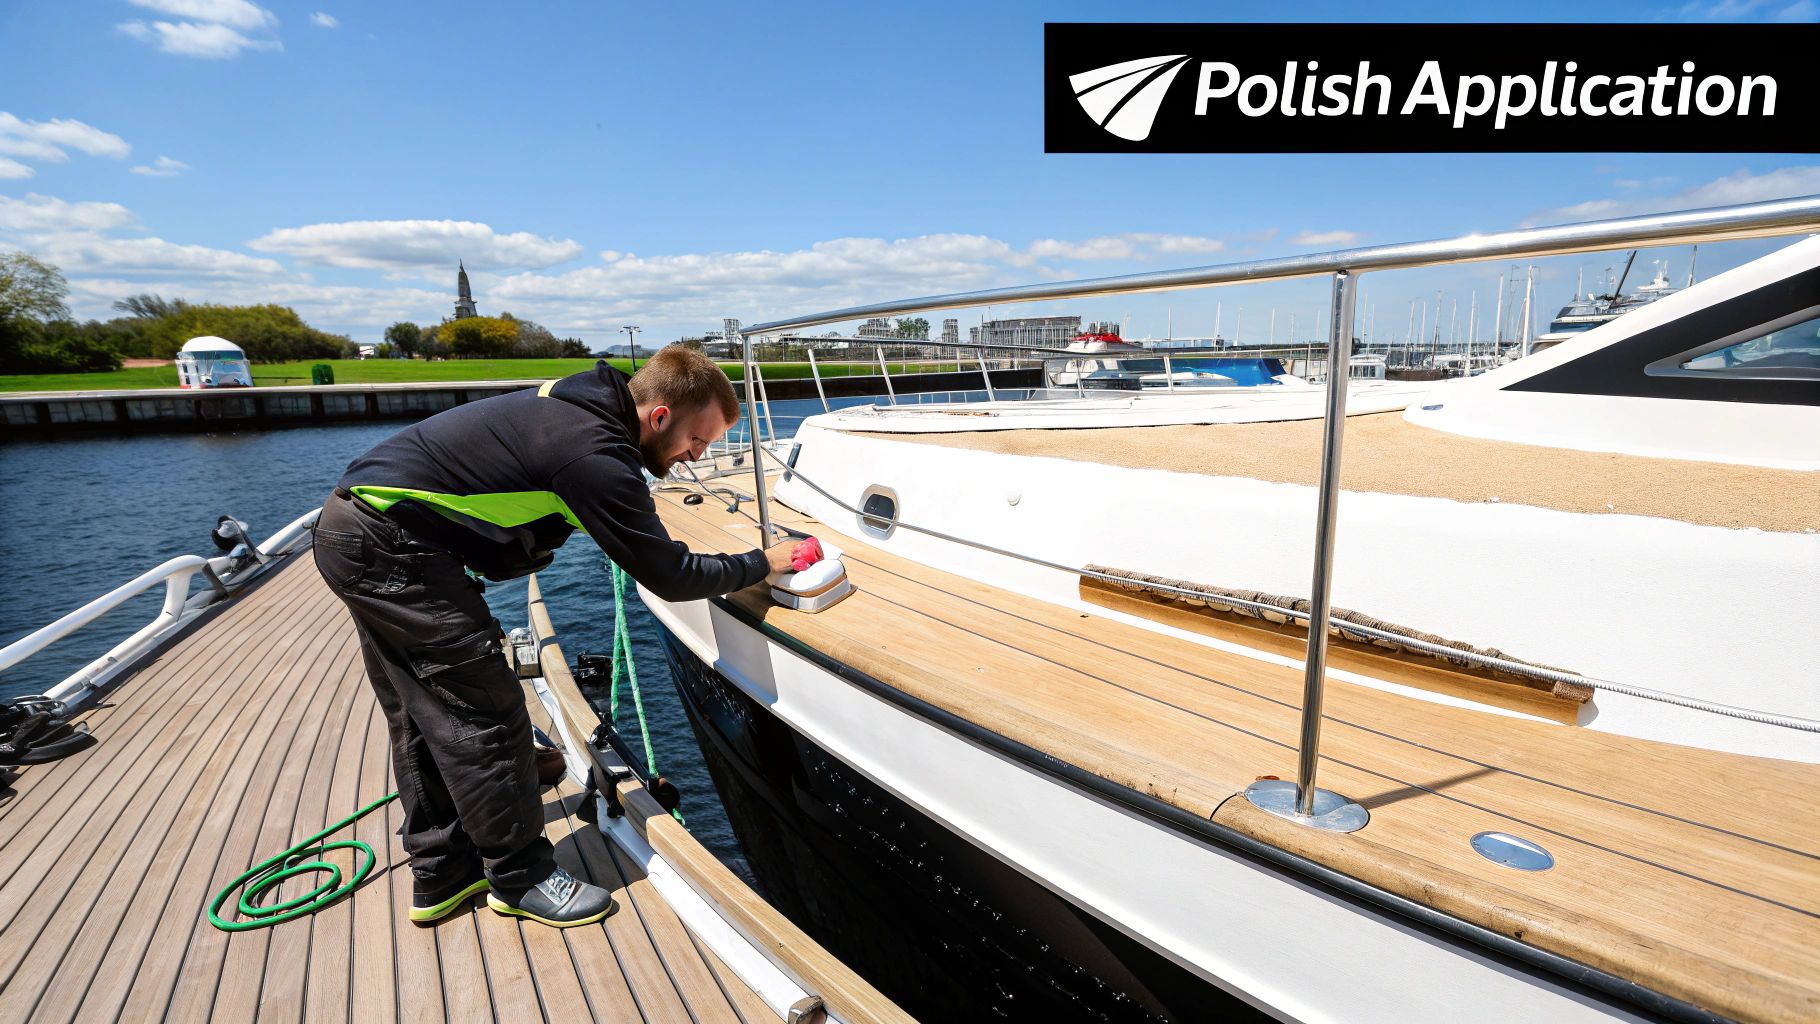
No matter which product you choose, your application technique is key to getting a perfect, streak-free finish. The golden rule is to apply a thin, even coat. Piling it on thick doesn't add more protection—it just makes it harder to buff off.
Always work out of direct sunlight on a surface that's cool to the touch. For waxes and sealants, a soft foam applicator pad is your best friend. Dab a small amount of product on the pad and wipe it onto the hull in small, manageable sections using overlapping circular or straight-line motions.
Let the product haze over according to the manufacturer's instructions, which usually just takes a few minutes. Once it's ready, grab a clean, dry microfiber towel and gently buff the residue off.
Keep flipping your towel to a clean side as you go. This is a pro tip—if you don't, you'll just end up spreading the hazy residue around instead of removing it. For a more detailed schedule, check out our guide on how often you should wax a boat.
Common Questions About Polishing a Boat
Even when you have the perfect game plan, questions always seem to pop up in the middle of a big job like polishing your boat. Getting the right answers can be the difference between a head-turning finish and a weekend of wasted effort.
We get a lot of the same questions from boaters, so we've gathered the most frequent ones right here. Think of this as your personal troubleshooting guide for getting that perfect, glossy shine.
How Often Should I Polish My Boat?
This is the big one, and the honest answer is: it depends. Your climate, where you store the boat, and how often it sees the sun all play a huge role.
For a full-blown compounding and polishing job to tackle heavy oxidation, you’re probably looking at doing this every 1-2 years. You don't want to overdo it and wear down your gelcoat.
But the wax or sealant? That's a different story. To keep that protective layer strong, you'll want to apply a fresh coat every 3-6 months. A quick way to check is to spray the hull with water—if it doesn't bead up into tight little drops, your protection is gone and it's time to reapply.
Can I Get Good Results Polishing by Hand?
You can certainly apply a protective wax or sealant by hand, and it's a great way to get a feel for your boat's finish. But when it comes to removing actual oxidation with a rubbing compound? That's a job for a machine.
Trying to cut through a faded, chalky gelcoat by hand is just an exercise in frustration. You won't generate the friction and consistent motion needed for the abrasives in the compound to work their magic. You'll end up with sore arms and a blotchy, hazy mess. For any serious correction, a machine polisher is a must-have.
What's the difference between compound and polish anyway? It all comes down to abrasiveness. Think of a compound as liquid sandpaper—it's aggressive and designed to cut through oxidation and level out scratches. A polish is much finer, meant to remove the tiny swirls left by the compound and bring out that deep, wet-looking shine. You compound to fix the problem, and you polish to perfect the finish.
My Gelcoat Still Looks Dull After Polishing. What Went Wrong?
This is a common headache, and it usually comes down to one of two things. First, the surface might not have been truly clean before you started. If there's any old wax or stubborn contamination left on the gelcoat, it will just clog up your pads and prevent the compound from ever touching the surface it's supposed to be fixing.
The other likely culprit is that your compound-and-pad combo wasn't aggressive enough for the level of oxidation you're dealing with. Or, you might not have worked the product long enough for its abrasives to fully break down and do their job. Always start with a small test spot in an inconspicuous area to dial in your process before tackling the whole boat.
For a deeper dive into the entire process, from the initial wash to the final wax, check out our complete guide on boat detailing like a pro.
At Better Boat, we have all the premium products you need to get a professional finish and keep your vessel protected from the elements. Explore our full range of marine-grade compounds, polishes, and waxes at https://www.betterboat.com.


