


Outboard Motor Maintenance a Pro's Guide
Smart outboard motor maintenance is the single biggest thing you can do to make sure your engine is reliable, efficient, and ready to go when you are. It’s all about creating a solid routine of pre-trip checks, post-trip care, and seasonal servicing. Stick with it, and you'll sidestep those frustrating breakdowns and get years more life out of your investment.
Why Proactive Maintenance Is Your Best Investment
It’s easy to look at outboard maintenance as just another chore. That’s a mistake. A much better way to think of it is as an insurance policy—one that protects you from a ruined day on the water, a wallet-draining tow, or a genuinely dangerous situation miles from the nearest help. Being proactive isn't just about dodging problems; it's about locking in performance, safety, and your own peace of mind.
The hard truth is that most trip-ending failures don't just happen out of the blue. They're almost always the final, ugly result of small, ignored tasks that pile up over time. That corroded wire, clogged fuel filter, or cracked impeller? These are minor fixes in the workshop but absolute catastrophes when you’re trying to outrun a storm.
To help you get started, we've broken down the essential tasks into a few core pillars. Think of these as the foundation of a healthy engine.
Core Pillars of Outboard Maintenance
| Maintenance Area | Primary Focus | Key Benefit |
|---|---|---|
| Regular Checks | Inspecting fluids, wires, and propellers before each trip. | Catching small issues before they become major failures on the water. |
| Cleaning & Flushing | Rinsing the motor after every use, especially in saltwater. | Preventing corrosion, blockages, and long-term salt damage. |
| Lubrication | Greasing fittings with marine grease and changing gearcase oil at proper intervals. | Reducing wear and tear on critical moving parts for smoother operation. |
| Seasonal Care | Properly winterizing and de-winterizing the engine. | Protecting the motor during storage and ensuring a flawless start to the season. |
Each of these areas plays a vital role in the overall health of your motor. Neglecting one can quickly undermine the benefits of the others.
The Cost of Neglect
Let's be clear: skipping basic care doesn't save you time or money in the long run. A simple task like flushing the engine after a saltwater trip takes maybe 10 minutes. Skipping it, however, can lead to internal corrosion and overheating issues that can easily cost thousands to fix. This is even more critical for modern four-stroke and direct-injected outboards, which are built with much tighter tolerances than the old two-strokes.
Just think about these all-too-common scenarios:
- Fuel System Failure: Today's ethanol-blended fuels are notorious for absorbing water and going bad, which leads to gunked-up injectors and dead fuel pumps. A simple dose of fuel stabilizer can prevent a $500+ repair bill.
- Cooling System Clogs: Over time, salt, sand, and mineral deposits can block cooling passages. This causes the engine to overheat and can even warp the cylinder head. Regular flushing is your only real defense.
- Corrosion Damage: Those little metal tabs on your motor are sacrificial anodes. They're designed to corrode so your engine doesn't. Once they're eaten away, galvanic corrosion starts attacking expensive parts like the gearcase and trim assembly.
A well-maintained motor isn't just more reliable; it's safer. The last thing any boater wants is to lose power in a busy channel or rough seas because of a preventable mechanical issue. Consistent care is your first line of defense.
Preserving Performance and Value
Keeping up with maintenance has a direct impact on your motor’s performance. A clean fuel system, fresh spark plugs, and the right lubrication ensure you get every bit of power and fuel efficiency the manufacturer intended.
This commitment also pays off big time when you decide to sell or trade in your boat. An engine with a clean bill of health and a stack of service records will always fetch a higher price.
The boating world is only getting bigger. The global outboard motor market was recently valued at around USD 5.75 billion and is still growing. With more people on the water, having reliable equipment is more important than ever.
Ultimately, being proactive about outboard maintenance completely changes your boating experience. It replaces that nagging anxiety about "what might go wrong" with the quiet confidence that your engine will fire up and run flawlessly every single time.
While this guide is focused on your motor, applying this mindset to your entire vessel is crucial. For a wider view, check out our guide on essential boat maintenance tips to keep your vessel in tip-top shape. That's the real secret to years of enjoyable, trouble-free time on the water.
Your Pre and Post Trip Rituals for Engine Health
The best kind of outboard motor maintenance is the kind that becomes second nature. It’s the stuff you do in the few minutes before launching and right after you get back to the dock. These quick, consistent rituals are what separate a reliable engine from a constant headache.
Think of it like a pilot's pre-flight check. It’s not about overhauling the engine; it's a quick but critical scan to make sure everything is good to go before you leave shore. A five-minute once-over at the ramp can genuinely save you from hours of frustration out on the water.
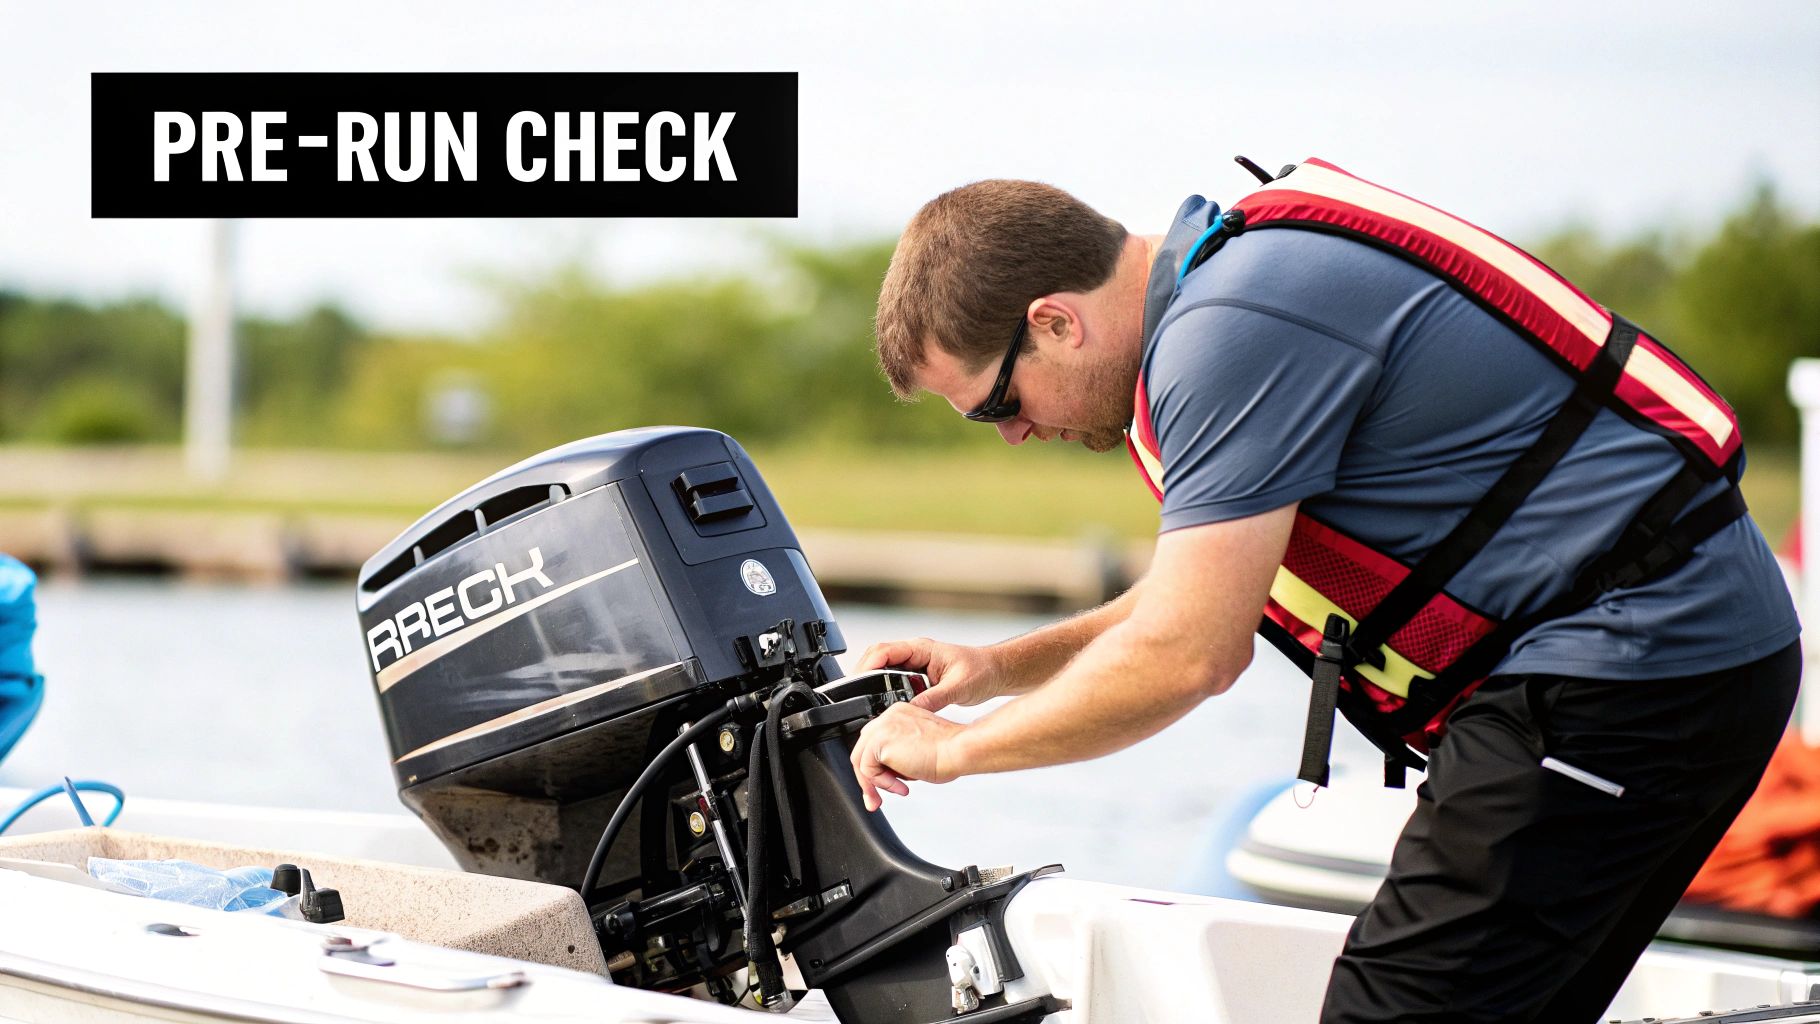
The Essential Pre-Launch Inspection
Before your hull even grazes the water, a quick visual and physical check is an absolute must. We're not talking about a deep, technical dive here. This is a high-level scan of the most common things that can go wrong.
Your first stop should always be the fuel system. Start right at the tank and follow the fuel line all the way to the engine. Give that primer bulb a few good squeezes—it should get nice and firm. If it stays soft, collapses, or just doesn't feel right, you've probably got an air leak or a bad check valve. That's a problem that will starve your engine of fuel when you least expect it.
Next, run your eyes and hands over these key components:
- Fuel Line Integrity: Look closely at the entire fuel line. You're hunting for any cracks, signs of becoming brittle, or spots where it might be rubbing against something. The connection points are especially important.
- Hose Clamps: Give the clamps holding the fuel line a little wiggle. They need to be snug and shouldn't be covered in heavy corrosion.
- Fluid Levels: Take a quick peek at your engine oil and gear lube levels, especially if your motor has an easy-access reservoir. If they're low, it could be a sign of a leak that needs attention right away.
- Propeller Check: With the engine off and the key safely in your pocket, give the prop a spin by hand. It ought to turn freely without any grinding sounds. This is also the perfect time to spot any tangled fishing line around the shaft or notice any big dings or chunks missing from the blades.
A quick pre-launch check is your first line of defense. The majority of on-the-water issues, from fuel starvation to overheating, often show early warning signs that are easily spotted on the trailer.
This whole process takes less than five minutes but pays huge dividends in peace of mind. Catching a cracked fuel line in the parking lot is a minor annoyance. Discovering it a mile from shore is a whole different story.
The Post-Trip Corrosion Prevention Plan
Once the boat's back on the trailer, your work isn't quite finished. The post-trip routine is all about fighting the single biggest enemy of any outboard: corrosion. This is non-negotiable, especially after every single trip in saltwater.
The most critical task is to flush the engine's cooling system with fresh water. As salt, silt, and minerals dry inside those small cooling passages, they crystallize and create blockages. Those blockages lead to overheating, which is one of the top causes of premature engine death.
You’ve got two common ways to get this done:
- Flushing "Earmuffs": This is a simple rig that clamps over the water intake screens on your lower unit. Hook up a garden hose, turn on the water until you have good pressure, and then start the engine. Let it run at a low idle for 5-10 minutes. Make sure you see a solid stream of water spitting out of the "tell-tale" port the whole time.
- Built-in Flushing Port: Lots of modern outboards have a dedicated hose port right on the engine. This is usually easier because you often don't even need to run the engine. Just connect the hose, turn on the water, and let it flush for as long as the manufacturer recommends.
While the engine is flushing, take a walk around the powerhead. Keep an eye out for any new water leaks, fuel drips, or salty residue. Wiping the whole thing down with a damp cloth not only gets rid of salt spray but also helps you spot things like a loose bolt or a weeping gasket. This simple routine is the secret to keeping that motor running strong for years.
The 100-Hour Service You Can Tackle Yourself
While those quick pre-launch checks are crucial, the 100-hour service is where the real magic happens. Think of it as your outboard's annual physical—a chance to get your hands dirty, replace key components, and stop big problems before they ever start.
Lots of boaters get intimidated by the 100-hour mark, assuming it's a job strictly for the marina. But honestly, with a basic set of tools and a little patience, you can handle most of it yourself. Getting to know your engine on this level not only saves you a pocketful of cash but makes you a much more confident and capable boater.
Changing Engine Oil and Gear Lube
If you're running a four-stroke, changing the engine oil is the absolute cornerstone of this service. Your boat's engine works way harder than your car's, often screaming at high RPMs for hours on end. That kind of stress really beats up the oil, breaking it down and compromising its ability to protect those expensive internal parts.
While you're at it, draining the gear lube from the lower unit is just as important. Take a good, hard look at what comes out. Healthy gear oil should be dark, but you can still see through it. If it looks milky, creamy, or like you just dumped creamer into your coffee, stop right there. That's a huge red flag for water getting into the gearcase, usually from a bad prop shaft seal. If you ignore it, you're looking at a catastrophic failure of your gears and bearings.
Key Takeaway: Milky gear lube is never okay. It's a clear signal that water has breached your lower unit. This is a job for a qualified mechanic, and getting it fixed now can save you thousands in repairs down the road.
Replacing Spark Plugs and Fuel Filters
Spark plugs and fuel filters are cheap, they’re easy to swap out, and they are absolutely vital for a reliable engine. Over time, spark plug electrodes get worn down and fouled with carbon, which is a recipe for hard starting, a rough idle, and terrible fuel economy.
Replacing them is usually a pretty simple affair. The key is to use a proper spark plug socket and, most importantly, a torque wrench to tighten the new ones to the manufacturer's spec. Overtightening is an easy mistake to make, and it can damage the cylinder head—turning a $15 job into a $1,500 headache.
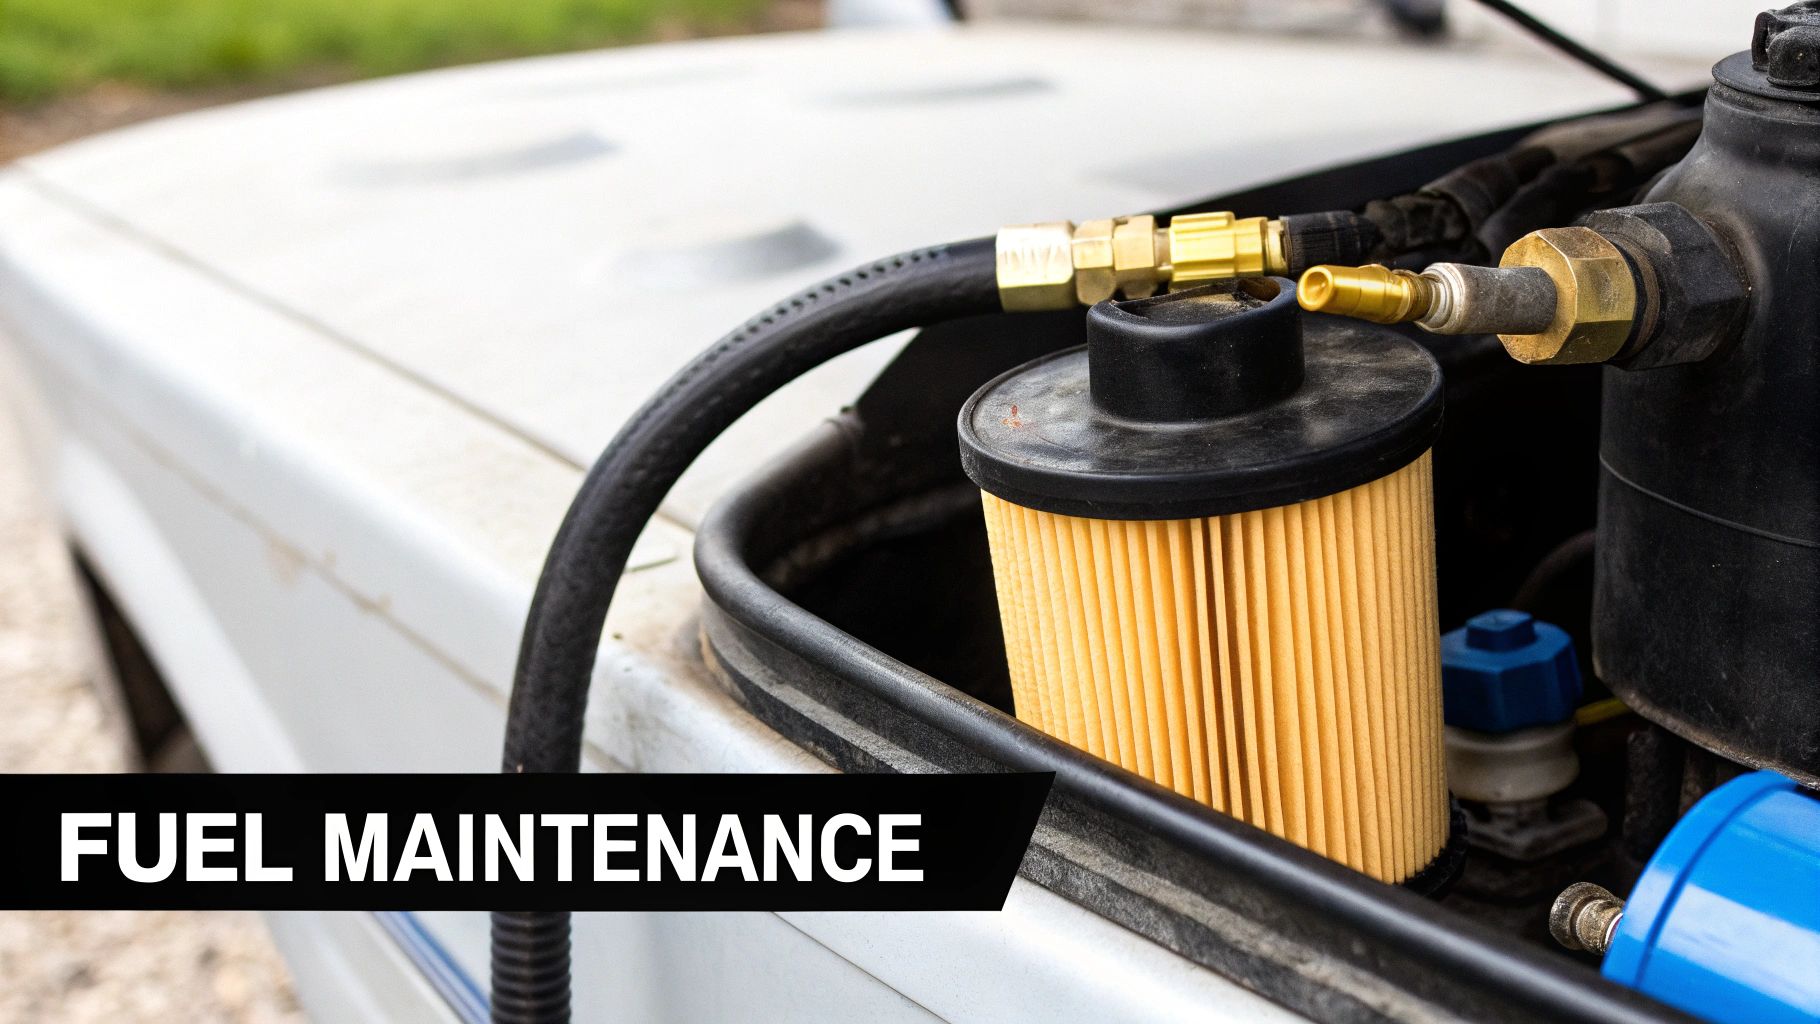
Likewise, your fuel filters are the last line of defense against all the gunk that wants to get into your engine. Today's ethanol-blended fuels are notorious for causing problems, and a clogged filter can starve your engine of fuel just when you need the power most.
- Primary Filter: This is your main water-separating filter, usually found in the boat between the tank and the engine. Keep an eye on the clear bowl for any signs of water or crud.
- Secondary Filter: Most outboards also have a smaller filter right on the engine itself. You should plan on replacing both of them during your service.
Inspecting the Heart of the Cooling System
The water pump is the heart of your outboard's cooling system, and its little rubber impeller does all the heavy lifting. This star-shaped piece spins constantly, pulling in raw water to keep your engine from cooking itself. That rubber doesn't last forever, though; it can get brittle, crack, or lose its shape.
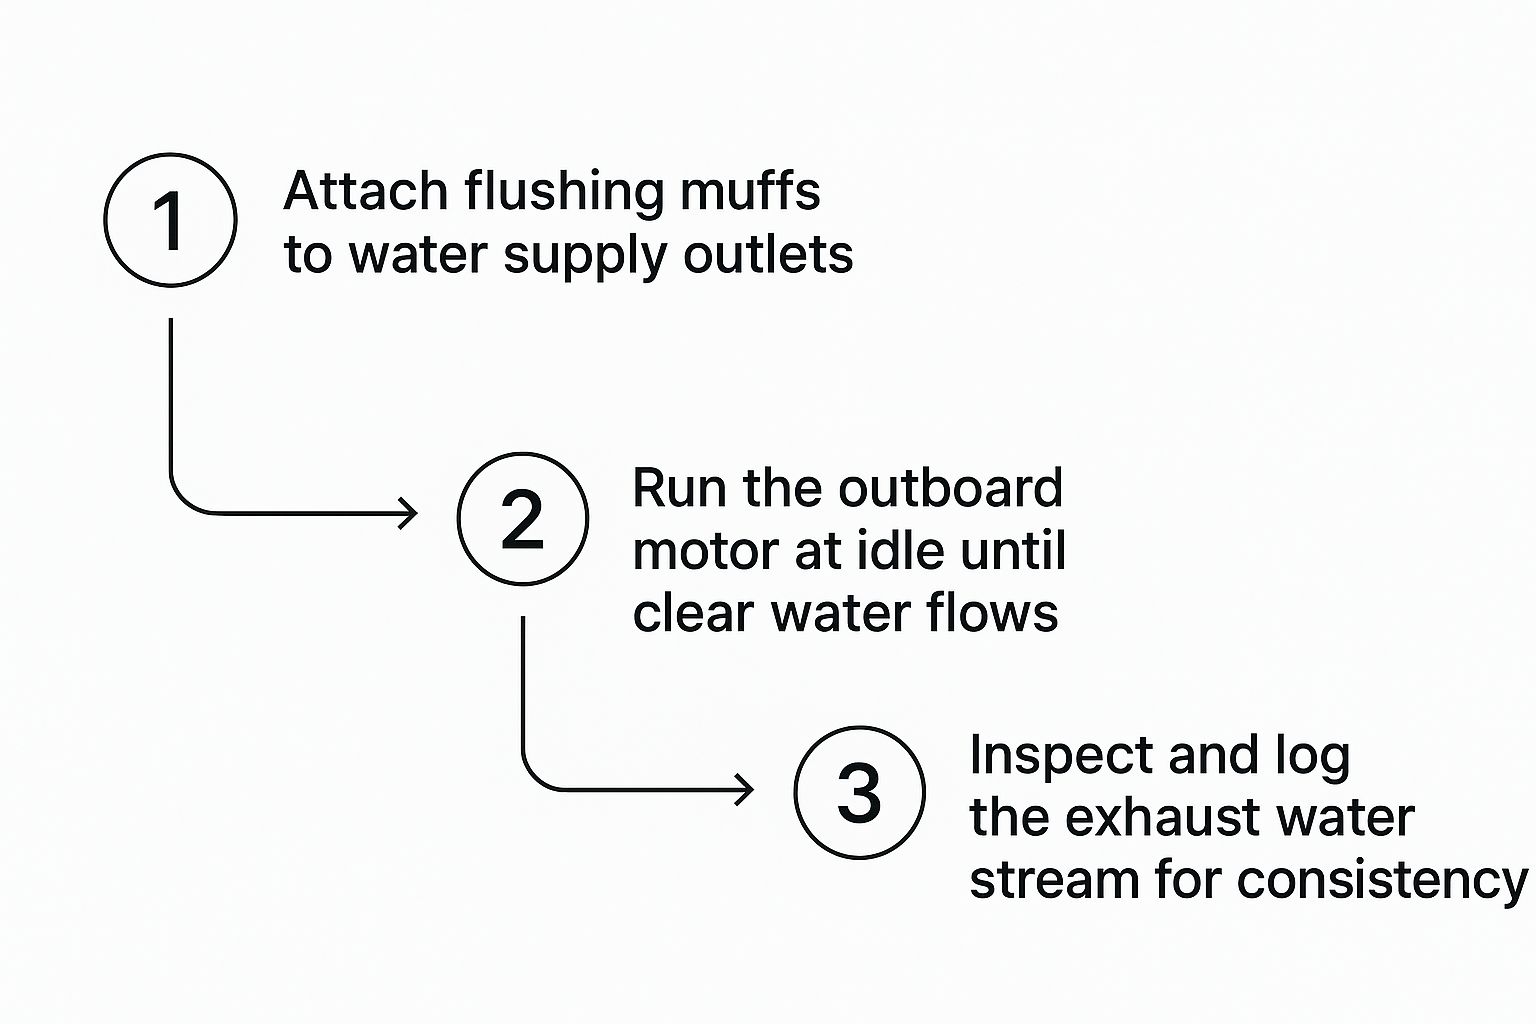
This image shows the basic flushing process, which is hands-down the most important thing you can do for your entire cooling system. Running fresh water through with a set of "muffs" clears out all the salt, sand, and junk that can chew up an impeller and clog the cooling passages.
When an impeller fails, you get an instant overheat alarm and the potential for serious engine damage. Since they’re buried in the lower unit and give no warning before they go, it's smart practice to just replace the impeller every year or two, no matter how good it looks.
To help you keep track of what needs to be done and when, here’s a simple breakdown of the most common service tasks.
100-Hour vs. Annual Maintenance Tasks
Deciding what to tackle can sometimes be confusing. Do you follow the hours on the meter or the calendar? This table clarifies which tasks are driven by usage versus those that should be done annually, no matter how much you used the boat.
| Maintenance Task | Frequency (100-Hour) | Frequency (Annual) | Importance Level |
|---|---|---|---|
| Engine Oil & Filter Change | Yes (or sooner) | Yes | Critical |
| Gearcase Lube Change | Yes | Yes | Critical |
| Spark Plug Replacement | Yes | Recommended | High |
| Fuel Filter Replacement | Yes | Yes | Critical |
| Water Pump Impeller | No (unless high hours) | Yes (or every 2 years) | Critical |
| Anode Inspection/Replacement | Yes | Yes | High |
| Grease Fittings | Yes | Yes | High |
| Propeller Inspection | Yes (and before each trip) | Yes | High |
Following this schedule ensures all your bases are covered, protecting your engine from both wear-and-tear and the damaging effects of sitting idle.
Protecting Your Engine from Corrosion
Finally, your 100-hour service is the perfect time to check your sacrificial anodes. These little chunks of metal (usually zinc or aluminum) are bolted to your engine's bracket and gearcase for one reason: to die for your motor. They are designed to corrode away first, protecting the more expensive metal parts of your engine from galvanic corrosion.
Once an anode is about 50% eaten away, it’s not doing its job effectively and needs to be replaced. And whatever you do, never paint them! That makes them completely useless. They’re a cheap and simple insurance policy against the kind of corrosion that can total an engine.
This kind of diligent service is absolutely essential, especially when you consider that recreational boaters make up about 75% of the entire outboard motor market. We have to be our own best mechanics.
Sticking to a schedule for oil changes, gear lube, and regular inspections isn't just about preventing damage; it's about protecting the thousands of dollars you've invested in your boat and ensuring you make it home safely every time. If you want to dive deeper, you can read more about the outboard motor market and its trends.
Mastering Fuel Care and Off-Season Storage
I've seen it a hundred times: a beautiful day on the water ruined by a sputtering engine. More often than not, the culprit is bad fuel. Modern gasoline, especially the ethanol-blended stuff, is a real troublemaker for boats because it’s hygroscopic. That’s a fancy way of saying it loves to pull moisture right out of the air.
This water eventually leads to phase separation, turning your fuel into a corrosive sludge that gums up the entire system. It’s a nightmare scenario for injectors, carburetors, and fuel pumps.
Proper fuel care isn't just something you do at the end of the season—it should be part of your routine outboard motor maintenance. If your boat sits for even a few weeks, that fuel is already starting to break down. That's why a high-quality marine fuel stabilizer is one of the smartest, cheapest investments you can make for your motor.
Think of it as cheap insurance. Adding stabilizer to every tank of fuel prevents oxidation and stops water from separating out. It’s a simple step that ensures your engine gets clean, potent fuel every single time you turn the key, saving you from a world of headaches down the road.
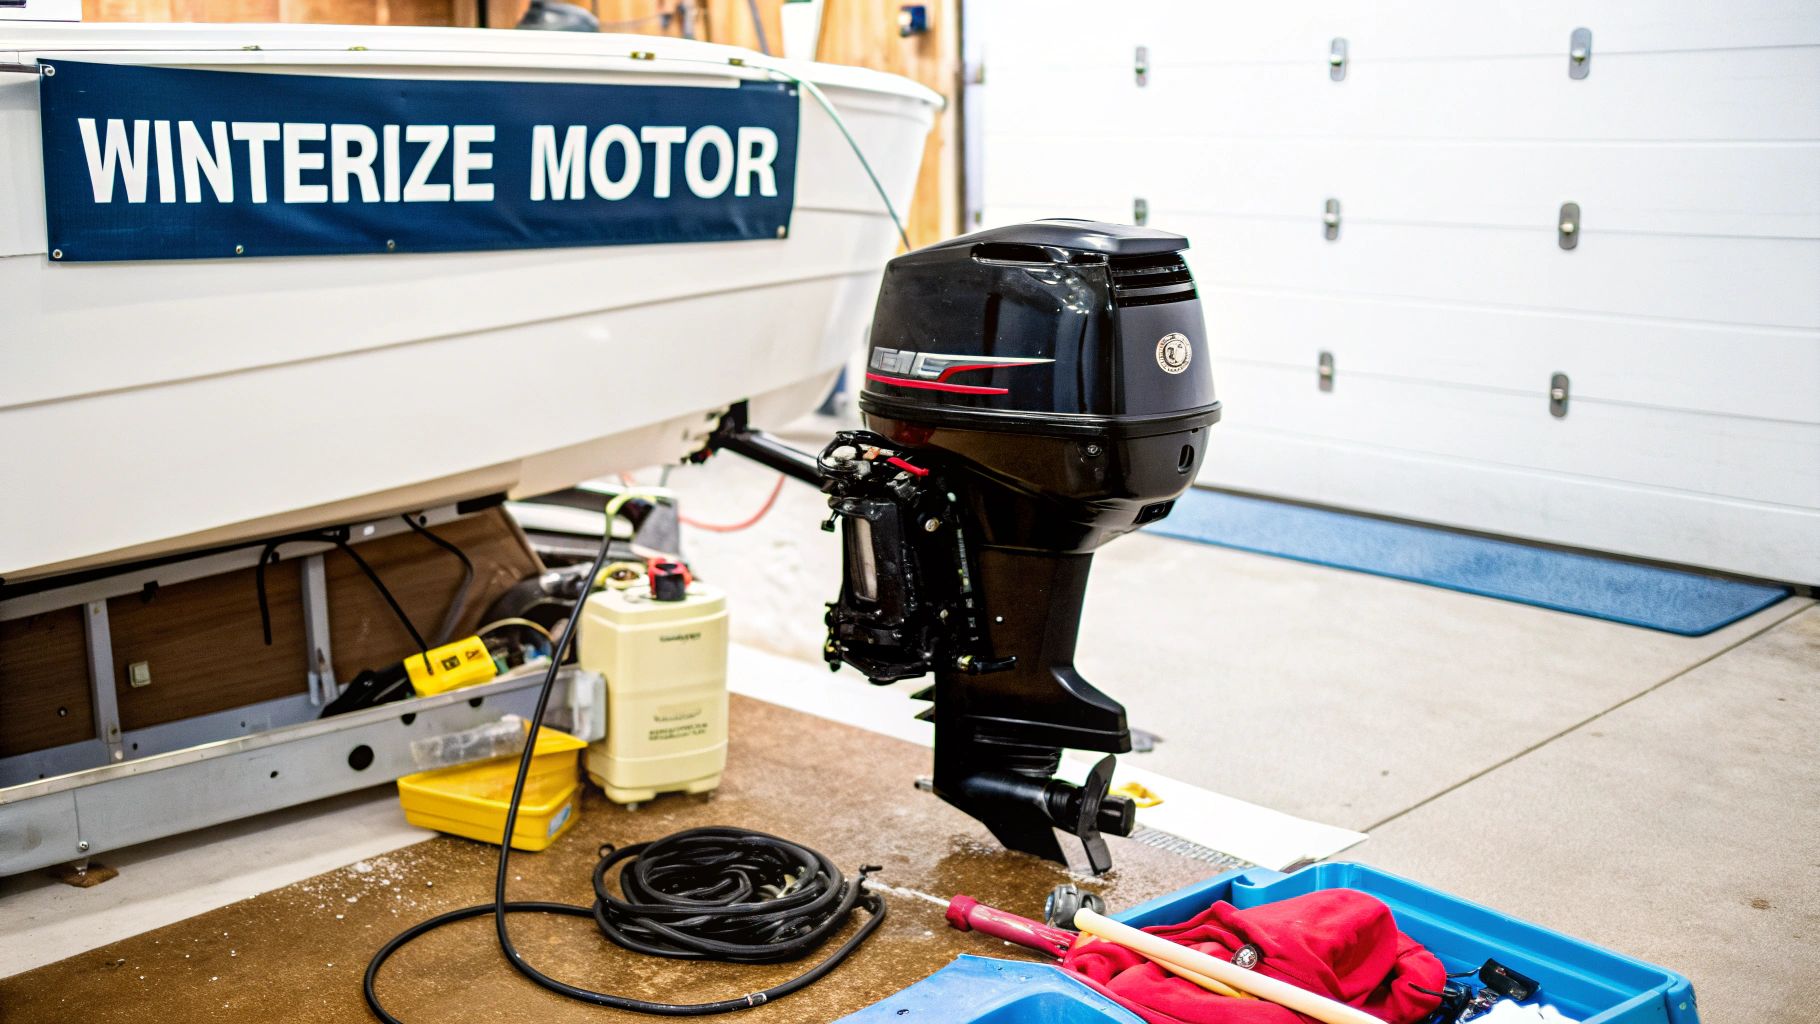
Preparing Your Outboard for Long-Term Storage
When the boating season wraps up, winterizing your outboard is without a doubt the most important job on your to-do list. A proper winterization guarantees you’ll be back on the water without a hitch next spring.
This goes way beyond just treating the fuel; you’re protecting the entire engine from the harsh effects of moisture, freezing temps, and just sitting idle. A few hours of work now can genuinely save you from months of frustration and costly repair bills.
First up, you need a game plan for the fuel. You’ve got two main choices for off-season storage:
- Top Off and Stabilize: The go-to method for most modern boats. Fill your tank to about 90% full, which leaves very little room for air (and the moisture it holds). Add your marine fuel stabilizer according to the directions, then run the engine for a good 10-15 minutes. This is critical because it pulls the treated fuel through the entire system, protecting everything from the fuel lines to the injectors.
- Drain Completely: This is sometimes recommended for smaller, portable tanks. You simply drain all the fuel and run the engine dry. While it removes all the fuel, it can sometimes cause gaskets in the carburetor bowl to dry out and shrink, so check your owner's manual.
Proper winterization is a critical defense against internal engine corrosion. The moisture that collects inside an unprotected engine during the off-season can cause rust on cylinder walls and piston rings, leading to compression loss and catastrophic failure.
Executing the Winterization Checklist
With the fuel handled, it’s time to "fog" the engine. This is a non-negotiable step. Fogging oil is an aerosol lubricant you spray right into the engine’s air intake while it’s running. It coats all the internal metal parts—pistons, cylinder walls, the crankshaft—with a protective film that pushes out moisture and stops rust in its tracks.
Next, you'll want to change the lower unit gear lube. This is your chance to get rid of any water that snuck in over the season before it can freeze, expand, and crack the gearcase—a brutally expensive fix. As you drain it, keep an eye out for that milky color we talked about earlier, a dead giveaway of water intrusion.
Finally, hit all the external grease points, which are usually Zerk fittings on the steering mechanism, tilt tube, and swivel bracket. Pumping in fresh marine grease purges the old, water-logged grease and keeps everything moving freely.
We have a great guide on our blog that gives a detailed breakdown of the whole process, covering the 3 steps to winterize a boat engine. For a broader look, this resource on proper boat winterization techniques is also packed with useful information for different types of boats.
How to Troubleshoot Common On The Water Issues
Even when you follow your outboard motor maintenance checklist to the letter, things can still go sideways out on the water. The absolute key is not to panic. A calm head and a logical approach will solve most minor issues, or at least give you the information you need to make a safe call.
Think of yourself as a detective on the scene. Your engine is giving you clues—maybe it’s a weird sound, a flashing light, or a sudden drop in power. Your job is to follow those clues and get to the root of the problem. Honing this skill is one of the most valuable things you can do as a boater; it can turn a day-ending disaster into a minor hiccup.
Engine Cranks But Refuses To Start
This is probably the most common headache you'll face. The starter's turning over, you can hear it trying, but the engine just won't fire up and run. When this happens, just remember an engine only needs three things: fuel, air, and spark. Your troubleshooting should follow that exact path.
Always start with the easiest and most frequent culprit: fuel. Is your fuel tank vent open? Is the fuel line kinked, or has it popped off its connection? Give the primer bulb a few firm squeezes. It should get hard. If it stays mushy or never firms up, you've likely got an air leak in the line or a bad check valve.
Next up, check your safety systems. I can't tell you how many times this has been the "problem":
- Kill Switch: Is the safety lanyard clip actually in place? It sounds almost too simple to be true, but this is responsible for more no-start situations than most boaters care to admit.
- Gear Position: Make sure the shifter is firmly in neutral. Every modern outboard has a neutral safety switch that physically prevents the engine from starting in gear.
If you’ve run through these checks and are still getting nothing, you might be looking at a more complex fuel delivery problem or an ignition issue. At that point, it’s best to save the deeper diagnostics for when you’re safely back at the dock.
The Dreaded Overheating Alarm
That high-pitched, non-stop beep of an overheat alarm is enough to make any boater's heart skip a beat. Your first and only instinct should be to shut the engine down immediately. Don't try to limp back to the dock or push it "just a little further"—you could be doing serious, expensive damage.
The most common reason for overheating is a lack of cooling water. The first thing you should check is the "tell-tale," which is that little stream of water spitting out from the back of the motor. If there's no stream, or it's just a weak dribble, you've found your problem: a blockage.
Before you do anything else, kill the engine and tilt it up. Carefully look at the water intake screens on the lower unit. It’s amazing what you’ll find stuck in there—plastic bags, a wad of seaweed, even a mud dauber’s nest can completely block it. Clearing that obstruction might solve your problem right then and there.
If the intakes are totally clear but the tell-tale is still weak when you restart it, your water pump impeller has likely failed. This is a critical part, and if it's gone, you're not going anywhere under your own power. This is where regular maintenance, specifically flushing, really pays off. For a full rundown, check out our guide on how to properly flush your boat engine.
Sudden Loss of Power Underway
You're cruising along just fine, and suddenly the engine bogs down or the RPMs drop for no reason. This is a classic symptom of fuel starvation. The engine is running, but it isn't getting enough gas to keep up with the demand you're putting on it.
Before you start worrying about filters and fuel lines, tilt the engine up and check the propeller. It is surprisingly easy to snag a stray rope, a piece of a fishing net, or a thick patch of weeds. This extra drag puts a huge load on the engine, making it feel like it's losing power.
If the prop is clean, the next likely suspect is a clogged fuel filter. A dirty filter will restrict the flow of gas, essentially starving the engine when you ask for more power. While you probably can't change a fuel-water separator on the water, at least you know what the issue is. This allows you to ease back on the throttle and limp back to the marina at low speed instead of getting stranded.
Frequently Asked Outboard Maintenance Questions
Even with a solid maintenance checklist, questions are going to pop up. It’s all part of becoming a more capable boat owner. Here, we'll tackle some of the most common things we get asked, giving you clear, no-nonsense answers to reinforce solid outboard motor maintenance habits.
Think of this as your go-to guide for those "am I doing this right?" moments. Nailing these little details can make a massive difference in how long your engine runs and how well it performs.
How Often Should I Really Flush My Outboard Motor?
Let's make this crystal clear: You have to flush your outboard with fresh water after every single use in saltwater. No ifs, ands, or buts. Salt is your engine's worst enemy. It will crystallize inside the cooling passages, leading to blockages, overheating, and some seriously expensive repair bills down the road.
Even if you're only in freshwater, flushing is still a great habit. Lakes and rivers are full of sand, silt, weeds, and other gunk you don't want setting up camp inside your motor. A quick 5-10 minute flush is probably the single best piece of preventative maintenance you can do.
What Is Fogging and Is It Actually Necessary for Storage?
Fogging is simply spraying a special oil into the engine’s air intake while it’s running, just before you shut it down for long-term storage. This coats all the critical internal parts—cylinders, pistons, bearings—with a protective film that pushes out moisture and stops rust in its tracks.
Is it necessary? For any storage period longer than a couple of months, absolutely. This is especially true if you live anywhere with humidity. Skipping this step is one of the most common—and costly—mistakes we see. It can lead to seized piston rings and internal corrosion that requires a complete engine teardown to fix.
Can I Use Regular Car Oil in My 4-Stroke Outboard?
This one is a hard no. You should never use standard automotive oil in a 4-stroke outboard, and it's a critical point many new boaters miss. Yes, they’re both 4-stroke engines, but they live in completely different worlds.
Marine engines operate under a constant, heavy load, often at much higher RPMs than a car engine. Plus, they live in a moisture-rich environment. That’s why you must use marine-grade oil with an FC-W (Four-Cycle Water-cooled) certification.
FC-W certified oil contains a special additive package with high levels of anti-corrosion inhibitors. Using car oil will lead to poor lubrication under load, accelerated wear on your components, and destructive internal rust. Always check your owner's manual for the correct oil weight and stick to the FC-W standard.
My Outboard Is Vibrating—What Should I Check First?
A new or excessive vibration almost always points to one culprit: the propeller. Before you start imagining worst-case engine scenarios, your prop is the first place you should look.
With the engine off and the kill switch disconnected, do a thorough visual check. You’re looking for:
- Impact Damage: Even a small nick, a ding, or a slightly bent blade from bumping a log or rock can throw the prop completely out of balance. This vibration will wreck your gearcase seals and bearings over time.
- Spun Hub: The hub is the rubber bushing connecting the prop to the shaft. It's designed to break away on a hard impact to save your gears. If it's "spun," the engine will rev high, but the boat will barely move, and it's often accompanied by a noticeable vibration.
- Tangled Debris: You'd be amazed how often the problem is a tangled bird's nest of fishing line wrapped tightly around the prop shaft. Besides causing vibration, it will quickly chew through your prop shaft seals, letting water into your gearcase.
If the propeller looks pristine and is free of debris, the problem might be more internal, like a misfiring cylinder. But in well over 90% of cases, the vibration starts and ends with the prop.
Keeping your boat in top condition is what we're all about at Better Boat. From powerful cleaners to durable docking lines, we have everything you need to protect your investment and make every day on the water a great one. Explore our full range of American-made boating products.


