A DIY Guide to Shrink Wrap a Boat for Winter
Shrink wrapping your boat isn't just about covering it up; it's about creating a drum-tight, weatherproof shield that gives it serious protection against winter's worst. Think of it as a cost-effective alternative to pricey indoor storage, one that stops damage from snow, ice, UV rays, and even pests in its tracks.
It's a project you can absolutely tackle yourself, and doing so helps preserve your boat's value and makes sure it’s ready to hit the water come springtime.
Why You Should Shrink Wrap Your Boat This Winter
As the boating season wraps up, figuring out how to store your vessel is a top priority. A simple tarp might seem like enough, but they often fall short. Tarps can lead to pooling water, chafing against your gelcoat, and nasty mildew growth. A properly installed shrink wrap cover, on the other hand, offers a level of protection that standard tarps just can't touch.
The biggest advantage is its custom, taut fit. Once you apply heat, the film shrinks to hug every contour of your boat, creating a seamless barrier. This tight fit prevents the cover from flapping in the wind—a common issue with tarps that can wear down your gelcoat. It also creates the perfect pitch for heavy snow and ice to slide right off. No more waking up after a blizzard to find your cover has collapsed.
Beyond Basic Weatherproofing
A quality shrink wrap cover does a lot more than just keep out rain and snow. It’s also a critical defense against the other off-season threats that can quietly eat away at your investment.
Here’s what really makes it the smarter choice:
-
Moisture and Mildew Prevention: Unlike tarps that trap moisture underneath them, a ventilated shrink wrap cover allows air to circulate. This cross-flow ventilation is key to stopping the condensation that leads to musty smells and damaging mildew on your upholstery and inside the cabin.
-
UV Protection: The film is packed with maximum UV inhibitors that act like sunscreen for your boat. This barrier is what protects your gelcoat, vinyl seats, and any exposed wood from fading and cracking after months of sun exposure.
-
Pest Deterrence: The tight seal around the hull creates a formidable barrier against rodents and insects looking for a cozy winter home. This one step can save you from dealing with chewed wiring and other expensive pest-related headaches.
For a lot of boat owners, the peace of mind that comes from knowing their investment is completely sealed up and protected is the biggest win. It turns winter storage from a constant worry into a simple, effective preservation strategy.
Taking on this project yourself also brings significant cost savings when you compare it to professional services or indoor storage fees. With the right know-how, any dedicated boat owner can get a professional-grade finish.
For more tips on getting your boat ready for the cold, check out our complete guide to cold-weather boating.
Assembling Your Shrink Wrapping Toolkit
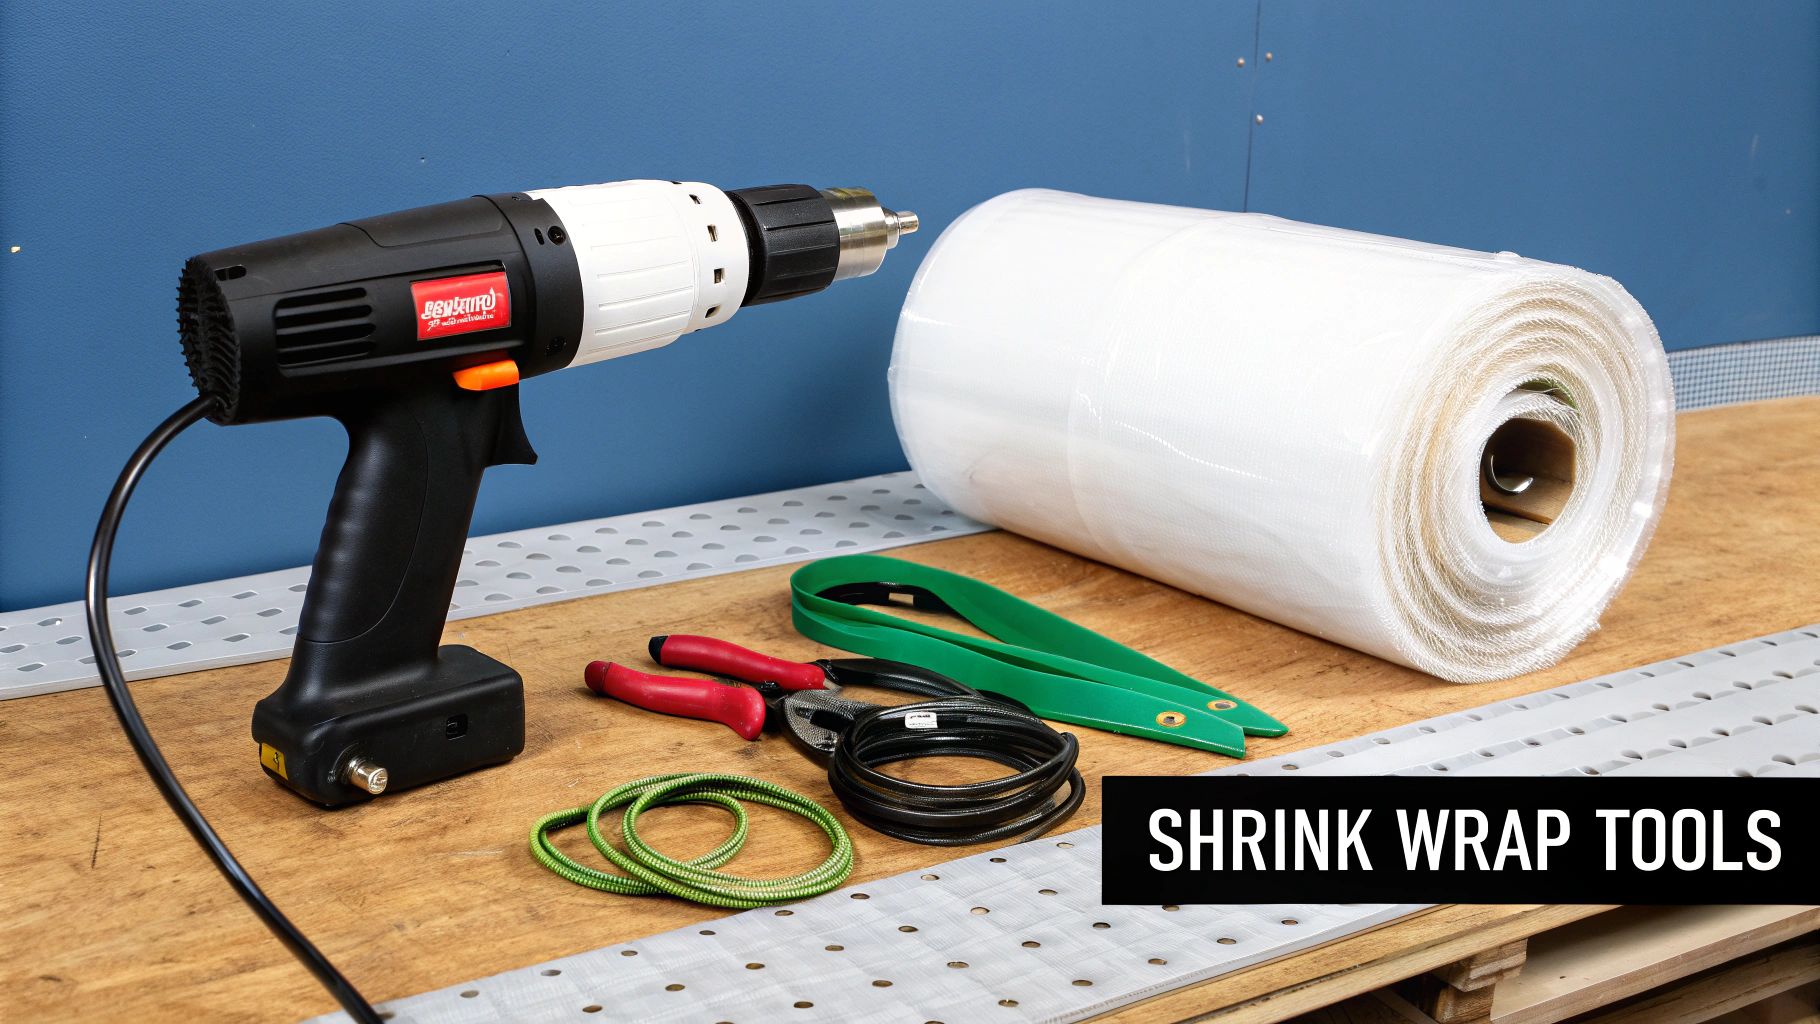
Successfully shrink wrapping a boat after winterizing it takes more than just a big sheet of plastic. You need a specific set of tools and materials designed for the job. Getting everything lined up beforehand is the difference between a frustrating afternoon of delays and a smooth, professional-quality finish. Think of this as your pre-flight checklist.
The most critical piece of the puzzle is the shrink wrap film itself. This isn't your average plastic sheeting from the hardware store. It’s a high-quality, 100% virgin resin material loaded with UV inhibitors to shield your boat from the sun's harsh rays all winter long.
Choosing the Right Film and Tools
The film’s thickness, measured in mils, is a big deal—it directly affects how well the cover will stand up to snow, ice, and wind.
So, what thickness should you get? I've put together a quick guide to help you choose the right film for your climate and boat size.
Shrink Wrap Film Thickness Guide
Choosing the correct shrink wrap thickness (mil) is crucial for durability. This table compares common options and their recommended uses.
| Film Thickness (Mil) | Recommended For | Key Benefits |
|---|---|---|
| 6-Mil | Lighter-duty applications; boats in temperate climates with minimal snow or wind. | Most economical option, easy to handle and shrink. |
| 7-Mil | The all-around standard for most recreational boats in areas with moderate winter weather. | Excellent balance of strength, durability, and cost. |
| 8-Mil & 8.5-Mil | Heavier-duty protection; boats in regions with significant snowfall or high-wind conditions. | Increased puncture resistance and can handle heavier loads. |
| 10-Mil & 12-Mil | Industrial applications, very large boats, or extreme weather environments. | Maximum durability and protection against the harshest elements. |
For most recreational boaters in areas with some real winter weather, a 7-mil thickness is the sweet spot. If you’re expecting heavy snow loads or wicked winds, bumping up to an 8-mil or even a 10-mil film is cheap insurance.
Next on the list is a proper propane-fired heat gun. Your standard electric heat gun just won’t cut it; it doesn't have the power. You need a tool that produces a high volume of low-pressure heat to shrink the film evenly without torching holes in it. A model like the Shrinkfast 998 is a trusted workhorse in the marine world for a reason.
Here are the other must-have items for your kit:
- Woven Cord Strapping: This is what you’ll use to create a solid "belly band" around the hull, giving the wrap a secure edge to adhere to.
- Support Poles: These adjustable poles are the backbone of your structure. You'll use them to build a frame under the wrap that creates enough pitch for snow and rain to slide right off.
- Preservation Tape: This stuff is incredibly sticky and strong. It's perfect for sealing up seams, patching any accidental holes, and taping the wrap's skirt to the strapping.
- Safety Gear: This is absolutely non-negotiable. You need a good pair of leather gloves, safety glasses, and a fire extinguisher within arm's reach at all times.
The goal is to have every single item laid out and ready before you even think about draping that film over your boat. An organized workspace makes the entire process faster and, more importantly, safer.
The global demand for this material shows just how effective it is. The plastic shrink wrap market is a huge part of the secondary packaging industry, and a lot of that is driven by securing big-ticket items like boats. You can find more insights on the plastic wrap market on futuremarketinsights.com.
Finally, don’t sweat the small stuff—but don't forget it, either. You’ll need a film-cutting knife, buckles for your strapping, and end caps for the support poles so they don’t poke through the cover. And please, don't forget about ventilation!
Grab at least four weatherproof vents to create airflow and stop mildew from turning your cabin into a science experiment. With this toolkit assembled, you’re ready to start prepping your boat.
Prepping Your Boat for a Flawless Wrap
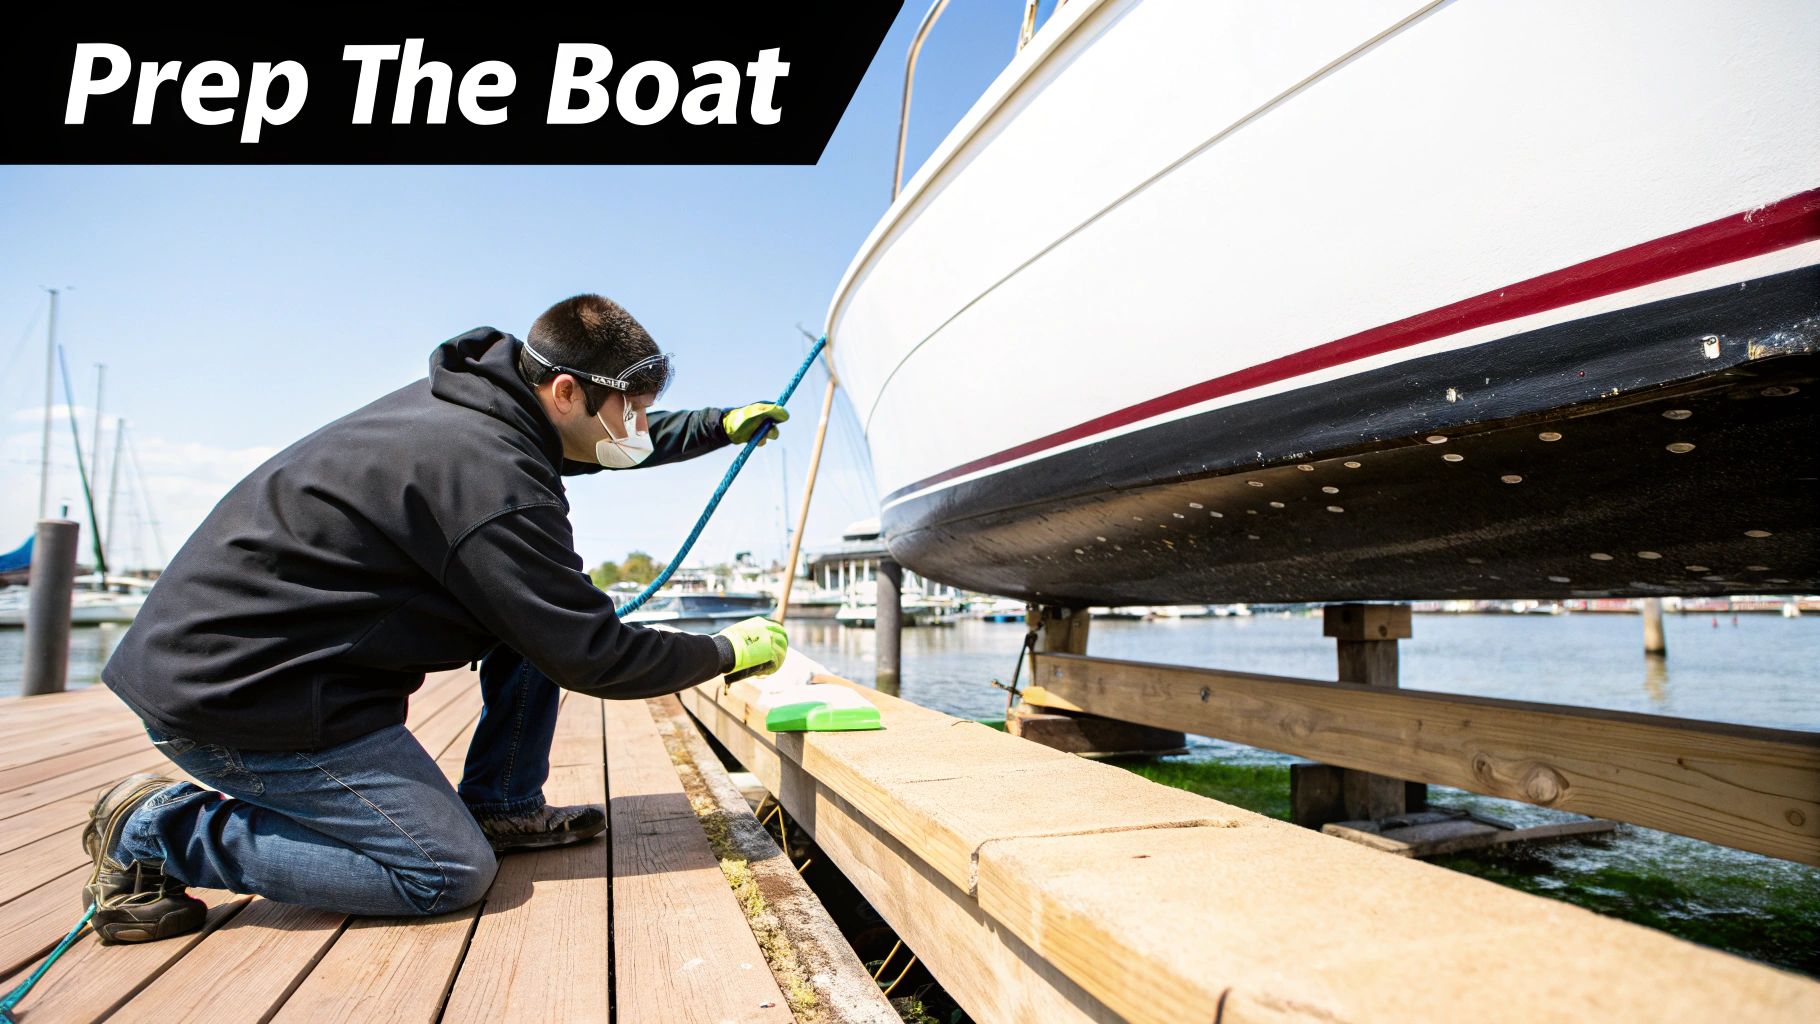
Here’s a secret from the pros: the durability of your shrink wrap job has almost everything to do with what happens before you even unroll the film. It's just like painting a room—the final finish is a direct result of your prep work. Honestly, rushing this part is the biggest mistake I see DIYers make when they’re just starting out.
A perfect wrap job begins with a boat that’s absolutely spotless. Any bit of grime, dirt, or moisture left on the hull or deck will get sealed in, creating the ideal environment for mold and mildew. After a long winter, that can mean stained upholstery and a musty cabin that's a nightmare to air out come spring.
Start with a Deep Clean
First thing's first, your boat needs a thorough, top-to-bottom scrub down with boat soap. Really focus on the deck, gunwales, and any of those non-skid surfaces where dirt seems to multiply. A good marine-grade soap is your best friend here for cutting through salt, bird droppings, and all the other grime from a season on the water.
Make sure the boat is completely dry, and take the time to air out every cushion and open every compartment. This is also the perfect opportunity to tackle other winterization jobs.
For example, prepping your engine is non-negotiable if you want to avoid freeze damage that leads to massive repair bills. If you’re not 100% on that process, our guide on the 3 steps to winterize a boat engine breaks it down nice and simple.
Once everything is clean and dry, it's time to strip the boat down. Remove anything that could get in the way of the wrap or be damaged by the heat gun.
- Antennas and flag poles
- Canvas biminis or dodgers
- Removable electronics
- Loose cushions or gear on deck
The goal is to create a clean, uncluttered canvas. A boat that is properly cleaned and stripped down is not only easier to wrap but also ensures the cover won't chafe or damage sensitive equipment.
Build a Sturdy Support Structure
Next up, you’re building the backbone of your shrink wrap cover: the support frame. This structure is absolutely critical. Its whole job is to create enough of a pitch so that heavy snow, ice, and rain slide right off instead of collecting in a big, heavy puddle on top. Pooling water is the enemy here; its weight can stretch, tear, or even collapse the wrap, leaving your boat exposed.
Your frame should create a high ridgeline running from bow to stern. Use adjustable support poles with padded end caps to keep from scratching your deck. You'll connect these poles with woven strapping, pulling it tight to create a solid framework for the shrink wrap to rest on.
As a rule of thumb, you want to create a pitch of at least 20-30 degrees. If your boat has a high bow rail or a radar arch, you’re in luck—you can use those as natural high points to anchor your strapping.
Pad All Sharp Edges
This last step is arguably the most important one for preventing a tear-out. Walk around your boat and hunt down every single sharp edge or pointy bit the wrap is going to touch. When that film shrinks, it gets incredibly tight, and any unpadded corner is going to become an instant weak spot.
Use high-density foam padding or even some old scraps of carpet to cover these areas well.
A few common trouble spots you need to pad are:
- Windshield corners
- Cleats and chocks
- Rail stanchions
- Propellers and outdrives
- Anchor rollers
Don't rush this. Spending a few extra minutes padding now can save you the major headache of burning a hole right through your brand-new cover later. Once your boat is clean, the frame is solid, and the sharp edges are covered, you’re officially ready for the film.
How to Apply and Heat Shrink Wrap Film
Alright, you've done the prep work and your support structure is standing proud. Now comes the fun part: laying on the film and shrinking it down. This is where all that careful setup pays off and you get to watch the wrap transform into a tough, drum-tight second skin for your boat. Think of it less as a wrestling match and more as a dance—it's all about technique and patience.
First things first, you need to drape the shrink wrap film over the entire boat and the frame you just built. Trust me on this, it's way easier with a helper, so grab a friend if one's available. Start at the bow and unroll the film all the way to the stern, making sure you have plenty of coverage. A good rule of thumb is to leave about 12 to 18 inches of extra film hanging down below the rub rail all around the boat. This isn't just waste; it’s essential for creating a rock-solid perimeter.
Don't try to pull it perfectly tight just yet. For now, just focus on getting it to lay smoothly over the frame without any big wrinkles or tight spots. The real tension comes from the heat gun.
Securing the Perimeter with a Belly Band
Before you break out the heat gun, you have to anchor the wrap. The go-to method is creating a "belly band" using woven cord strapping. This band is what cinches the bottom edge of the wrap tight against the hull, giving you a clean line and a secure base to work from.
Here’s how to get it done:
- Run the strapping around the whole hull, positioning it about 6 to 10 inches below the gunwale.
- Grab a tensioning tool and pull that strapping as tight as you can get it. You want it snug enough that it won't slip, but not so tight it damages the hull.
- Once the band is in place, work your way around the boat, tucking the excess shrink wrap film up and under it. This creates a neat folded hem that locks the entire bottom edge of the cover in place.
This quick visual breaks down the process of draping, securing, and heating.
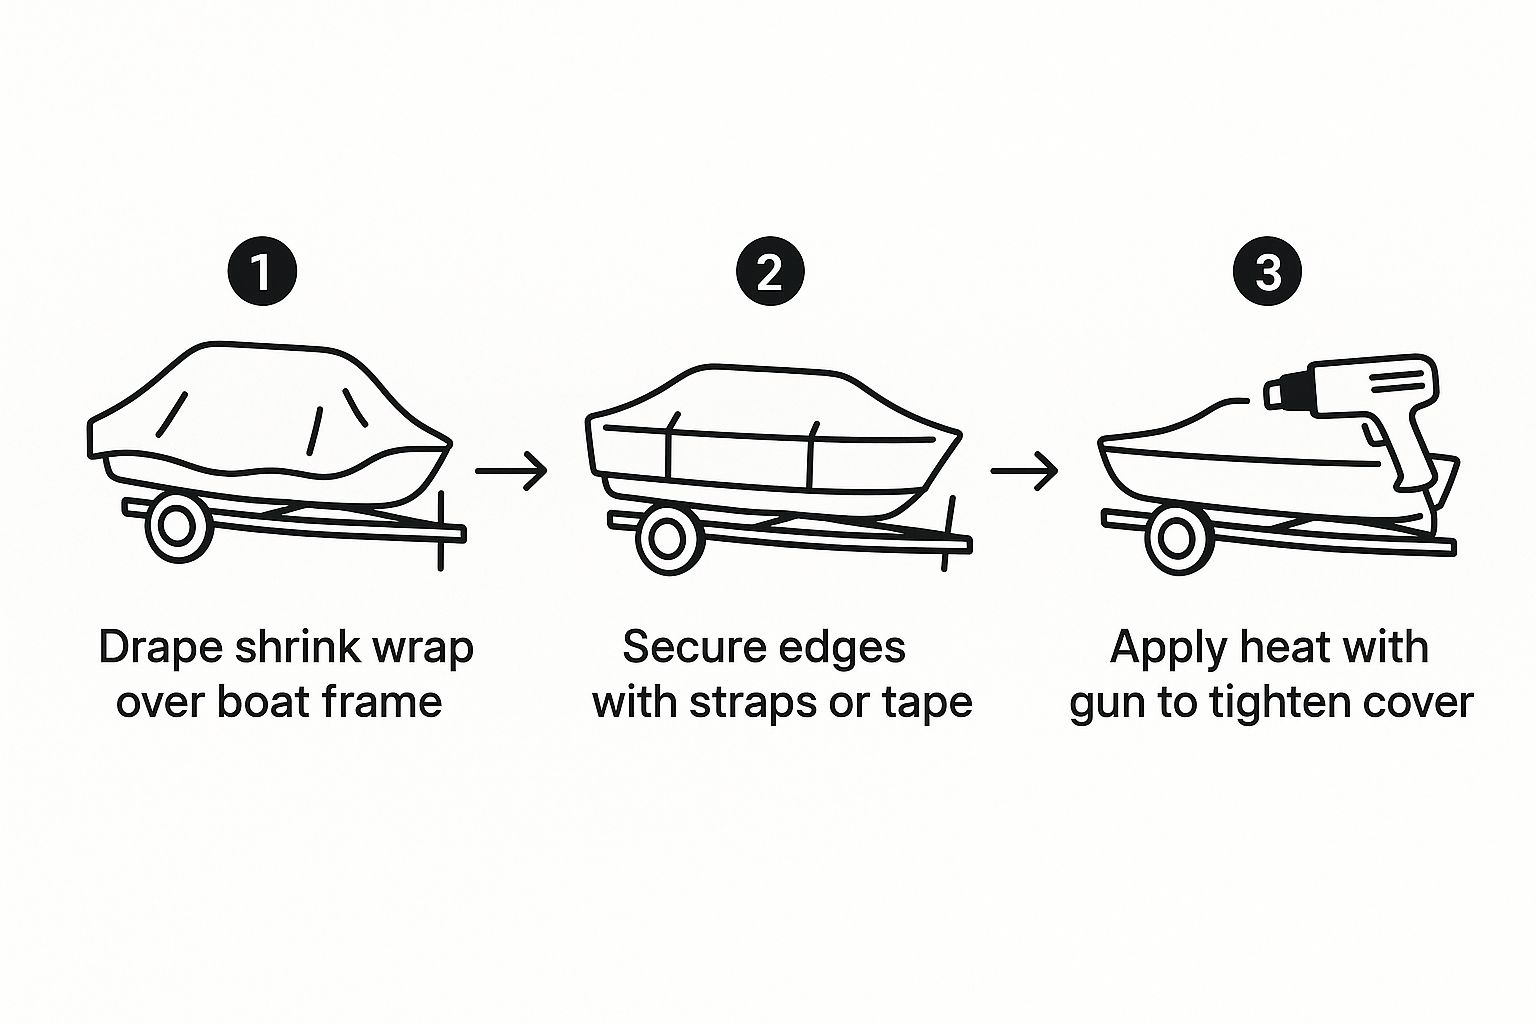
As you can see, it's a logical flow. Each step builds on the last to create a durable, weatherproof barrier. Nailing the perimeter is the foundation for a flawless heat application.
Mastering the Heat Gun
Now for the main event. A propane-fired heat gun is what makes the magic happen, but it’s a tool that demands respect and the right technique. Your goal is to apply just enough heat to make the film taut and smooth—go too far, and you'll burn a hole right through it. It's a bit like toasting a marshmallow; you're aiming for golden brown, not a blackened crisp.
Always start at the bottom of the boat, working on the section right below the belly band. Hold the heat gun about 6 to 12 inches away from the film and use a steady, sweeping motion. Whatever you do, don't let the gun hover in one spot for more than a second or two. You'll see the film tighten up almost instantly as the heat passes over it.
From there, work your way up the hull in large sections. Shrink the sides first before you tackle the top surfaces like the deck or cabin. This technique naturally pulls the film down and tightens it evenly over your support frame. If you see a few wrinkles pop up, don't panic. Just give the area another quick pass with your sweeping motion until they disappear.
Pro Tip: Save the seams and tucks for last. After the big, flat areas are shrunk, go back and hit the folded areas around the belly band and any other seams. This effectively "welds" the layers of film together, adding a surprising amount of strength to the finished cover.
The equipment for this has come a long way. The global shrink wrapping machine market was valued at USD 7.30 billion in 2024 and is expected to keep growing, which just shows how common this tech is in all sorts of industries. You can read the full research about the growing shrink wrapping market on databridgemarketresearch.com.
Once you think you're done, give the whole cover a good tap. You should hear a satisfying, deep thud, like a drum. That's the sound of a job well done—a tight, secure cover that's ready to handle whatever winter can dish out.
Adding Vents and Performing Final Checks
Getting that drum-tight wrap feels great, but your work isn’t quite done yet. These final touches are what truly protect your investment all winter long, turning a good wrap into a great one. The most critical step now is installing ventilation to prevent the dreaded buildup of condensation and mildew.
Without proper airflow, those inevitable temperature swings will cause moisture to collect on the underside of the wrap. This trapped dampness drips down onto your deck and upholstery, creating a perfect breeding ground for mold.
Luckily, installing a few weatherproof vents is a simple fix. It allows the boat to breathe, keeping everything inside dry and fresh until spring.
Installing Vents for Proper Airflow
For the best results, you need to create cross-flow ventilation. This just means placing vents strategically to encourage air to move through the entire covered space.
A good rule of thumb is to install one vent for every eight to ten feet of boat length. For most boats, this means you'll need at least four vents.
The key is to place them in a high/low configuration for optimal circulation:
- Low Vents: Install two vents near the stern, a few feet above the waterline.
- High Vents: Place two more vents near the bow, closer to the peak of your support structure.
To install a vent, just use your knife to cut a small "X" in the film. Push the vent base through from the inside, and then snap the cap on from the outside. The teeth on the vent will lock it securely into the shrink wrap, and you're good to go.
A properly ventilated cover is the single best defense against musty odors and mildew damage. It ensures that even on sunny winter days, the air inside stays dry, which is a key part of the complete winterization process.
For a deeper dive into off-season prep, our guide on essential tips for winterizing a boat covers everything you need to know.
Final Inspection and Patching
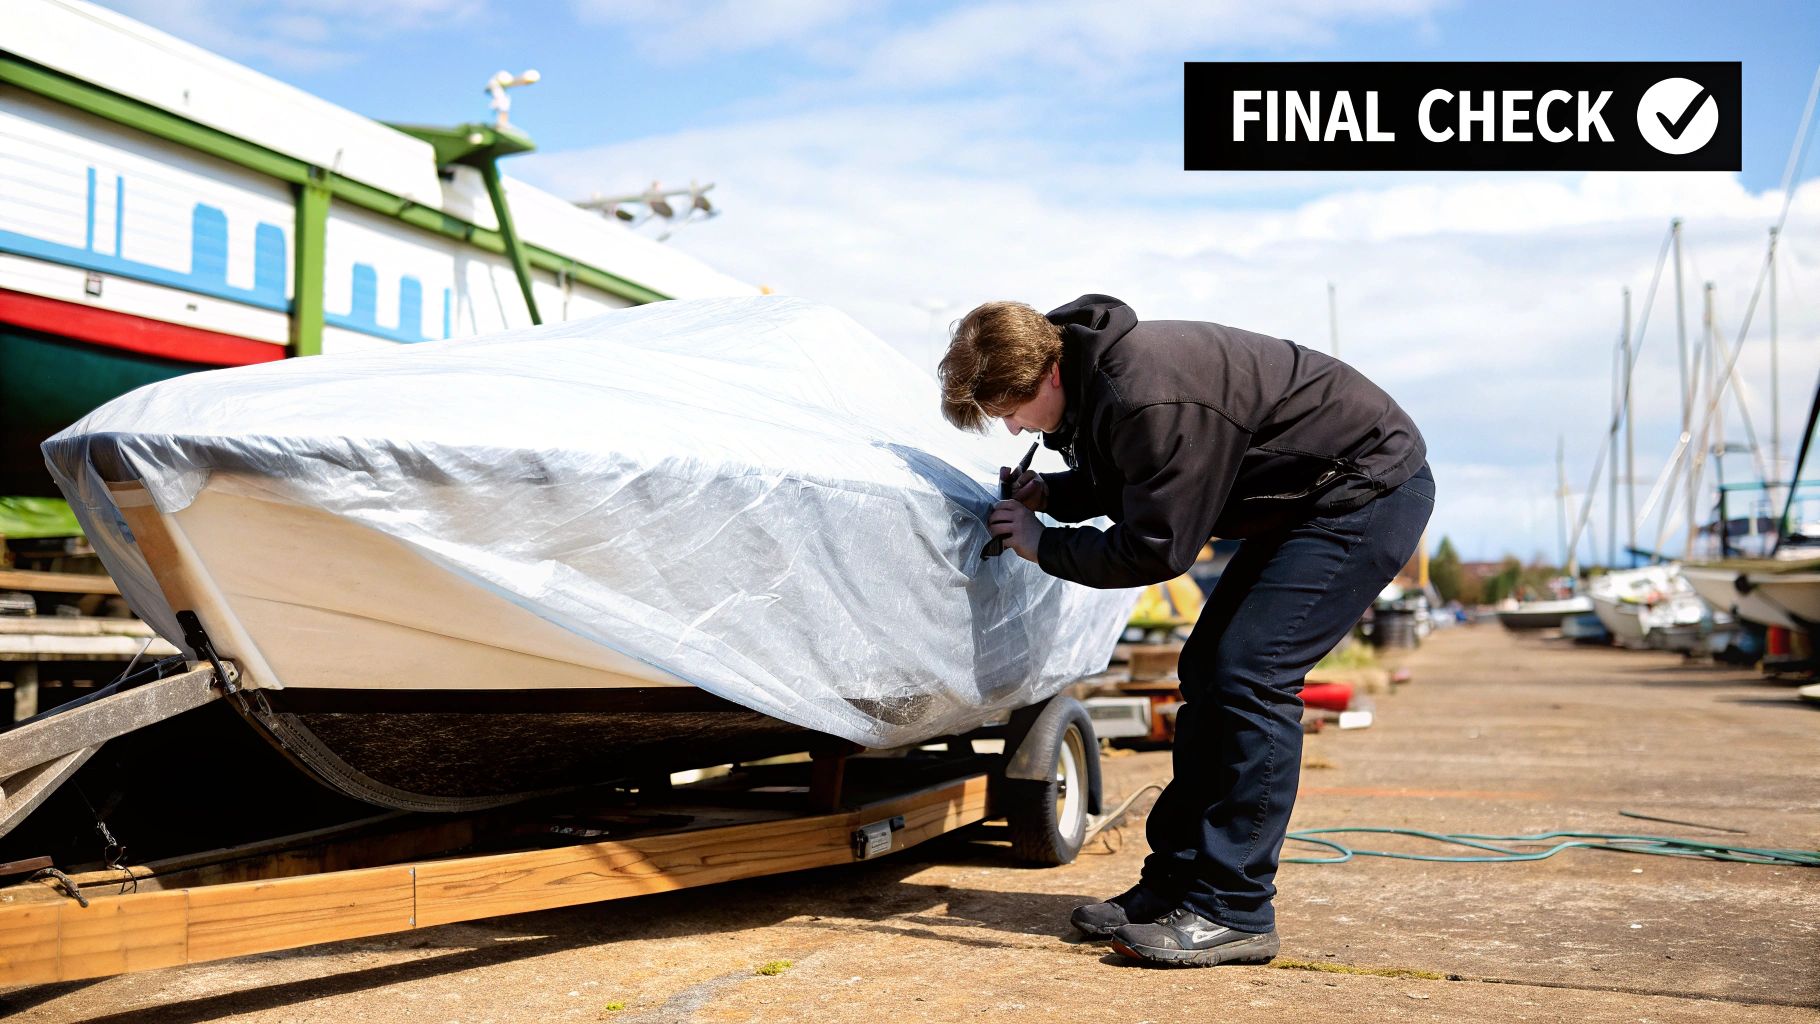
With your vents in place, it's time for one last walk-around. Trim any excess film hanging off the bottom for a clean, professional look.
Grab a roll of high-quality preservation tape to seal any seams or cover small nicks you might have accidentally created with the heat gun. This stuff is incredibly strong and weatherproof, so don't skimp on it.
Give the whole cover a final check. Is the support frame still sturdy? Is the entire wrap taut? A solid, tight cover is a major reason the global shrink wrap equipment market is so robust, with North America alone accounting for over 35% of the market share. You can discover more insights about the shrink wrap equipment market on imarcgroup.com.
Common Questions About Boat Shrink Wrapping
Even after you've gone through the whole process, a few questions are bound to pop up. When you shrink wrap a boat for the first time, there are always a couple of "what-ifs" that can make you second-guess your work. Let's tackle the most common ones head-on so you can feel completely confident in your project.
One of the biggest questions we hear is whether you can get back inside the boat once it’s all wrapped up. The answer is a definite yes, but you have to plan for it. By installing a zipper access door, you can create a resealable entry point anywhere you need one. It's the perfect solution for those mid-winter maintenance checks or for grabbing that one piece of gear you inevitably forgot.
Can the Shrink Wrap Be Reused?
It's tempting to think you can save a few bucks by reusing your shrink wrap for a second season, but the short answer is no. Once the film is heat-shrunk, it loses its ability to shrink down tight again. More importantly, the process of cutting it off stretches and weakens the material, meaning it just won't offer the same weatherproof seal the second time around.
Think of it as a single-use shield, custom-molded to protect your boat through one tough winter. That's why it's always best to start with a fresh roll each year. You guarantee a perfect, drum-tight fit that can stand up to whatever the elements throw at it.
"The custom, taut fit you get from a new application is the whole point. Reusing old, stretched material is no better than throwing a loose tarp over your boat and hoping for the best."
This brings up another great question: what do you do with the old wrap? Fortunately, most shrink wrap film is made from #4 LDPE (low-density polyethylene), which is highly recyclable. Many marinas and local recycling centers have specific programs for collecting used boat wrap. Just be sure you strip off all the non-film items first:
- Vents
- Zippers
- Strapping
- Tape
Will the Heat Gun Damage My Boat?
A lot of first-timers get nervous about taking a heat gun to their pride and joy. It's a valid concern, but one that's easy to manage with the right technique. The trick is to keep the heat gun moving in a constant, sweeping motion, holding it about 6 to 12 inches from the surface. The key is to never, ever let it linger in one spot.
When you use the correct motion and properly pad all the sharp edges and sensitive areas—like your vinyl and gelcoat—the risk of damage is incredibly low. The heat shrinks the film without ever getting hot enough to harm the boat's surfaces. After a little practice, you'll get a natural feel for the right distance and speed.
For all the tools, materials, and expert guidance you need to protect your investment, trust the products at Better Boat. We offer premium, easy-to-use solutions that ensure your boat is ready for winter storage and looks its best on the water. Find everything you need at https://www.betterboat.com.


