


How to Clean Vinyl Seats on a Boat Like a Pro
Ever wonder why your vinyl boat seats look pristine one week and are a total mess the next? It's a never-ending battle. You're constantly up against the marine environment, where the sun, saltwater, and humidity seem to have a personal vendetta against your boat's interior. Figuring out what you're up against is the key to keeping things looking fresh all season.
Why Your Boat Seats Are So Hard to Keep Clean
Keeping your boat's vinyl seats looking brand new is more than just a quick wipe-down. You're fighting a multi-front war against both mother nature and, well, us. The unique challenges of being on the water create a perfect storm for stains and wear, turning a simple cleaning job into a regular chore.
The Constant Battle with the Elements
The main culprits are the very things we love about being on the water. All that beautiful sunshine is brutal on vinyl. Powerful UV rays penetrate the surface, breaking down its protective layers which leads to fading, drying, and eventually, cracking. Think of it as a relentless sunburn for your upholstery.
Saltwater is another persistent enemy. When it evaporates, it leaves behind abrasive salt crystals that not only dull the finish but can also pull moisture right out of the vinyl, making it brittle. And then there's the humidity—that ever-present moisture in the air creates an ideal breeding ground for mildew, which loves to embed itself deep into the vinyl’s pores.
"The biggest mistake boat owners make is underestimating the cumulative effect of sun and moisture. What seems like minor exposure adds up, compromising the vinyl's integrity and making it harder to clean over time."
Hidden and Unexpected Stain-Causers
It’s not just the environment; everyday items you bring aboard can cause some surprising damage. A lot of popular sunscreens contain oils and chemicals like avobenzone that react with vinyl, leaving behind those stubborn, yellowish stains that are a real nightmare to remove.
And there are other common sources of trouble to watch out for:
- Spilled Drinks: That can of soda, splash of juice, or dribble of red wine can seep into the seams and cause a permanent mark if you don't jump on it right away.
- Food Smudges: Greasy foods like potato chips or a dropped sandwich leave oily residues that are magnets for dirt and grime.
- Dye Transfer: Ever toss a colorful towel or a damp pair of jeans on a seat? The dye can bleed directly onto the vinyl, creating a frustrating stain that's often there to stay.
With more people than ever enjoying recreational boating, manufacturers are being pushed to innovate. The global market for marine upholstery fabrics is expected to keep growing, driven by the demand for materials with better stain resistance and UV protection.
You can learn more about these fabric advancements on archivemarketresearch.com. This industry growth just goes to show the constant need for tougher materials that can handle these harsh conditions, making it easier for us owners to clean vinyl seats on our boats.
Assembling Your Boat Seat Cleaning Toolkit
Before you can get those vinyl seats looking factory-fresh, you need to gear up. I’ve seen it a hundred times: someone shows up with a bottle of kitchen spray and an old t-shirt, hoping for a miracle. That’s a surefire recipe for disappointment and, even worse, potential damage.
The marine environment is tough. It throws saltwater, intense UV rays, and stubborn mildew at your upholstery, and household products just aren't built for that fight.
Taking a few minutes to gather the right supplies transforms a frustrating chore into a smooth, satisfying job. Think of it like a pro chef prepping their ingredients. When everything is within reach, you get the job done right without cutting corners. This isn't just about making your life easier—it’s about protecting your investment.
Core Cleaning Supplies
The absolute foundation of your toolkit is a cleaner that works with your vinyl, not against it. So many all-purpose cleaners are loaded with harsh chemicals like bleach or ammonia. These will absolutely strip away the vinyl's protective topcoat, leading to drying, cracking, and fading down the road.

The cleaner for this job
Boat Interior Vinyl Cleaner
Boat Interior Vinyl Cleaner is a pH-balanced formula designed to lift dirt, sunscreen, and grime without stripping the vinyl's protective topcoat. It is the core product this section is built around.
You need a product specifically formulated for marine vinyl. Something like Better Boat's Vinyl Cleaner is pH-balanced, so it can lift away dirt, sunscreen oils, and general grime without causing harm. It even has conditioners that put moisture back into the material, keeping it supple and resilient.
Using the wrong cleaner is one of the most common and costly mistakes I see boaters make. A cleaner that's too aggressive can permanently damage the vinyl's finish, making it a magnet for future stains and UV degradation.
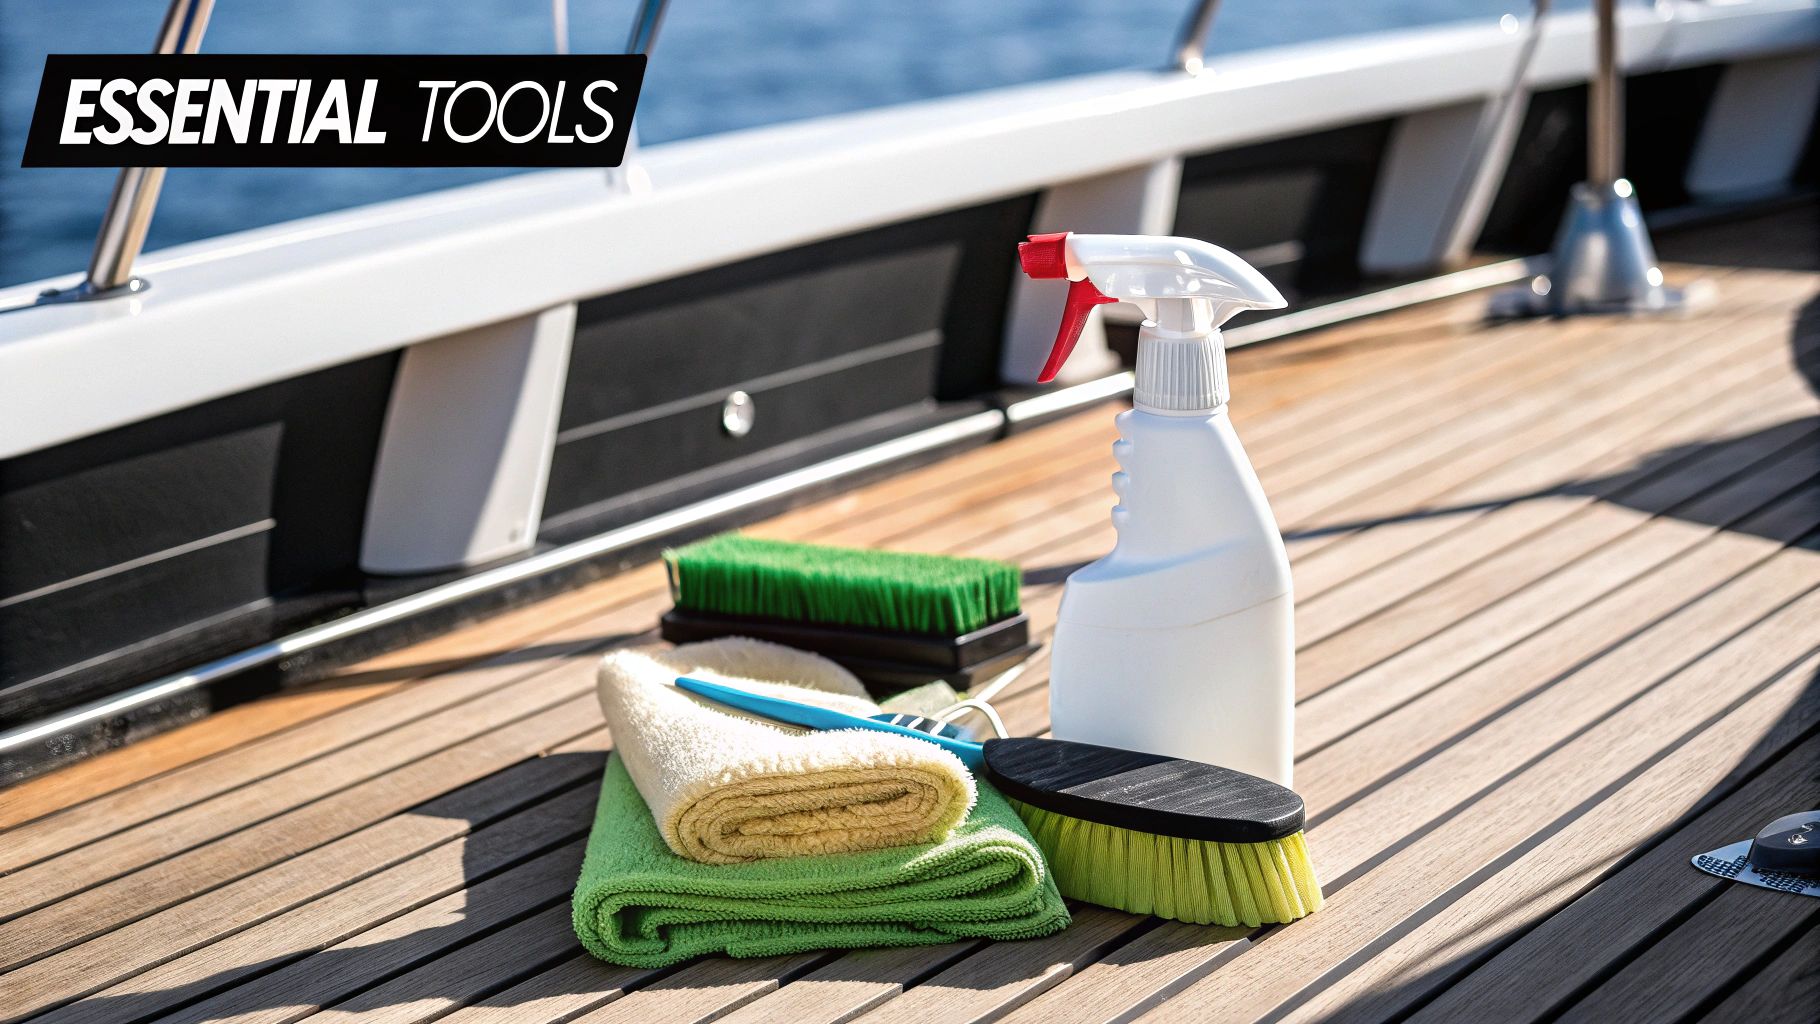
Your Boat Seat Cleaning Toolkit
Having the right cleaner is half the battle, but you'll need a few other key items to do the job properly and safely. Here's a quick checklist of the essentials I always keep on hand.
| Item | Purpose | Pro Tip |
|---|---|---|
| Marine Vinyl Cleaner | Safely removes dirt, grime, sunscreen, and mildew stains. | Always choose a pH-balanced formula, like the Better Boat Vinyl Cleaner, to avoid drying out the material. |
| Soft-Bristle Brush | Agitates and lifts dirt from vinyl texture and seams. | A dedicated upholstery brush is perfect. Avoid stiff bristles that can scratch the surface. |
| Microfiber Towels | Wiping away cleaner and drying seats without leaving lint or streaks. | Have at least 2-3 clean towels. Use one for cleaning and the others for drying. |
| Bucket of Fresh Water | Rinsing your brush and towels to prevent spreading dirt. | Change the water if it gets too grimy to ensure you're always working clean. |
| Marine UV Protectant | Shields vinyl from sun damage, preventing fading and cracking. | Apply this after cleaning. Better Boat's UV Protectant is a great final step. |
With these items ready to go, you've got a professional-grade kit that will make cleaning faster, easier, and much more effective.
The Right Tools for the Job
Once you have your cleaner, you need the right tools to apply it and dry everything off. Aggressive scrubbing pads or stiff-bristled brushes will leave micro-scratches all over the vinyl's surface. You might not see them at first, but they dull the sheen and create tiny crevices where dirt loves to hide.
Here’s what you should have instead:
-
A Soft-Bristle Brush: This is your best friend for getting into the nooks and crannies of the vinyl texture and along the seams. The bristles are tough enough to lift out embedded grime but gentle enough to keep from scratching.
-
High-Quality Microfiber Towels: Seriously, ditch the old cotton rags. Microfiber towels are way more absorbent and totally lint-free, making them perfect for wiping away cleaner residue and drying the seats completely. This is how you prevent water spots and get that clean, streak-free finish.
Having a bucket of fresh water handy is also a smart move. It lets you rinse your brush and towels as you go, so you’re not just moving dirt from one seat to the next. With this simple toolkit, you're set to restore your seats safely and get a professional-looking result every single time.

A Practical Guide to Cleaning Your Vinyl Seats
Alright, you’ve got the right tools, so let's get those seats looking brand new. Actually cleaning vinyl boat seats is pretty straightforward, but the way you do it is what separates a decent job from a professional-looking one. You can forget about aggressive scrubbing and harsh chemicals. The real secret is a patient, methodical approach that lifts the grime without wrecking the material.
If you’ve ever looked into general upholstery cleaning methods, you’ll find some of the core ideas apply here, too—like working in small sections and not soaking the material.
Start With a Good Pre-Rinse
First thing's first: give the seats a simple rinse with fresh water. Use a hose with a gentle spray nozzle and get the entire vinyl surface wet. The goal here isn’t to blast the dirt off with pressure. You’re just looking to soften up and loosen any surface-level gunk like salt crystals, dust, and light grime.
This quick step is more important than it sounds. It stops you from grinding those abrasive little particles into the vinyl when you start cleaning, which can create tiny scratches. Think of it as setting the stage for a much safer and more effective deep clean.
Apply Cleaner with a Gentle Touch
With the seats still damp, it’s time for your marine vinyl cleaner. The trick to getting this right is to work in small, manageable sections—I usually stick to a two-by-two foot area at a time. This keeps the cleaner from drying on the surface before you’ve had a chance to work it in and rinse it off.
Spray your cleaner on one section and grab that soft-bristle brush.
- Go in Circles: Gently scrub the area with light, overlapping circular motions. This helps the cleaner get down into the vinyl’s texture to lift out that embedded dirt from the grain.
- Hit the Seams: Pay extra attention to the stitched seams. This is a favorite hangout spot for dirt, mildew, and sunscreen residue.
- Don't Force It: Let the cleaner and the brush bristles do the heavy lifting. Pushing too hard won't get the seats any cleaner, but it might scuff the vinyl's protective topcoat.
Once you finish a section, just move on to the next, overlapping a little with the area you just cleaned. This ensures you get even coverage and don't end up with any missed spots.

This just breaks down the basic flow: a simple rinse, a proper clean, and a thorough dry. That three-stage approach is really the foundation of keeping your vinyl looking great.
The All-Important Rinse and Dry
After you’ve scrubbed every section, you’ve reached what is arguably the most critical step: rinsing everything completely. Any cleaner you leave behind can get sticky, attracting even more dirt. Worse, it can bake into the vinyl under the sun and degrade the finish.
Rinsing thoroughly is non-negotiable. I've seen beautifully cleaned seats look dingy again in just a week because a soapy film was left behind, acting like a magnet for dust and pollen.
Use your hose to rinse the seats from top to bottom, making sure every last sud is gone. Double-check the seams and crevices where that residue loves to hide. For a more detailed look at some of these techniques, our comprehensive guide on how to clean boat seats dives a bit deeper.
Finally, it’s time to dry. Please don't let them air-dry! You'll almost certainly end up with water spots and streaks, which just undoes all your hard work. Grab a few clean, dry microfiber towels and wipe down every inch of the vinyl.
Microfiber is super absorbent and won’t leave lint behind. A perfectly dry seat isn't just for looks; it’s your number one defense against mildew, which absolutely thrives in damp spots.
Tackling Stubborn Stains and Mildew Growth

Sometimes, a general clean just won't cut it. Eventually, you’ll come up against stains that seem to have a personal grudge against your vinyl, from those ugly, deep-set mildew spots to a frustrating ink mark from a dropped pen. These tougher challenges need a more targeted game plan, but the goal is always the same: kill the stain without harming the seat.
Accidents happen. Maybe a guest’s new blue jeans left a faint dye transfer after a quick rain shower, or a greasy burger dripped right onto a cushion. Whatever you do, don't panic and reach for an aggressive household cleaner. That’s a fast track to discoloration and permanent damage, which can lead to a costly reupholstering job nobody wants to deal with.
A little patience and the right product are all you need to get your seats looking new again.
A Troubleshooter's Guide to Common Stains
Different stains demand different strategies. An oily smudge from sunscreen isn't going to respond the same way as organic mildew growth that's taken root in the vinyl's pores. The key is to correctly identify the problem before you start scrubbing.
Here are a few common scenarios every boat owner faces:
- Mildew and Mold: Those ugly black or green spots are a boater's worst nightmare. They embed deep in the vinyl and can be almost impossible to remove with a standard cleaner.
- Ink and Dye Transfer: A leaky pen, a wet towel, or damp, colorful clothing can leave behind stubborn pigments that seem to be there for good.
- Grease and Sunscreen: These oily residues create a sticky film that attracts dirt and can cause a nasty yellowish discoloration over time.
Before you go all-in on any spot treatment, test it on an inconspicuous area first—like under a cushion or on the backside of a seat—to make sure it won’t mess with the vinyl’s color.
Conquering Mildew Without Damaging Vinyl
Mildew is especially tricky because it's a living organism. To get rid of it for good, you have to kill it at the source, not just wipe the surface stain away. This is where a dedicated product like Better Boat's Mildew Stain Remover becomes your best friend. It’s formulated to eliminate mildew spores without using the harsh bleach that can dry out, weaken, and crack your vinyl over time.

Tackle mildew at the source
Boat Seat & Vinyl Restoration Kit
The Boat Seat and Vinyl Restoration Kit includes the targeted mildew-fighting formulas this section describes, letting you eliminate spores without reaching for bleach or ammonia that would damage the vinyl surface.
When you tackle mildew, think of it less like cleaning and more like a surgical strike. You need a product that's tough on the fungus but gentle on the material it's living on.
Just apply the remover directly to the affected spots and let it sit for a few minutes to work its magic. You can then gently agitate the area with a soft-bristle brush before wiping it all clean. If you want to dive deeper into prevention and removal strategies, check out our guide on winning the impossible battle against boat mildew.
The resilience and cleanability of marine-grade vinyl are exactly why it's so popular on the water. In fact, PVC-coated polyester now makes up nearly 45% of marine upholstery materials.
Manufacturers are constantly innovating, developing fabrics with enhanced antimicrobial properties to meet the demand for materials that actively fight back against mildew in damp marine environments. With the right care and targeted treatments, you can keep your seats looking their best, no matter what the elements (or your guests) throw at them.
Applying a Protectant for Lasting Results

Seal in your clean
Boat Interior Vinyl Protectant
Boat Interior Vinyl Protectant lays down the UV-blocking barrier this section calls essential, shielding freshly cleaned vinyl from sun fade, drying, and cracking between outings.
Getting your boat seats looking brand new again feels fantastic, but if you stop there, you're only doing half the job. The real trick to keeping them looking that good is applying a high-quality UV protectant. This isn't just some optional extra step—it's the essential barrier standing between your pristine vinyl and the harsh sun and water.
Think of a marine vinyl protectant, like Better Boat's Vinyl Protectant, as sunscreen for your upholstery. The sun's UV rays are relentless, constantly working to break down vinyl, making it fade, get brittle, and eventually crack. A solid protectant creates an invisible shield that deflects that damage, locking in the color and keeping your seats flexible.
How to Apply for a Perfect Finish
Getting that clean, non-greasy look is all in the application. Once your seats are completely clean and bone-dry, you're ready to seal the deal.
- Work in Sections: Just like when you were cleaning, tackle one small, manageable area at a time. This helps ensure you get nice, even coverage.
- Spray and Wipe: Lightly mist the protectant onto a fresh microfiber towel instead of spraying it directly on the vinyl. Wiping it on gives you way more control and prevents overspray from getting everywhere.
- Buff to a Sheen: Grab a second, dry microfiber towel and gently buff the surface. This little move removes any excess product and leaves you with a rich, satin finish—no sticky or greasy residue left behind.
Following this simple process not only defends against sun damage but also makes your next cleanup a whole lot easier. That protective layer helps repel dirt, water spots, and spills, stopping them from settling deep into the vinyl's pores.
A consistent protection routine does way more than just keep things looking good—it will significantly extend the life of your upholstery. This proactive step is one of the smartest investments you can make in your boat's long-term value.
There's a reason the global marine vinyl market was valued at around USD 340.8 million in 2023. This stuff is engineered to be tough against sun and salt. Applying a protectant just enhances those properties, making sure your investment lasts for seasons to come. You can learn more about the growth of the marine vinyl market on grandviewresearch.com.
For more expert advice, check out our complete guide on the best practices to maintain vinyl boat seats to build a bulletproof care routine.
Got Questions About Cleaning Vinyl Seats?
Even with the best game plan, questions always come up. When you're trying to get your vinyl boat seats looking their best, it's the little details that make all the difference. Let's run through some of the most common things we hear from boat owners to help you sidestep common mistakes and keep that upholstery looking sharp.
One of the biggest questions is about using household cleaners like bleach or all-purpose sprays. The short answer? Don't do it. These products are just too harsh; they'll strip the protective topcoat right off your vinyl, which is a fast track to drying, fading, and cracking. Always, always stick with a pH-balanced cleaner made specifically for marine vinyl.
Another frequent query is how often you really need to clean and protect your seats. If you're out on the water a lot, a quick wipe-down after each trip is a great habit to get into. It gets the fresh saltwater and any new spills off right away. As for the deep clean and UV protectant, you should plan on doing that at least 2-3 times per season to really maintain the vinyl's integrity.
Dealing with Tricky Scenarios
So, what about grabbing the pressure washer for a super-fast clean? I know it's tempting, but it's a risky move. That high-pressure stream can easily force water deep into the seams and right into the foam cushions.
Before you know it, you've created the perfect breeding ground for mildew to grow from the inside out. It can also shred the stitching and even tear the vinyl itself. A gentle rinse with a regular hose is always the safer—and smarter—bet.
We also get asked about using "magic eraser" type sponges for stubborn scuffs. They can definitely work in a pinch, but you have to remember they're abrasive.
Think of abrasive sponges as a last resort for really tough scuffs, not your go-to for general cleaning. If you use them too much, you'll start to dull the vinyl's finish. Always follow up immediately with a UV protectant to restore that crucial protective layer.
Are Vinyl Repair Kits Worth It?
Finally, what's the best way to handle those little nicks and tears that seem to appear out of nowhere? For minor damage, a quality marine vinyl repair kit can be a lifesaver, stopping a small problem from turning into a big one.
The trick is to tackle the damage the second you spot it. Clean the area really well, apply the repair compound exactly as the directions say, and let it cure completely. This quick fix can save you from a much bigger headache and a costly reupholstering job down the road.
Ready to give your boat seats the professional care they deserve? The Better Boat Vinyl Cleaner and UV Protectant duo is formulated to tackle the toughest marine grime while conditioning and shielding your upholstery for lasting results. Explore our full range of boat care products today and see the difference for yourself.


