A Practical Guide to Epoxy Boat Repair
When it comes to a boat repair that’s going to last, two-part epoxy is the undisputed champion. It’s not just a patch; it creates a structural bond that’s often stronger than the original material itself. For adhesion and waterproofing, other resins just can't compete, making it the go-to for everything from a small cosmetic ding to major hull damage.
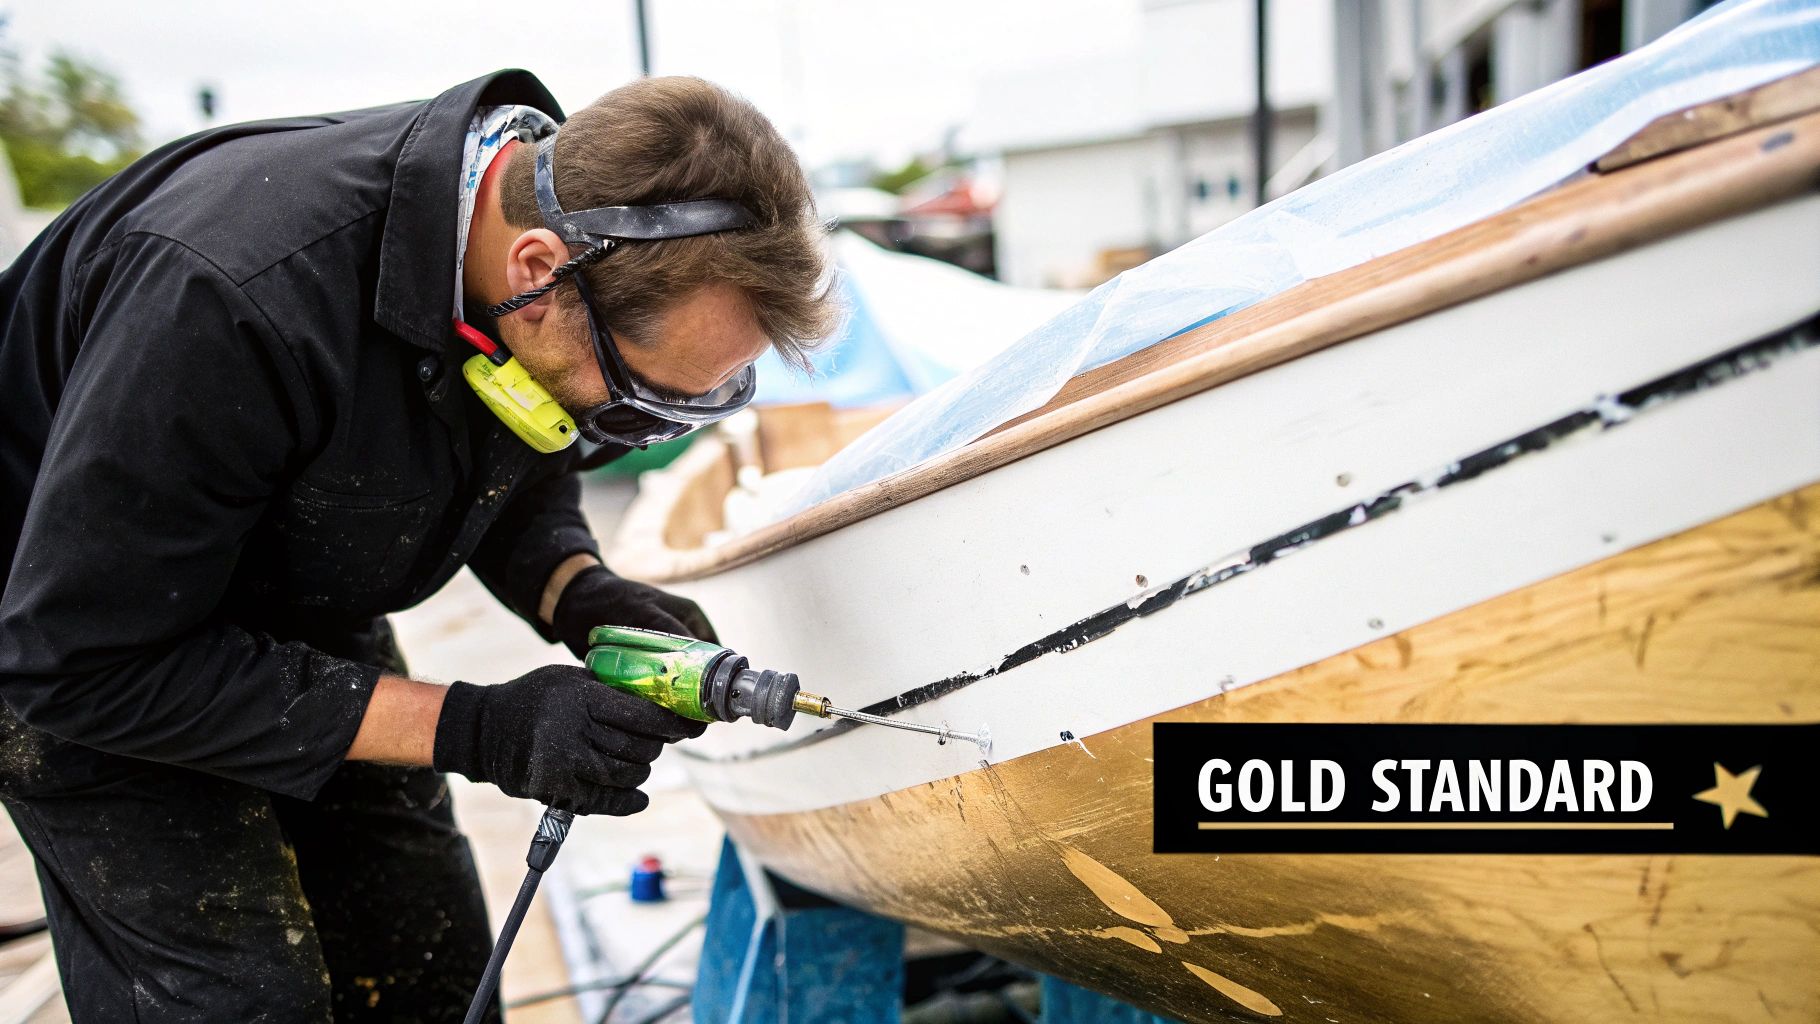
Why Epoxy Is the Gold Standard for Marine Repairs

When your boat gets banged up, the goal isn't just to fill a hole—it's to restore its structural integrity. This is where epoxy really shines, consistently outperforming materials like polyester because it forms a tenacious mechanical and chemical bond.
A common headache with polyester resins is that they tend to shrink as they cure. Epoxy, on the other hand, cures with minimal shrinkage. That means you get a tight, gap-free repair that won’t pull away from the hull or delaminate over time.
This superior grip is what matters in the real world. Say you’ve found some nasty osmosis blisters on your fiberglass hull, or maybe a stress crack forming near a high-load cleat. A proper epoxy repair doesn't just fill the void; it structurally reinforces the entire area, helping to distribute stress and prevent the problem from coming back.
Unmatched Strength and Water Impermeability
The molecular structure of epoxy is what makes it so incredibly resistant to water. Once it cures, it forms a dense, cross-linked barrier that water molecules have a tough time penetrating. This is exactly why it’s the only real choice for repairs below the waterline—it creates a permanent seal against the harsh marine environment.
Here’s a quick rundown of what makes it the best tool for the job:
- Superior Bonding: It sticks to just about anything—fiberglass, wood, metal, and even old, cured polyester resins—with incredible strength.
- Minimal Shrinkage: Your repair stays put. No cracking or pulling away under the stress of pounding waves and temperature changes.
- Waterproof Barrier: It offers the best possible protection against osmosis and water absorption in fiberglass hulls.
The principles behind creating a tough, sealed barrier aren't just for boats. Anyone dealing with wood knows the importance of a good seal, which is why exploring effective painted wood waterproofing techniques can offer some interesting parallels.
At its core, marine-grade epoxy offers more than a simple fix. It delivers a permanent, structural enhancement that protects your investment and provides peace of mind on the water.
Choosing the Right Resin for Your Repair
While polyester and vinylester resins have their place, they just don't offer the same all-around performance as epoxy resin for critical repairs. Polyester is cheaper, sure, but it's also more brittle and prone to shrinkage. Vinylester is a step up, offering better water resistance, but it still falls short of epoxy's adhesive strength and durability.
Here's a quick comparison to help you see the differences at a glance:
Epoxy vs Other Resins for Boat Repair
| Feature | Epoxy Resin | Polyester Resin | Vinylester Resin |
|---|---|---|---|
| Adhesion Strength | Excellent (bonds to multiple materials) | Fair (best on new polyester) | Good (better than polyester) |
| Water Resistance | Superior (best for below waterline) | Poor (prone to osmosis) | Good (better water barrier) |
| Shrinkage on Cure | Very Low (<2%) | High (5-8%) | Moderate (4-6%) |
| Flexibility/Durability | High (resists stress cracks) | Low (brittle) | Moderate (more flexible) |
| Cost | Higher | Lowest | Mid-range |
When you're dealing with damage that could compromise your boat's safety or longevity, the choice is clear. The superior performance of epoxy is well worth the investment.
This reliability is why the market trusts it. The global epoxy for marine segment was valued at USD 2.12 billion in 2024 and is expected to climb to USD 3.58 billion by 2033. This growth isn't surprising—it reflects the industry's confidence in epoxy's performance under the most demanding conditions.
Ultimately, choosing epoxy means you're investing in a solution that restores strength, seals out water, and lasts for the long haul. For a deeper dive into its specific applications, check out our guide on what marine-grade epoxy resin does for a boat. It’s the smart choice for any owner who takes maintenance seriously.
Assembling Your Epoxy Repair Toolkit
Any good epoxy boat repair is all about the prep work. Honestly, the success of your project depends just as much on what you do before you start mixing as it does on the application itself. We've all been there—frantically searching for a clean cup or the right filler mid-project. That’s a surefire recipe for a weak bond or a lumpy, ugly finish.
Think of it as setting up your workspace properly. Having the right gear on hand not only makes the job go smoother but also directly impacts the quality of your repair. For example, grabbing a waxed paper cup from the pantry might seem harmless, but that wax can leach into your mix and compromise its strength from the get-go. Always stick with unwaxed paper or clean plastic containers.
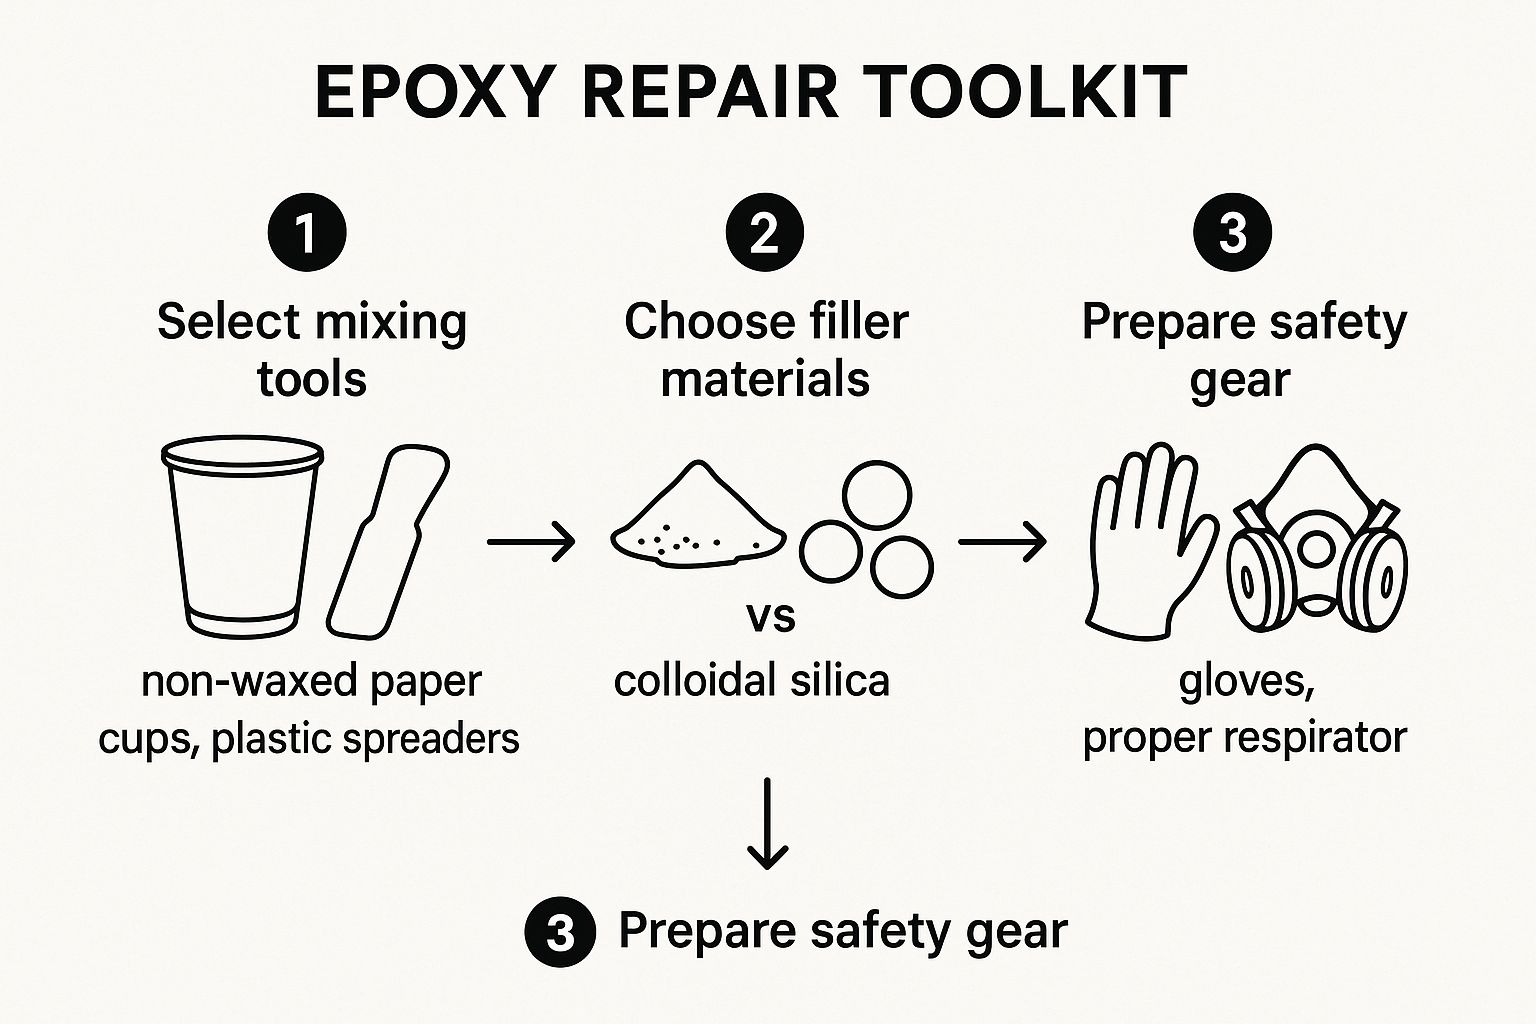
This visual guide lays out the essential tools, fillers, and safety gear you’ll need to pull together.

The infographic walks you through the key decisions you'll make, from what you'll mix in to the safety gear you absolutely need to be wearing.
Essential Mixing and Application Tools
Your toolkit doesn’t need to be expensive, but your tools do need to be right for the job. Epoxy ratios are everything, so accurate measurement should be your first priority. After that, it's all about having tools that let you apply the epoxy cleanly and efficiently.
- Mixing Containers: Clean, unwaxed paper cups or dedicated plastic mixing tubs are non-negotiable. Don't even think about using anything else.
- Stir Sticks: Simple tongue depressors or craft sticks work great. Just make sure they’re clean and dry. For bigger jobs, a quality epoxy and paint mixer on a drill is a lifesaver, ensuring you get a perfect, bubble-free blend every time.
- Plastic Spreaders: A cheap set of flexible plastic spreaders in a few different sizes will be your best friend for getting a smooth, even application of thickened epoxy.
Here’s a little trick from the field: a simple heat gun can be a huge help. On a chilly day, gently warming the resin (before adding the hardener!) will lower its viscosity. This helps it soak into fiberglass cloth or penetrate porous wood much more effectively. Just be careful not to overdo it, as too much heat will kick off the curing process way too fast.
Fillers and Reinforcements
Epoxy resin alone is a fantastic glue and coating, but for filling gaps, shaping fillets, or building up any kind of structure, you’ll need to add fillers. The type of filler you choose completely changes the properties of the cured epoxy, so picking the right one is critical.
Pro Tip: Always, and I mean always, mix your resin and hardener together thoroughly before adding any fillers. Tossing the filler in too early can mess with the chemical reaction and leave you with a soft, sticky mess that never fully cures.
For strength, colloidal silica is the go-to. It creates an incredibly hard, non-sagging putty that’s perfect for structural bonds and fillets. On the other hand, if you’re doing cosmetic fairing work, microballoons are your answer. These hollow glass spheres mix into a lightweight compound that’s a dream to sand smooth.
Finally, let’s talk safety gear—this isn't optional. Nitrile gloves are a must, as repeated skin contact with epoxy can lead to some nasty sensitization issues. Even more important is a respirator with organic vapor cartridges. Those fumes are no joke, especially in enclosed spaces, so protect your lungs.
Executing a Flawless Hull Repair

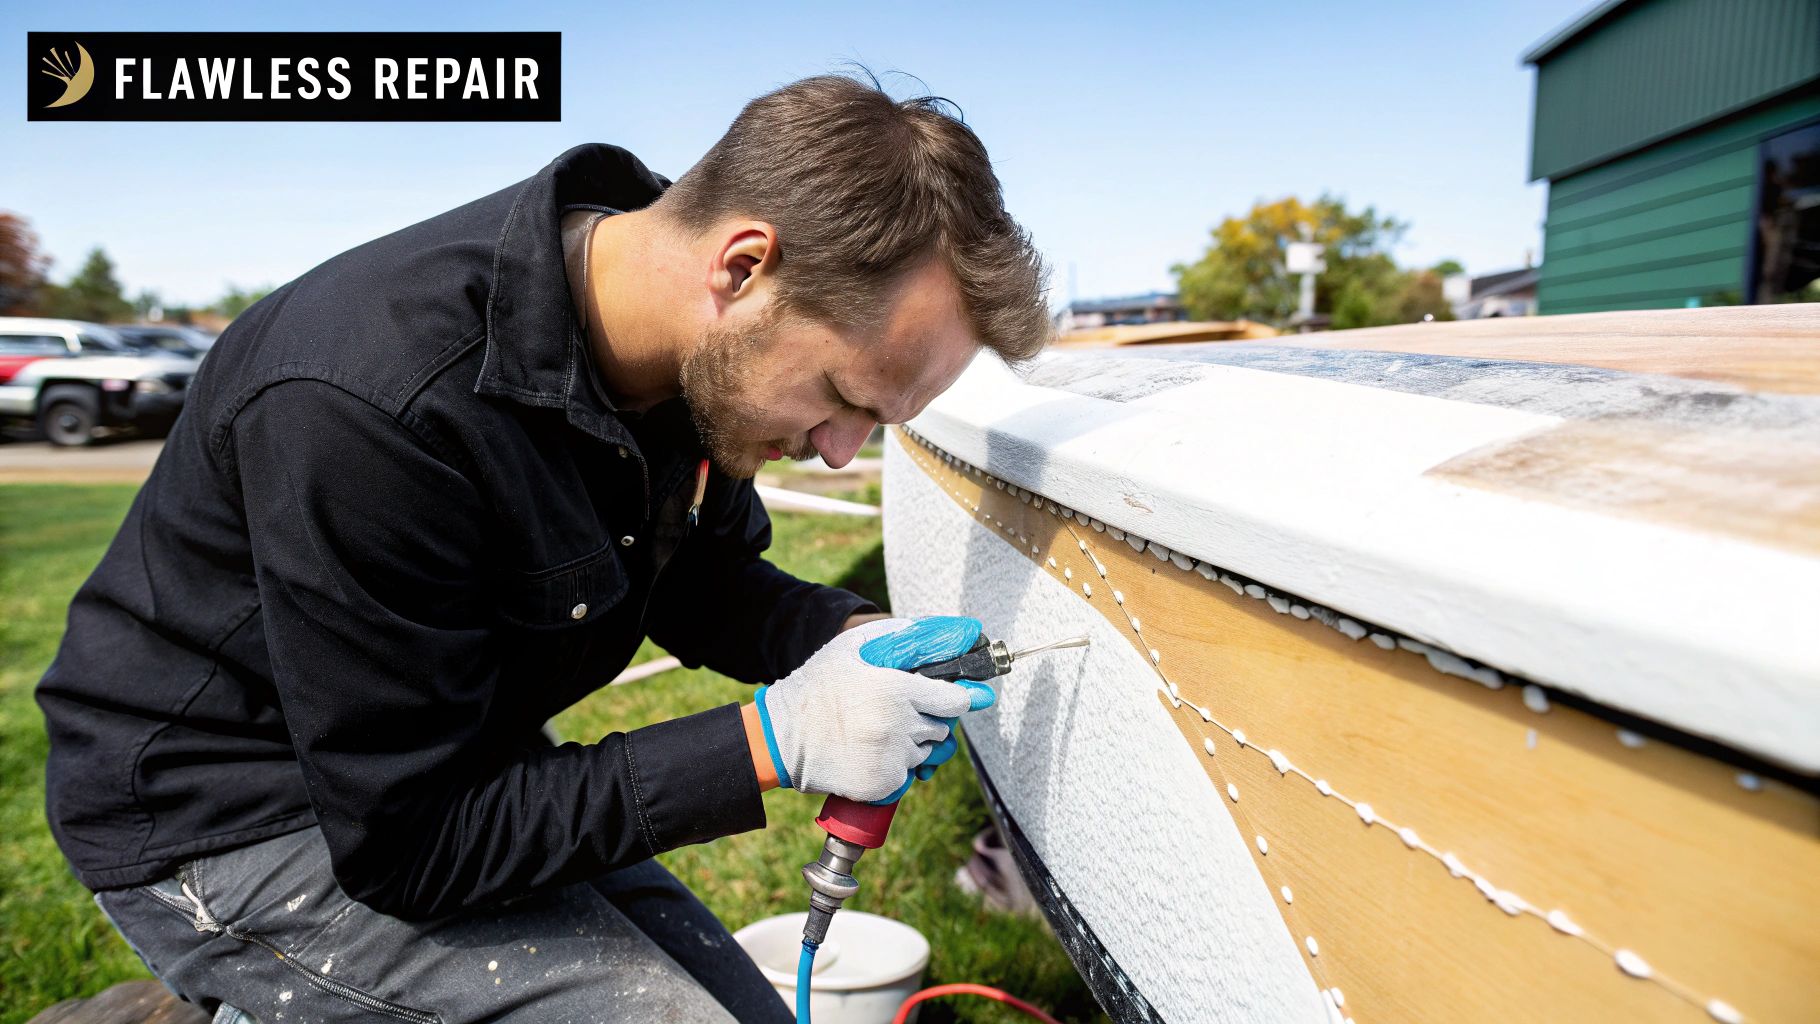
Alright, this is where the real fun begins. Let's imagine a common scenario—a deep, nasty gouge in your hull from getting a little too friendly with the dock. Fixing this isn't just about appearances; it's about making your hull whole and strong again.
The absolute most critical part of this job is preparing the damaged area. A solid epoxy boat repair lives or dies by how well the new material can grip the old. To do that, you need to create a massive surface area for the epoxy to bond to, which means grinding away all the fractured, loose fiberglass and shaping a proper bevel.
Creating the Perfect Bevel
The tried-and-true rule of thumb is to grind a 12:1 bevel. What does that mean? For every 1/8 inch of hull thickness, you need to grind back 1.5 inches from the edge of the damage. So, if your hull is 1/4-inch thick, you'll be creating a 3-inch bevel on all sides of the hole. This creates a wide, shallow "dish" that gives your fiberglass patch an enormous area to grab onto.
Grab a grinder with a 36 or 50-grit disc and start carefully shaping that bevel. You're aiming for a smooth, gradual slope with no sharp drop-offs. This is key to ensuring the new patch blends seamlessly with the existing hull, spreading out any stress instead of focusing it on a hard edge.
Don’t be shy with the grinder. I know it feels wrong to make the hole bigger, but trust me, a shallow or narrow bevel is the number one reason I see repairs fail. A wide, gentle slope is your best friend for a repair that lasts a lifetime.
The global marine epoxy resin market, which was valued at USD 2.5 billion in 2023, is always evolving. Manufacturers are focused on creating low-VOC formulas that meet environmental regulations without compromising the strength we need for a durable repair. You can learn more about these developments in marine epoxy resin technology if you're curious about the science behind the stuff in the can.
The Art of Lamination
With the prep work done, it's time to rebuild the hull's structure with layers of fiberglass and epoxy. This process is called lamination, and it’s all about methodically applying saturated cloth to build the repair back up to its original thickness.
First, cut your pieces of fiberglass cloth. You'll need several of them, starting with one small piece that fits the very bottom of your beveled area, then cutting progressively larger pieces that will extend up the sides. Staggering the seams of each layer is a pro tip that helps you avoid creating a single weak line in your patch.
Next up, mix a small batch of un-thickened epoxy. On a clean piece of plastic or cardboard, wet out the first (smallest) piece of fiberglass until it turns completely transparent. That's how you know it's fully saturated. Carefully lay it in the repair area and use a plastic spreader to gently work out any air bubbles from the center outwards.
Follow these simple rules for a perfect lamination:
- Work from Smallest to Largest: Lay the smallest patch down first, then the next largest, and so on up the bevel.
- Saturate Thoroughly: Every layer of cloth must be completely wet out with epoxy before you add the next. Any dry spots are guaranteed weak spots.
- Eliminate Air Bubbles: Use a spreader or a small grooved roller to push every last bit of trapped air out to the edges.
Keep adding layers this way until the repair sits just slightly proud of the surrounding hull. That little bit of extra material is what you'll sand down later for a perfectly flush finish. For a deeper dive into tackling different kinds of damage, our guide on how to repair cracked fiberglass has some other great techniques.
Applying the Fairing Compound
Once your laminated patch has fully cured, it's time to smooth things over. You'll likely have some low spots or the texture of the fiberglass weave showing through. This is where fairing compound comes in. You can easily make your own by mixing your epoxy with a lightweight filler, like microballoons, until it has a smooth, peanut butter-like consistency.
Using a wide, flexible spreader, apply the fairing compound over the patch. Use long, smooth strokes and feather the edges into the surrounding hull. The goal is to fill any pinholes and create a perfectly seamless transition. Getting these stages right is what separates a good-enough patch from an invisible, professional-grade repair that will last for years.
Achieving an Invisible Finish

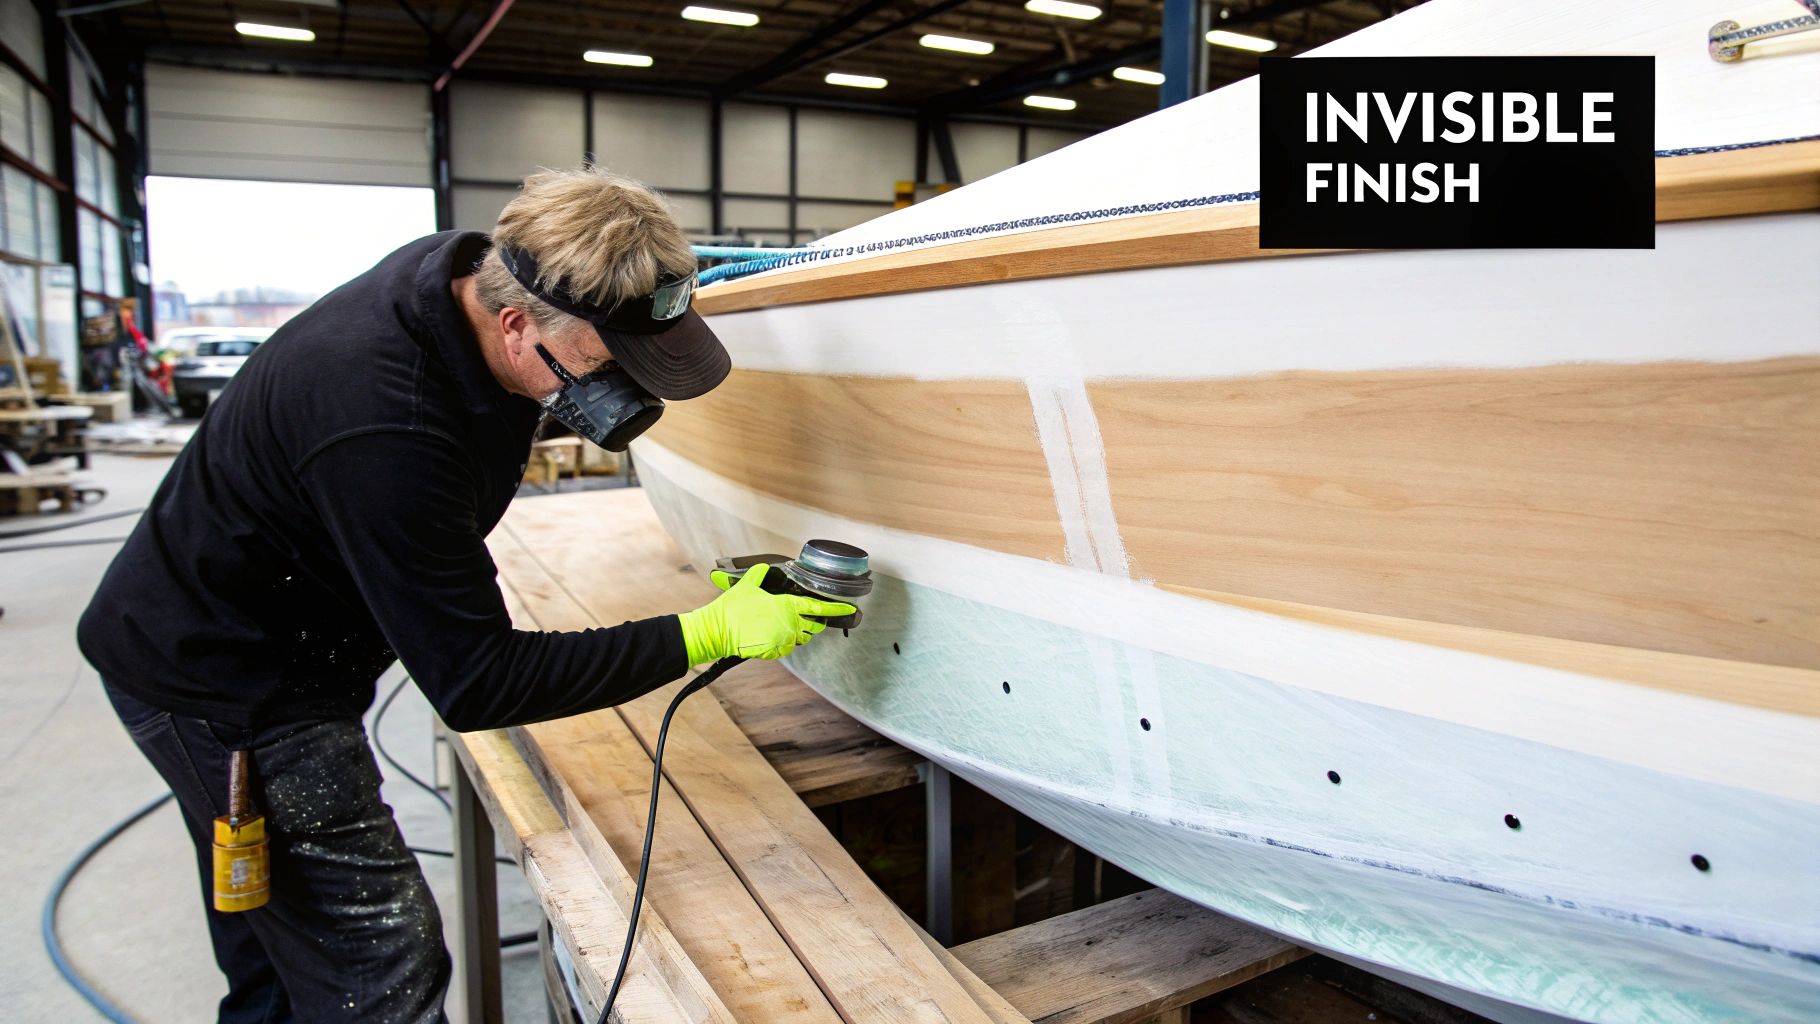
A structurally sound repair is only half the battle. Honestly, the real mark of a professional epoxy boat repair is a finish so flawless you can't even tell where the damage was in the first place. This final stage is all about patience and technique, transforming your rough patch into a seamless part of the hull.
It all starts with fairing—the art of making a surface perfectly smooth and even. Your cured patch will always have minor high and low spots, and fairing compound is designed to fill them. After you've sanded the cured epoxy with 80-grit paper to give it some "tooth," you'll apply the fairing compound. The trick is to feather it out well beyond the repair area to blend the transition.
Fairing and Sanding for a Flawless Surface
Once the fairing compound has fully cured, the real work of shaping the surface begins. This is where a longboard sander becomes your best friend, especially for larger repairs. Its length bridges the high and low spots, preventing you from accidentally creating waves and ripples in the hull. A small block sander just can't do this effectively and will follow every little imperfection.
To spot every tiny flaw, you need to use a guide coat. This is just a light dusting of a contrasting color spray paint misted over the whole repair area. As you sand with your longboard, the guide coat gets removed from the high spots first, leaving the low spots colored. This makes it incredibly easy to see exactly where you need to add another skim coat of fairing compound or focus your sanding.
Achieving an invisible finish is crucial for any surface restoration project, whether on a boat or at home. For example, a similar attention to detail is needed in this DIY guide to restoring marble floors.
Priming Your Repair for Perfection
With the surface perfectly faired and sanded smooth, the next critical step is priming. A primer's job is twofold: it seals the porous fairing compound and creates a uniform surface for the topcoat to grab onto. For an epoxy repair, a high-build epoxy primer is the only way to go.
This type of primer offers a few huge benefits:
- Fills Minor Imperfections: It has enough body to fill tiny pinholes and sand scratches that you might have missed during fairing.
- Creates a Waterproof Barrier: Think of it as another layer of robust protection against water intrusion, which is never a bad thing.
- Ensures Excellent Adhesion: It provides the perfect chemical and mechanical bond for your final paint layer, preventing peeling down the road.
The importance of these primers in the marine world can't be overstated. The global market for boat epoxy primers was roughly USD 1.2 billion in 2023 and is expected to climb to around USD 2.1 billion in the next few years. That growth highlights just how essential they are for long-term durability.
Applying the Final Topcoat
Finally, it's time to make your repair disappear completely. The topcoat provides the color, the gloss, and—most importantly—the vital UV protection. Because epoxy itself has poor UV resistance, this step is non-negotiable if you don't want your repair to yellow and break down. A two-part polyurethane paint is the industry standard for a hard, glossy finish that closely mimics gelcoat.
Apply your topcoat according to the manufacturer's instructions. A common technique for getting a spray-like finish without a sprayer is the "roll and tip" method. This involves one person rolling on a thin coat of paint while another immediately follows with a high-quality brush, using just the tip to lightly smooth out any texture. With careful application, your once-damaged hull will look as good as new.
Common Epoxy Repair Mistakes to Avoid
Even the best marine epoxy can fail if you fall into one of the classic traps. Learning to sidestep these pitfalls is what really separates a frustrating, sticky mess from a rock-solid, professional-looking repair. A lot of folks learn these lessons the hard way, but you don't have to.
One of the most common culprits I see is boat owners ignoring amine blush. This is a waxy film that can pop up on the surface of curing epoxy, especially when it's cool and damp out. If you slap another coat of epoxy or paint right over it, the new layer just won't bond properly. The result? Delamination down the road.
The fix is surprisingly simple. Just give the surface a good scrub with plain water, a Scotch-Brite pad, and a thorough rinse. That's all it takes to get rid of it. I always tell people to just assume blush is there and give your cured epoxy a quick wash before you even think about sanding or recoating.
Getting Your Mixing Ratios Wrong
Another guaranteed recipe for disaster is "eyeballing" your resin-to-hardener ratio. Epoxy chemistry is a precise science. Straying from the manufacturer's recommended ratio—even just a little bit—means it will never fully cure. You’ll be left with a permanently soft or sticky patch that has zero structural strength and is an absolute nightmare to clean up.
To nail it every time:
- Use the metered pumps if your epoxy system offers them. Seriously, they are worth their weight in gold for getting it right without any guesswork.
- If you don't have pumps, measure by volume or weight in clean, graduated mixing cups. Be precise and don't rush this part.
- Mix for a full two minutes. Scrape the sides and bottom of the cup constantly to make sure every last bit of resin and hardener gets blended together.
A rookie mistake is to add a little extra hardener, thinking it’ll make the epoxy cure faster. It won’t. All it does is throw off the chemistry and weaken the final product, leaving you with a brittle, unreliable bond. Stick to the ratio on the bottle.
Ignoring Temperature and Humidity
Epoxy is finicky about its environment. If you try to apply it when it's too cold, too hot, or too humid, you're just asking for trouble. Cold temperatures can slow the curing process to a crawl, sometimes stopping it altogether. Most marine epoxies have a minimum application temperature, usually around 50°F (10°C).
On the flip side, extreme heat can cause the epoxy to "kick off" way too fast. This generates a ton of extra heat (a process called exotherm), which can weaken the bond and even damage the surface you're trying to fix. High humidity can also mess with the cure and make amine blush even worse.
Always check the manufacturer's recommended temperature and humidity ranges before you start mixing. This simple step can be the difference between a successful repair and a complete do-over.
Answering Your Top Epoxy Boat Repair Questions
Look, no matter how many times you've done a repair, there are always a few questions that rattle around in your head before you start mixing that epoxy. Getting them answered upfront is the difference between a smooth project and a weekend of headaches. Let's tackle the ones I hear the most often.
Can I Use Epoxy Below The Waterline?
You bet. In fact, that’s exactly what it’s made for. A high-quality marine epoxy, once it's fully cured, creates an incredibly tough, totally waterproof barrier. It’s far more impermeable than polyester or vinylester resins.
This is why it's the gold standard for any repair that's going to live underwater. Think osmosis blister jobs, keel repairs, or sealing up through-hull fittings. The way epoxy bites into the fiberglass and locks out water is what gives you a permanent fix, not just a temporary patch.
How Long Until I Can Sand or Paint Epoxy?
Patience is a virtue here. The exact time depends on the specific epoxy you’re using and, most importantly, the temperature in your workspace. On a decent day, say around 70°F (21°C), you can usually start sanding within 24 hours.
But being sandable isn't the same as being fully cured. Before you even think about slapping on a coat of paint or putting any real stress on the repair, you really need to give it 5-7 days. This allows the epoxy to cross-link completely and achieve its final, rock-hard strength. Cooler temps will slow this down even more. Always, always check the technical data sheet from the manufacturer for their specific recommendations.
A rookie mistake I see all the time is painting over epoxy that just feels hard. It can be solid to the touch days before it has reached its full chemical cure. Giving it that extra time is cheap insurance for a repair that’ll outlast the boat.
What Is The Shelf Life of Marine Epoxy?
Most marine epoxy kits will last at least a year if you store them right—that means in a cool, dry spot out of the sun. The good stuff can often last for several years. It's usually the hardener that starts to show its age first.
You might see the hardener turn a darker, amber color over time. For a small, non-structural job, it might still work fine. But if you’re doing anything critical, that's your warning sign. When in doubt, just mix a tiny test batch on some cardboard or scrap wood. If it kicks off and cures hard, you're good to go. If it stays tacky, it's time for a new kit.
Can Epoxy Go Over Old Gelcoat or Polyester?
Absolutely, and this is one of epoxy’s biggest strengths. Epoxy forms an incredible secondary bond to old, cured polyester resin and gelcoat, which is what most fiberglass boats are made of. The secret is all in the prep work.
The surface has to be clean, bone-dry, and scuffed up really well with 80-grit sandpaper. You're aiming to create a rough, "toothy" profile for the epoxy to mechanically lock onto. Just remember, this is a one-way street. You can put epoxy over polyester, but you can never put polyester resin or gelcoat over cured epoxy. It just won’t stick properly.
Ready to tackle your next boat project with confidence? From sealants to cleaning supplies, Better Boat has the premium, easy-to-use products you need to protect your investment. Find everything you need for your next repair at https://www.betterboat.com.


