DIY Gel Coat Boat Repair for a Perfect Finish
When your boat's finish starts to look a little worse for wear, it’s usually the gel coat crying out for attention. Gel coat repair is all about fixing that tough, protective outer layer on your fiberglass hull. This can be anything from filling in minor cosmetic scratches and stress cracks to tackling deeper gouges that mess with your boat's look and its first line of defense.
Decoding Gel Coat Damage on Your Boat

Before you grab any tools, the first step is always a proper diagnosis. You have to know what you’re looking at. Gel coat isn't just paint; it’s a pigmented polyester resin that acts as the boat’s primary shield against UV rays, saltwater, and everyday bumps and scrapes. If you misidentify the problem, you'll apply the wrong fix, and a small issue can quickly become a big headache.
This is about more than just keeping up appearances. Sure, a glossy hull turns heads at the dock, but the gel coat's real job is protection. Its value is clear when you look at the numbers: the global marine gel coat market is expected to hit around $7.5 billion by 2032, growing at a rate of 6.1% annually.
That growth is all about its crucial role in shielding fiberglass from corrosion and impact. If you're interested, you can find more insights about the marine gelcoat industry and its market trends online.
Identifying Common Types of Gel Coat Damage
Different dings and blemishes need different approaches. Getting it right starts with knowing what you're dealing with. Here are the usual suspects you'll find on most hulls:
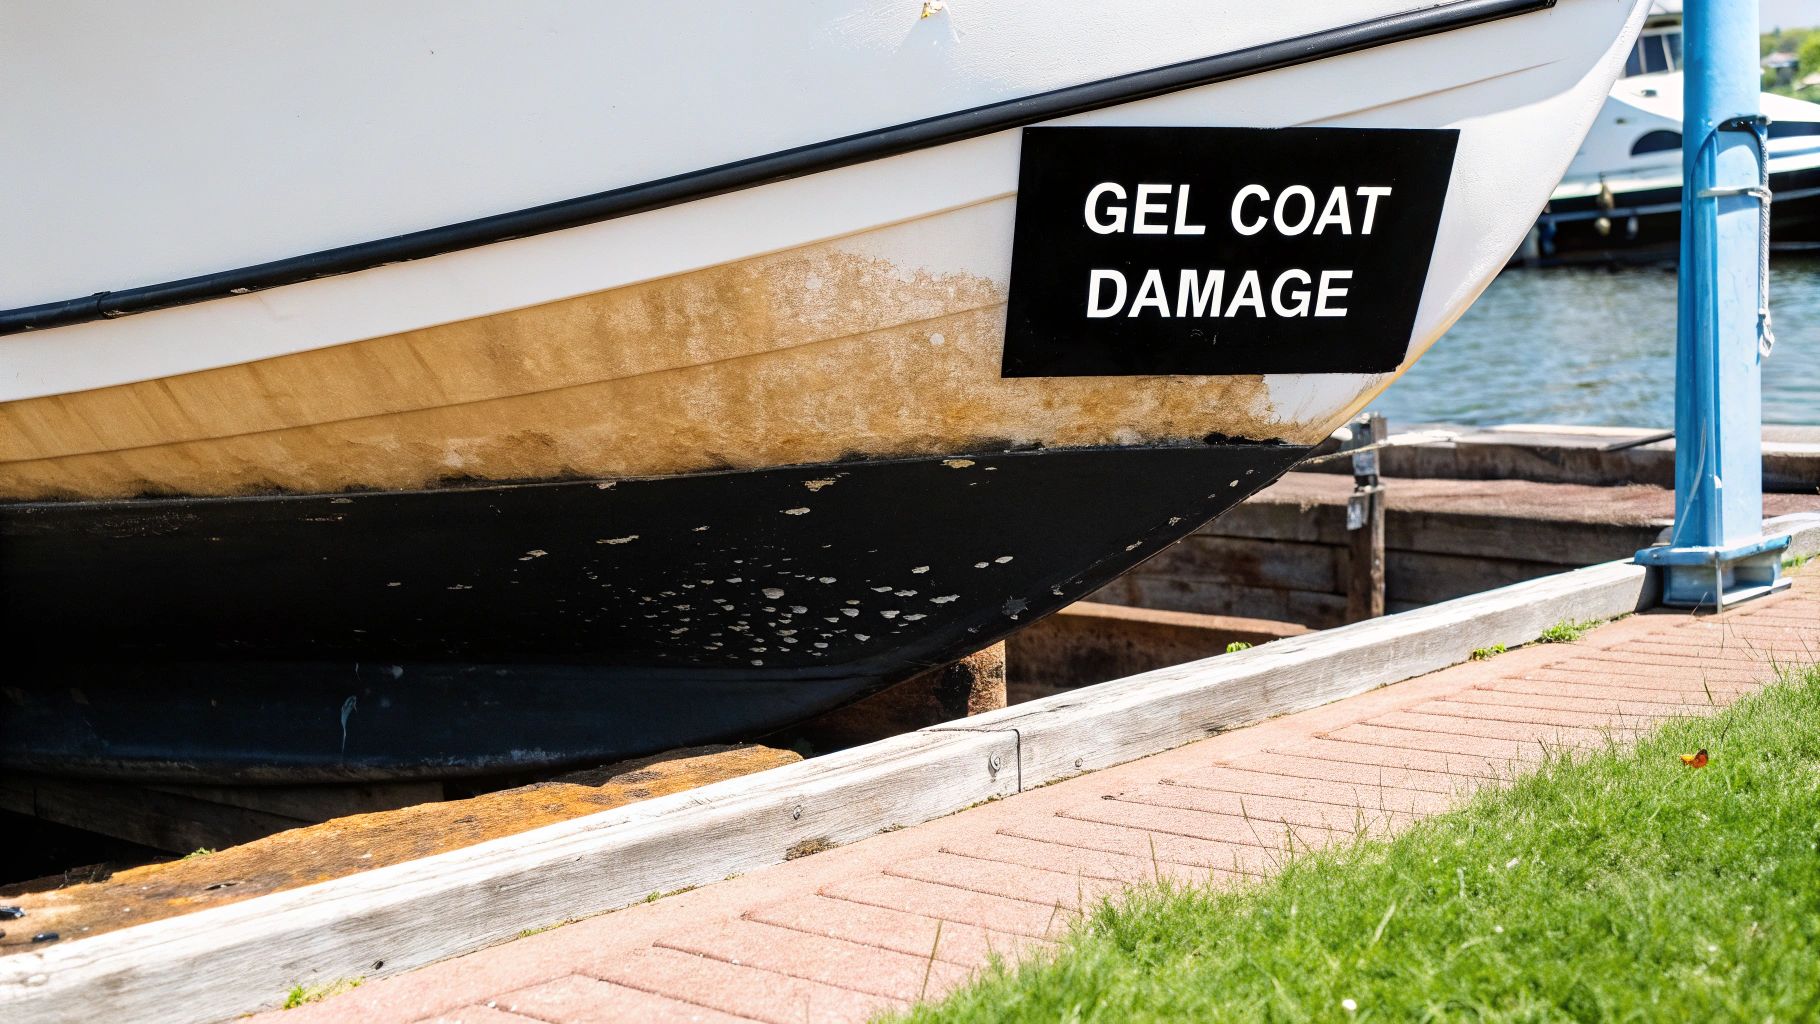
- Spider Cracks (Crazing): These are those fine, web-like cracks that love to pop up around high-stress areas like cleats and stanchions. They look dramatic, but they're typically shallow and just cosmetic, usually caused by minor hull flex or a small impact.
- Gouges and Chips: You get these from a solid knock, like misjudging the dock or finding a surprise rock. A gouge is deeper than a scratch and often exposes the fiberglass underneath, which makes it a top priority to seal up before water can get in.
- Oxidation and Fading: This isn't damage from an impact but a slow-burn problem caused by the sun. That once-bright color turns dull and chalky. Most of the time, this calls for a serious polishing session, but in bad cases, you might be looking at sanding and a full refinish.
Pro Tip: A quick way to judge a scratch is the fingernail test. If your nail catches in the groove, it's deep enough that you'll need to fill it with gel coat. If your nail just glides right over it, you can probably buff it out with a good polishing compound.
Differentiating Cosmetic from Structural Issues
Knowing the difference between a surface flaw and a symptom of a deeper problem is absolutely critical. For example, those spider cracks are almost always cosmetic. But if you see them radiating out from a single point and the hull feels soft or flexes when you press on it, you might be looking at a structural issue that gel coat repair alone won't fix.
By the same token, a gouge is just a cosmetic problem—until it isn't. If you look into the gouge and see shattered or frayed fiberglass strands, your repair just got bigger. You'll need to do some structural fiberglass work first before you can even think about applying new gel coat.
Taking a few extra minutes to properly diagnose the damage ensures you're actually fixing the root cause, not just slapping a band-aid on it. This protects your boat’s value and, more importantly, its safety on the water.
Building Your Gel Coat Repair Arsenal

Any seasoned boat owner will tell you that a successful gel coat repair hinges on having the right gear on deck before you even think about starting. There's nothing worse than getting halfway through a job only to realize you're missing a critical item, forcing a frantic run to the marine supply store.
This isn't just a shopping list. Think of it as your battle plan for achieving that flawless, factory-fresh finish.
First things first: safety is non-negotiable. Gel coat and its related chemicals pack a punch with some pretty potent fumes. You absolutely need a high-quality respirator fitted with organic vapor cartridges. Don't skimp here. Grab some safety glasses and a box of nitrile gloves, too—you don't want resins or acetone making contact with your skin.
Choosing Your Core Repair Materials
The main event, of course, is the gel coat itself. You’ll generally find it in two forms: paste and liquid. Gel coat paste has a thick consistency, almost like peanut butter, which makes it a lifesaver for vertical surfaces or overhead fixes where you can't have it dripping and sagging all over the place.
Liquid gel coat, on the other hand, is thinner and works beautifully on horizontal surfaces where it can spread out and self-level.
This stuff is a big deal in the marine world. In fact, the global market for gel coat was valued at a whopping USD 1.28 billion in 2023, and it's only expected to grow. Its importance as a tough, protective finish is undeniable.
A Quick Note on Wax: You'll see gel coat sold "with wax" or "without wax." The version with wax is a finishing resin. As it cures, the wax rises to the surface, creating an air barrier that allows for a hard, tack-free finish. You only want to use the "with wax" variety for your final, top-most layer.
The magic ingredient that makes it all happen is the catalyst, which is usually Methyl Ethyl Ketone Peroxide (MEKP). This is what kicks off the hardening reaction. Getting the mix ratio right is absolutely critical and changes with the temperature, so follow the manufacturer's directions to the letter.
For deeper, more structural repairs that demand serious strength and adhesion, you might need to start with an epoxy filler. If you're tackling something more than a cosmetic scratch, it's worth reading our guide on https://betterboat.com/blogs/news/the-ultimate-guide-to-choosing-epoxy-resin-for-your-boat.
Assembling the Right Tools and Supplies
Having the right tools is just as important as the gel coat itself. They're the difference between a messy, frustrating job and a smooth, professional-looking repair. Before you mix anything, make sure you have everything you need laid out and ready to go.
This table breaks down the essentials—what they are, why you need them, and what to look for when you're buying.
Essential Tools and Materials for Gel Coat Repair
| Item Category | Specific Item | Purpose & Key Considerations |
|---|---|---|
| Safety Gear | Respirator, Glasses, Gloves | Protects against fumes and skin contact. Use a respirator with organic vapor cartridges. |
| Preparation Tools | Dremel Tool with V-Bit | Ideal for cleanly grinding out spider cracks and small gouges to create a solid base for the new gel coat. |
| Mixing Supplies | Disposable Cups & Stir Sticks | Ensures accurate and clean mixing of gel coat and catalyst. Don't reuse containers. |
| Application Tools | Flexible Plastic Spreaders | Perfect for smoothly applying gel coat paste into chips and scratches. Get a variety of sizes. |
| Masking | High-Quality Painter's Tape | Isolates the repair area, protecting the surrounding finish and creating clean lines. |
| Sanding | Assorted Sandpaper Grits | Essential for shaping and finishing. You'll need everything from 80-grit for rough shaping up to 1200-grit for wet sanding. |
| Cleaning | Acetone | The go-to solvent for cleaning the repair area before application and for tool cleanup. |
| Finishing | Rubbing Compound & Polish | After sanding, these bring back the high-gloss shine to match the rest of your hull. |
Having these items organized and within arm's reach will make the entire process, from prep to final polish, feel much more manageable and lead to a far better result.
Prepping the Damage for an Invisible Fix
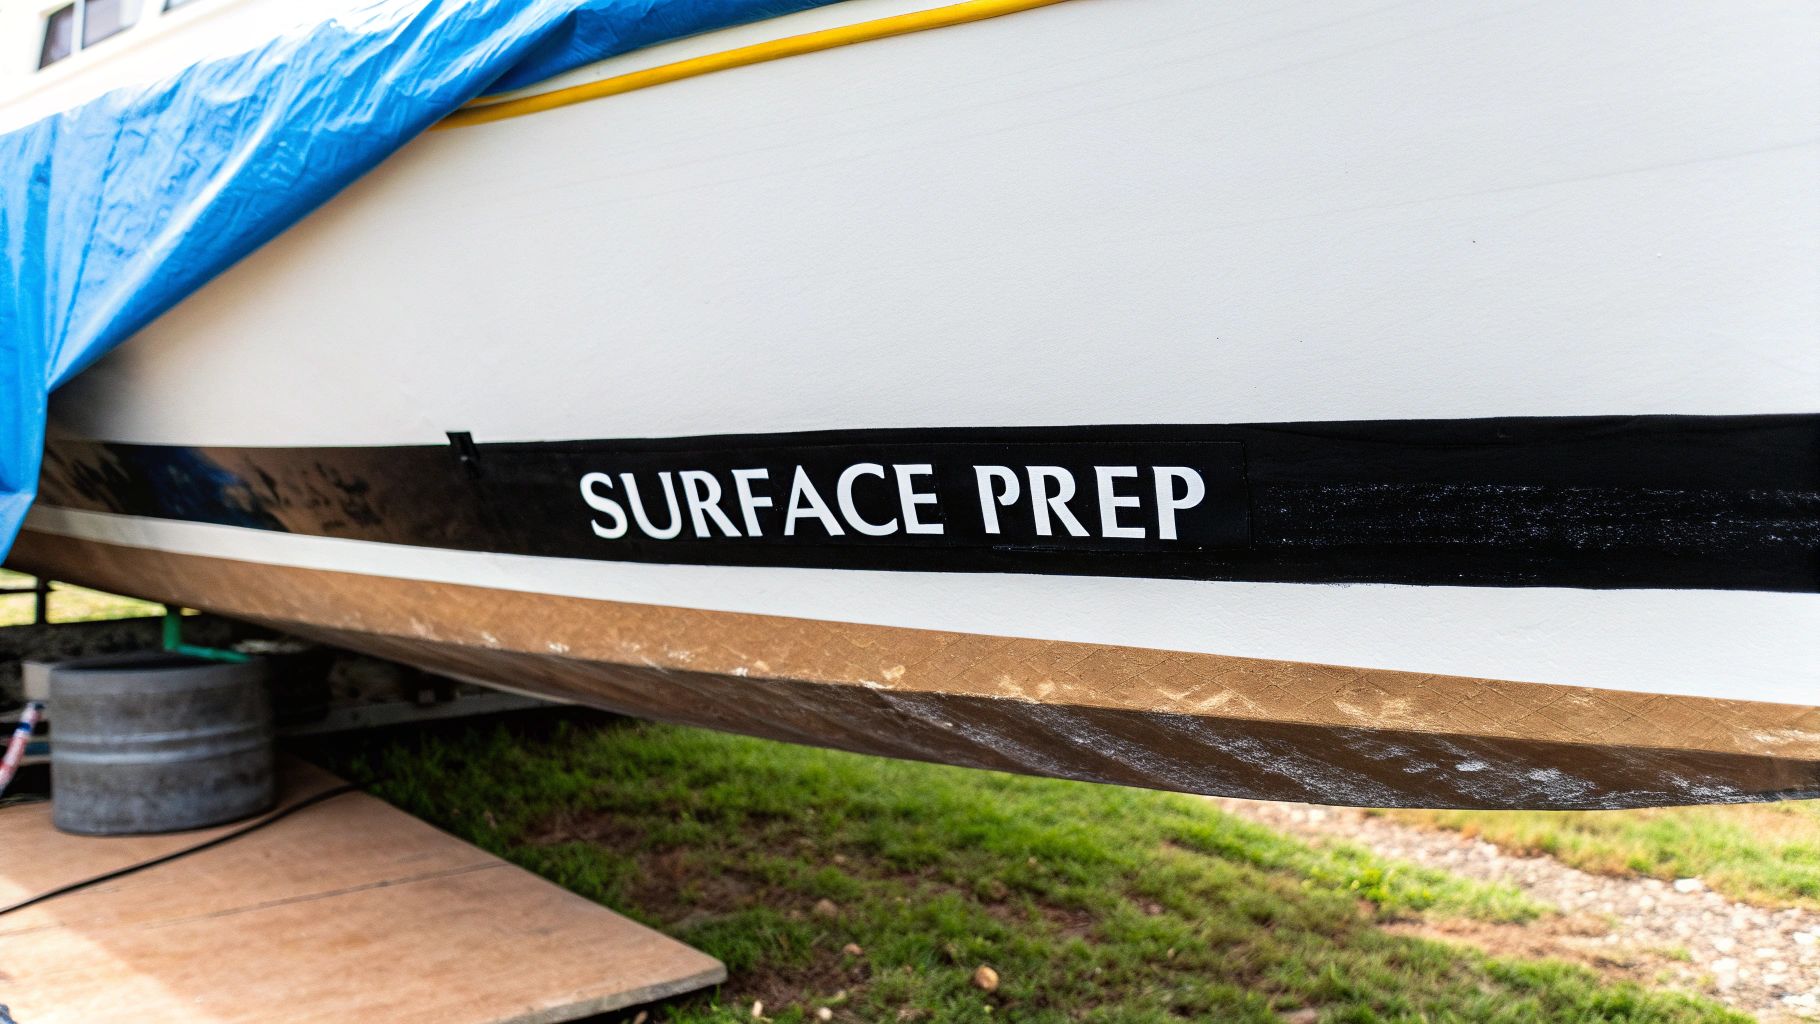
Talk to any seasoned pro in a boatyard, and they'll tell you the same thing: 90% of a successful gel coat repair is all in the prep work. This is where you set the stage for a fix that either vanishes completely or sticks out like a sore thumb and fails down the line.
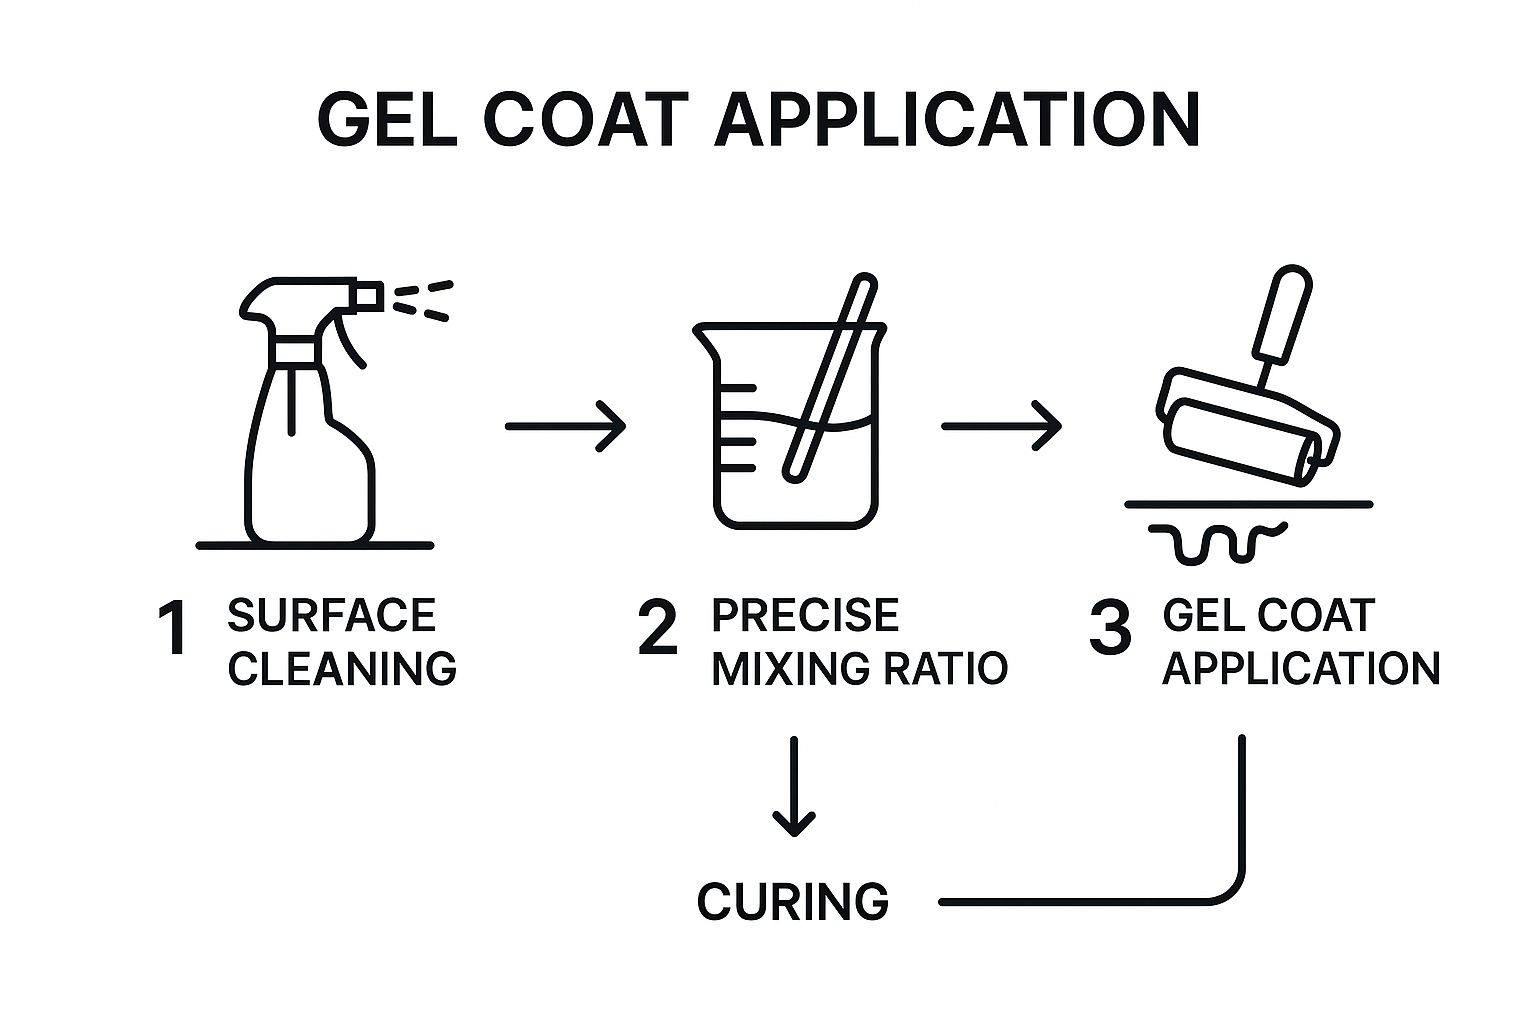
Before you even think about picking up a sander, your first job is a thorough cleaning. Grab a clean rag and some acetone.
You need to wipe down the entire damaged area, plus a few inches around it, to get rid of every last bit of wax, grease, or grime. If you skip this, the new gel coat won't get the strong chemical bond it needs to hold.
Grinding and Shaping the Repair Area
Once the surface is spotless and dry, it's time to get into the damage itself. You can't just fill deep gouges or spider cracks and call it a day. You have to open them up to give the new material something substantial to grab onto.
A Dremel with a V-shaped bit is your best friend here. Carefully trace along each crack, grinding it out from a thin line into a wider, beveled "V." This simple trick massively increases the surface area, letting the gel coat paste form a much stronger, more permanent bond.
Here’s a critical tip for spider cracks: drill a tiny, shallow hole at the very end of each crack. This is called a "stop-drill," and it works by relieving the stress in the gel coat, which is what caused the crack in the first place. This stops it from creeping any further across your hull.

Feathering Edges for a Seamless Blend
After you've opened up the cracks, the next goal is to create a perfectly smooth transition from the repair to the original gel coat. We call this feathering the edges, and it’s the absolute secret to making your hard work disappear.
Start by masking off the area around the damage with good quality painter's tape. This will save your good gel coat from any accidental slips with the sandpaper.
Now, with 80-grit sandpaper, start sanding the edges of the area you just ground out. You're trying to create a gradual, tapered slope from the healthy gel coat down into the repair zone. This gets rid of any hard lines that would show through the new finish. Once you've got the shape right, you can switch to a finer 120-grit to smooth out the heavy scratches from the 80-grit.
Expert Insight: When you're feathering, always sand a wider area than the actual damage. I always follow a simple rule of thumb: create a feathered edge that's at least an inch wide around the entire repair. This guarantees a gradual transition that the eye won't be able to pick up when you're all done.
Finally, give the whole area one last, careful wipe-down with acetone. This removes every speck of sanding dust, leaving a pristine surface for the new gel coat to adhere to. With that, your prep work is done, and you're ready for the fun part: mixing and applying the gel coat.
With all the prep work behind you, it's time for the main event: mixing and applying the gel coat. This part always feels like a bit of a chemistry experiment, and getting it right is the secret to a professional-grade finish that'll last for years.
The marine industry runs on this stuff. In 2023, marine applications accounted for nearly 40% of the total gel coat market, with North America leading the charge. That's a lot of boats needing maintenance, where a quality gel coat boat repair is non-negotiable for both protection and looks. You can dive deeper into the global gel coat market trends on grandviewresearch.com.

The Critical Catalyst Ratio
This is the single most important part of the mix—the ratio of gel coat to its catalyst, which is usually MEKP (Methyl Ethyl Ketone Peroxide). This isn't a one-size-fits-all number; it changes completely based on the temperature and humidity. A hot, sunny day will kick things off in a hurry, while a cool, overcast afternoon will give you a lot more working time.
Always start with the manufacturer's instructions, but here’s a solid cheat sheet I've used for years:
- Cool Conditions (60-70°F): You'll probably need a bit more catalyst, right around 2% by volume.
- Ideal Conditions (70-80°F): The sweet spot is typically 1.5% by volume.
- Hot Conditions (80-90°F): Back it off to 1% or even a touch less. You'll need every second of working time you can get.
Only mix up small batches you can realistically use within 10-15 minutes. Once that catalyst goes in, the clock is ticking.
Pro Tip: Never, ever eyeball the catalyst. Get a dedicated measuring cup or a syringe for accuracy. The wrong ratio can leave you with a repair that stays tacky forever or, just as bad, becomes so brittle it cracks right out.
Color Matching an Aged Hull
Getting the color perfect is an art form. You can buy a factory-matched gel coat, and that's a great place to start, but your hull has seen years of sun. It's faded. Your real job is to match the faded color, not the original shade from the factory.
This is where tinting pigments come in. Start with your base gel coat and add tiny drops of pigment, mixing completely after each addition. A little goes a long way. Remember, gel coat darkens as it cures. My go-to method is to dab a test patch on a piece of cardboard, let it fully cure, and then hold it right up against the hull in direct sunlight. That's the only way to know for sure.
If you're gathering supplies, make sure you check out our complete guide on everything you need for boat gelcoat repair.
Application for a Flawless Finish
For small nicks and gouges, a simple flexible plastic spreader is your best friend. If you're filling in fine spider cracks that you've opened up with a Dremel, a small artist's brush can help you work the gel coat paste deep into the groove.
Here's the key to a truly seamless, invisible repair: you have to slightly overfill the damaged area. You want to apply the gel coat paste so it sits just proud of the surrounding surface, creating a small mound. Don't be shy about it. This deliberate overfill is what you'll sand down later, guaranteeing the final repair is perfectly flush with the hull and leaving no frustrating dips or low spots.
The Art of Sanding and Polishing
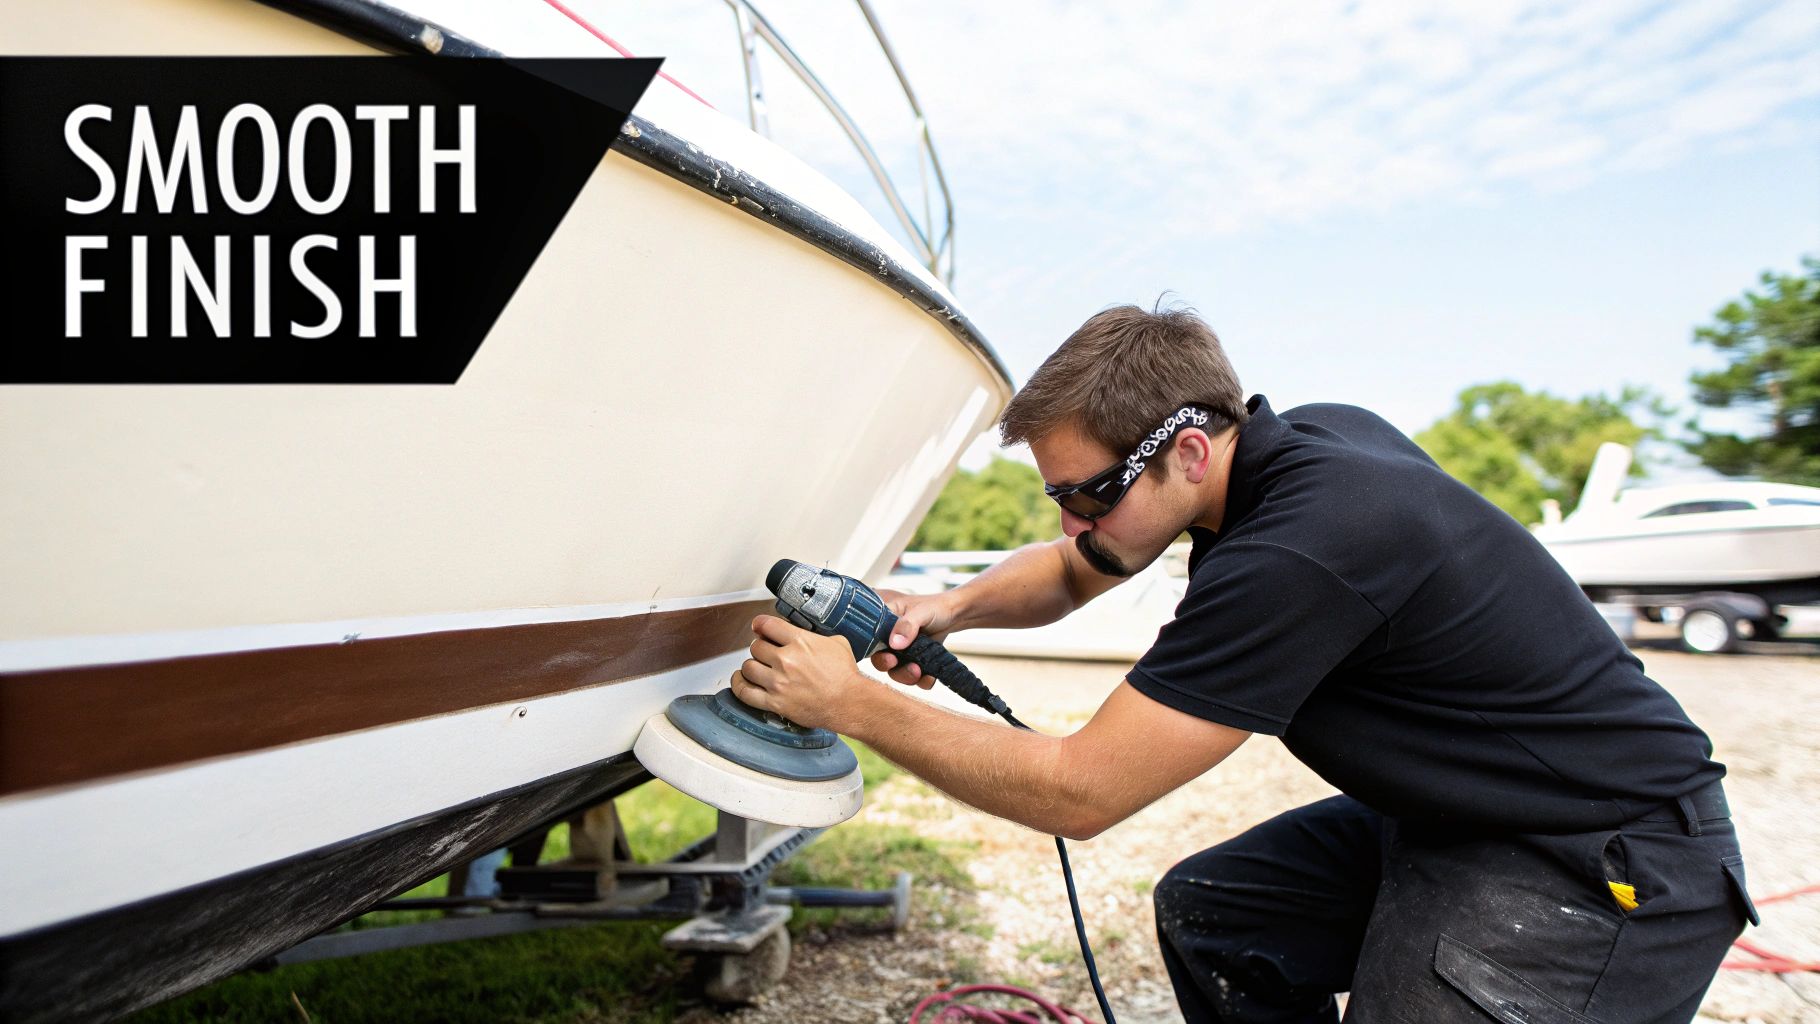
This is where your patience really pays off. The final sanding and polishing are what separate a decent patch from a truly invisible gel coat boat repair. After your overfilled repair has fully cured—and you'll want to give it at least a solid 24 hours—it's time to flatten it out and bring back that deep, factory shine.
Your first step on this journey is wet sanding. Let me be clear: using water with your sandpaper is non-negotiable here. It keeps the surface lubricated, stops the paper from getting clogged up with dust, and gives you a much, much smoother finish. You'll start with a coarser grit just to knock down that mound of cured gel coat.
Trust me, a good sanding block is your best friend for this part. It's the only way to guarantee the surface stays perfectly flat and you don't accidentally sand in some frustrating low spots.
The Sanding Progression
The whole secret here is a methodical progression through finer and finer grits of sandpaper. If you get impatient and try to skip grits, you'll be left with deep scratches that even the best polishing compound on the market won't be able to hide.
- Initial Leveling (320-400 Grit): Kick things off with 320-grit or 400-grit wet/dry sandpaper wrapped around your sanding block. Sand gently and consistently until the repair is perfectly level with the surrounding hull. You'll know you're there when the whole area has a uniform, dull haze to it.
- Scratch Removal (600-800 Grit): Now, step down to 600-grit, and then 800-grit. The only job for each new grit is to completely erase the scratches left by the one before it.
- Final Smoothing (1000-1200 Grit): To wrap up the wet sanding, finish with 1000-grit and, if you're aiming for perfection, 1200-grit paper. This will leave the surface feeling incredibly smooth, though it will still look hazy and far from glossy.
Once you're done with the last sanding pass, give the area a thorough cleaning and let it dry completely. Now you're ready to make it shine.
Expert Insight: Always use a cutting compound before a polish. Think of a cutting compound as liquid sandpaper—it's got aggressive abrasives that power through those fine sanding scratches. A polish, on the other hand, has much finer abrasives designed to buff out the haze from the compound, creating that deep, mirror-like reflection we're all after.
Bringing Back the Gloss
The most efficient way to bring back that shine is with a variable-speed buffer fitted with a wool compounding pad. Squeeze a small amount of cutting compound right onto the pad and work in a small, two-by-two-foot section. The key is to keep the buffer moving constantly to avoid burning the gel coat.
Wipe the leftover residue off with a clean microfiber towel to check your progress. Once those sanding scratches have vanished, switch over to a soft foam polishing pad and a fine-finish polish. This is the final step that will really bring out the rich color and deep gloss.
The last touch is all about protection. Applying a quality marine wax seals all your hard work from punishing UV rays and the elements. For a complete walkthrough, check out our guide on how to wax your boat for lasting protection. This final step doesn't just protect your repair; it helps it blend in absolutely seamlessly with the rest of your hull's finish.
Your Top Gel Coat Repair Questions Answered
Even with the best guide in hand, you’re bound to hit a snag or have a question pop up mid-project. It happens to all of us. Getting the right answer quickly can be the difference between a pro-level finish and a frustrating do-over. Let’s tackle some of the most common questions that come up during gel coat repairs.
How Do I Match a Faded Gel Coat Color?
This is the big one. Trying to perfectly match a new patch to a hull that's seen years of sun is easily the trickiest part of the job.
Your best bet, without a doubt, is to order a factory-matched kit using your boat's Hull Identification Number (HIN). If that’s not on the table, you'll have to play chemist with a neutral gel coat base and a pigment kit.
The key here is to mix incredibly small test batches. Put a little dab on a piece of cardboard or even a hidden spot on the hull (like under a cleat) and let it fully cure. Remember, gel coat always darkens as it cures, so the wet mix needs to look a bit lighter than your final goal. Check your cured sample against the hull in bright, direct sunlight to see how close you really are.
Pro Tip: Before you even think about mixing, take a good quality polish and buff a small area of the original hull right next to where you'll be working. This cuts through the top layer of chalky oxidation and shows you the true color you should be aiming for.
What's the Difference Between Gel Coat With and Without Wax?
The "wax" we're talking about is an essential additive, not the stuff you polish with. As the gel coat cures, this wax migrates to the surface, creating an airtight barrier. This is critical because it blocks oxygen, allowing the resin to cure into a hard, tack-free finish.
Here’s when to use each type:
- Gel coat with wax: Think of this as your "finishing" or "top" coat. You’ll use it for the final layer of your repair because it cures hard and can be sanded and polished to a perfect shine.
- Gel coat without wax: This is what you use when you need to build up multiple layers, like in a deep gouge. It stays slightly tacky after it sets, which is exactly what you want. That tackiness allows the next layer to form a much stronger chemical bond than it would on a fully cured, waxy surface.
Can I Apply Gel Coat Directly Over Marine Paint?
Absolutely not. Putting gel coat over paint is one of the most common—and costly—mistakes you can make.
Gel coat is a polyester resin, and it needs to create a direct chemical bond with the fiberglass underneath or with a properly prepped, existing gel coat surface. It simply won't stick to paint. If you try, it will peel, crack, and fail in no time, leaving you with an even bigger mess to fix.
If the area you're repairing has been painted, you have to get all of it off. No shortcuts. You’ll need to completely sand or strip away every last bit of paint until you’re down to the original, clean gel coat before you can even begin your repair.
For all your repair and maintenance needs, from gel coat kits to high-performance cleaners and waxes, trust Better Boat to provide premium, easy-to-use products that protect your investment. Explore our full range of boating solutions at https://www.betterboat.com.


