


How to Clean Boat Bottom Like a Pro: Expert Tips
Before we dive into the nitty-gritty of how to clean a boat bottom, we need to talk about why this job is so much more than just a cosmetic touch-up. Honestly, keeping your hull clean and free of marine growth is one of the most important things you can do for your boat’s performance, fuel economy, and overall lifespan. Letting it go means dealing with sluggish speeds, eye-watering fuel bills, and the risk of serious, long-term damage.
Why a Clean Hull Is Your Boat's Best Friend
Think of your boat’s hull like its skin. When it's smooth, it cuts through the water with ease. But once it gets covered in biofouling, that lovely collection of algae, barnacles, and other marine critters, it’s like trying to run a race while dragging a parachute. That buildup creates a ton of drag, forcing your engine to work way harder just to get up to speed.
This isn't some minor annoyance; it has a real impact on your wallet and your time on the water. The struggle is real. A weekend cruise that used to feel quick and responsive now feels like you're plowing through molasses. Getting on plane can turn into a frustrating, throttle-pushing ordeal, which definitely takes the fun out of the day.
The Impact of Biofouling on Boat Performance
Neglecting your hull doesn't just feel slow, it has measurable consequences for your speed and fuel budget. The longer you wait, the more significant the drag becomes, and the harder your engine has to work to overcome it. This table breaks down just how quickly things can go from bad to worse.
| Fouling Level | Description | Potential Impact on Speed | Potential Impact on Fuel Consumption |
|---|---|---|---|
| Light Slime | A thin, slippery layer of algae and microorganisms. | Up to 5% speed loss | Up to 10% increase |
| Moderate Growth | Patches of sea grass, small barnacles, and heavier slime. | 5-15% speed loss | 15-25% increase |
| Heavy Fouling | A dense carpet of barnacles, tubeworms, and mature marine life. | 15-30% or more speed loss | 30-50% or more increase |
As you can see, what starts as a small problem can escalate into a major performance and financial drain. Regular cleaning is the only way to stay ahead of the curve and keep these numbers in check.
The True Cost of a Dirty Hull
Beyond the pain at the fuel pump, a fouled bottom can hit you with other costs. The physical integrity of your hull is seriously at risk. Marine organisms, especially barnacles, attach themselves with a grip that’s like concrete.
Once they've set up shop, their hard shells and the acidic stuff they produce can:
- Eat away at your protective gelcoat or bottom paint.
- Cause pitting and blistering on the hull's surface.
- Make your expensive antifouling paint completely useless.
Look, a well-maintained hull isn't just about looking sharp at the marina. It’s a core part of being a responsible boat owner. You're protecting your investment and making sure your boat runs safely and efficiently every single time you cast off the lines.
Protecting Our Waterways
Finally, there’s a bigger picture to consider. Keeping your hull clean is a simple way to help protect our marine ecosystems. When you travel from one lake or bay to another, a fouled hull can act as a taxi for non-native, invasive species.
These little stowaways can wreak havoc on local aquatic life and cause real ecological damage. By cleaning your hull regularly, you're doing your part to ensure your boat isn't accidentally transporting these unwanted passengers. It transforms a simple chore into a vital act of stewardship for the waters we all love.
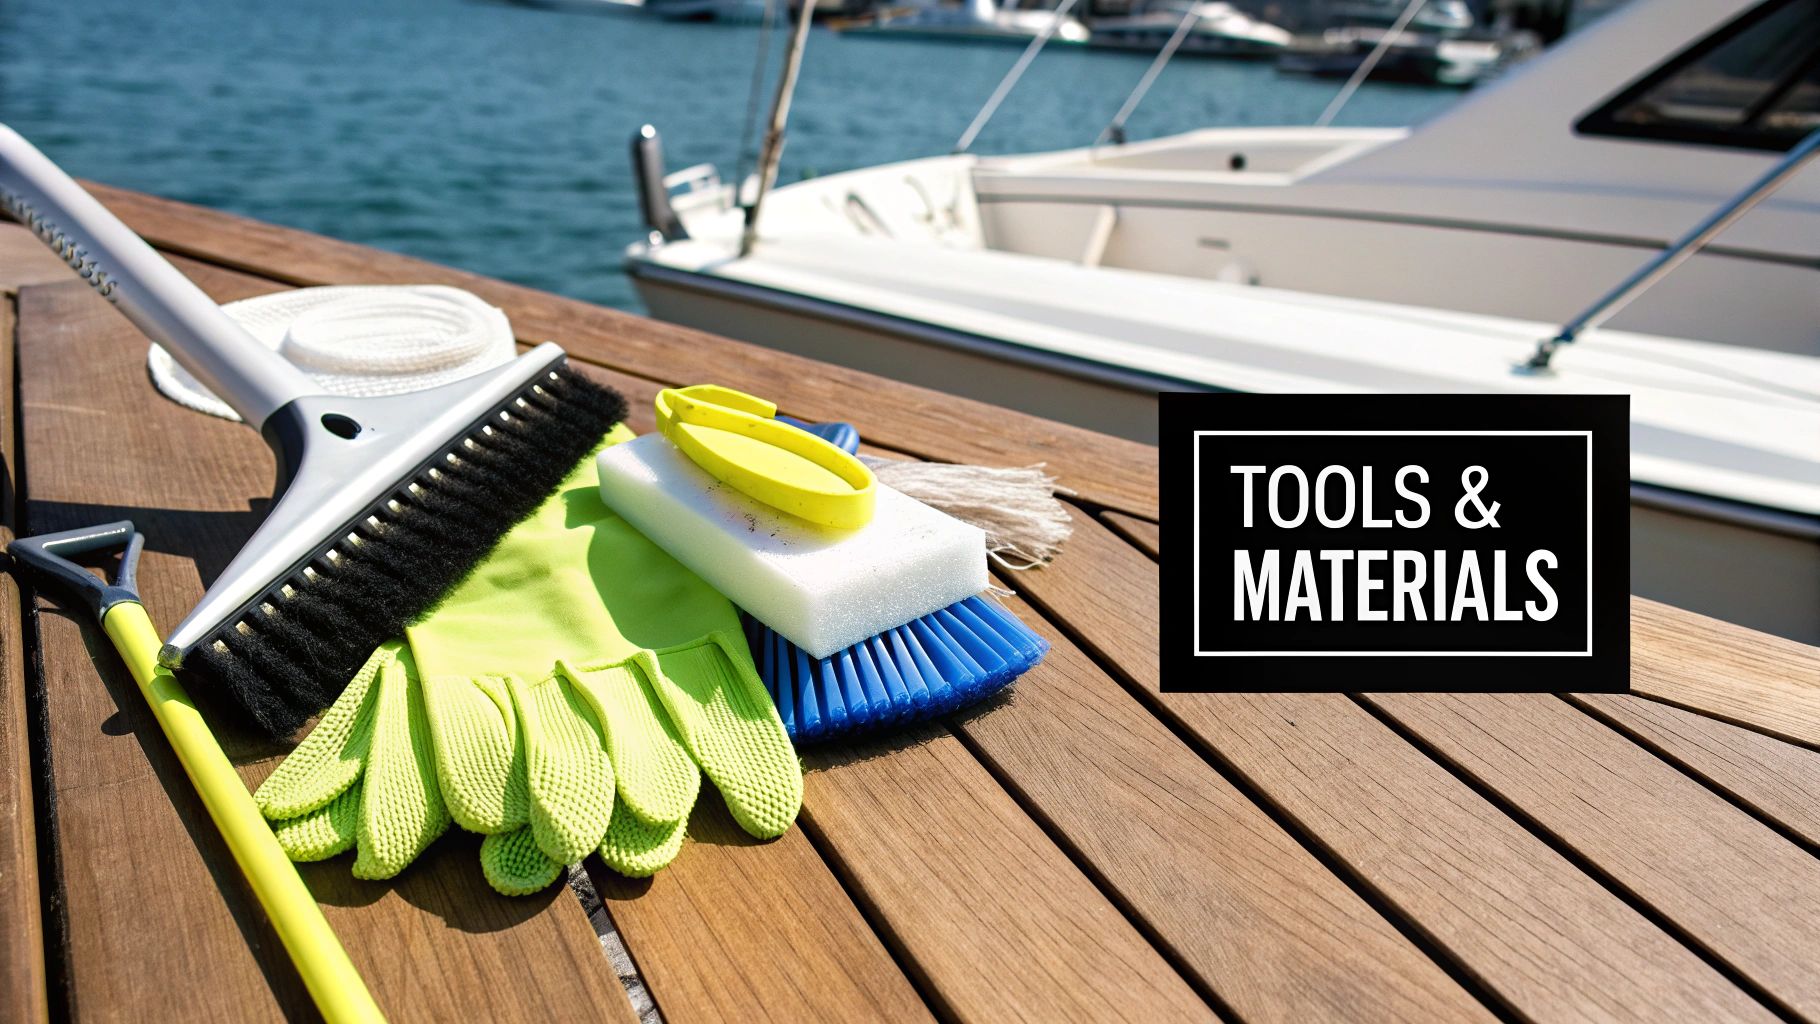
Gathering Your Hull Cleaning Arsenal
Before you even think about tackling the job, you need the right tools. I’ve seen it a hundred times: someone shows up unprepared, and what should have been a manageable project spirals into a day of pure frustration. Assembling the right gear for cleaning your boat bottom is like a chef organizing their knives, each tool has a specific purpose that makes the entire process smoother and more effective.
The first and most critical part of your kit is your Personal Protective Equipment (PPE). You’ll be dealing with sharp marine growth, abrasive surfaces, and chemical cleaners. This isn’t the time to cut corners on safety.
- Safety Goggles or a Face Shield: Protects your eyes from chemical splashes, flying debris from scraping, and high-pressure water spray.
- Chemical-Resistant Gloves: Standard work gloves just won't cut it. You need nitrile or other heavy-duty gloves to protect your skin from harsh hull cleaners.
- Coveralls or Old Clothing: Keep your regular clothes free from stains and chemicals. Trust me, hull cleaner stains don't come out.
- Waterproof Boots: Absolutely essential for keeping your feet dry and protected, especially when you're pressure washing.
Tools for the Job
Your choice of tools will largely depend on one thing: is your boat in or out of the water? An out-of-water cleaning allows for more aggressive tools and a much deeper clean, which is a must for bigger jobs like sanding and painting.
For a boat that’s been hauled out, your primary weapon is a good pressure washer. This thing is a lifesaver, blasting away the initial layers of slime, algae, and loose growth. It does the heavy lifting so you don't have to.
After the pressure wash, you'll need scrapers. Not all scrapers are created equal, and using the wrong one can cause some serious, expensive damage to your hull.
Pro Tip: Always have both plastic and metal scrapers on hand. I always start with a flexible plastic scraper to protect the gelcoat. Only switch to a metal scraper for those stubborn, calcified barnacles, and use it with extreme care to avoid gouging the hull.
For tackling what’s left of the tough growth and prepping the surface for paint, an orbital sander with wet/dry sandpaper is invaluable. It helps you smoothly remove any remaining barnacle "rings" and scuff the surface just enough for proper paint adhesion. A few long-handled, stiff-bristle brushes will also be your best friend for scrubbing away the last bits of grime.
Cleaners and Chemicals
When it comes to cleaners, choosing the right product is everything. Household cleaners like bleach are a definite no-go; they can damage your gelcoat and are extremely harmful to marine life.
I always start with a high-quality, eco-friendly boat soap for the initial wash. For the tough stuff, you’ll need a specialized marine hull cleaner. Products like the Better Boat Hull Cleaner are specifically formulated to dissolve stubborn waterline stains and tough scum without messing up your boat’s finish.
Always apply these cleaners according to the instructions. This usually means working in small, manageable sections and rinsing thoroughly. This methodical approach is how you get the best results when learning how to clean a boat bottom, all while protecting both your vessel and the environment.
Setting Up for a Safe and Clean Workspace
 Any seasoned boater will tell you: a good boat bottom cleaning job starts long before you even touch a scraper. How you prep your work area is the foundation for a safe, efficient, and environmentally sound project. It doesn't matter if you’re working on a trailer in your driveway or have arranged a haul-out at the local yard, getting your setup right is non-negotiable.
First things first, make sure that boat isn't going anywhere. If it's on a trailer, chock the wheels and ensure it’s stable on level ground. For boats that have been hauled out, they'll be sitting on stands or blocks. Before you even think about crawling underneath, do a full walk-around. Give the hull a firm push. You shouldn't feel any wobbling or shifting. That stability is absolutely critical when you're working underneath a few tons of fiberglass.
Creating an Environmentally Compliant Work Zone
One of the biggest mistakes I see people make is underestimating the environmental side of this job. Marinas and local authorities are cracking down hard on runoff, and for good reason. Letting old bottom paint, marine growth, and cleaning chemicals wash into the waterways can land you in hot water with some serious fines under regulations like the Clean Water Act.
Your best friend here is a heavy-duty tarp. Get one that's big enough to extend several feet beyond the boat's entire perimeter. This ground cover is your first and most important line of defense, catching everything from pressure washer spray to scraped-off barnacles.
To really do it right, you can build a more serious containment system:
- Build a Berm: Use some sandbags or even just 2x4s to create a low wall around the edge of your tarp. This simple step creates a basin that keeps any liquid runoff or debris from escaping.
- Filter Your Runoff: If you end up with a lot of water, place some filter fabric or a bit of straw near a low point in your berm. This will catch the gunk and sediment before you pump out the collected water.
Proper containment isn't just about avoiding a fine; it's about being a responsible boater. The mission is simple: nothing from your boat's hull should touch the raw ground or get washed down a storm drain.

The Growing Importance of Professional Standards
This intense focus on doing things the right way, safely and cleanly, is part of a bigger picture in the marine world. Boating is more popular than ever, and with that comes a bigger demand for high-quality maintenance. In fact, the global boat bottom cleaning service market is expected to hit around $794 million by 2033.
That number tells a story. It’s driven by boaters wanting better performance and by the need to meet stricter environmental laws. It shows why doing professional-level prep work is no longer optional, even for the DIYer. You can dig deeper into these trends by checking out the boat bottom cleaning market report on archivemarketresearch.com.
By taking these few extra steps before you start, you're building a workspace that's safe for you and respectful of the water we all enjoy. Once that's done, you can get to the real task of how to clean a boat bottom, knowing you've already handled the most critical part of the job.
Your Guide to Effective Hull Cleaning
Now that your workspace is prepped and safe, it's time to get down to business. This is where your hard work really starts to pay off, turning a fouled hull into a smooth, efficient surface. Think of this as a methodical process, not a mad dash to the finish line.
The first move is always the pressure wash. There's something incredibly satisfying about watching that initial blast strip away the top layer of soft growth, all that green slime and algae just melts away with pure force. Keep the nozzle moving and hold it a consistent distance from the hull. If you linger too long in one spot, you risk damaging the gelcoat or paint.
Tackling Tough Marine Growth
After the pressure washer has done its job, you'll be left with the more stubborn residents: barnacles and other hard-shelled organisms. This part of the job calls for patience and the right technique. It reminds me of how a professional kitchen relies on a detailed kitchen equipment maintenance checklist to keep everything spotless and functional, a meticulous approach here is just as crucial.
Grab your plastic scraper to start. Hold it at a low angle, somewhere around 30-45 degrees to the hull, and use firm, steady pressure to get under the edge of the barnacle shells. The goal here is to pop them off cleanly, not to chisel away at them piece by piece. For the really stubborn clusters, you might have to switch to a metal scraper, but be careful, it’s easy to gouge the hull if you’re not paying attention.
The image below really captures the hands-on nature of this cleaning phase, which is a vital step before you even think about using chemical treatments. 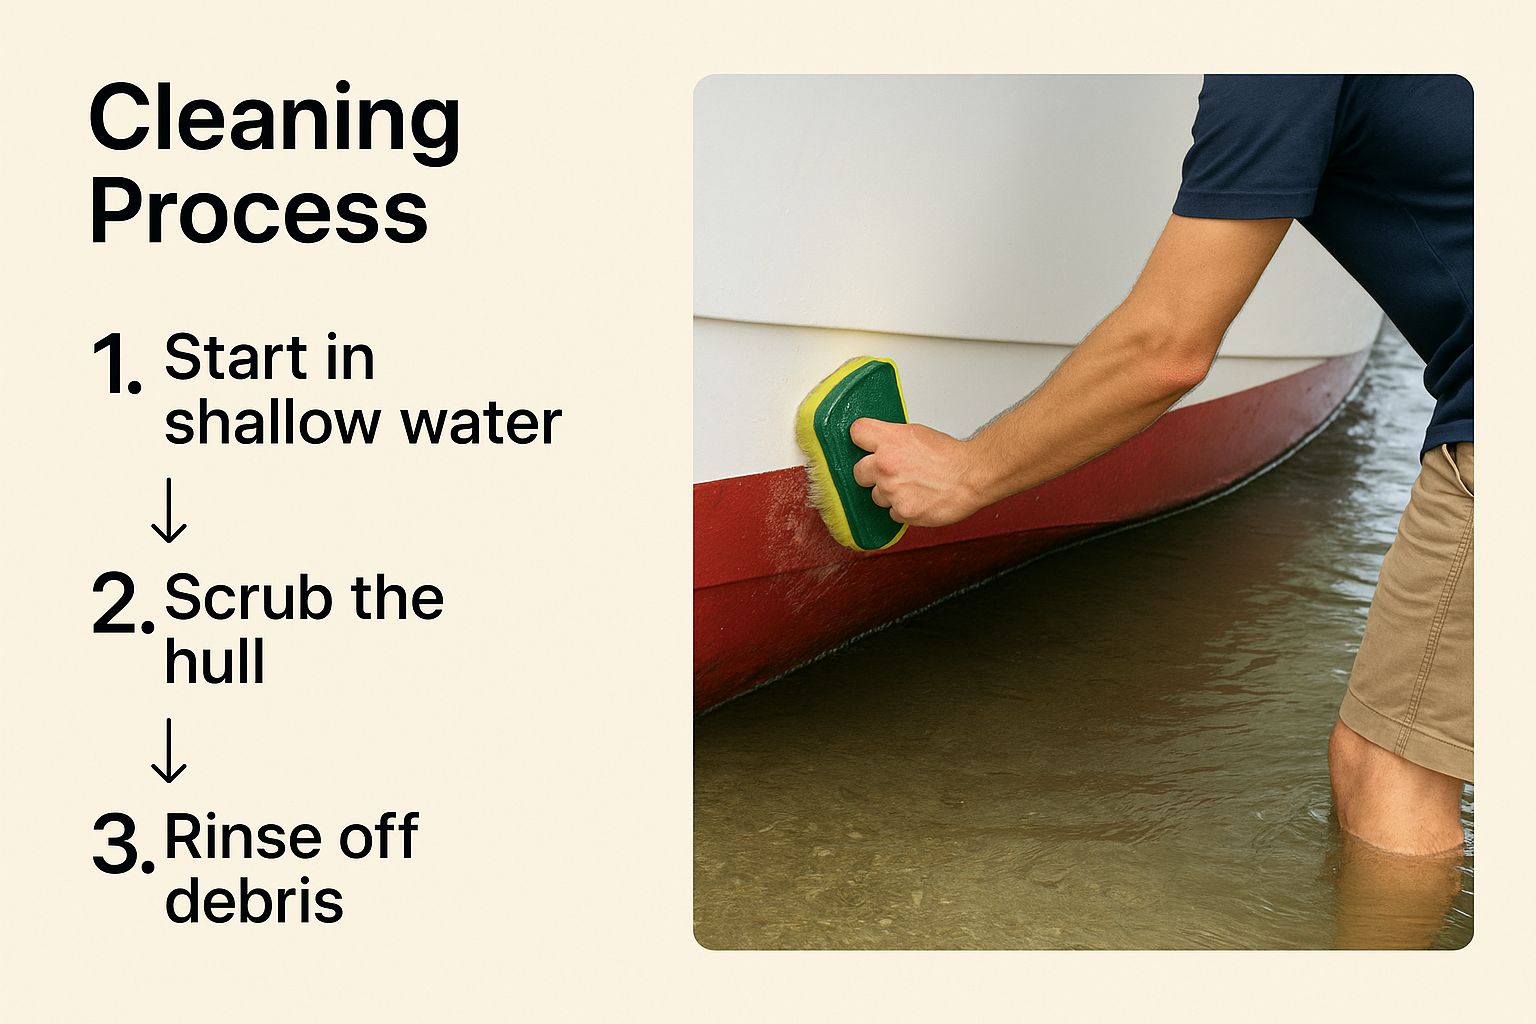 This is exactly what it looks like to deal with what the pressure washer leaves behind, pure elbow grease.
Using Chemical Cleaners Correctly
Even after scraping, you'll probably still see stubborn waterline stains and faint "rings" where barnacles used to be. This is where a dedicated hull cleaner earns its keep. These chemical solutions are specifically formulated to dissolve tough organic and mineral deposits without damaging your boat's finish.
Expert Tip: Always work in small, manageable sections, about four to five feet at a time. Apply the cleaner from the bottom up. This simple trick prevents streaking as the cleaner runs down the hull. Let it sit for the time recommended on the bottle, usually just a few minutes, to give it time to work its magic.
You’ll literally see the stains start to dissolve right before your eyes. If you want a more comprehensive overview of cleaning other parts of your vessel, you can also check out our general guide on https://betterboat.com/blogs/news/how-to-clean-a-boat.
Follow up with a light scrub using a soft-bristle brush, then give the section a thorough rinse with fresh water before you move on to the next area. This is important because it prevents the cleaner from drying on the surface and leaving a hazy film. This methodical process is the absolute best way to learn how to clean a boat bottom and get that pristine, factory-fresh look.
Just remember these key points when you're applying the cleaner:
- Apply Bottom-Up: This prevents clean streaks from forming on the dirty hull below.
- Work in Sections: Don't get ahead of yourself and try to do the whole hull at once. This ensures you can rinse before anything dries.
- Let It Dwell: Be patient. Give the cleaner time to do its job instead of rushing to scrub it off.
- Rinse Completely: Any residue left behind can interfere with waxing or painting later on, so make sure it's all gone.
By combining these mechanical and chemical cleaning methods, you're not just cleaning the hull, you're perfectly prepping it for the next steps, like sanding and painting.
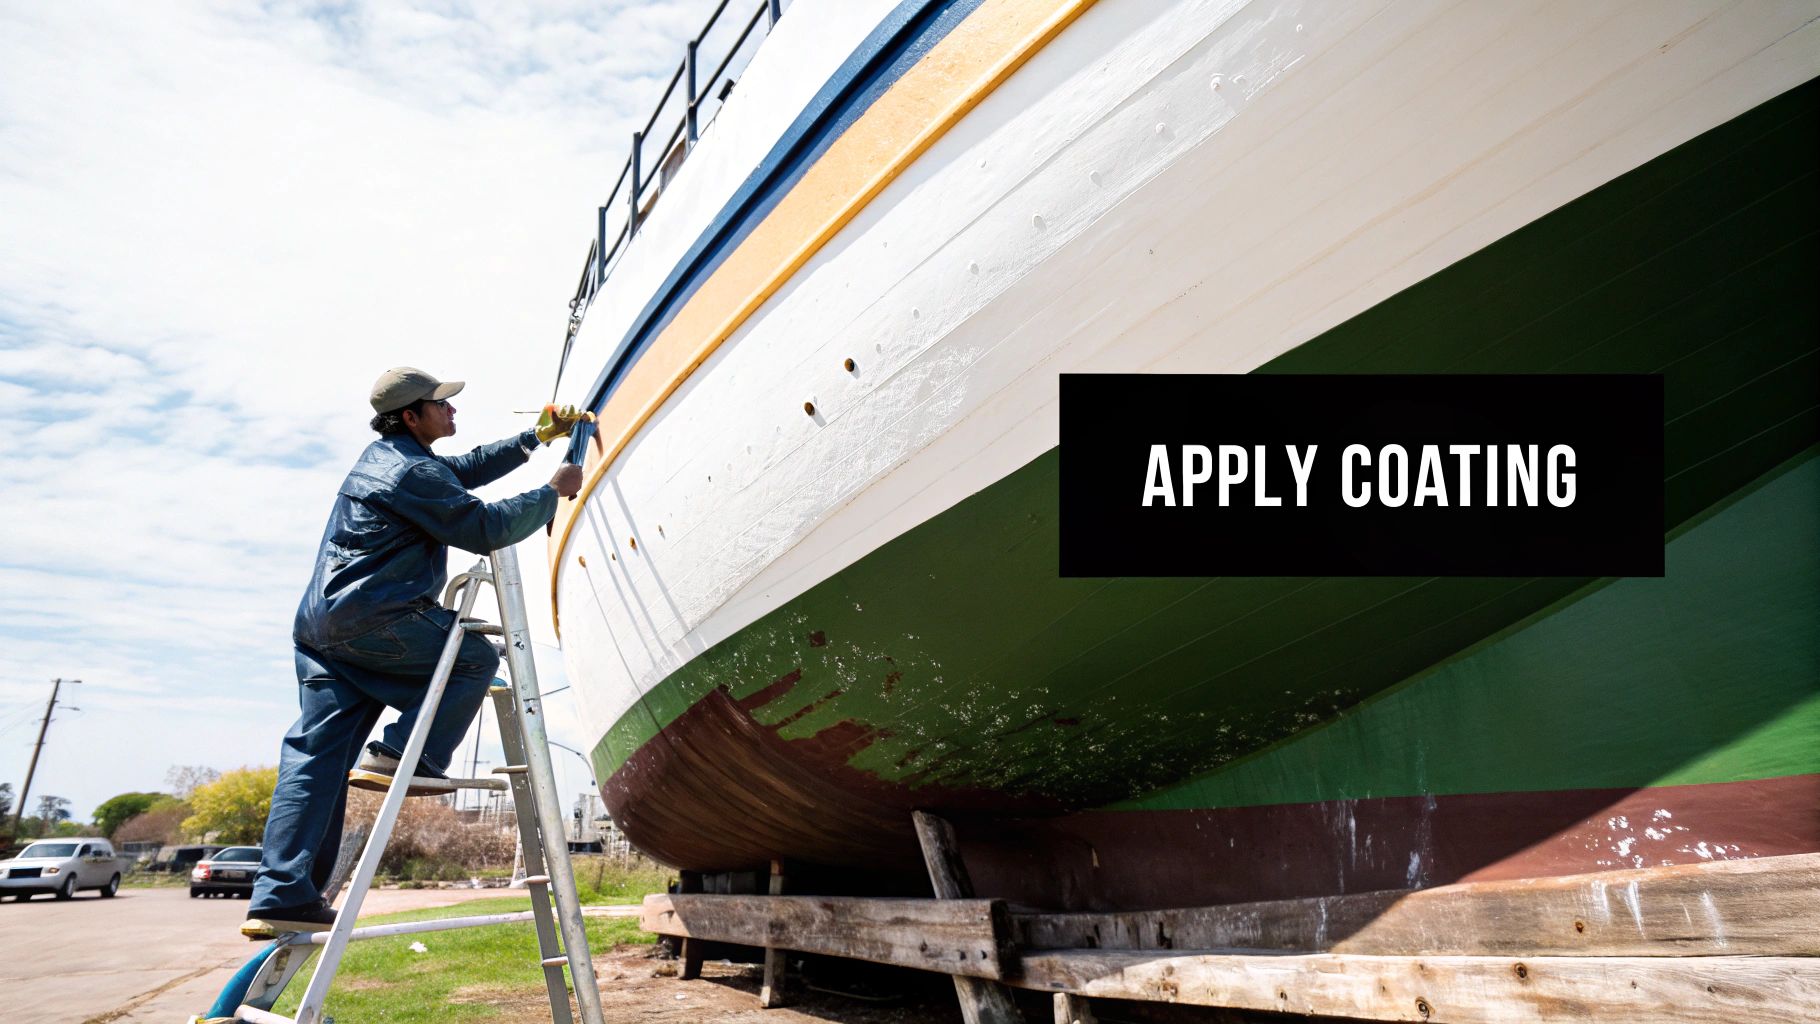
Applying Antifouling Paint for Lasting Protection
You've done the grunt work, the pressure washing, the scraping, and now you're at the finish line. This is where all that effort pays off. Applying a solid coat of antifouling paint is what stands between your clean hull and a fresh crop of marine hitchhikers. It's the protective shield that makes all that prep worth it.
But hold on, don't just crack open that can of paint yet. There's one final, small prep step that makes a huge difference. You need to give the surface a light sanding. We're not trying to strip anything off here; the goal is to create a "tooth" for the new paint to bite into.
I've found that 80-grit sandpaper, either on a random orbital sander or just by hand, is the sweet spot. You just want to scuff up the entire surface, knocking down any gloss and leaving a uniform, matte finish for the paint to grab onto.
Choosing the Right Antifouling Paint
Not all bottom paints are created equal, and grabbing the wrong can is a recipe for disappointment. The two big categories you'll run into are hard paints and ablative paints. Knowing which one suits you is key.
- Hard Antifouling Paint: This stuff dries to a tough, almost scrubbable finish. It works by slowly releasing biocides to keep growth at bay. If you have a faster boat, or one you frequently pull out on a trailer, this is your go-to. It can handle the friction and the occasional cleaning. The trade-off is that you can get some paint buildup after a few seasons of re-coating.
- Ablative (Self-Polishing) Paint: Think of this like a bar of soap. As water moves across the hull, the paint slowly wears away, or "ablates," constantly exposing a fresh, potent layer of antifouling goodness. It's perfect for boats that spend most of their lives in the water, as you avoid that thick paint buildup over the years. As long as there's paint on the hull, it's working.
Your decision really boils down to how you use your boat, the kind of water you're in, and your maintenance schedule.
It's no surprise that keeping a hull clean is a big deal. The demand for effective bottom maintenance is huge. In fact, the underwater hull cleaning service market, which is a close cousin to what we're doing here, was valued at around $1.5 billion in 2024. Experts project it will climb to nearly $2.8 billion by 2033. That tells you just how many boaters are serious about keeping their hulls in prime condition. You can dig into the numbers and market trends yourself on verifiedmarketreports.com.
The Application Process
Alright, with the hull prepped and the right paint in hand, it's time to get rolling. First things first, grab some high-quality painter's tape. Meticulously mask off your waterline, any transducers, and all the underwater hardware you want to keep paint-free. A crisp, clean line at the waterline makes a world of difference.
Give your paint a really thorough mix, following the manufacturer's instructions to the letter. A small roller is perfect for the big, open areas of the hull, and a good brush will let you cut in cleanly around the tape line and hardware.
Apply a smooth, even coat. Watch out for any runs or drips, they're a pain to fix later. Most paint makers recommend two full coats to get the job done right. I always add an extra coat along the waterline and the leading edges of the keel and rudder. These high-flow areas get the most abuse and wear away the fastest.
Nail these steps, and your clean hull will stay that way all season long. And if you want to keep the rest of your boat looking just as good, check out our guide on how to clean a fiberglass boat.
Common Boat Bottom Cleaning Questions
 Even with the best plan in hand, questions always pop up when you're staring down a dirty hull. Getting the right answers can be the difference between a job well done and a costly mistake. Let’s tackle some of the most common things we hear from fellow boaters.
One of the first things people ask is how often they need to clean the bottom. The honest answer? It really depends on where you are and how you use your boat. If you’re in the warm, high-growth waters of Florida or the Gulf Coast, you might need a diver for a light, in-water scrub every month just to keep the slime at bay, with a full haul-out cleaning once a year.
On the other hand, if your boat spends its time in a cold, freshwater lake, a deep clean once a year, or even every other year, is often all you need. The most reliable sign it's time for a cleaning is a noticeable drop in your boat's speed or a sudden jump in your fuel bill. Your boat will tell you.
Can You Use Household Cleaners on Your Hull?
This one is a hard no. We see it asked all the time, but you should never use household chemicals like bleach, toilet bowl cleaners, or other harsh acids on your boat's hull. These products can do permanent damage to your gelcoat and are notorious for eating away at underwater metals like your thru-hulls.
Beyond the damage to your boat, these chemicals are incredibly toxic to marine life. Discharging them into the water isn’t just bad practice; it’s often illegal and can land you with some hefty fines. Always, always stick to products specifically made for marine use.
For a deeper dive into what to use and what to avoid, check out our detailed guide on the dos and don'ts of boat cleaning.
In-Water Versus Out-of-Water Cleaning
Deciding whether to clean your hull in the water or haul the boat out is another frequent debate. There's no getting around it: an out-of-water cleaning during a haul-out will always be more thorough. It’s the only way you can really get in there to pressure wash, scrape, sand, and lay down a fresh coat of antifouling paint.
In-water cleaning, usually done by a professional diver, serves a totally different purpose. Think of it as essential maintenance. It's perfect for managing light slime and the very first signs of marine growth between your big haul-outs. Regular scrubbing can definitely extend the life of your bottom paint and keep performance from dipping, but it's no substitute for a comprehensive, out-of-water service.
For every step of your maintenance journey, from a quick wash to a full restoration, Better Boat has the premium, American-made products you need to protect your investment. Find everything you need to keep your vessel in prime condition at https://www.betterboat.com.


