


How to Clean Boat Fenders to Look Brand New
It's tempting to look at dirty fenders and just see a cosmetic annoyance, but that's a mistake that can cost you big time down the road. Think about it: those neglected fenders are grinding dirt, salt, and all sorts of grime right into your boat's delicate gelcoat. Every single time you pull up to the dock, they're acting like coarse sandpaper.
This isn't just a minor oversight. Letting this go can lead straight to expensive, frustrating hull repairs.
Quick answer: how to clean boat fenders
Clean boat fenders by starting with the gentlest method that fits the grime: rinse loose salt and dirt, wash with boat soap, use a scuff eraser only on stubborn black marks, rinse thoroughly, and dry before storage. If a fender is cracked, sticky, badly UV-damaged, or no longer holds air, cleaning is not enough; replace it.
Fast fender cleaning match
| Fender problem | Best next step | Better Boat path |
|---|---|---|
| Routine salt and dock grime | Wash with a pH-balanced boat soap and soft or medium brush. | Premium Boat Soap |
| Black dock scuffs | Use a marine scuff eraser with controlled pressure. | Boat Scuff Erasers |
| Cracked, sticky, or flat fenders | Replace instead of over-scrubbing damaged vinyl. | Boat Fenders |
| Storage after cleaning | Dry fully and store out of constant UV exposure. | No product bridge forced. |
Why Neglecting Your Fenders Costs You More
Treating fender cleaning as just another chore is a classic misstep with real financial consequences. I've seen it happen. The key is to reframe it. This isn't just cleaning; it's preventative maintenance that directly protects your much bigger investment—your boat.
Every time a dirty fender presses and rubs against your hull, it creates thousands of tiny scratches. These micro-abrasions dull the finish and, over time, can wear right through the protective gelcoat.
The True Cost of Dirty Fenders
The real damage isn't the stain on the fender itself. It's the permanent scuff mark, the deep grime, or the discoloration that gets transferred directly onto your hull. What starts as a simple dirty smudge can easily turn into a job requiring professional compounding, polishing, or even a full (and expensive) gelcoat restoration.
Trust me, those repairs take way more time, effort, and money than the few minutes it takes to wash a fender.
A well-maintained fender is your first line of defense against dock rash and hull damage. Treating it as an essential piece of protective equipment, rather than an accessory, is a cornerstone of smart boat ownership.
Extending Fender Lifespan
There's another angle here, too. The same things that make your fenders look bad—salt, grime, and harsh UV rays—are also breaking down the vinyl. When you let that gunk just sit there, it speeds up the aging process, making the fender brittle and much more likely to crack or split.
Regular cleaning isn't just about looks; it's statistically proven to preserve your gear. Marine care experts agree that routine maintenance can extend fender life by 30% to 50%, which is a huge deal, especially if you boat in tough saltwater environments. You can find out more about how cleaning impacts fender longevity and why it's so critical.
In short, taking a proactive approach to fender care saves you from a world of future headaches and keeps your entire vessel looking its absolute best.

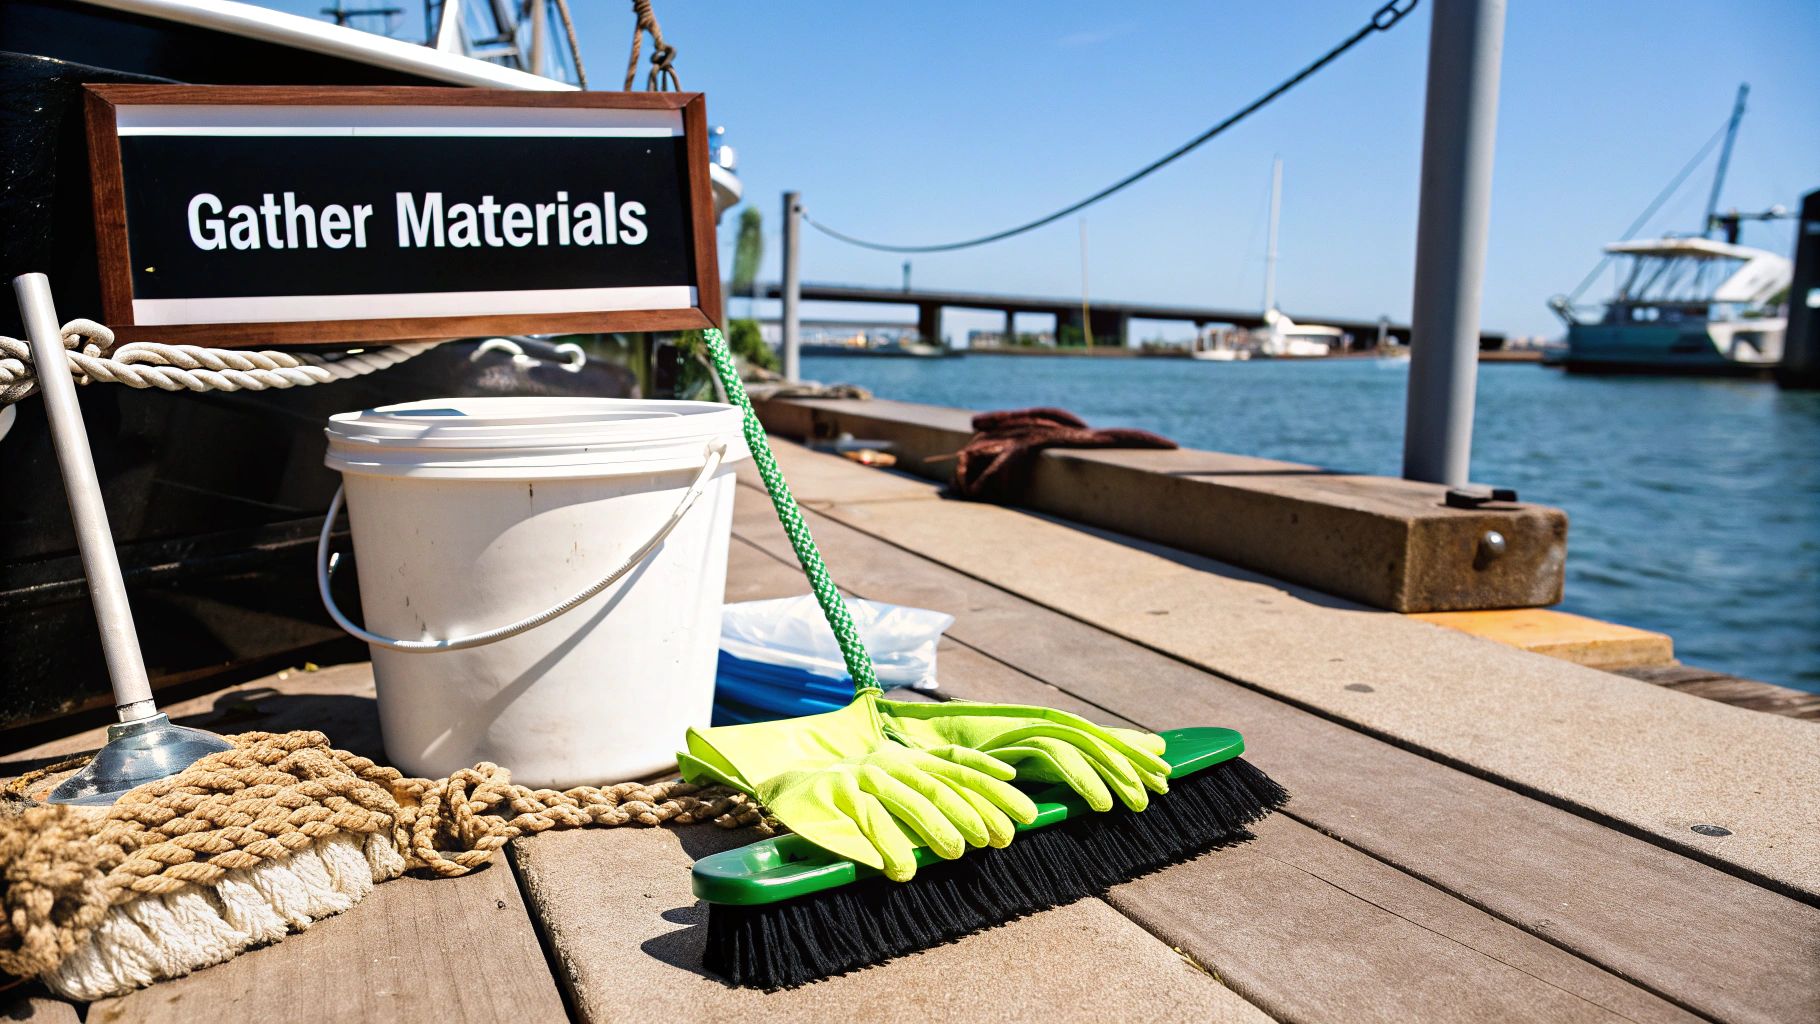
Assembling Your Fender Cleaning Toolkit
Having the right supplies ready to go can turn cleaning your boat fenders from a dreaded chore into a quick, even satisfying, task. Before you start grabbing random stuff from under the kitchen sink, let's talk about what actually works without wrecking your fender's vinyl surface. You don’t need a whole workshop, just a few key items.
Your most basic setup should include a bucket for mixing your cleaning solution and a good water source, like a hose with a decent spray nozzle. You’ll also want a handful of soft, non-abrasive cloths for the final wipe-down and drying. These simple things are the foundation for bringing any fender back to life.
Choosing Your Cleaning Agents
Here's where things get important. The cleaner you choose really depends on the state of your fenders. For just a routine clean-up after a weekend trip, a simple mix of our Better Boat Boat Soap and water is usually all you need. It’s gentle enough for regular use but effective enough to cut through fresh grime.
But what about those fenders that look like they've been through a battle? The ones caked with dock rash, stubborn algae, or deep, ugly scuff marks? For that, you need to bring in the heavy artillery. A dedicated Marine Fender Cleaner is specifically formulated to break down those tough stains without eating away at the vinyl. It's your go-to for a serious restoration job.
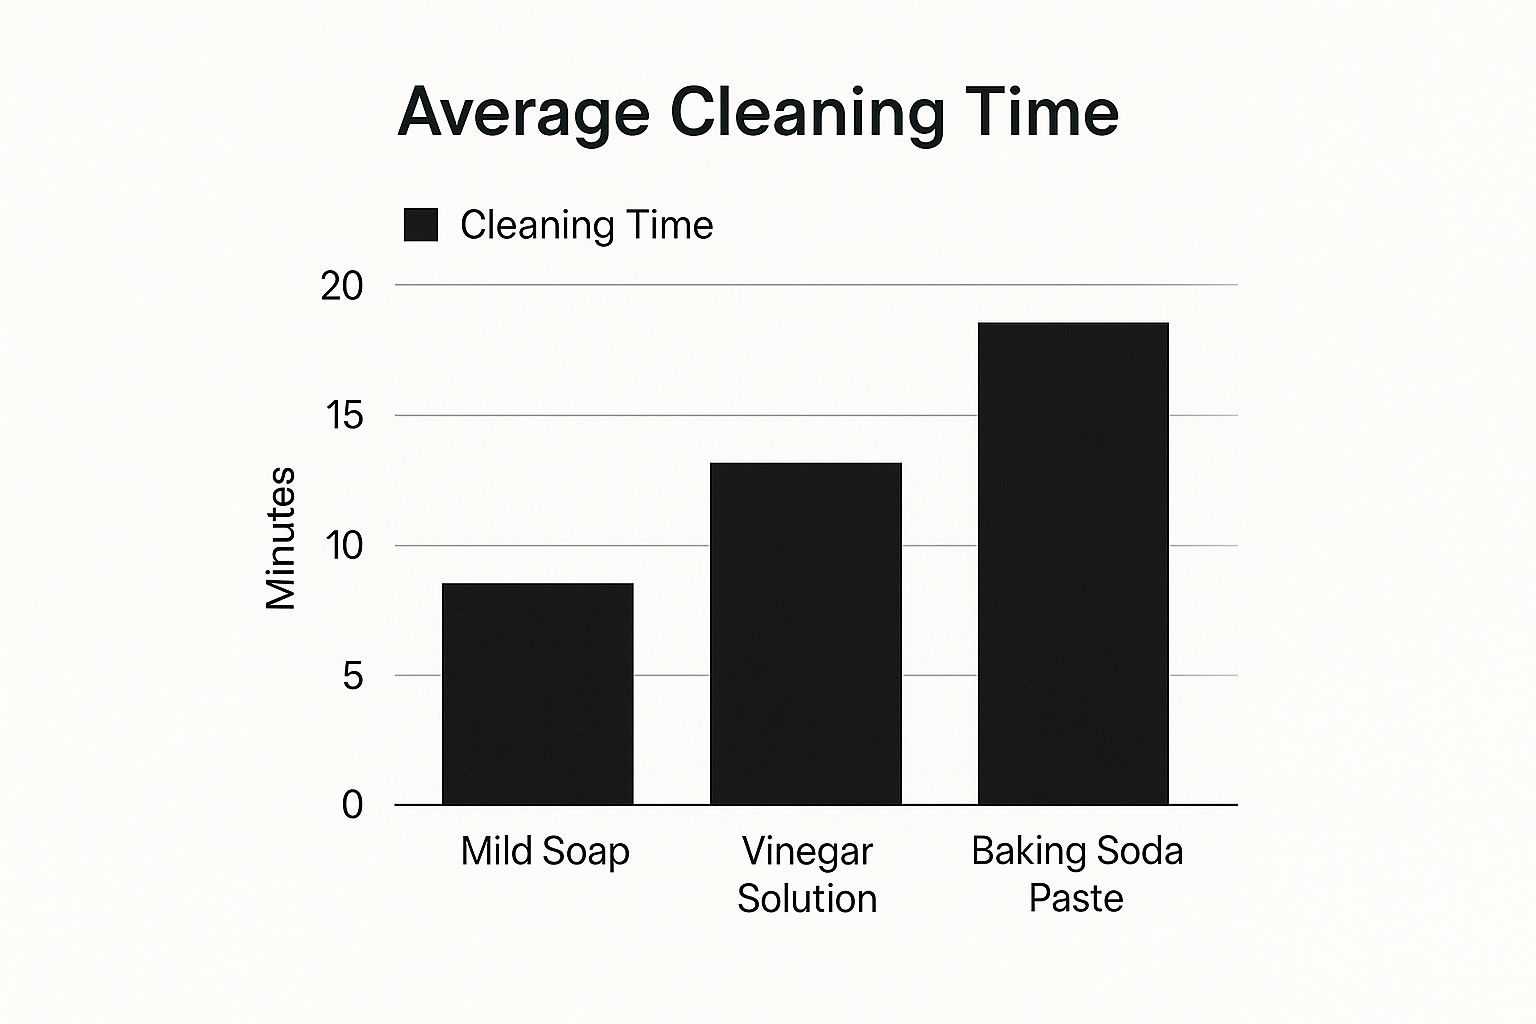
As you can see, while you can make a DIY paste work, you’ll be scrubbing for a lot longer than if you use a product designed for the job.
With so many options out there, from household products to specialized marine cleaners, picking the right one can feel a bit overwhelming. Here’s a quick breakdown to help you decide.
Choosing Your Fender Cleaning Agent
| Cleaning Agent | Best For | Pros | Cons |
|---|---|---|---|
| Boat Soap & Water | Light, routine cleaning; fresh grime | Gentle on vinyl, cost-effective for frequent use | Won't remove deep scuffs or set-in stains |
| Dedicated Fender Cleaner | Heavy-duty cleaning, dock rash, algae, old stains | Highly effective, formulated for vinyl safety | More expensive, stronger chemicals |
| Magic Eraser-Type Sponges | Black scuff marks from docks and other boats | Excellent at lifting specific marks | Can be abrasive if used too aggressively, falls apart quickly |
| Acetone/Solvents | Last resort for extreme stains | Very powerful on things like paint transfer | High risk of melting or damaging vinyl, requires extreme caution |
Ultimately, starting with the gentlest option and working your way up is always the safest bet for the long-term health of your fenders.
Essential Scrubbing Tools
The tool you use to scrub is just as important as the cleaner itself. Stay far away from stiff deck brushes, and whatever you do, don't even think about steel wool. Those will absolutely chew up the surface of your fender, leaving permanent scratches.
Instead, your toolkit should have:
- A Medium-Bristle Brush: This gives you enough oomph to lift dirt out of the textured vinyl without gouging it. It’s the perfect middle ground for effective, safe scrubbing.
- A Marine Scuff Eraser: Think of this as your secret weapon. Better Boat's Scuff Eraser is brilliant for getting rid of those frustrating black scuff marks from pilings and other boats—the kind that soap and water just laugh at.
Remember, when you have the right toolkit, you're not just cleaning; you're preserving your investment. Choosing the right cleaner and brush for the level of grime you're facing prevents accidental damage and makes sure your fenders can do their job protecting your hull for many seasons to come.
The Complete Fender Revival Method
Alright, now for the fun part—watching all that caked-on grime and dock rash just melt away. This is our go-to process for bringing even the most sad-looking, neglected fenders back from the dead. With a little bit of know-how, you can restore that clean, bright finish and make them look almost brand new.
First things first, make your life easier. Sure, you can clean your fenders while they're hanging off the boat, but you’ll get a much better result if you take them off. I like to lay them out on the dock, a patch of grass, or even the driveway where I have room to work and don't have to worry about the mess.
Taking this simple step means you can hit every nook and cranny, and you won't accidentally get powerful cleaners all over your hull or deck.
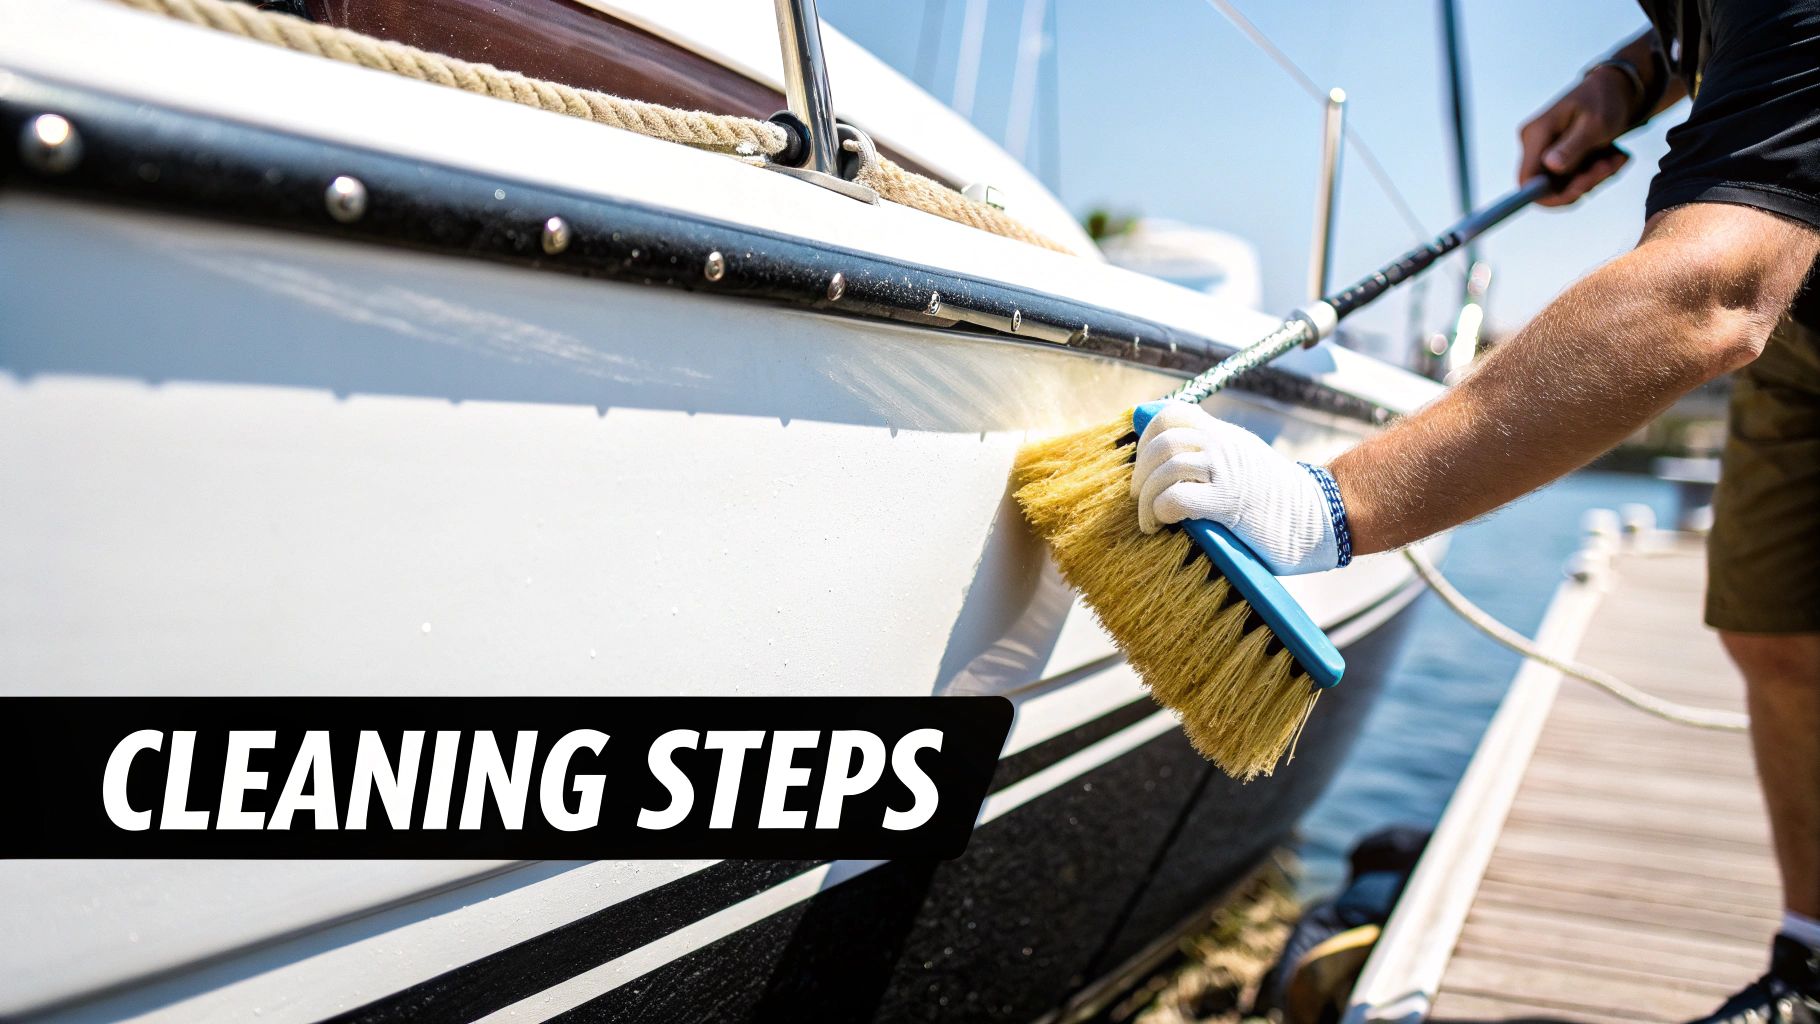
The Art of the Scrub
Once your fenders are laid out, give them a quick blast with a hose to knock off any loose salt or surface dirt. Now, grab your weapon of choice—for the really tough jobs, our Better Boat Soap is exactly what you need—and spray it liberally over the entire fender. Let it sit for a minute or two; you need to give it time to start working its magic on the grime.
Next, it’s time to put in some elbow grease. Using a medium-bristle brush, scrub in strong, circular motions for the general cleaning. This technique is perfect for lifting dirt out of the textured vinyl without being overly harsh. You'll see the cleaner work up into a nice lather, pulling the gunk right off the surface. It’s pretty satisfying to watch.
For those ugly black scuff marks or stains that seem to have become one with the vinyl, you'll need to get a bit more tactical.
- Targeted Pressure: Instead of big circles, focus your effort. Apply firm, direct pressure right on the scuff mark itself with your brush or a marine eraser.
- Back-and-Forth Motion: Sometimes, a good old-fashioned back-and-forth scrubbing motion is what it takes to break a stubborn stain’s bond with the vinyl.
- Patience is Key: Don't get discouraged if a mark doesn't vanish on the first go. Some stains are stubborn and might need a couple of applications to fully lift.
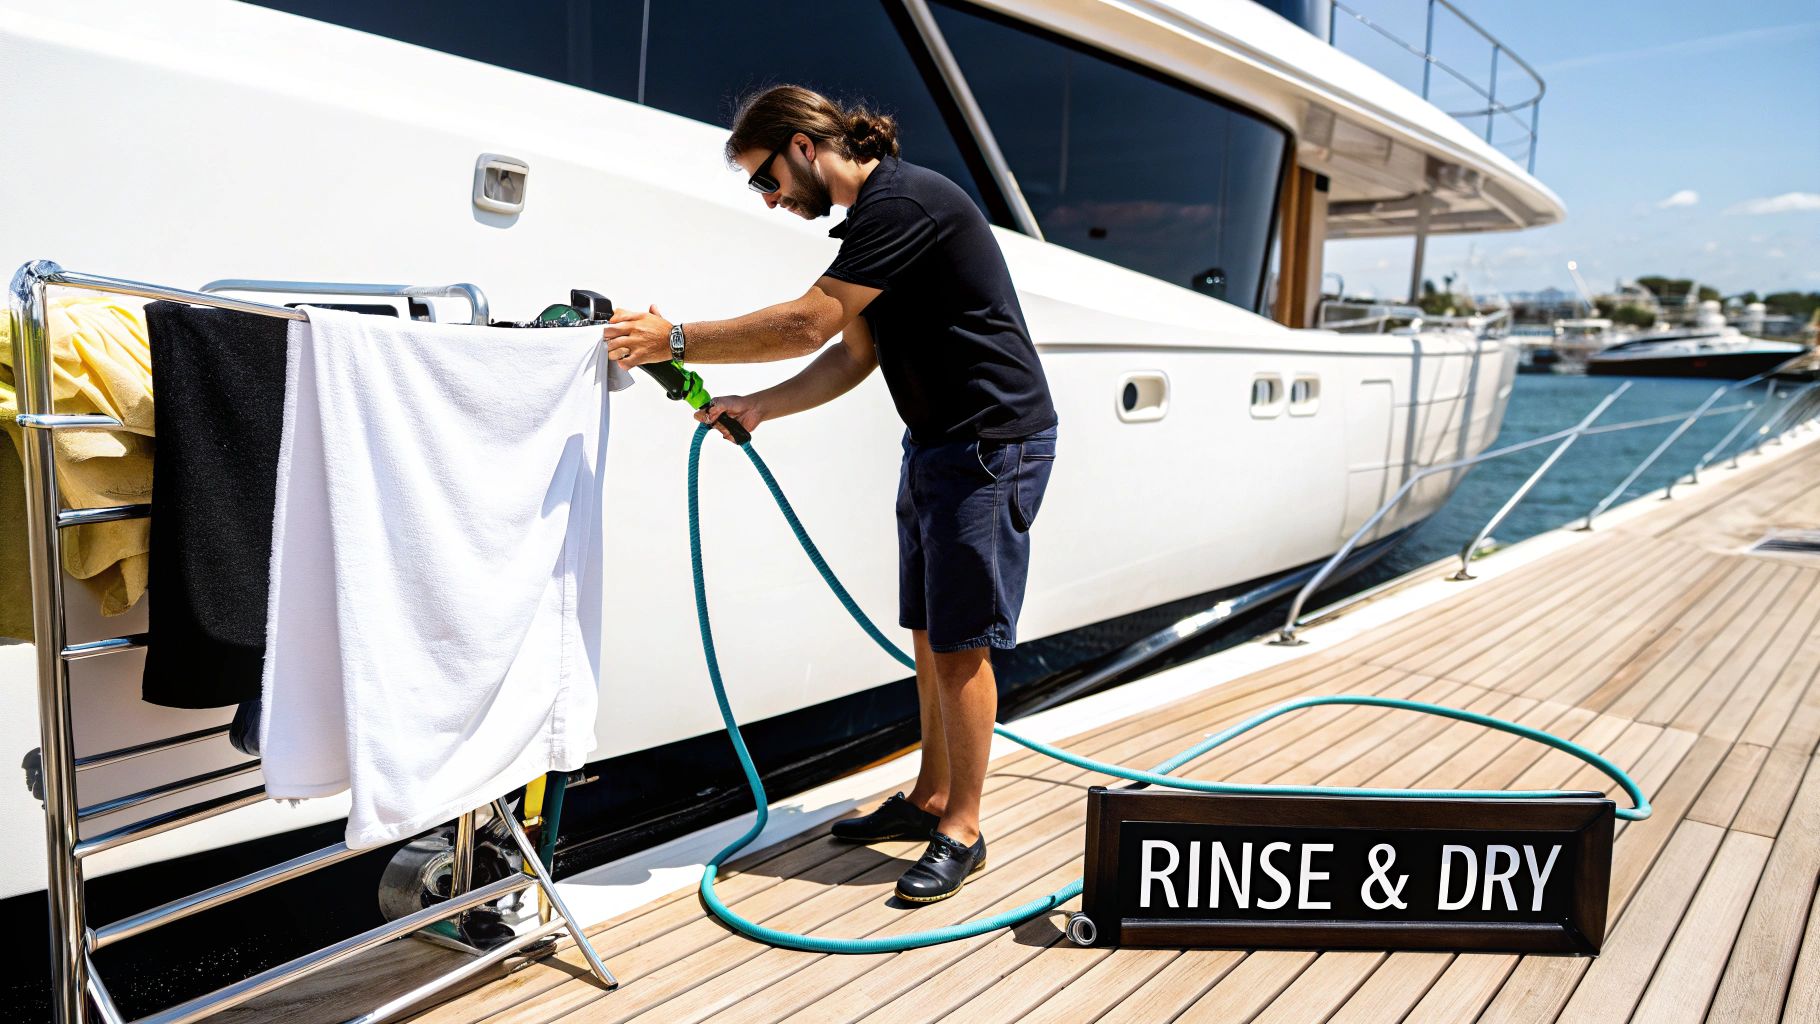
The Critical Final Rinse
After you've scrubbed every surface and are happy with how things look, do not skip the final rinse. This step is just as important as the cleaning itself. Use a hose to completely wash away every bit of the cleaning solution. Any residue you leave behind will just become a sticky magnet for new dirt, or worse, could continue to react with the vinyl in the sun.
A proper rinse is just as important as the scrub. It stops the cleaning action and ensures you're left with nothing but a spotless, non-sticky surface, ready for its next job protecting your hull.
For a long time, boaters have tried all sorts of DIY cleaning solutions. A classic trick passed down for decades involved mixing household chemicals like bleach, soap, and an abrasive powder in a bucket to soak and scrub fenders. While some people swear by it for certain types of grime, modern, pH-balanced marine boat cleaners are a much safer bet for the long-term health of the vinyl. You can find more on these traditional methods over at BoatTEST.com if you're curious.
At the end of the day, a methodical approach is the core of how to clean boat fenders properly. For an even deeper look at different tricks and techniques, feel free to check out our complete guide on the topic. Your fenders will thank you for it.
Tackling Stubborn Stains and Scuff Marks
Sometimes, a simple wash just won't do the trick. Your fenders are in a constant battle with ugly black scuffs from pilings, baked-on grime, and discoloration from the sun. When your routine cleaning isn't making a dent, it's time to bring out the heavy artillery.
This isn’t about scrubbing until your arms fall off; it’s about working smarter. Those deep, dark scuff marks that just laugh at soap and water require a more targeted approach.
Your Secret Weapon for Tough Messes
For the most common frustration—those stubborn black scuff marks—your absolute best friend is a dedicated marine-grade cleaning eraser. Unlike a regular brush, these erasers are specifically designed to lift the marks right off the vinyl without chewing up the surface. Just apply your fender cleaner and use the eraser with firm, direct pressure on the mark.
You've probably seen similar products for household cleaning, but those versions often fall apart under the tough demands of marine cleaning. That’s why specialized marine erasers were developed. They're made with more durable materials to handle the serious jobs we face as boaters. You can actually read more about how these specialized tools came to be on boattest.com.
A Critical Warning: Whatever you do, never use acetone, lacquer thinner, or similar harsh solvents on your fenders. They might take off a paint smear, but they will also chemically melt the vinyl. The surface will be left permanently sticky and ruined. It's a costly, irreversible mistake.
Last-Ditch Efforts for the Worst Stains
Okay, what if you're dealing with something truly awful, like paint transfer from another boat or a painted dock piling? In that case, you might need to carefully consider a solvent. This should always be your absolute last resort.
If you find yourself in this situation, here’s how to handle it safely:
- Start Mild: Always begin with the least aggressive option first. Try your dedicated fender cleaner and an eraser before escalating.
- Test It Out: If that fails, grab a mild solvent like mineral spirits. Before you go to town, test it on a small, hidden spot on the fender to see if there’s any negative reaction with the vinyl.
- Use Sparingly: Dab a small amount of the solvent onto a clean rag. Apply it directly to the stain, working quickly and not letting it soak into the surface.
- Rinse Immediately: The moment the stain is gone, wash the area thoroughly with boat soap and rinse with tons of fresh water. This will neutralize and wash away any leftover solvent.
Protecting Fenders for a Lasting Clean
Getting your fenders looking brand new is a great feeling, but the job isn’t quite done. If you want to keep them that way, you need to protect that clean finish. This is the step that makes all your hard work last, dramatically cutting down on how often you have to break out the scrub brushes.
The sun is your fender’s worst enemy. Those harsh UV rays are constantly attacking the vinyl, making it brittle, faded, and yellow over time. After a thorough cleaning, your best line of defense is a high-quality marine UV protectant spray. It’s basically sunscreen for your boat gear.
Creating a Non-Stick Surface
A good protectant does more than just block UV rays; it also conditions the vinyl, creating a slick, non-stick barrier. This makes it a lot harder for everyday grime, salt spray, and scuffs from the dock to get a grip. When it's time to wash them again, you’ll find that most of the dirt just rinses right off.
From a practical standpoint, this can easily double the time between deep cleanings. I’ve found that a regular cleaning schedule every 4 to 6 weeks works well for most boaters, but a quick coat of protectant can stretch that out significantly. The same idea applies all over your vessel; check out our guide on how to clean and protect your fiberglass boat deck for more tips.
Protecting your fenders is an investment in your time. A few minutes spent applying a protectant can save you hours of scrubbing later, keeping your boat looking its best with far less effort.
Another route you can go is using physical fender covers. These fabric sleeves offer the ultimate shield against abrasion, sun damage, and dirt. While they are an extra purchase, they are incredibly effective—especially if your boat spends a lot of time tied up at a busy dock.
Common Fender Cleaning Questions
Even when you have a solid game plan, a few questions always seem to pop up during a cleaning project. Let's tackle some of the most common ones we hear from boaters figuring out how to get their fenders looking new again.
How Often Should I Clean My Fenders?
For the best results, you'll want to give your fenders a deep clean every 4 to 6 weeks while you're actively boating. This is especially true if you spend most of your time in saltwater.
A quick freshwater rinse after each trip is also a fantastic habit to get into. It takes just a minute but goes a long way in preventing grime from building up, making those deep cleans much less of a chore.
Can I Use Bleach or Acetone on Fenders?
Pay close attention here, because this is a big one. You should never use acetone or any similar type of thinner. These aggressive chemicals will literally melt the vinyl, leaving it sticky, gummy, and permanently ruined.
While a very diluted bleach solution can be a last-ditch effort for a really stubborn mildew problem, it's risky. If you must, rinse it off immediately and completely, as it can weaken the fender's material over time and cause it to become brittle.
Don't toss those old, grimy fenders just yet. Before you spring for a new set, try one more deep clean using a dedicated heavy-duty marine cleaner and a good scuff eraser. You'd be amazed at what a little elbow grease and the right products can bring back to life.
If you find that the vinyl is cracking, feels brittle, or stays sticky even after a thorough cleaning, that's a red flag. The material has likely broken down. At that point, the fender can't be trusted to protect your hull, and it’s time to invest in a replacement. Using the wrong products is one of the classic boat cleaning mistakes new owners make, so always start with the gentlest method first and work your way up.
Ready to give your fenders the care they deserve? Better Boat has the premium, marine-safe Fender Cleaner and Scuff Erasers you need to get the job done right.


![Make your Boat Look Like New, Seriously [VIDEO]](http://betterboat.com/cdn/shop/articles/Make-your-Boat-Look-Like-New_-Seriously.jpg?v=1578089853&width=1080)