


How to Polish Aluminum Boat for a Mirror Finish | Step-by-Step Guide
Polishing your aluminum boat is a three-part dance: you start by thoroughly cleaning the hull to get rid of all the built-up grime, then move on to the heavy lifting with a specialized aluminum polish and a power buffer to knock out oxidation, and finally, you seal the deal with a protective wax or sealant.
This isn't just about making your boat look good at the dock; it’s essential maintenance that protects your investment from corrosion and the elements.
Why Polishing Your Aluminum Boat Matters
Before you even think about plugging in the buffer, let’s talk about why this job is so important. Getting that mirror-like shine on an aluminum boat is satisfying, sure, but it’s really a critical investment in your boat's health, longevity, and overall value.
Think of an unpolished aluminum hull as being left out in the rain without a jacket. Over time, constant contact with water and air creates a dull, chalky layer of oxidation. This isn't just a cosmetic problem—it's the first step toward corrosion that can actually compromise the metal's structural integrity.
The True Value of a Good Polish
A regular round of aluminum polish does more than just look pretty. It creates a tough barrier against two of aluminum's biggest enemies, especially if you spend time in saltwater: corrosion and oxidation. By buffing away that oxidized layer and sealing the surface, you’re actively preventing some seriously expensive damage down the road.
This kind of proactive maintenance pays off in several ways:
- Corrosion Prevention: It stops rust and pitting before they can ever get a foothold, especially around tricky spots like welds and fittings.
- Structural Integrity: A clean, sealed hull is a strong hull. Period. This keeps your vessel seaworthy and safe.
- Enhanced Performance: A smooth, slick surface creates less drag in the water, which can even give you a slight boost in fuel efficiency.
Polishing is more than a weekend chore; it's preventative care. A well-maintained boat not only performs better but also holds its value far longer, making all that elbow grease a smart financial move.
When it comes down to it, consistent care is what separates a boat that lasts from one that doesn't. In fact, industry data shows that regular polishing—at least two to four times a year for boats that see a lot of action—can boost the resale value by up to 15-20% compared to a neglected one. You can dive deeper into the boat maintenance and repair market to see for yourself how proper care pays off in the long run.
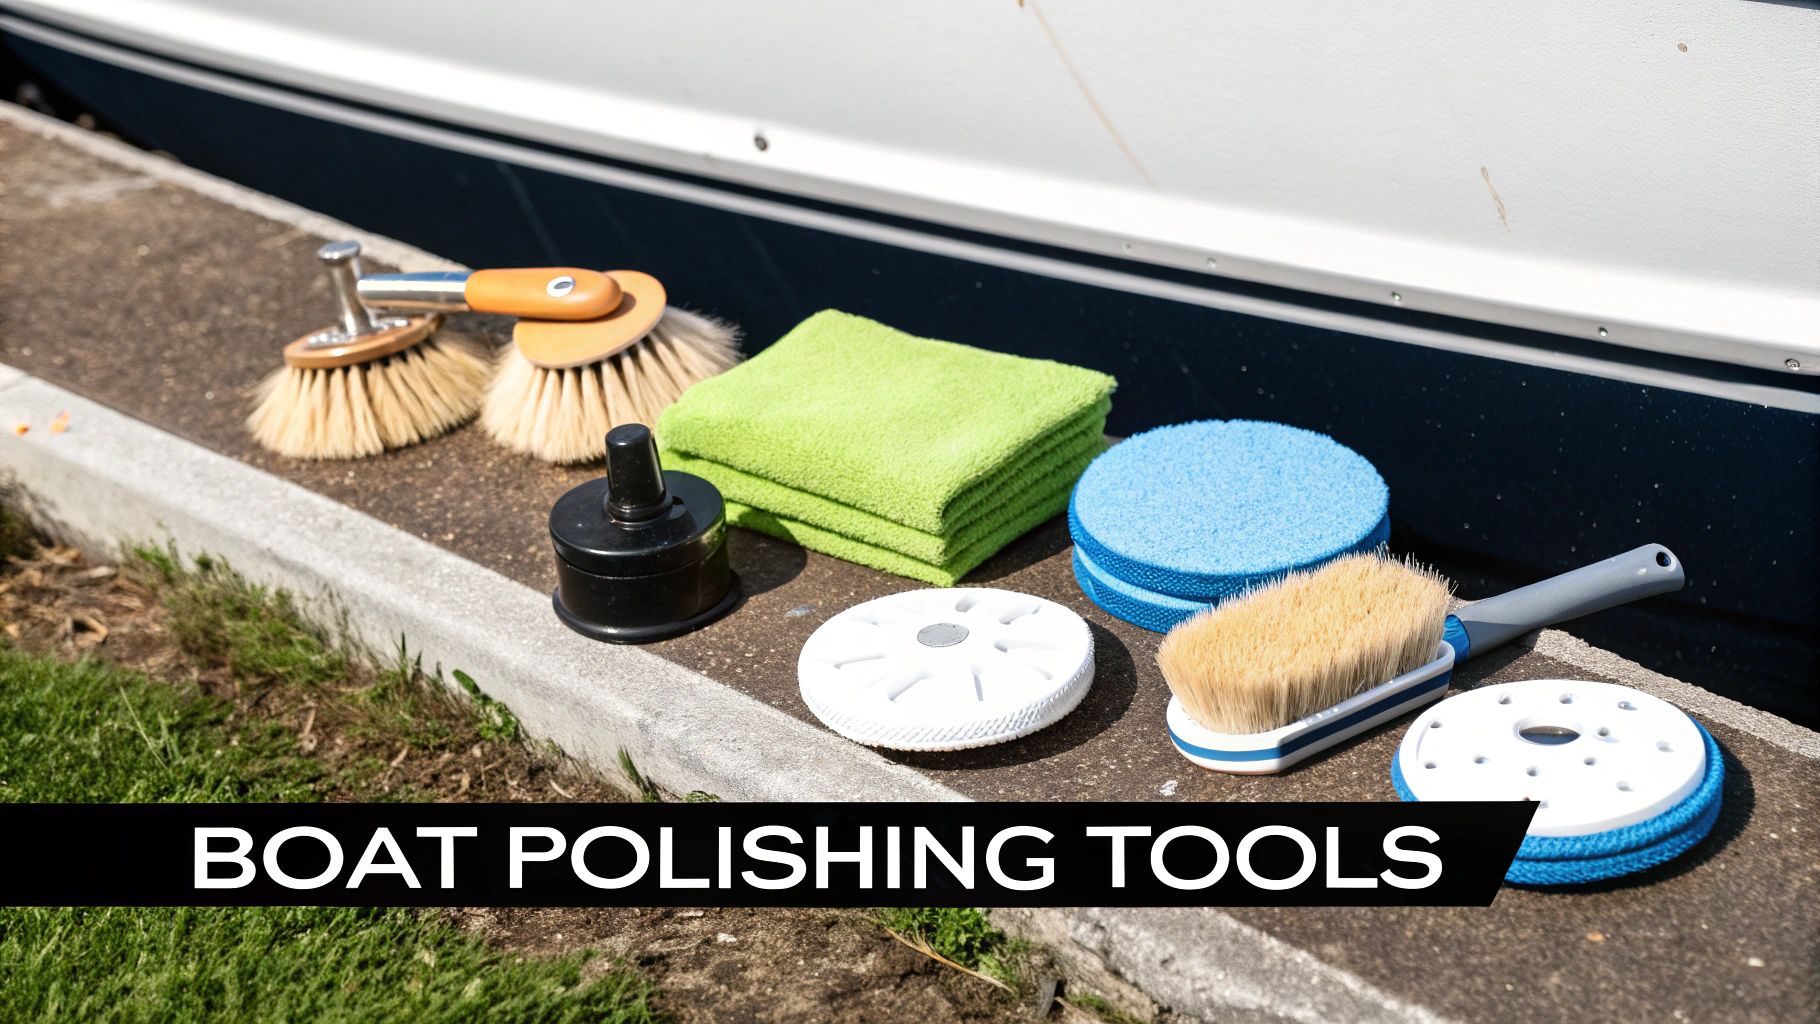
Your Essential Polishing Toolkit
Any pro will tell you that a job is only as good as your prep work. Scrambling for supplies mid-polish is a surefire way to get a subpar finish, not to mention it’s just plain frustrating. Taking a few minutes to gather your gear first makes the whole process smoother, safer, and much more efficient.
The heavy lifters, of course, are your cleaners and polish. You’ll need a solid boat soap to wash away the initial grime, followed by a dedicated aluminum cleaner to prep the metal.
Then comes the main event: a high-quality aluminum polish with the right level of abrasives to cut through oxidation without scratching the surface. If you want to go deeper on picking the right product for your specific boat, our guide on choosing the best boat polishing compound is a great resource.
Power Tools and Pads
Sure, you can polish a whole boat by hand, but unless you’re training for an arm-wrestling competition, a variable-speed orbital buffer is your best friend. It’s the key to getting that consistent, mirror-like shine across big hull sections.
Just as important as the buffer itself are the pads you pair with it.
- Wool Cutting Pads: Think of these as your heavy-duty scrubbers. They’re more aggressive and are perfect for that first pass to chew through stubborn oxidation and bring back the aluminum’s underlying brightness.
- Foam Finishing Pads: Once the tough work is done, swap over to a soft foam pad. This is what you’ll use for the final buff to draw out that deep, liquid gleam and erase any fine swirl marks left behind.
Using the wrong pad can undo all your hard work. A wool pad on your final pass will likely leave swirls, while a foam pad just won't have the muscle to cut through years of oxidation.
To help you get organized, I’ve put together a quick checklist of everything you’ll need to have on hand.
Essential Polishing Toolkit Checklist
| Category | Essential Items | Pro Tip |
|---|---|---|
| Cleaning & Polishing | Boat soap, aluminum cleaner, aluminum polish | Choose a polish with abrasives suited to your boat's level of oxidation. |
| Tools & Applicators | Orbital buffer, wool cutting pads, foam finishing pads, microfiber towels | Label your pads for "cutting" and "finishing" to avoid cross-contamination. |
| Safety Gear (PPE) | Chemical-resistant gloves, safety glasses/goggles, respirator mask | A mask rated for fine particulates is non-negotiable for this job. |
Having these items ready to go will set you up for a professional-quality finish without any last-minute headaches.
Safety First Always
Don’t cut corners on personal protective equipment (PPE). We’re talking about fine metal dust and chemicals here, and that stuff demands respect. At a minimum, your safety kit needs to include chemical-resistant gloves, proper safety glasses, and a respirator mask designed to filter out fine particulates.
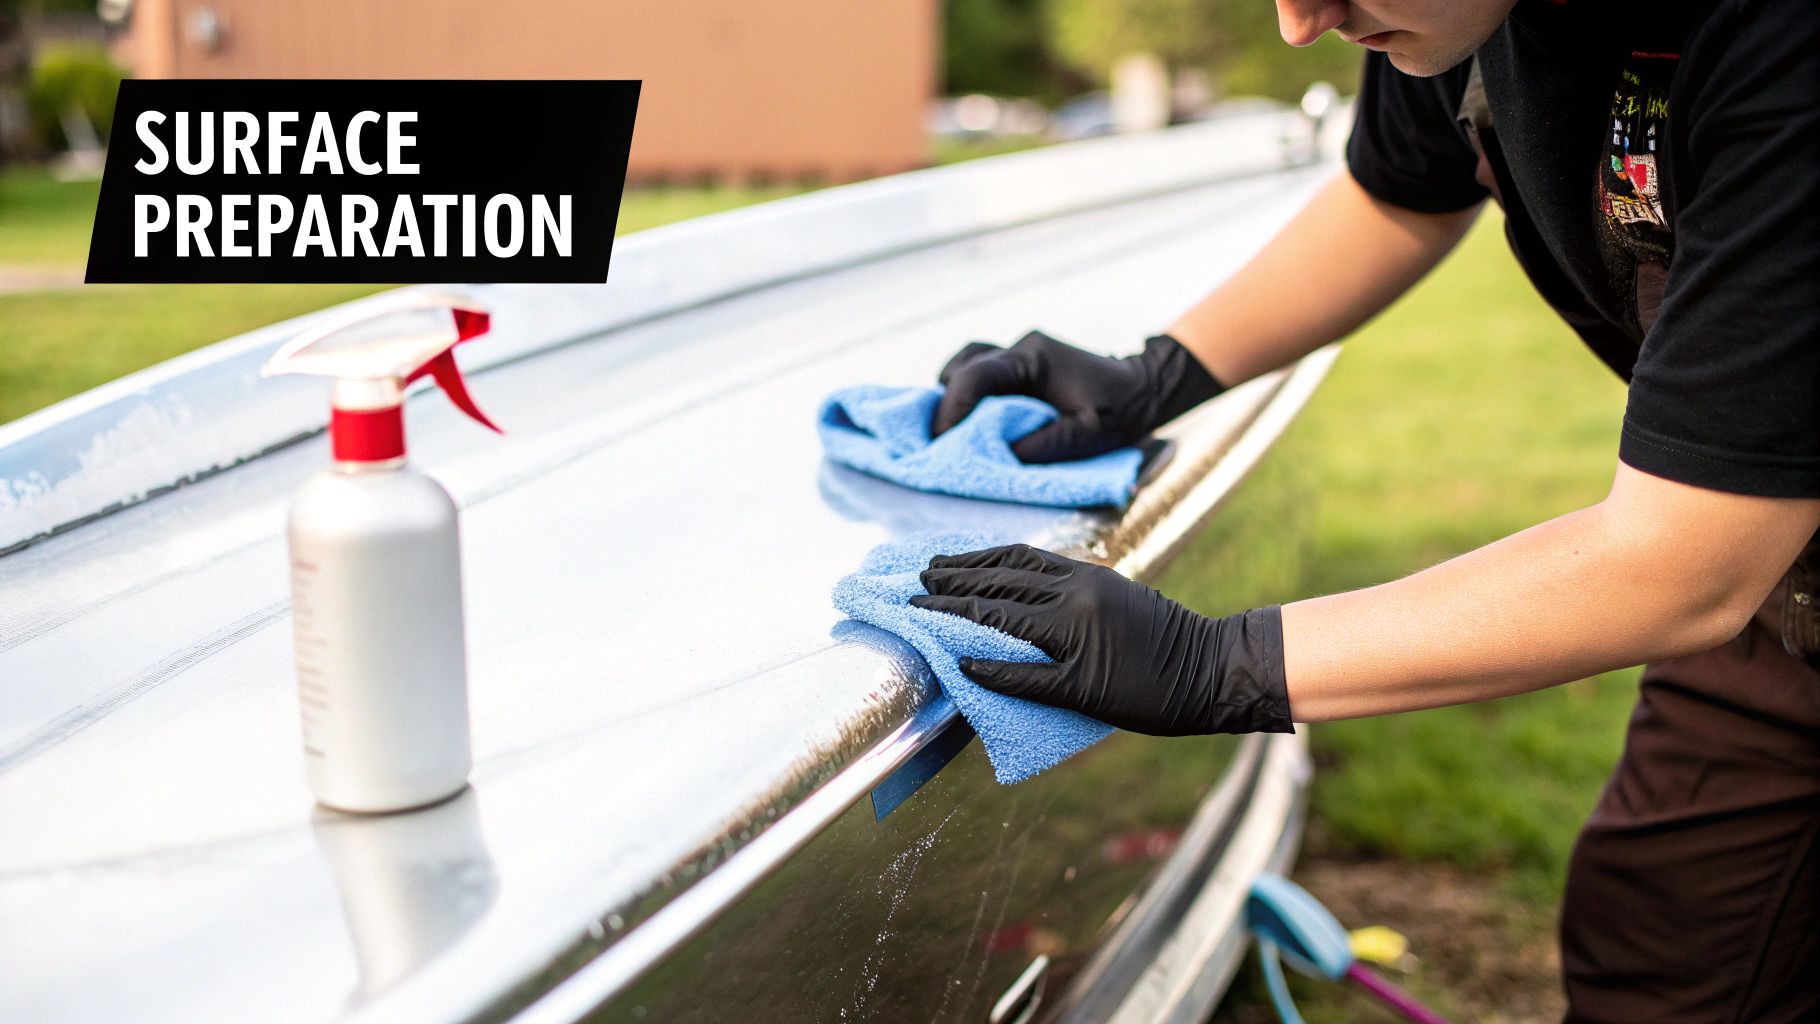
Preparing and Cleaning the Hull for Polishing
Let's be honest, you wouldn't wax a dirty car, right? The same logic applies here, but the stakes are much higher. Trying to polish a grimy, oxidized hull is the fastest way to get a disappointing finish that's just full of new scratches.
Think of this cleaning phase as prepping your canvas. A flawless, mirror-like shine is absolutely impossible without a meticulously clean surface to start with. The goal isn't just a quick rinse; it's about getting rid of every last bit of salt, muck, and oxidation that could get ground into the metal by your buffer. If you skip this, you’re basically just rubbing sandpaper all over your boat.
Starting with a Deep Cleanse
Kick things off with a thorough wash using a high-quality boat soap. A proper marine soap is formulated to cut through the unique kind of crud boats pick up—salt spray, algae, fish residue—without stripping away any protective coatings. Always work from the top down, using a soft-bristled brush to gently work the soap in.
This first wash gets all the loose, top-level gunk off. Once you've scrubbed the entire hull, give it a complete rinse with fresh water. You want to make sure absolutely no soapy residue is left behind, as it can mess with the next cleaning steps.
A common mistake I see is people grabbing household detergents like dish soap. It might seem like it's working, but it can strip essential oils from the aluminum and often contains salts that can actually speed up corrosion. Stick with products made for the job.
Targeting Tough Stains and Oxidation
With the surface grime gone, it's time to bring out the big guns for the tougher stuff. Waterline stains, that chalky oxidation, and grime that's really worked its way in need a more targeted approach. This is where a dedicated aluminum cleaner is your best friend. It’s designed to chemically break down these stubborn blemishes without hurting the metal itself.
Apply the aluminum cleaner following the product's directions, usually working in small, manageable sections at a time. Let the cleaner sit for a few moments to do its thing before you go at it with a non-abrasive pad. For a great visual guide on this, check out our video on how to deep clean an aluminum boat.
Finally, give the boat one last, comprehensive rinse. I mean it—be thorough here and get every trace of the aluminum cleaner off. Once it's rinsed, dry the hull completely with clean microfiber towels to prevent water spots. Any minerals left over from hard water can get trapped under the polish and create tiny imperfections in your final shine. Now, you’re truly ready to get that gleam.

Mastering Your Polishing and Buffing Technique
Now for the fun part. With the hull perfectly prepped and clean, you've reached the most rewarding stage—the transformation. This is where patience and the right technique come together to turn that dull, clean surface into a brilliant, liquid-metal shine.
Whether you're using an orbital buffer or going old school and working by hand, the principles are the same. Consistency and control are what separate an amateur job from a truly professional finish.
The key is to work in small, manageable sections, never larger than about two by two feet. This simple rule prevents your polish from drying out before you've had a chance to work it in, and it's the secret to maintaining even pressure for a uniform result across the entire boat.
This simple workflow visualizes the core actions for polishing your aluminum boat.

By sticking to this apply-buff-inspect sequence for each little section, you’ll build a consistent, high-quality finish without accidentally missing any spots.
Choosing Your Pad and Speed
Your choice of buffing pad is crucial here. Kick things off with a more aggressive wool cutting pad. This will make short work of any remaining oxidation and bring the aluminum to a bright, hazy finish.
For this first pass, set your variable-speed buffer to a lower RPM, somewhere in the 1500-2500 RPM range. That’s enough power to cut through the haze without generating too much heat, which can burnish or even warp the metal.
Once you’ve gone over the entire hull, it’s time to switch to a soft foam finishing pad. Apply a small amount of fresh polish and go over each section again. This second pass is all about refining the surface, erasing any fine swirl marks left by the wool pad, and really bringing out that deep, reflective gloss.
Pro Tip: Don't overload your pad with polish. A few small, dime-sized drops per section are all you need. Slathering on too much product just slings it everywhere and can actually hurt the buffing process by creating a greasy film.
The Art of the Motion
Before you hit the trigger, apply the polish to your pad and then lightly dab it onto your working section. This quick step prevents the polish from flying all over you and the boat the second the buffer spins up.
Use slow, overlapping passes, moving the buffer in a consistent side-to-side or up-and-down pattern. Let the weight of the tool do most of the work for you; just apply light, steady pressure. A big rookie mistake is tilting the buffer, but keeping the pad flat against the surface is essential to avoid creating swirl marks or uneven "hot spots."
As you work, you’ll see the polish residue turn from a milky white to a thin, dark haze. That’s how you know it's breaking down and doing its job.
The entire process, from cleaning to buffing, requires a specific sequence for a reason. Over-polishing or using abrasives that are too harsh can thin aluminum plating by up to 10-15% over several seasons.
In saltwater areas, combining this careful polishing technique with a protective wax has been shown to reduce the corrosion rate by approximately 25-30%. You can learn more about these findings and the boat maintenance market.
Once the haze is gone, just wipe the residue away with a clean microfiber towel to reveal that incredible shine underneath.
Protecting Your New Shine for the Long Haul
You’ve put in the hours and the elbow grease, and your boat looks incredible. Don't let all that hard work go to waste. That fresh, brilliant shine is at its peak, but it’s also at its most vulnerable. The final, and arguably most important, step is to lock in that gleam with a high-quality protective layer.
This isn’t just about looking good at the dock; it's about creating a tough, durable shield against the elements that are already conspiring to undo your efforts. A good protectant creates a hydrophobic barrier that sheds water, salt, and grime. Just as importantly, it provides a crucial layer of UV protection to keep the sun from fading your hard-won finish. Think of this final coat as the secret to easier cleanups and a much longer life for your polish.
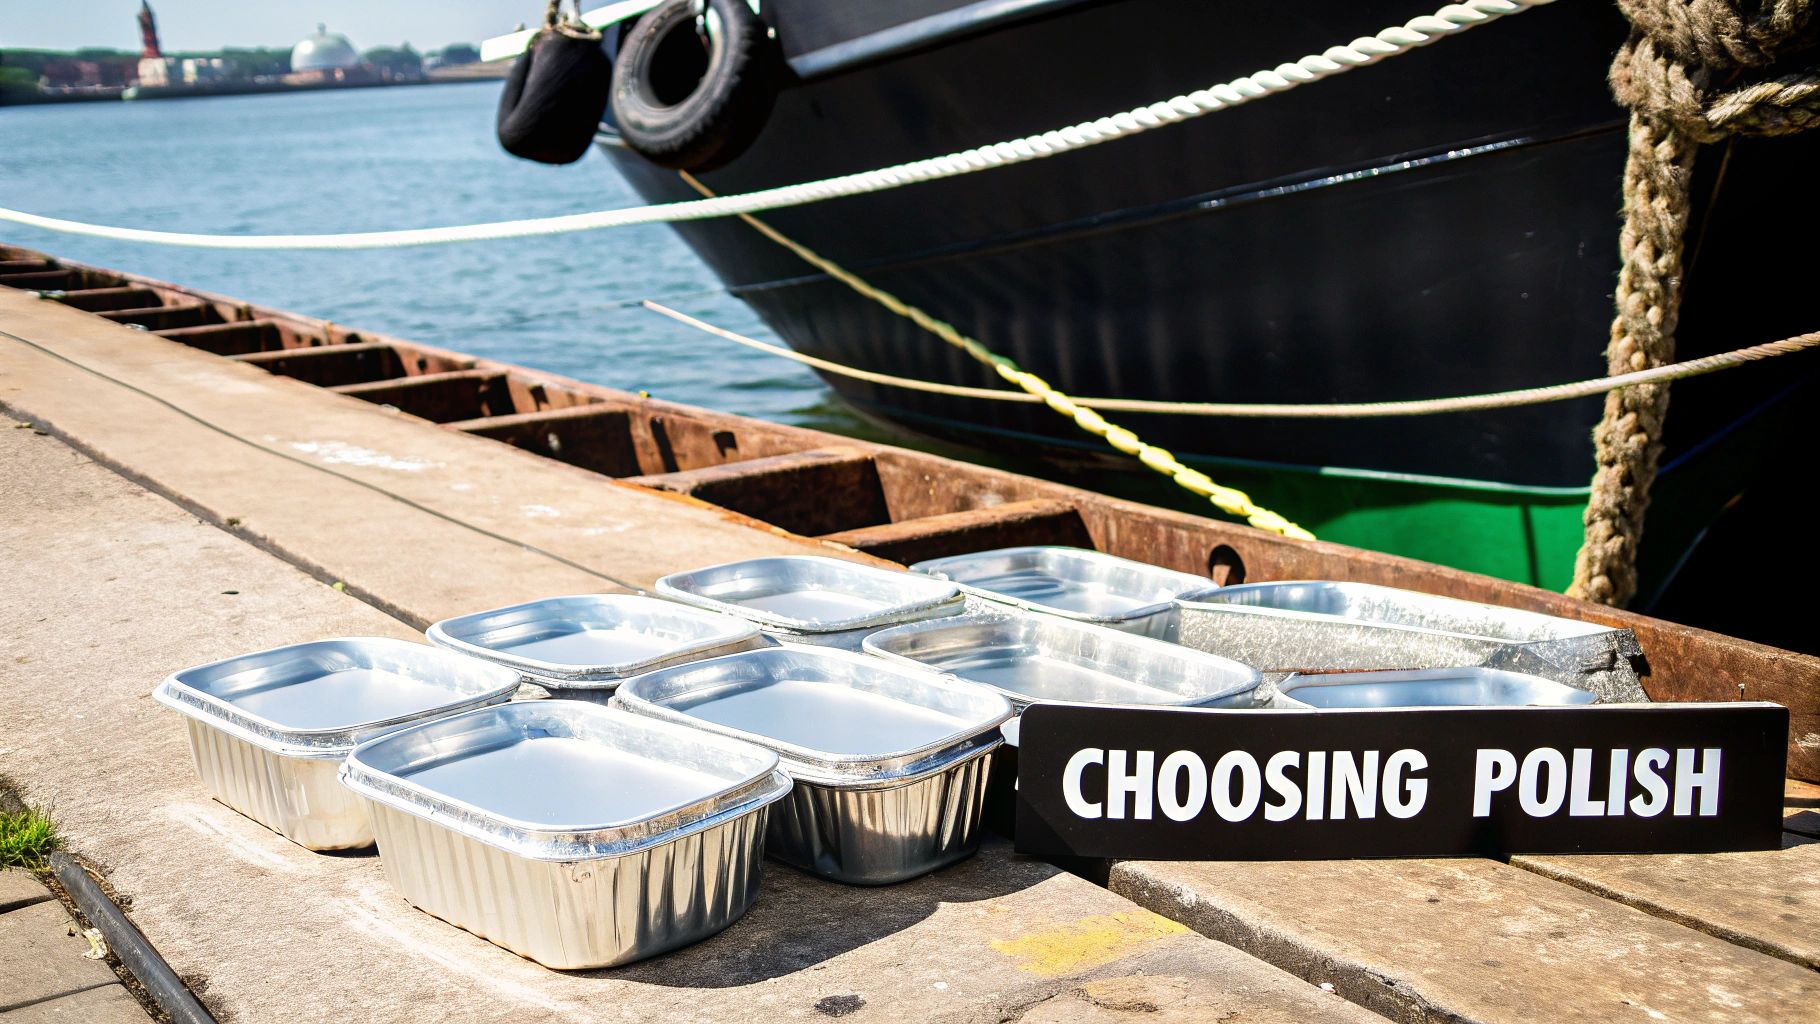
Choosing Your Shield: Wax vs. Sealant
When it comes to protection, you’ve got two fantastic options: a traditional marine-grade wax or a modern synthetic sealant. Each has its own strengths.
-
Marine Wax: This is the classic choice for a reason. Carnauba-based waxes deliver a deep, warm gloss that many boaters just love. They're fantastic at beading water but generally need to be reapplied more often, especially if you spend your time in harsh saltwater environments.
-
Synthetic Sealant: These are the new kids on the block. Polymer-based sealants create a hard, slick shell over the aluminum. While they might not offer the same visual depth as a carnauba wax, they last significantly longer and provide superior durability against UV rays and chemical contaminants.
So, which one is right for you? It really comes down to where you do your boating. For freshwater folks, a top-notch wax applied once or twice a season is probably all you need. But if you’re battling saltwater and intense sun, the beefed-up durability of a synthetic sealant is often the smarter long-term investment.
Whichever you choose, the application process is pretty much the same. Grab a clean foam applicator pad and work a thin, even coat over the entire hull. Let it dry to a haze, then come back with a clean microfiber towel and buff it off. The result is a protected, brilliant shine that’s ready for the water.
If you're still on the fence, you can dive deeper into the differences in our guide to marine wax and polish.
Proper maintenance is more important than ever. The aluminum boat market was valued at over $15.5 billion in 2023, and that number is only growing. For many boaters in North America, routine upkeep like polishing can account for 15-20% of their annual boat care budget, so making that shine last is key.
Got Questions About Polishing Your Aluminum Boat?
Even with the best instructions, you're bound to have a few questions when you tackle a big job like polishing your aluminum boat for the first time. It happens. Here are some of the most common ones we get, with straightforward answers to keep you on track.
How Often Should I Polish This Thing?
Honestly, it all comes down to where you boat. If you're out there in the saltwater, that salty air and water are incredibly corrosive. You'll likely need to give your hull a good polish two or three times a year to keep it from getting chalky and dull.
For those of you on freshwater, you can usually get away with a single, thorough polish at the beginning of the season. That’s often enough to keep it looking sharp all summer long.
Your boat will tell you when it’s time. Run your hand across the hull. If it starts to look cloudy or feels chalky, it’s ready for a polish, no matter what the calendar says.
Can I Polish Over the Paint?
That's a hard no. The process and products we're talking about here are strictly for unpainted aluminum.
Using an abrasive aluminum polish on a painted boat will chew right through the paint, leaving you with a mess you really don't want. Painted hulls need their own special care routine, usually involving a gentle compound and a protective marine wax.
What's the Difference Between a Metal Restorer and an Aluminum Polish?
Good question. Think of it like sandpaper grits—one is for heavy lifting, the other is for finishing.
A metal restorer is your first line of defense against serious neglect. It’s a heavy-duty, aggressive compound built to cut through severe oxidation and even light pitting on a hull that hasn't seen love in a while.
An aluminum polish, on the other hand, is much finer. You use this after the heavy work is done. It's designed to buff out minor oxidation and swirl marks, bringing out that deep, mirror-like shine. For a truly flawless finish, you'll often use the restorer first, then follow up with the polish.
Ready to get that hull gleaming? The complete line of marine-grade cleaning and polishing products from Better Boat has everything you need to protect your investment and keep your aluminum boat looking its best.

