How to Polish Fiberglass to a Mirror Shine
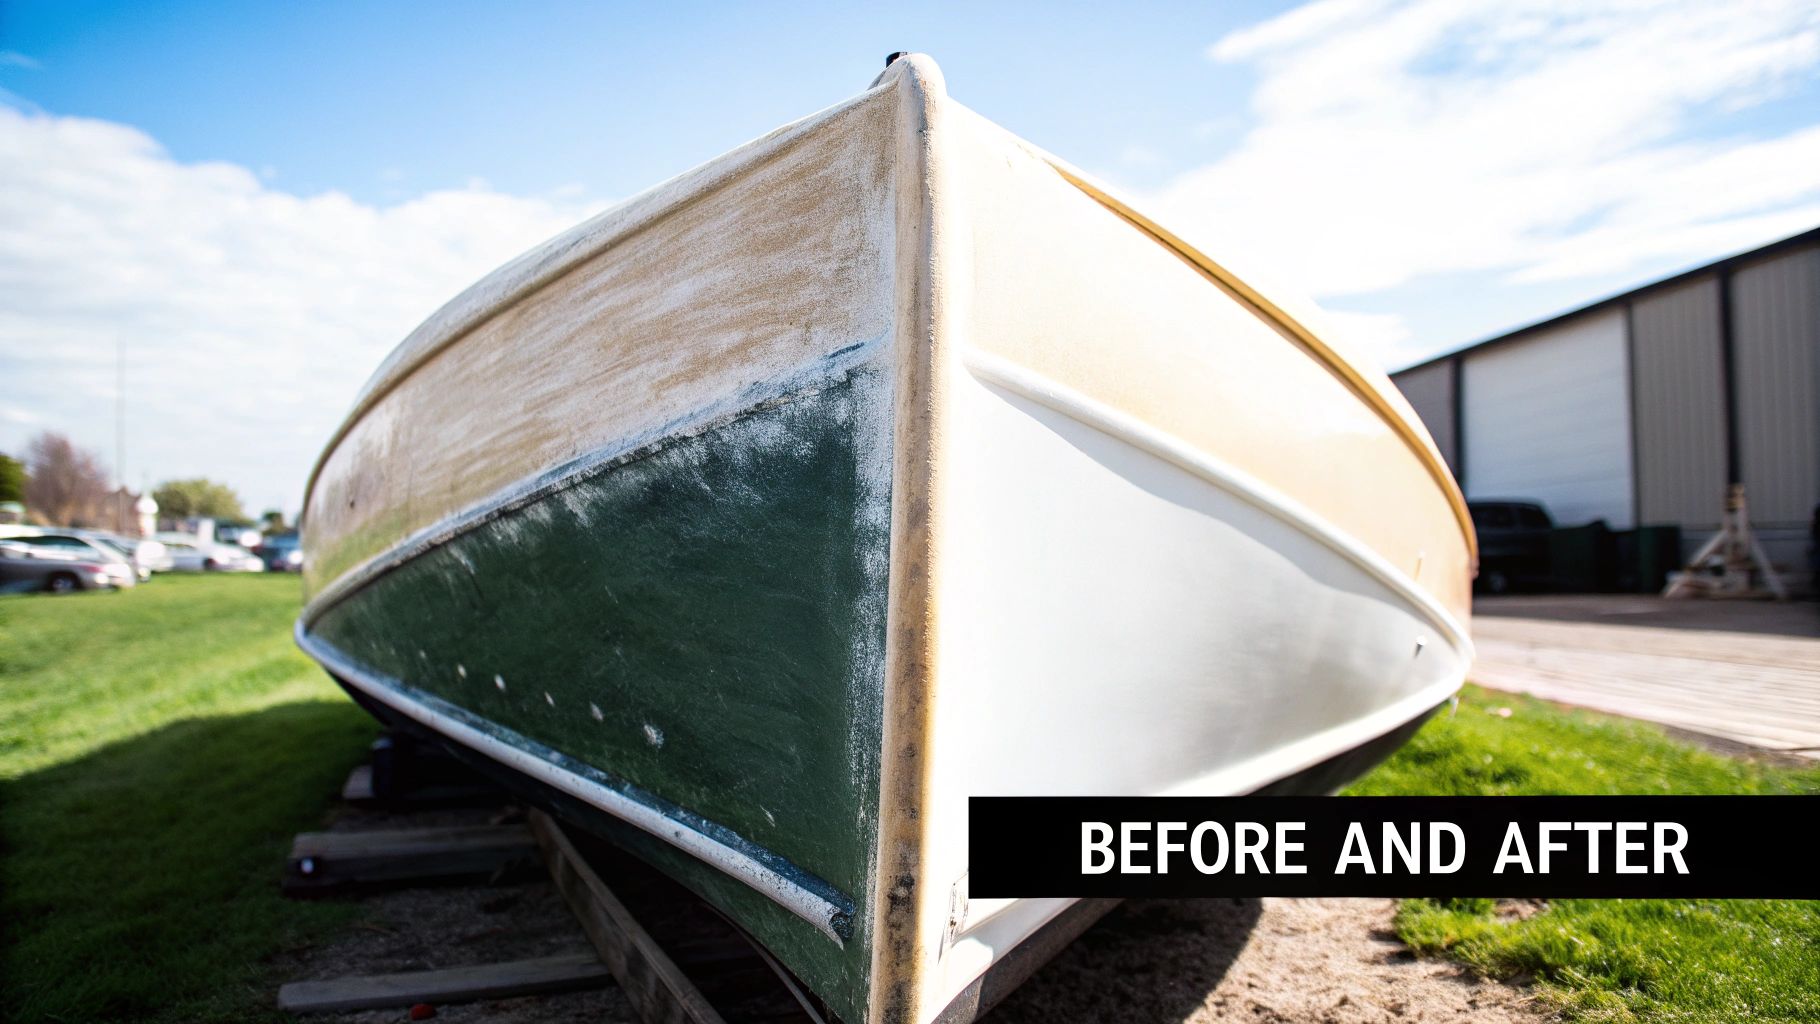
Looking at that dull, chalky fiberglass can be a real bummer, but trust me, that factory-fresh gloss is closer than you think. Getting it back isn't a single magic step, though. It's a process: thorough cleaning, decontamination to get the embedded grit out, compounding to knock down oxidation and scratches, and a final polish to make it shine. This guide is your roadmap to turning that faded surface into a mirror finish.
Bringing Your Fiberglass Back From The Brink

We're going to walk through the entire job, from the initial deep clean and prep work all the way to that final, satisfying buff. We’ll skip the confusing jargon and break down the key stages you need for a result that looks like it came from a pro. The real goal here is to give you the confidence to get it right the first time.
Understanding the Stages of Restoration
Learning how to properly polish fiberglass is all about following a logical progression. Each step builds on the last one, creating a flawless canvas for that final shine. If you skip a step, especially in the prep phase, you're pretty much guaranteed a subpar result.
Here are the main phases you'll master:
- Deep Cleaning and Decontamination: This is where you strip away all the surface grime, salt, and nasty contaminants that would otherwise get ground right into your gelcoat.
- Surface Correction: Now for the heavy lifting. We'll use wet sanding or aggressive compounds to remove heavy oxidation, that chalky feel, and deeper scratches.
- Polishing and Refining: Time to bring out the gloss. We switch to finer polishes to eliminate any swirl marks left from compounding and really burnish the surface.
- Protection: You've done the hard work, now lock it in. Applying a durable wax, sealant, or ceramic coating protects that shine and shields the gelcoat from UV damage.
This methodical approach isn't just about making your boat or RV look incredible. It's about protecting your investment for years to come. Think of it less as a single task and more as a complete restoration system.
Why This Process Matters
Here's the deal: fiberglass gelcoat is porous. Over time, the sun's UV rays break down its outer layer, which causes that dull, chalky look we all hate—that's oxidation. This isn't just a cosmetic problem; it's the first real stage of gelcoat degradation.
A proper polishing routine removes this damaged, oxidized layer, revealing the fresh, vibrant gelcoat underneath. When you follow up with a quality protective sealant, you're creating a barrier that drastically slows down future oxidation, makes routine cleaning a breeze, and helps maintain your vessel's value. We’ll make sure to cover the common mistakes people make, so you can avoid the frustration and get that showroom look you're after.
Assembling Your Fiberglass Polishing Toolkit

Walking into a marine supply store can feel overwhelming. You're hit with shelves packed with dozens of tools and potions all promising a mirror-like shine. Let's cut through that noise. Building the right kit isn't about buying one of everything; it's about getting the right tools for the job.
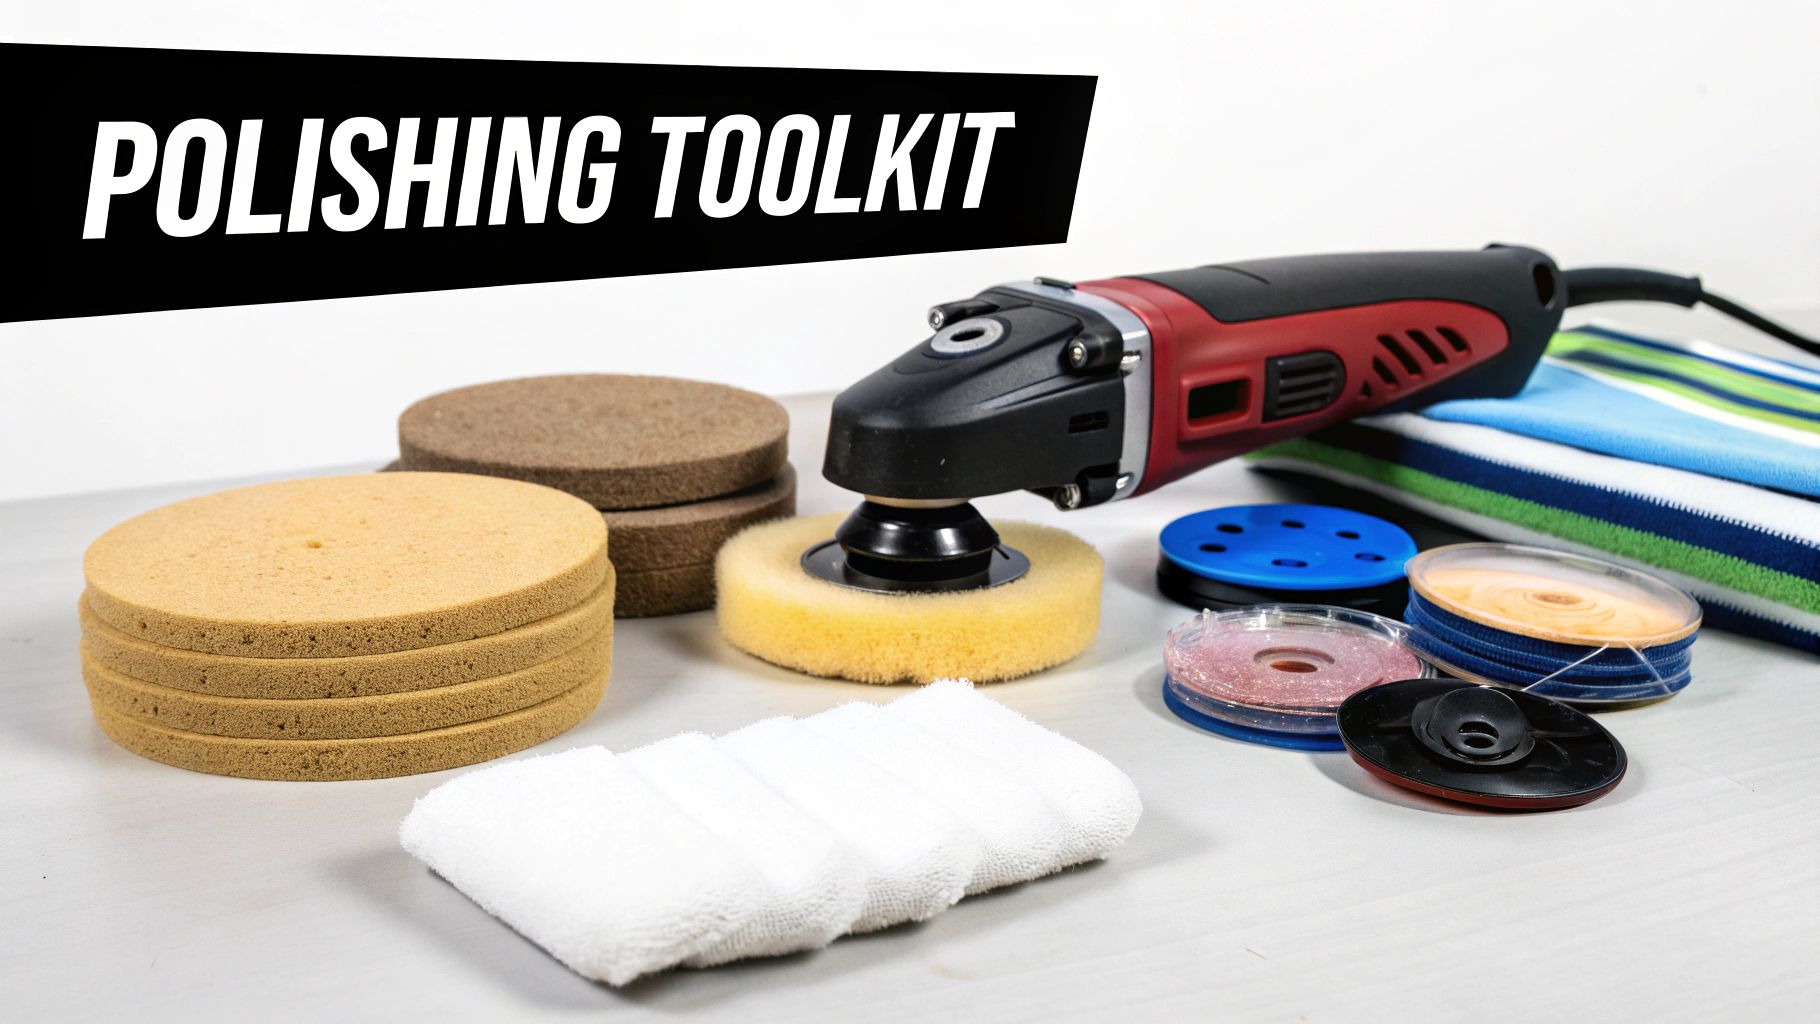
The heart of any polishing job is the machine polisher, and you've got two main choices here.
First up is the rotary polisher. This is the old-school powerhouse that spins on a single axis, generating a lot of heat and serious cutting power. Pros love it for chewing through heavy oxidation, but in the wrong hands, it can burn right through your gelcoat in a heartbeat.
For most boat owners, a dual-action (DA) polisher is the much smarter, safer bet. This machine spins, but it also oscillates in a random pattern. That little wobble makes a huge difference—it dramatically reduces the risk of burning the gelcoat or leaving nasty swirl marks. It's forgiving, easy to handle, and perfect for both polishing and laying down that final coat of wax.
Choosing Your Polisher Rotary vs Dual-Action
Deciding between a rotary and a dual-action polisher can feel like a big commitment. This table lays out the key differences to help you figure out which one really fits your project and comfort level.
| Feature | Rotary Polisher | Dual-Action (DA) Polisher |
|---|---|---|
| Action | Single-axis, direct spin | Random orbit and spin |
| Correction Power | High (removes heavy defects quickly) | Medium (safer for beginners) |
| Risk of Damage | High (can burn or hologram gelcoat) | Low (very forgiving) |
| Best For | Heavy oxidation, deep scratch removal | Light to moderate correction, finishing |
| Skill Level | Advanced / Professional | Beginner / Intermediate |
Once you have your polisher picked out, you’ll need the right consumables to actually do the work. Think of it as a complete system—your pads and compounds have to work together.
Here’s a practical shopping list to get you started:
- A variety of pads: You absolutely need both aggressive wool pads for heavy compounding and a set of softer foam pads for finishing. Having a few of each is non-negotiable.
- Wet/dry sandpaper: For any serious gelcoat correction, you'll want grits ranging from 800 for knocking down heavy oxidation all the way up to 3000 for refining the surface before you even touch the polish.
- Quality painter’s tape: Use this to mask off any trim, decals, or non-skid areas. Trust me, you don't want the polisher to grab onto those.
- Lots of microfiber towels: You can never, ever have too many. Use separate towels for wiping off compound, polish, and wax to avoid mixing products and scratching the surface you just perfected.
Investing in the right tools from the start makes the entire process of learning how to polish fiberglass smoother and more effective. A good DA polisher, for example, can be used for years on boats, RVs, and cars, making it a worthwhile purchase.
The good news is that the boom in DIY boat care means there are more high-quality, user-friendly products available than ever before. In fact, consumer demand has pushed retail sales of boat polish products up by 25% over the last five years.
That tells you just how many people are successfully tackling this project themselves. You can dig into the numbers in the full market analysis from DataHorizzon Research.
And one last thing: don't forget the basic safety gear. Goggles and a dust mask are essential—fiberglass dust is nasty stuff you really don't want to be breathing in.
Prepping and Cleaning for a Flawless Finish
Let's get one thing straight: you can't get a mirror shine on a dirty surface. This first part of the process is completely non-negotiable and, honestly, it's where a lot of well-intentioned DIY projects start to go sideways. Rushing this is like building a house on a shaky foundation—you'll see every single flaw in the final result.
The first order of business is a good, thorough wash. You need to get all that surface-level grime, salt spray, and loose crud off the boat. For this job, you'll want a high-quality automotive or marine boat soap. These are made to cut through the unique gunk that builds up on boats and RVs without being too harsh on the gelcoat.
Decontaminating the Gelcoat
Okay, so the obvious dirt is gone. Now it's time to go deeper and pull out the invisible contaminants hiding in the gelcoat's pores. You'll probably be shocked at what's been lurking just under the surface.
Start with a chemical iron remover. This stuff is pretty cool to watch. When you spray it on the fiberglass, you’ll see it turn purple as it chemically dissolves tiny bits of embedded metal. These are little flecks from industrial fallout or even brake dust that a normal wash won't ever touch.
After you rinse off the iron remover, the next job is to tackle the bonded grit. I'm talking about things like tree sap, paint overspray, and other stubborn particles that make the surface feel rough, even when it looks clean.
- Clay Bar: A classic automotive clay bar works great for this. Just knead it until it's soft, use a good lubricant spray, and glide it over the surface.
- Clay Mitt: If you’re working on a large area like a boat hull, a clay mitt is a game-changer. It works the same way but covers way more ground, saving you a ton of time and arm ache.
You'll literally feel the surface change from gritty to glass-smooth as the clay lifts out the last of the junk. For a more detailed breakdown of these initial cleaning steps, our guide on how to clean a fiberglass boat is a fantastic place to get all the details.
Don't even think about skipping this decontamination stage. Trying to polish over embedded grit is like rubbing sandpaper into your finish. You'll just be creating more swirls and scratches than you're trying to remove.
Masking for Protection
The final prep step is all about precision: masking. Before you let a polisher anywhere near that hull, you have to carefully protect all the bits and pieces you don't want to polish. This is a critical step that prevents some very costly and frustrating mistakes.
Grab some high-quality painter's tape and start masking off any vulnerable surfaces. This means covering things like:
- Vinyl decals and striping
- Rubber or plastic trim pieces
- Window seals and gaskets
- Non-skid deck areas
- Through-hull fittings
Taking an extra 20-30 minutes to be meticulous here will save you hours of cleanup or repair later. A polisher pad spinning at 1,500 RPM can permanently scuff plastic trim or completely shred a vinyl decal in the blink of an eye. This careful work sets the stage for a truly amazing final polish.
The Art of Sanding and Compounding
This is where the real magic happens. After you’ve done all the prep work, it's time to get down to business and physically remove that top layer of tired, oxidized gelcoat. You’re about to reveal a fresh, vibrant surface hiding just underneath. For any fiberglass boat dealing with heavy chalking or those stubborn, deeper scratches, this stage is the heavy lifter.
And this isn't just about looks; you're actively preserving the integrity of your vessel. The global fiberglass market, which is the backbone of the marine world, was valued at around USD 20.1 billion in 2024 and is projected to hit over USD 27.1 billion by 2030.
That growth just goes to show how critical proper maintenance, like polishing, is for protecting these high-value assets from the elements. If you’re curious about the numbers, you can dive deeper into the full fiberglass market analysis.
When to Wet Sand Your Fiberglass
Deciding whether you actually need to break out the sandpaper can feel a little daunting, but there’s a simple test to clear things up. After cleaning, grab your most aggressive compound and a wool pad.
Find a small, out-of-the-way spot on your hull and give it a test run. If that combo cuts through the oxidation and brings back a decent shine, you’re in luck—you can probably skip straight to compounding.
But what if the surface stays dull, hazy, or still shows those deeper scratches? That’s your cue. Wet sanding is the next step. Just remember, this isn’t a process to rush. You're removing a microscopic layer of gelcoat, so precision is everything.
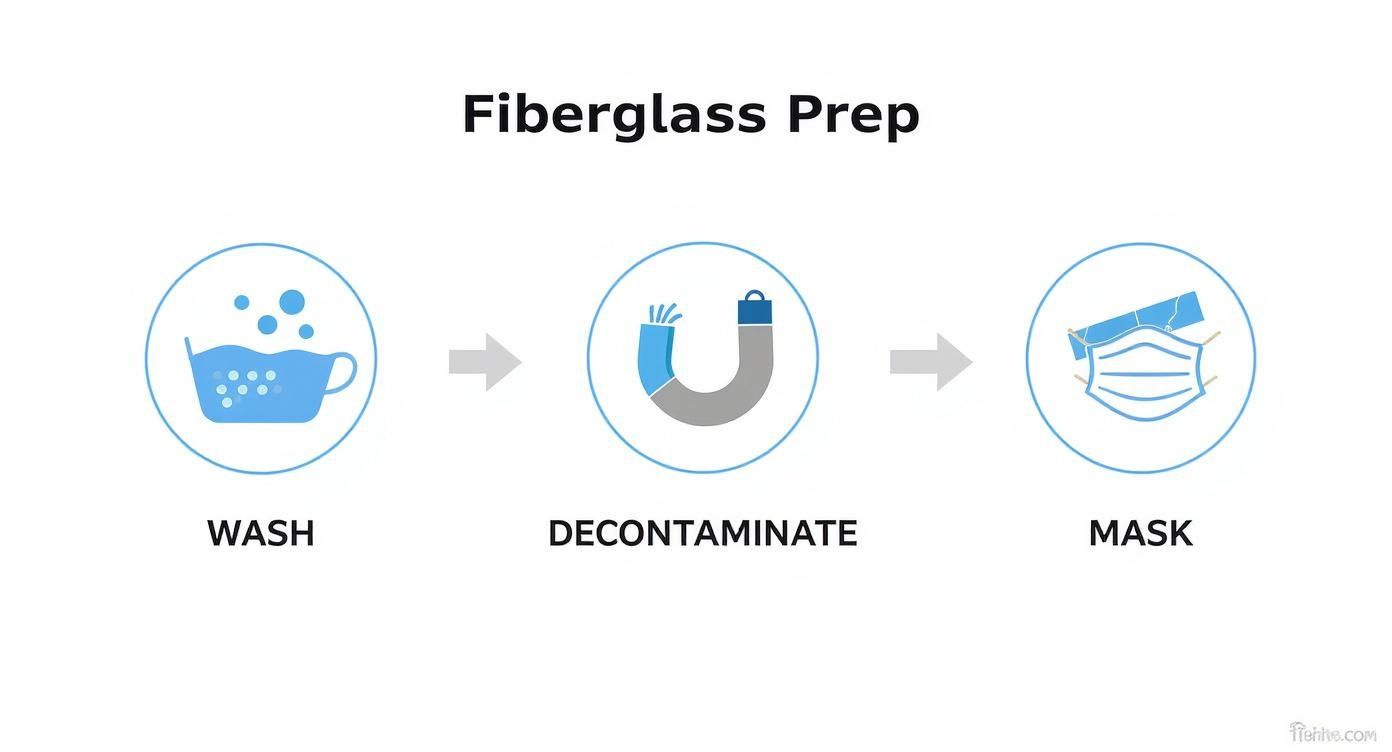
The infographic below really drives home the prep work that's absolutely non-negotiable before you even think about sanding or compounding.

As you can see, a solid wash, a full decontamination, and meticulous masking are the foundation for a flawless finish. No skipping steps here!
When you start sanding, always begin with the least aggressive grit that will get the job done. For moderate chalkiness, 800-grit wet/dry sandpaper is a pretty solid starting point. From there, you'll work your way up methodically.
- Move to 1000-grit to smooth out the scratches from the 800-grit.
- Then, use 1500-grit to refine the surface even more.
- Finish with 3000-grit to create a smooth, almost pre-polished finish.
Always, and I mean always, use a sanding block and keep the surface wet. A spray bottle with water and a single drop of soap is perfect. This lubricates the sandpaper, prevents it from getting clogged with gelcoat slurry, and gives you a much better result.
Mastering the Compounding Process
Once the sanding is done, the surface will have a uniform, hazy look. Don't panic; that's exactly what you want. Now it's time to grab the polisher and wipe away those fine sanding marks. This is the compounding stage, and its entire purpose is correction.
You'll need a heavy-cut compound formulated for marine gelcoat and an aggressive pad—a twisted wool or microfiber cutting pad is usually the go-to. This combination has the muscle needed to level the fine scratches left by your 3000-grit sandpaper.
To make sure you're armed with the right stuff for this crucial step, check out our guide on picking the best boat polishing compound for your project.
It's important to remember that compounding isn't polishing. You're not aiming for a mirror shine just yet. The goal here is to remove every trace of sanding marks and create a perfectly uniform, haze-free surface that is ready for the final polish.
Work in small, manageable sections, about 2x2 feet at a time. Put a few pea-sized drops of polishing compound right on the pad, then spread it over the area with the machine turned off.
Set your polisher to a low speed (somewhere around 1200-1500 RPM for a rotary) and start working the compound using slow, overlapping passes. Apply firm but not excessive pressure—let the machine and the product do the heavy lifting.
You'll notice the compound start to break down and become translucent. That’s your sign to gradually ease up on the pressure before wiping the residue off with a clean microfiber towel. Before you move on, grab a bright light and inspect your work. Perfect? On to the next section.
Polishing Your Way to a Mirror Shine
All the heavy lifting is done. With the correction work behind you, the fiberglass should have a nice, uniform surface without any obvious haze. This is a huge step, but we haven't quite reached that jaw-dropping, mirror-like finish just yet.
Now, we shift gears from correction to pure refinement. The goal isn't to cut away defects anymore. Instead, we're going to gently burnish the gelcoat to bring out a brilliant, deep gloss.
This is the final abrasive step, and it’s what separates a decent job from one that looks truly professional. You can put away the aggressive wool pads and heavy compounds; it's time for a much gentler approach to maximize clarity and depth.
Refining the Surface with a Finishing Polish
The first big change for this stage is your choice of product and pad. It's time to swap out the heavy-hitting compounds for a dedicated finishing polish. These polishes have much finer, more delicate abrasives that break down quickly, gently smoothing out the microscopic peaks and valleys left on the gelcoat surface.
You'll want to pair this fine polish with a soft foam finishing pad. These pads have very little "cut" and are really just there to spread the product evenly, letting the tiny abrasives do their magic without introducing any new swirl marks. Trust me, a high-quality, dense foam pad will give you a much cleaner result than a generic, flimsy one.
Your machine technique is going to change quite a bit here, too. Forget the firm pressure you used for compounding. Now, you’ll apply only light to moderate pressure—let the weight of the polisher do most of the work for you.
You'll also want to bump up your machine speed a bit, usually to around 1500-1800 RPM on a rotary or a higher setting on a DA polisher. This specific combo of finer polish, a softer pad, and lighter pressure is the secret to developing that true "wet look."
This stage is all about finesse, not force. Think of it like using progressively finer grits of sandpaper on a piece of wood. You’re not really removing material anymore; you’re just making the surface smoother and more reflective with each pass.
Inspecting Your Work for Flawless Results
So, how do you know when you've nailed it? The secret is in the inspection, and your regular overhead shop lights just won't cut it. To really see the quality of your finish, you need a focused, powerful light source. A bright LED flashlight or a dedicated detailing inspection light is perfect for this.
Hold the light at an angle to the surface and slowly sweep the beam back and forth. This focused light will reveal any tiny imperfections that are completely invisible under normal lighting.
Here's what you're hunting for:
- Buffer Trails or Holograms: These are faint, shimmering swirl marks left behind by the polisher's path. If you see them, it usually means you need another quick pass with the finishing polish, maybe with even less pressure this time.
- Remaining Haze: If you notice some spots still look a bit cloudy compared to others, they likely just need a little more polishing time to be fully refined.
Work in small sections, carefully inspecting each one before you even think about moving on. This meticulous final check is what creates that flawless, show-quality shine. It might feel tedious in the moment, but taking the extra time to hunt down and eliminate these last few imperfections is what will make your boat’s fiberglass truly stand out. All that hard work is about to pay off in a big way.
Locking In the Shine with Lasting Protection
After all that hard work, the last thing you want is for your brilliant shine to fade away in a few months. A freshly polished gelcoat is beautiful, but without protection, it's a sitting duck for UV rays. Before you know it, the oxidation you just removed will start creeping back.
This final step is all about preservation. You've corrected the surface, and now it's time to put a shield over it. Think of it as a heavy-duty sunscreen for your fiberglass that keeps the gloss looking deep and wet. As a bonus, it also makes future cleanups way easier since dirt and grime will have a tough time getting a grip.
Choosing Your Shield: Wax vs. Sealant
The world of protectants really boils down to three main choices, and each has its own vibe. Your decision depends on what you value most—are you chasing that classic, warm glow, or do you need maximum durability to get you through the season?
-
Carnauba Waxes: These are the old-school favorites for a reason. Carnauba paste waxes deliver a deep, rich gloss that's hard to beat for a show-quality finish. The trade-off? They don't last very long, typically giving you 3-4 months of protection in a harsh marine setting.
-
Polymer Sealants: This is where modern chemistry comes in. These synthetic products are all about durability, creating a slick, hard shell over your gelcoat. They offer fantastic UV protection and can easily last 6-12 months, making them a super popular middle-ground for most boaters.
-
Ceramic Coatings: If you're looking for the top-tier of surface protection, this is it. Ceramic coatings create a semi-permanent chemical bond with the gelcoat that's incredibly tough and resistant. The application is more involved, for sure, but the payoff can be multiple years of serious protection with just a little upkeep.
Here's the most important thing to remember: wax and polish are not the same. A polish is abrasive and fixes the surface. A wax or sealant is a non-abrasive layer that protects it. Getting a handle on the difference between marine wax and polish is the key to a job well done.
Once you’ve picked your product, the application is pretty straightforward—but don't rush it. Using a simple foam applicator pad, apply a thin, even coat. I can't stress "thin" enough. Work in small, manageable sections to keep it from getting away from you.
Now for the critical part: let the product haze over. Check the manufacturer’s instructions for the proper curing time, as this is when the product bonds to the surface. Once it's ready, gently buff off the residue with a clean, plush microfiber towel.
Make sure you flip the towel to a fresh side often. If you rush this final buff, you'll be left with ugly streaks, so take your time and reveal that perfect, protected shine. This isn't just for looks; it's a real investment in your boat's future condition and value.
Common Questions About Polishing Fiberglass
Even with the best game plan, questions always come up when you're getting the hang of polishing fiberglass. Getting the right answers can be the difference between a weekend of frustration and a finish that turns heads at the dock. Let's dig into some of the most common ones we hear from boat owners.
Can I Polish Fiberglass By Hand?
Technically, yes, you could polish a tiny spot by hand. But if we're talking about an entire boat hull or even a small RV, trying to do it manually is a recipe for exhaustion and a blotchy finish. It’s just not practical.
The whole process hinges on the consistent speed and power you get from a machine. That's what breaks down the abrasives in the compounds and really powers through the oxidation. You simply can't generate that kind of friction and heat by hand. To get that uniform, professional-looking shine, a dual-action polisher is a fantastic investment that’s both safe for beginners and delivers incredible results.
What Is the Difference Between Polish and Wax?
This is probably one of the most crucial things to understand in boat detailing. It’s easy to get them mixed up, but they do completely different jobs.
Here's the simplest way to think about it:
- Polish corrects. It's a liquid abrasive designed to physically level the gelcoat. It smooths out the surface by removing fine scratches, swirls, and that chalky oxidation, which is what brings back the gloss.
- Wax protects. This is your non-abrasive top coat. It acts like a shield, protecting the now-perfect surface from UV rays, salt, and other grime while adding a beautiful depth to the shine.
The rule of thumb is simple: Correct first, then protect. You always polish the surface to restore its shine, and then you lock in all your hard work with a good layer of wax or sealant. Trying to do it the other way around just seals in the imperfections.
How Do I Know If My Fiberglass Needs Sanding?
This is a great question, and the answer is to always start with the least aggressive method first. You don't want to break out the sandpaper unless you absolutely have to.
After you’ve washed and decontaminated a small section of the hull, grab your most aggressive cutting compound and a wool pad. Work a small 2x2 foot test spot. If that combination cuts through the chalkiness and brings back a decent shine, you’re in luck—you can probably skip sanding altogether and just proceed with a two-step compound and polish.
However, if that test spot still looks dull, hazy, or you can still see deeper scratches after compounding, that’s your signal. It means the oxidation and damage are too severe for a compound to fix alone, and you'll need to wet sand the surface first to level it out before you can polish it to a shine.
Ready to give your boat the shine it deserves? Better Boat has all the premium tools and products you need to get the job done right. Explore our complete collection at https://www.betterboat.com and start your project with confidence.


