


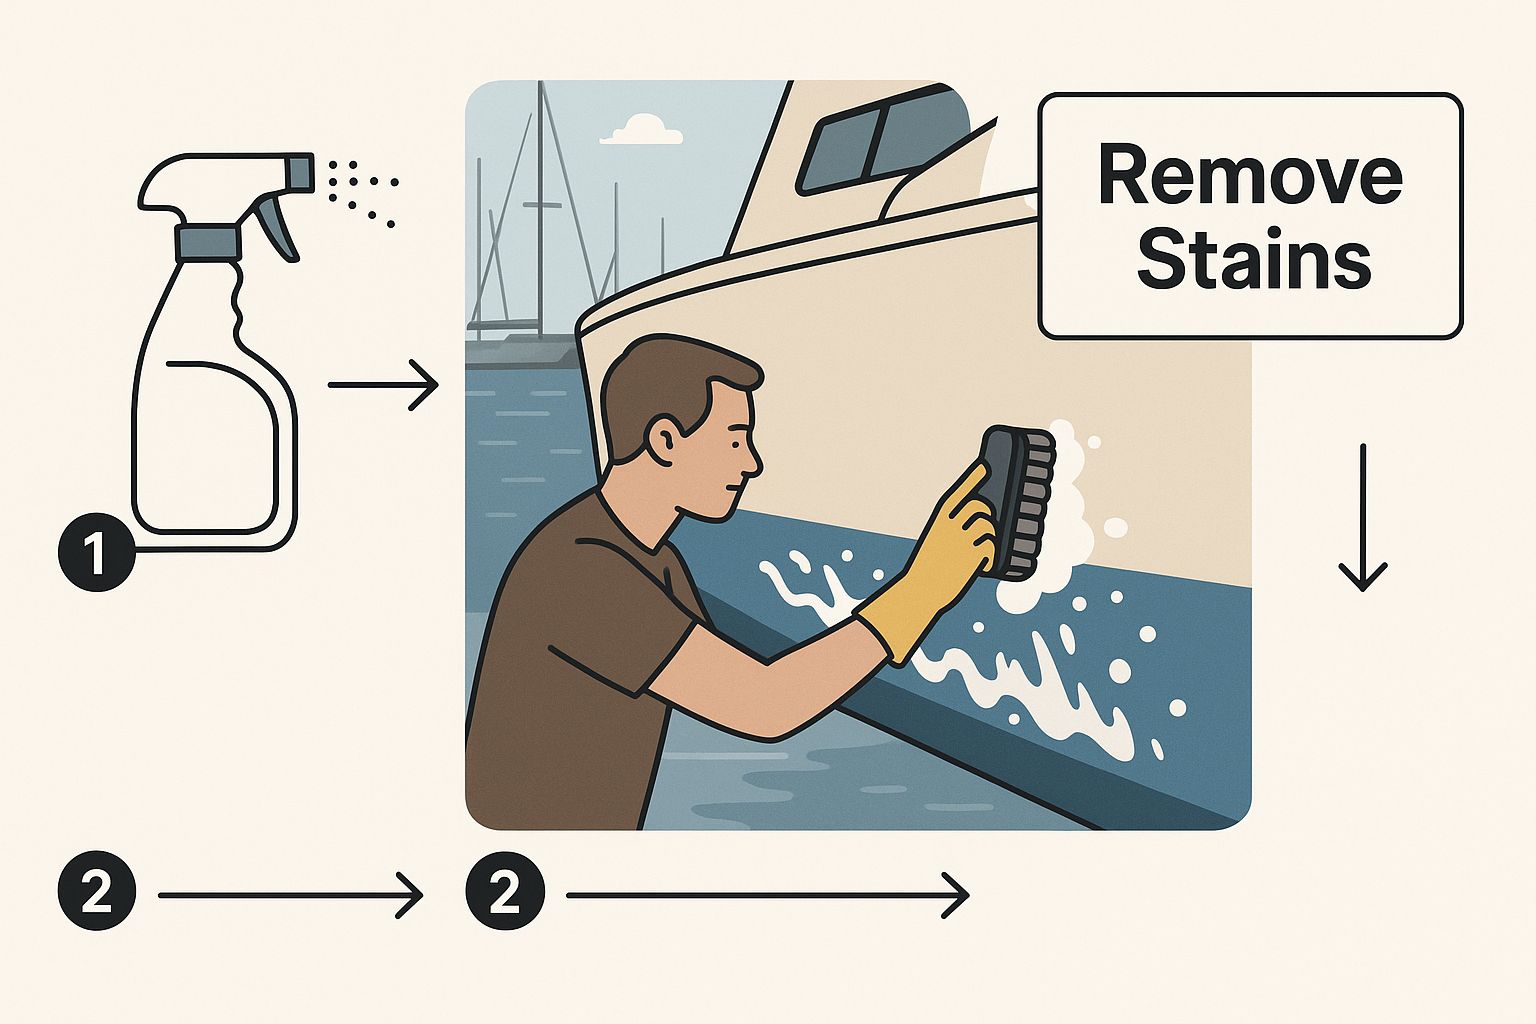
How to Remove Water Stains From Boat: Expert Tips
That awful brown ‘mustache’ you see at the waterline is a nasty combination of mineral deposits and organic gunk that has chemically fused itself to your gelcoat. The absolute fastest and most effective way to deal with it is a specialized, acid-based cleaner. The best ones come in a gel formula that clings to the hull, giving it time to work its magic.
Why Your Boat Has Stubborn Water Stains
If you've spent hours scrubbing those waterline stains with zero results, you’re definitely not alone. Those ugly brown, yellow, or black marks aren't just surface dirt; they're the result of a chemical reaction happening right on your hull.
As your boat sits in the water, minerals like iron, calcium, and magnesium, plus tannins from nearby vegetation, find a home in the porous surface of the gelcoat. This creates a bond so tough that regular boat soap can't even touch it.
This is exactly why all that back-breaking scrubbing leads to nothing but frustration. You're essentially trying to fight chemistry with elbow grease, and that’s a battle you'll rarely win. The real key is to use a product that dissolves the components of the stain, not one that tries to physically wear them away.
Understanding the Chemistry of Stain Removal
The most effective cleaners for these kinds of blemishes go to work on a chemical level. They typically contain a mild acid, like oxalic acid, which is brilliant at breaking down the mineral and organic compounds causing the stain.
This process chemically lifts the discoloration right off the gelcoat without you having to resort to harsh, abrasive scrubbing that could scratch or dull your finish. It's the classic "work smarter, not harder" approach to boat cleaning.
A specialized boat stain remover does all the heavy lifting for you. It's formulated to target the specific minerals and organic matter behind waterline stains, dissolving them so they rinse away easily. This protects your gelcoat from a ton of unnecessary wear and tear.
Choosing the Right Tool for the Job
While different stains can require different tactics, that common "ICW mustache" has a clear enemy: an acid-based cleaner. A comprehensive 2023 study confirmed that gel-based cleaners with oxalic acid consistently outperformed other types, proving incredibly effective at dissolving stubborn hull stains. You can dive deeper into the findings from the Practical Sailor hull cleaner test.
Here at Better Boat, our boat stain remover is specifically designed for these exact problems. It wipes out tough stains with minimal effort on your part. This targeted approach is how you get a pristine, showroom-quality hull without giving up your entire weekend to scrubbing.
Sometimes a quick visual guide can help you decide which approach is best for your specific situation. Here’s a simple breakdown of the most common methods.
Quick Guide to Water Stain Removal Methods
| Method | Best For | Key Advantage |
|---|---|---|
| Acid-Based Cleaners | Stubborn waterline stains, brown "mustache," mineral deposits | Chemically dissolves stains, requiring minimal scrubbing and protecting the gelcoat. |
| Heavy-Duty Boat Soap | Light, fresh surface-level scum and organic buildup | Good for routine cleaning and preventing heavy stain formation. |
| Polishing Compound | Faded or oxidized gelcoat with light, embedded discoloration | Restores shine while physically abrading away the very top layer of the stain. |
| DIY Vinegar/Lemon Juice | Very minor, fresh hard water spots on small areas | Mildly acidic and readily available, but lacks the power for set-in stains. |
Ultimately, for those deep-set, chemically bonded stains that plague so many of us, a purpose-built, acid-based formula is going to be your most reliable solution. It gets the job done right the first time.
Identifying the Stains on Your Hull

Before you grab the first cleaner you see, take a minute to play detective. Not all stains are created equal, and figuring out what you're up against is the first move in getting your hull back to pristine condition. Trust me, using the wrong product is a surefire way to waste a perfectly good afternoon.
The most common culprit is that notorious brown, yellow, or reddish-brown discoloration right at the waterline—what some of us call the "ICW mustache." This isn't just mud. It's a stubborn cocktail of minerals like iron and manganese, mixed with algae and other organic gunk from the water.
These minerals don't just sit on top of your gelcoat; they form a chemical bond with the porous surface. That's why a simple soap-and-water scrub barely makes a dent. This isn't a "dirt" problem—it's a chemical reaction, and it needs a chemical solution to break it down.
Beyond the Waterline Scum
While that brown stain gets most of the attention, other marks can mess up your boat's finish. Knowing how to spot them will help you build a smarter cleaning plan.
-
Hard Water Spots: These show up as chalky, white circles or splotches. You’ll notice them most on darker hulls or glass. They’re what’s left behind when water with high mineral content (think calcium and magnesium) evaporates. Use a hard water spot remover to get rid of these stains.
-
Sooty Exhaust Stains: Look for black or gray smudges on the transom, right around the exhaust ports. This is a greasy mix of carbon and unburnt fuel that loves to cling to gelcoat.
A single, all-purpose cleaner almost never has the right stuff to tackle all three of these. A degreaser might lift the exhaust soot but will be completely useless against the mineral bonds of a waterline stain. This is why identifying the enemy is your most powerful first step.
Think of it this way: You wouldn't use Windex to mop your kitchen floor. Each stain has a unique makeup, and a targeted cleaner is the only way to get a truly clean finish without accidentally damaging your boat.
Let’s say you're dealing with both a waterline stain and exhaust soot. That calls for a two-pronged attack. You'd start with an acid-based hull cleaner to dissolve the mineral-based waterline scum. Once that's handled, you'd follow up with a strong degreasing boat soap to cut through the oily exhaust residue. Try to use one product for both jobs, and you'll likely end up with a half-cleaned hull and a whole lot of frustration.
Your Essential Boat Stain Removal Toolkit
Before you even think about tackling those stubborn hull stains, let’s talk prep. Turning a frustrating chore into a deeply satisfying project all comes down to having the right gear lined up and ready to go.
Think of this as your pre-flight checklist. Getting everything organized first means you won’t be scrambling for a brush or a fresh pair of gloves with cleaner dripping down the hull. Success is about having two things dialed in: the right cleaning products and the proper gear to use them safely.
Your Cleaning Agents
The star of the show here is your stain remover. When you’re up against those tough, chemically bonded waterline stains—that lovely "ICW mustache"—you need a heavy hitter. An oxalic acid-based cleaner is exactly that.
This isn't about elbow grease; it's about chemistry. The acid works on a molecular level to dissolve the mineral deposits and organic gunk without forcing you to scrub aggressively, which can damage your gelcoat. It’s the smart way to work, not the hard way.
Sure, for light jobs or routine washing, a good heavy-duty boat soap might be enough. But for stains that have set in, you need the targeted power of a specialized remover. It saves you time and protects your boat's finish.
Essential Application and Safety Gear
Listen, when you're working with powerful cleaners, you have to respect them. Your safety is non-negotiable, so don’t even think about skipping this stuff. This gear protects you from chemical exposure and, honestly, helps you get a much better result.
Here's the gear you should have within arm's reach:
- Chemical-Resistant Gloves: Forget about those flimsy kitchen gloves. You need proper nitrile or rubber gloves that won’t break down when they come into contact with the cleaner.
- Safety Glasses or Goggles: This is a big one. Protecting your eyes from an accidental splash is absolutely critical. It only takes a split second for a small splash to cause a serious injury.
- Soft-Bristle Brushes: Grab a brush with soft, flagged bristles. It’s perfect for gently working the cleaner into stubborn spots without putting a single scratch in the gelcoat.
- Microfiber Towels: You can never have too many. Get a big stack of clean, dry microfiber towels for wiping, drying, and buffing everything to a perfect, streak-free shine.
- Spray Bottles and Buckets: A good spray bottle helps you apply the cleaner evenly over a large area. Buckets are a must-have for your clean rinse water.
Pro Tip: I've found that a small, disposable paint roller with a foam head works wonders for applying gel-based stain removers. You can roll on a thin, even coat over large sections of the hull in no time, ensuring the product works uniformly across the surface.
Getting this toolkit pulled together makes the whole process of removing water stains from your boat go so much smoother. It’s not just about getting the boat clean; it’s about doing the job right, safely, and efficiently.
And remember, a clean hull looks even better sitting below clean, bright white seats. For more tips on getting your whole boat looking sharp, check out our guide on how to clean boat seats.
A Practical Guide to Erasing Water Stains
Alright, with your gear ready, it's time to get to work. This is the moment all that prep pays off, and you finally get to watch those ugly stains disappear.
Let's imagine a common scenario: you're staring down the stubborn brown waterline stains on a 22-foot center console after a long, fun season on the water. This is how we'll tackle it.
First things first, pick your spot. One of the biggest mistakes you can make is trying to clean your hull in direct, blazing sunlight. The heat will bake the cleaner onto the hull, causing it to evaporate way too fast—often before it's had a chance to work. You'll end up with streaks and patchy spots, and you'll have to start all over again.
Instead, pull your boat into the shade, or just wait for an overcast day. A cool, dry surface is the ideal canvas. It allows the cleaning agent to sit and do its job properly.
Applying the Cleaner for Maximum Effect
Grab your acid-based stain remover. For big, open areas like the side of a hull, here’s a pro tip: use a small paint roller with a foam head. It's a game-changer. You can lay down a thin, perfectly even layer of cleaner in no time, getting consistent coverage without wasting product on drips and runs.
If you're focused on smaller spots or need to be careful around decals and graphics, a simple sponge or a soft cloth will do the trick just fine. The main goal is to get the product directly onto the stains, covering them completely without slathering it on clean parts of the hull.
As you can see, it's all about direct application and using the right tools—for the boat's sake and your own.
Letting the Product Do the Work
Once the cleaner is on, the next step is the most important one: wait. This is called dwell time, and it’s where the real magic happens. The oxalic acid in the cleaner needs time to soak into the porous gelcoat and break down the minerals and organic gunk that created the stain in the first place.
Don’t rush this part. Rinsing the cleaner off too soon is the number one reason for a poor result. Give the product the time it needs to break down the stain completely.
For most waterline stains, you're looking at a dwell time of 20 to 30 minutes. You'll actually see the brown or yellow stains start to fade and "run" down the hull. That's how you know it's working. Boaters everywhere back this up; I saw one owner on a forum describe this exact method for his 2001 Mako Inshore skiff, and he stressed how crucial that 20- to 30-minute window was for the oxalic acid to work its wonders without any heavy scrubbing.
Agitation and Rinsing for a Flawless Finish
After letting it sit, take a look. Most of the stain should be gone. For any really tough spots that are still hanging on, now's the time for a little bit of gentle agitation.
Take your soft-bristle brush and give the problem area a light scrub in a circular motion. And I mean lightly. The cleaner did 95% of the heavy lifting; you're just helping it along with the last little bit. You aren't trying to muscle the stain off.
Finally, rinse everything off. Use a hose with decent pressure and wash away all the cleaner and dissolved grime. Start at the top and work your way down to make sure no product gets left behind to dry on the hull. A good, thorough rinse is key to a spotless, streak-free finish.
For an even deeper dive into this part of the process, check out our complete guide on how to clean a boat hull. Once you've rinsed it all down and dried it off with a microfiber towel, your hull will look incredible—almost like it just rolled off the showroom floor.
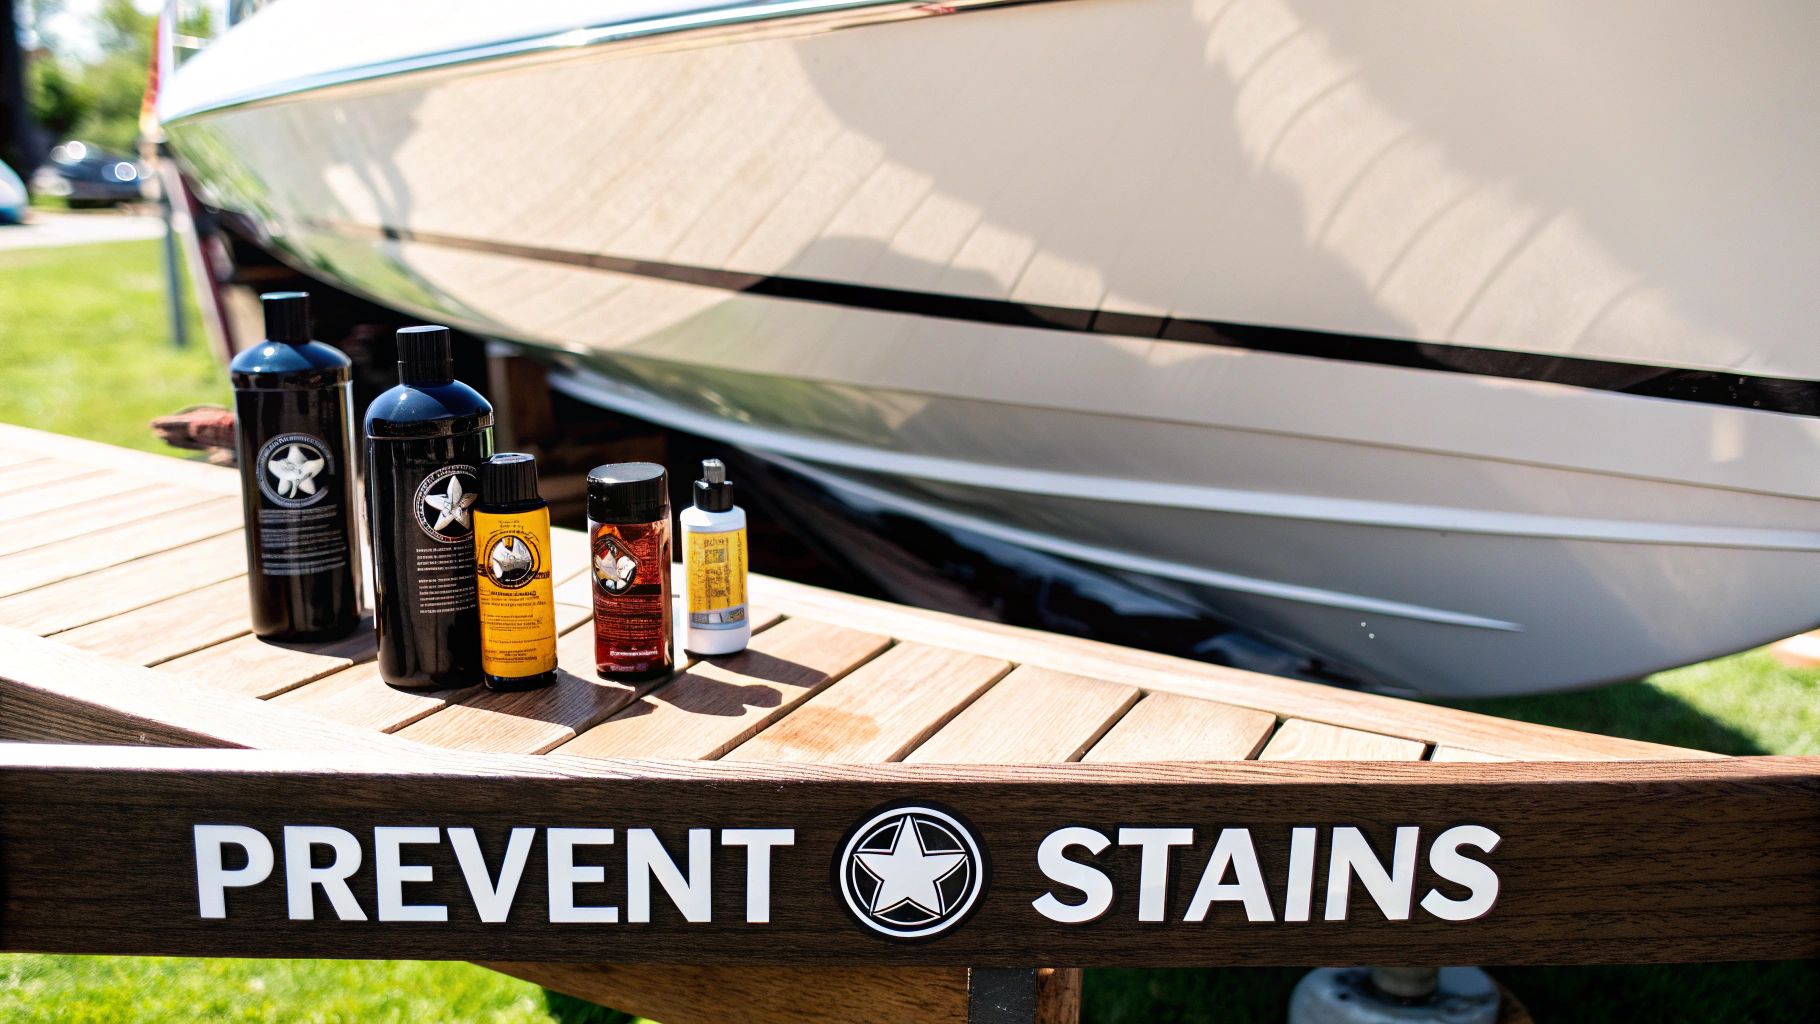
Keeping Your Hull Stain Free Long Term
Getting your hull sparkling clean is a fantastic feeling, but the real victory is keeping it that way. After you’ve put in the work, the next step is the one many boaters unfortunately skip—and it’s the most important. This is where you shift from cleaning to protecting.
Applying a high-quality marine wax is about so much more than just a glossy shine. A proper coat of wax creates a tough, hydrophobic barrier on your gelcoat. This is your hull's first line of defense, making it much harder for minerals and grime to get a foothold in the first place.
Think of it as sealing the pores of the gelcoat. Water will bead up and roll right off, taking most of the stain-causing gunk with it. This single step will dramatically cut down on how often you'll need to do a deep clean and makes routine wash-downs way faster and more effective.

Perfecting Your Wax Application
If you want that professional-grade finish, technique really matters. Always start with a completely clean and dry surface. I’ve found it’s best to work in small, manageable sections—about three to four square feet at a time—so the wax doesn't dry out before you can buff it.
Using a clean microfiber applicator pad, apply a thin, even layer of a quality marine wax like our Premium Boat Wax. Overlapping circular motions are your friend here, ensuring you don’t miss any spots. Less is truly more; a thick, goopy layer is a nightmare to buff off and doesn't add any extra protection.
Let the wax haze over. This usually takes a few minutes, depending on the temperature and humidity. You can test it with a quick swipe of your finger—if it comes away clean without smearing, you're good to go. Then, grab a fresh, clean microfiber towel and buff the wax off to reveal a deep, brilliant shine.
Pro Tip: For the best results, dedicate separate towels for application and buffing. This prevents any leftover residue from the application towel from smearing your freshly polished surface, giving you a clearer, longer-lasting finish. Trust me on this one.
Simple Habits for a Cleaner Hull
Beyond waxing, a few simple habits will make a massive difference in preventing stubborn stains from coming back. These small efforts compound over the season and will save you a ton of work later.
- Freshwater Rinse: After every outing, give your hull a quick rinse with fresh water, especially if you've been in saltwater. This washes away salt crystals and surface grime before they have a chance to dry and bond to the gelcoat.
- Wipe Down Promptly: Don't let your boat air-dry covered in water spots. Grab a soft, absorbent towel or a water blade to dry the hull. This prevents those pesky mineral deposits from forming as the water evaporates.
These simple routines, combined with a solid coat of wax, form a powerful one-two punch. You'll spend a lot less time scrubbing and a lot more time enjoying a boat that looks its absolute best all season long.
Common Questions About Boat Stain Removal
Even with the best game plan, questions always seem to surface right when you're in the middle of a job. When it comes to getting water stains off a boat, we hear a handful of the same excellent questions over and over. This is where we'll give you some quick, straight-up answers to those common concerns.
Think of it as having a quick chat with a seasoned boat detailer. We're here to offer that extra piece of advice so you can tackle the job with total confidence.
Can I Just Use Household Cleaners Like Vinegar or Bleach?
It’s always tempting to grab something you already have under the kitchen sink, but for your boat, it's rarely a good move. Sure, a 50/50 mix of white vinegar and water might handle a few very light, fresh hard water spots on glass. But it just doesn't have the chemical muscle to break down those stubborn, mineral-based waterline stains that have bonded to your gelcoat.
Bleach is even worse news. Over time, it can make your gelcoat brittle and chalky. It's also incredibly harsh on any vinyl or upholstery it happens to splash on. Your boat is a serious investment; using products formulated specifically for the marine environment is always the safest and most effective way to go.
What About Pressure Washing the Stains Off?
A pressure washer can definitely do the trick, but this comes with a huge asterisk. There's a world of difference between a consumer-grade unit and the industrial machines used in boatyards.
The pros use washers that push out 2,500 to 3,500 psi, which is strong enough to strip grime without damaging tough gelcoat. Your typical pressure washer from a home improvement store? It likely maxes out around 1,000–1,500 psi—often not enough to blast off chemically bonded stains.
Using a pressure washer that’s too powerful, or even just holding the nozzle too close to the hull, can gouge or delaminate your gelcoat. That turns a simple cleaning job into an expensive repair. For most DIY boaters, sticking with a chemical cleaner is the much safer bet.
Is It Safe to Clean My Boat in the Water?
This is a critical question, and the answer has big environmental implications. Many powerful hull cleaners, especially those with strong acids, are absolutely not safe to be discharged directly into the water. You have to check the product label for specific instructions about in-water use.
To be both safe and responsible, the best practice is always to pull your boat out of the water for a deep clean. This accomplishes a few key things:
- You prevent harmful chemicals from getting into the marine ecosystem.
- You can actually reach the entire stained area, including the parts that are normally submerged.
- The cleaner won't be immediately diluted by the surrounding water, making your efforts far more effective.
How Do I Clean Stains Near Decals or Pinstriping?
Working around your boat's graphics and vinyl decals requires a careful hand. Strong, acid-based cleaners can potentially fade the color or even damage the adhesive on vinyl decals if you let them sit for too long.
Your best approach here is precision. Apply the cleaner very carefully with a small sponge or a cloth, doing your best to avoid direct contact with the decal itself. If you do get some cleaner on the graphic, wipe it off immediately with a clean, damp rag. Don't let it dwell on the vinyl. It’s a little more tedious, but taking your time will protect your boat's custom look.
Ready to get your hull looking brand new without all the guesswork? The Better Boat Instant Hull Cleaner is specifically designed to melt away those stubborn waterline stains with minimal effort, protecting your gelcoat and restoring its brilliant shine. Shop our best-selling hull cleaner today and see the difference for yourself.


