 Skip to content

How to Repaint Aluminum Boat: Expert Tips for a Perfect Finish
Any good boat repaint hinges on one thing, and it's not the final coat of paint. It's the prep work. The real secret to a durable, professional-looking finish lies in the painstaking sanding, stripping, and cleaning you do before a single drop of primer touches the hull.
Getting this foundation right is everything. It's the difference between a paint job that looks great for years and one that starts peeling after a single season on the water.
Why Flawless Prep Is 90% of the Job

It's tempting to rush this part. I get it. You're eager to see that fresh color go on. But that's a huge mistake, especially with aluminum.
Aluminum is a tricky surface. The moment it hits the air, it forms an invisible layer of oxide. While this natural shield is great for preventing corrosion, it’s terrible for paint adhesion. Your main mission here is to get rid of that oxide and create a clean, textured surface that a good primer can really bite into.
Think of it like trying to paint a greasy frying pan. If you don't scrub it clean first, the paint will just sit on top, ready to flake off. The same principle applies to your boat. Every bit of old paint, every speck of grime, and every trace of that oxide layer has to go.
Defeating the Oxide Layer and Old Paint
First things first, you have to strip away any old, failing paint. If your boat has patches of bubbling, chipping, or flaking, it’s all got to come off. Painting over an unstable surface is just asking for trouble—the new paint will fail the second the old layer underneath gives way.
After stripping, or if you're starting with a boat that just has a faded but intact finish, it's time to sand. And this isn't about making it smooth. It's about creating a "mechanical profile" for the primer.
- Creates Microscopic Grooves: Sanding with 80- to 120-grit sandpaper etches thousands of tiny scratches into the aluminum.
- Increases Surface Area: These little grooves dramatically increase the surface area, giving the primer much more to grab onto.
- Removes Stubborn Oxidation: A good, aggressive sanding ensures you've broken through that resilient aluminum oxide layer.
Key Takeaway: The goal of sanding isn't to make the surface perfectly smooth like you would with wood. You want a uniform, dull, and slightly rough texture. That texture is the key to a strong mechanical bond for your primer.
The Final Cleanse Before Priming
Once you're done sanding, the boat will be covered in fine aluminum dust, oils from your hands, and other contaminants. This residue is your final enemy. A thorough solvent wipe-down is a non-negotiable step.
Using a product like acetone or a dedicated marine-grade solvent on a clean, lint-free rag ensures the surface is chemically pure and ready for primer.
Before you even think about painting, a deep clean is essential. It pays to know your options here. For instance, understanding the differences between pressure cleaning and softwash cleaning can help you pick the best method for your boat's condition without causing any damage.
If you need more convincing, just look at the numbers. Industry data shows that improper surface prep is behind an estimated 60-70% of all coating failures on marine aluminum. Cutting corners here can slash the lifespan of your new paint job by up to 40%, forcing you to do this all over again way sooner than you'd like. This is why taking your time on prep is the single most important part of the job.
The Essential Prep Work Checklist
To make sure you don't miss a beat, here's a quick-reference checklist of the non-negotiable prep steps. Think of this as your roadmap to a paint job that actually lasts.
| Task | Goal | Key Tool or Material |
|---|---|---|
| Initial Cleaning | Remove surface dirt, grime, and marine growth. | Marine soap, pressure washer |
| Paint Stripping | Remove all old, flaking, or compromised paint. | Chemical paint stripper, scraper |
| Sanding | Create a mechanical profile for primer adhesion. | 80- to 120-grit sandpaper, orbital sander |
| Solvent Wipe-Down | Remove all dust, oils, and contaminants. | Acetone or marine solvent, lint-free rags |
| Final Inspection | Ensure the entire surface is uniformly dull and clean. | Your eyes, clean white rag |
Following this checklist methodically will put you in the best possible position for the next stages: priming and painting. Don't rush it—your future self will thank you.
Picking the Right Marine Paint System
Choosing the right paint isn't just about picking a color you like. For an aluminum boat, it's about building a multi-layer defense system that can handle the unique challenges aluminum faces in the water. The primer and topcoat you pick have to work together to bond to the metal, fight off corrosion, and stand up to the sun, salt, and general abuse your boat is going to take. Nailing this combination is every bit as important as the prep work.
Think of it like building a house. Your primer is the foundation, poured directly onto the prepped ground—in this case, the bare aluminum. The topcoat is the framing, siding, and roof. It's the part everyone sees, but it also provides the final layer of protection. If that foundation is weak, the whole structure is going to fail eventually, no matter how tough the roof is.
The Unskippable First Layer: Primer
Bare aluminum is notoriously slick and non-porous. This makes it incredibly difficult for most paints to get a good grip. This is where a specialized marine primer becomes your most valuable player. Without it, even the priciest topcoat will just peel right off. For aluminum, you've really got two main options, and they each bond to the metal in a different way.
- Self-Etching Primers: These are usually single-part primers that have a mild acid mixed in. When you apply it, that acid microscopically etches the aluminum's surface. This creates a powerful chemical and mechanical bond that's tough to beat. They’re super user-friendly, which makes them perfect for most DIY projects.
- Two-Part Epoxy Primers: These are the heavy hitters. They consist of a resin and a hardener that you mix right before you start painting. They create an incredibly hard, non-porous barrier that offers amazing adhesion and top-tier corrosion protection. This is the go-to for boats that will see heavy use or live in saltwater.
Expert Insight: For a jon boat that sees occasional use in freshwater, a good quality self-etching primer will probably do the trick. But if you've got a boat destined for coastal waters or one you want to look great for a decade, the superior barrier you get from a two-part epoxy primer is an investment that pays for itself.
This focus on specialized coatings is a huge deal in the marine industry. The pleasure boat paint market, valued at USD 3.2 billion in 2023, is expected to climb to USD 5.8 billion by 2032. A lot of that growth is coming from innovations like advanced primers and epoxy undercoats that dramatically improve how well paint sticks to surfaces like aluminum and fights corrosion. You can discover more insights about the evolving marine paint market and how it's changing boat maintenance.
Choosing Your Topcoat Armor
Once your primer is on and fully cured, it’s time for the topcoat. This is the layer that gives you color, UV protection, and resistance to scrapes and scuffs. The big decision here is whether to go with a single-part or a two-part polyurethane or epoxy paint.
A single-part polyurethane is a fantastic choice for a lot of boat owners. It's way easier to apply, you don't have to mess with complicated mixing, and it still offers solid durability and UV resistance. It's also a bit more flexible, which is a big plus on smaller boats that might flex or take a few bumps during trailering and docking.
On the other hand, two-part epoxy or polyurethane topcoats are in a different league when it comes to hardness and chemical resistance. They cure to a shell-like finish that's incredibly tough to scratch and stands up much better to things like fuel spills, harsh cleaners, and constant wear. They're less forgiving to apply and have a limited pot life once you mix them, but the durability you get is unmatched for a truly professional-grade finish that lasts.
| Feature | Single-Part Polyurethane | Two-Part Epoxy/Polyurethane |
|---|---|---|
| Ease of Use | High (No mixing required) | Lower (Requires precise mixing) |
| Durability | Good | Excellent (Harder, more resilient) |
| Flexibility | More Flexible | Less Flexible (Very rigid) |
| UV Resistance | Good to Excellent | Excellent |
| Best For | DIY projects, freshwater boats, frequent trailering | Saltwater boats, high-wear areas, professional finish |
How Much Paint Will You Need?
One of the most common mistakes people make is buying too little or way too much paint. To get a good estimate, you’ll need to grab a tape measure. As a general rule of thumb, one quart of marine paint will cover about 80-100 square feet with a single coat.
- Calculate the Area: Measure the length of the boat and the height of the hull from the waterline to the gunwale. Multiply those numbers to get a rough square footage for one side, then double it.
- Add the Transom: Don't forget the back! Measure and add the area of the boat's stern.
- Factor in Coats: You're going to need at least one coat of primer and two coats of topcoat for proper coverage and a durable finish.
For a typical 14-foot aluminum fishing boat, you should probably plan on needing one quart of primer and two quarts of topcoat to get the job done right without running out halfway through. It's always a smart move to buy a little extra. It’s way better to have some left for future touch-ups than to have to run out and buy another can that might be from a different batch.
Applying Primer and Paint Like a Pro
All that hard prep work is behind you. Now comes the fun part—this is where you get to see your vision for the boat really come to life. Applying the primer and paint is the most rewarding step, but it’s no time to rush. Patience and a steady hand are what separate a decent DIY job from a truly professional-grade finish.
The key here is to work methodically. Everything from the weather to your tools plays a huge role in the final outcome. You're looking for a calm, dry day with low humidity and temperatures between 50°F and 90°F (10°C and 32°C). Definitely try to avoid painting in direct, hot sunlight, as it can make the paint dry way too fast, leaving you with ugly brush marks and a finish you won't be happy with.
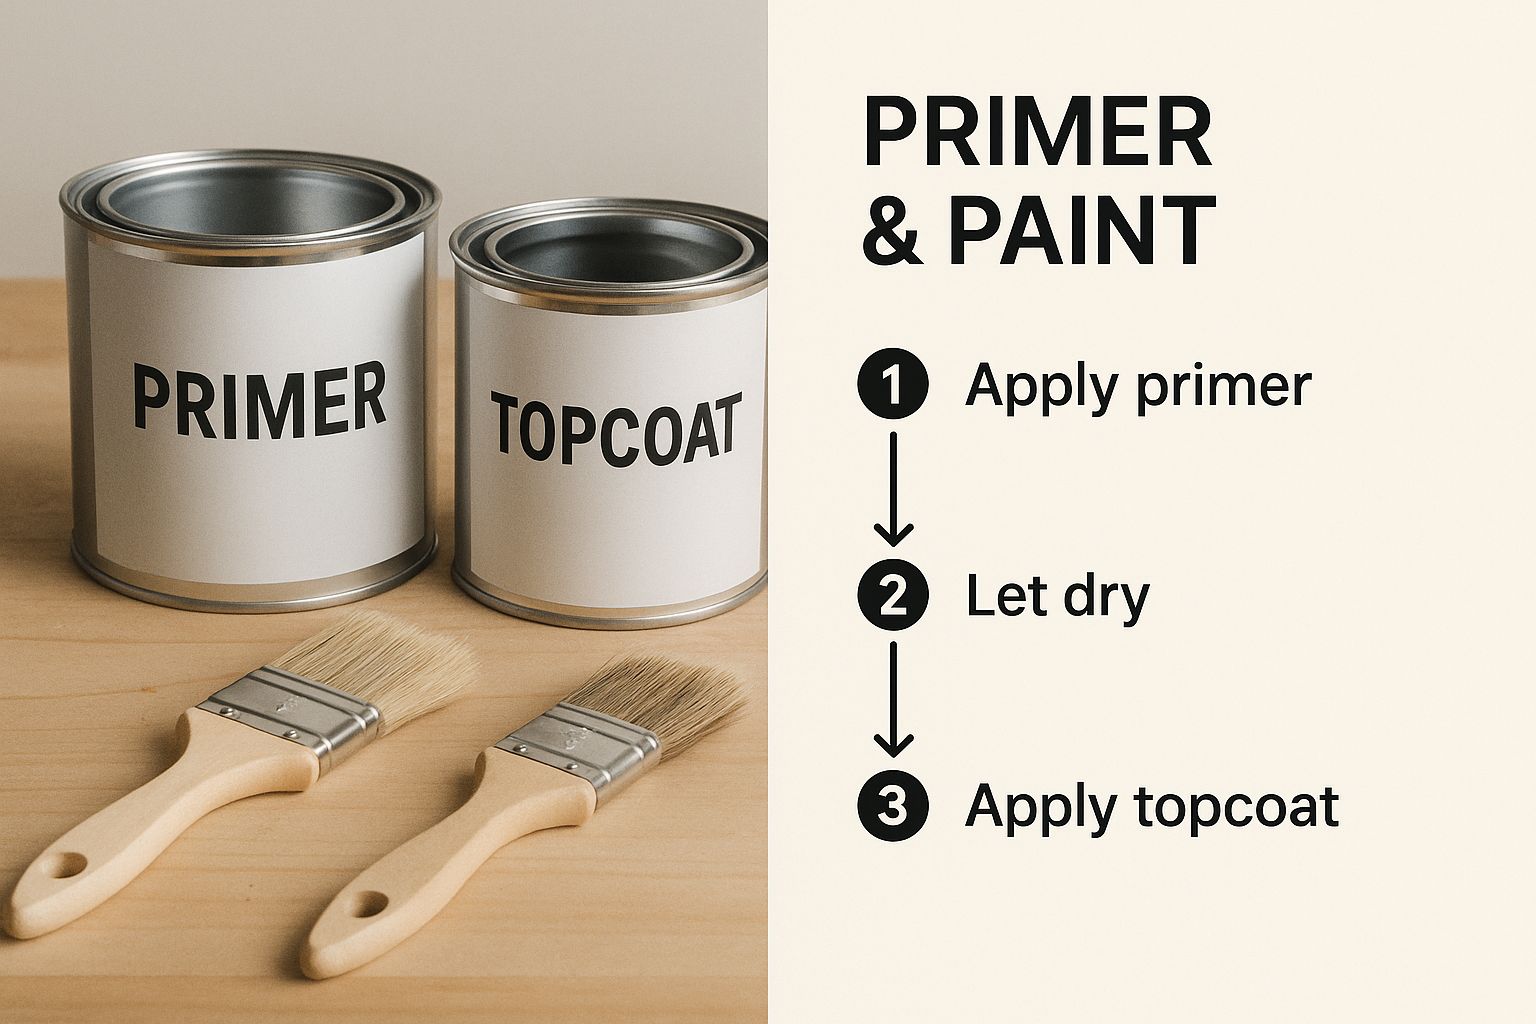
Laying Down the Perfect Primer Coat
Think of your primer as the bedrock for the entire paint job. Its purpose isn't to look pretty or add color; it's all about creating an unbreakable bond with that clean, scuffed aluminum. Get this right, and everything else that follows will be set up for success.
A good primer is like high-tech glue for your hull. A self-etching primer will chemically bite into the metal, creating a surface that the topcoat can grab onto for dear life. A two-part epoxy primer creates a tough, waterproof barrier. Either way, the goal is always the same: a thin, uniform coat.
Putting primer on too thick is a classic rookie mistake. It can fill in all those fine sanding scratches your paint needs to adhere properly, and it might not cure right. This leaves you with a soft foundation that can cause the paint to peel or chip down the road.
Pro Tip: Aim for one thin, even coat of primer that just covers the surface. You're not looking for full opacity. A slightly translucent coat that’s well-adhered is far better than a thick layer that’s just asking for trouble.
Once the primer is on, you have to let it cure completely. Check the manufacturer's instructions for the "flash-off" time—this is critical for the solvents to evaporate. When it's ready, give it a quick, light scuff sand with 220-grit sandpaper. This will knock down any dust that settled and give the surface a little extra "tooth" for the paint. Wipe it down one last time with a tack cloth before you even think about opening a can of paint.
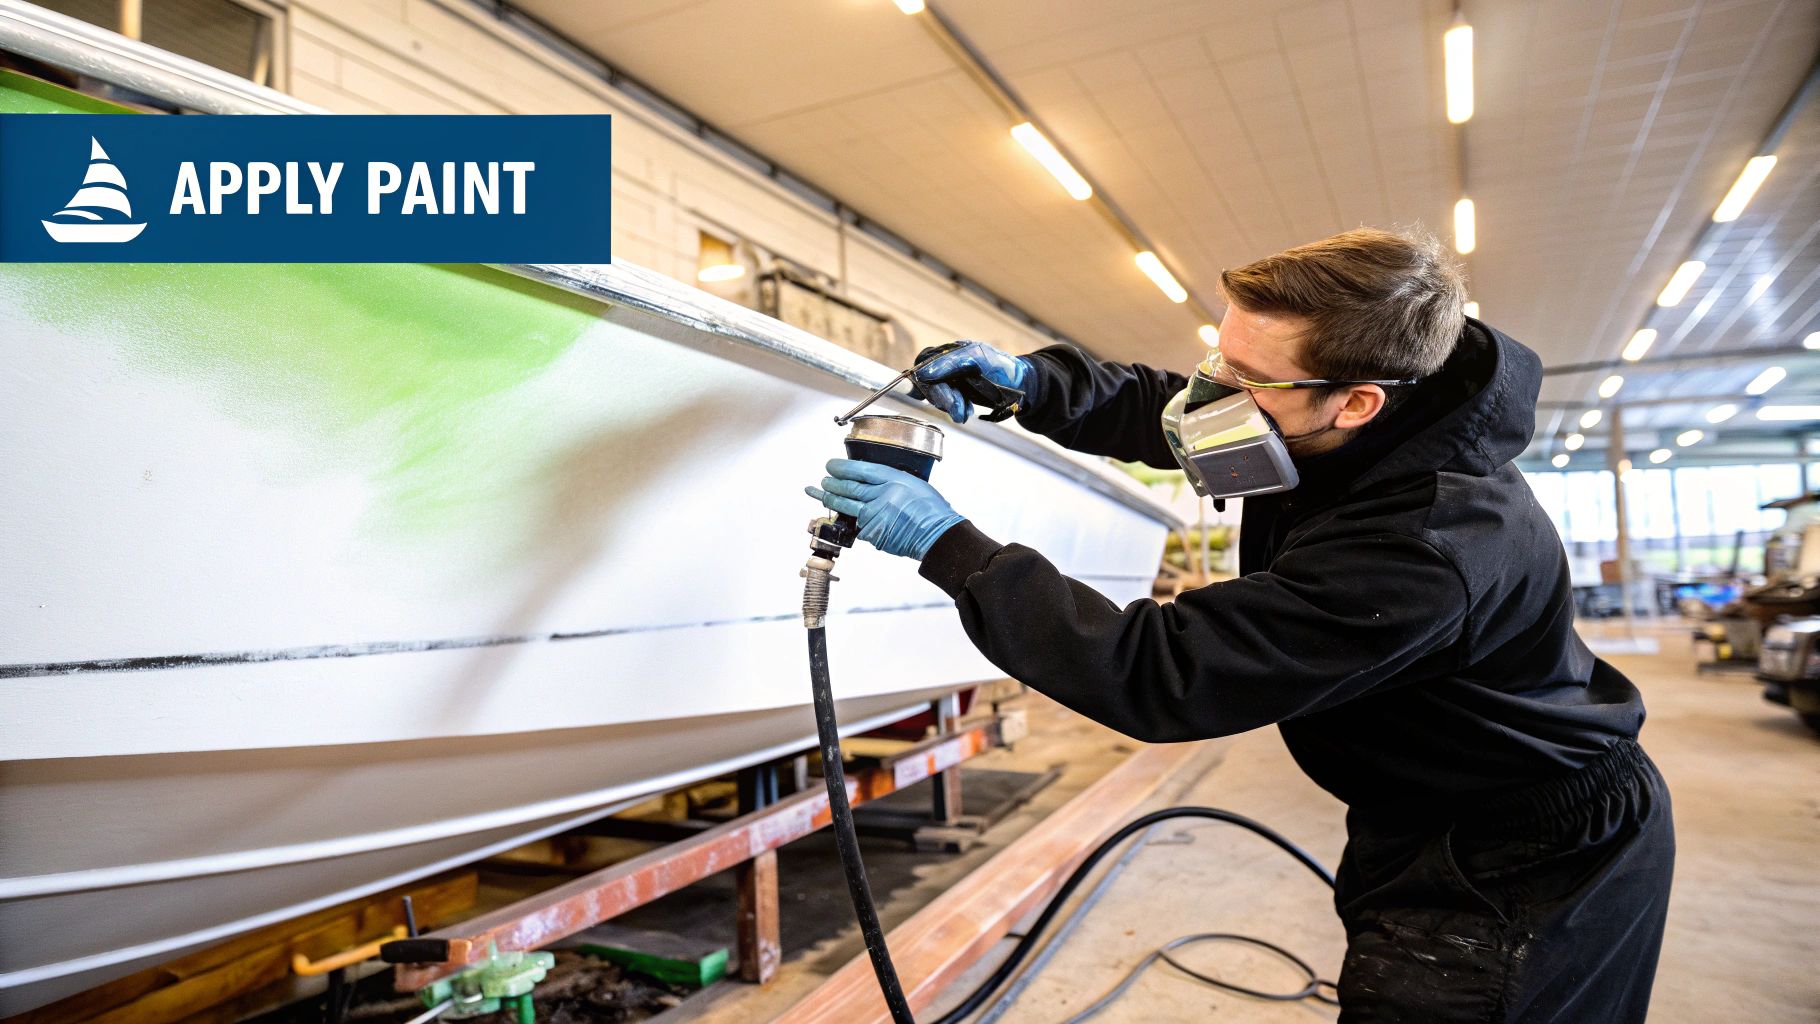
Choosing Your Topcoat Application Method
When it's time to lay down that final color, you've basically got two options: the traditional "roll and tip" method or spraying. Spraying can give you a factory-like finish, but it comes with a steep learning curve and requires expensive gear and serious safety precautions. For most boat owners tackling this at home, rolling and tipping is absolutely the way to go.
This technique is brilliant because it combines the speed of a roller with the smooth finish of a brush. It's a fantastic way to get a nearly flawless look without the cost and hassle of a sprayer.
Here’s a quick look at how the two methods stack up:
| Method | Pros | Cons |
|---|---|---|
| Roll and Tip | Inexpensive, DIY-friendly, excellent finish | Slower than spraying, works best with a partner |
| Spraying | Very fast, perfectly smooth "factory" finish | Requires expensive gear, steep learning curve, needs PPE |
Mastering the Roll and Tip Technique
The roll and tip method is an art form, but it’s one you can learn quickly. The process is a two-person job for the best results: one person (the "roller") applies a thin layer of paint, and the second person (the "tipper") follows right behind with a high-quality brush, lightly dragging the bristle tips across the wet paint.
Here’s how to pull it off perfectly:
- Work in Small Sections: Don't try to paint the whole boat at once. Break the hull down into manageable sections, maybe two or three feet wide. This is crucial for maintaining a "wet edge."
- The Roller's Job: Use a high-density foam roller to put on a thin, even coat of paint. The key is to let the roller do the work. Don't press hard, or you'll create bubbles.
- The Tipper's Job: Immediately after the paint goes on, the tipper uses a quality brush (a badger hair brush is fantastic for this) to gently stroke the surface. Use only the very tips of the bristles with almost no pressure.
- Keep a Wet Edge: As you finish one section, immediately move to the next, making sure to slightly overlap the still-wet edge of the area you just painted. This is how you avoid ugly seam lines and get that seamless, unified finish.
This technique levels the paint out beautifully, getting rid of that roller texture and popping any air bubbles. You're left with a smooth, gorgeous surface that can rival a spray job.
Of course, a clean boat doesn't just look better; it makes future maintenance way easier. To keep that new paint job looking its best, check out our guide on boat cleaning and detailing.
You'll probably need at least two, sometimes three, thin topcoats for the best coverage and durability. Let each coat dry completely according to the paint can, then give it a light sanding with 320-grit sandpaper between coats. This small step makes a massive difference in how well the next coat sticks and the overall quality of your finish.
After that final coat is on, the hardest part begins: waiting for it to fully cure before getting your boat back on the water.
Techniques for a Professional-Grade Finish
There’s a world of difference between a paint job that looks "okay" and one that looks truly professional. It all comes down to the details—the little techniques that take your project from good to great and turn your aluminum boat into something that genuinely turns heads at the dock.
Mastering these finer points is what makes all that prep work pay off with a flawless, durable finish. From creating razor-sharp lines to fixing imperfections on the fly, this is where your craftsmanship really shines through.
The Art of Masking for Crisp Lines
Nothing screams "pro job" louder than perfect paint lines. Sloppy edges around trim, windows, or hardware can instantly torpedo an otherwise great paint job, making it look amateurish. The secret is all in the masking.
First things first, forget standard painter's tape. You need the good stuff: high-quality automotive-grade or marine masking tape. These are specifically designed to create a tight seal that stops paint from bleeding underneath, and they peel off cleanly without leaving a sticky mess behind.
- Press Firmly: After laying down the tape, run a plastic putty knife or even just your thumbnail firmly along the edge. This is the single most important step to prevent paint from creeping under.
- Remove at the Right Time: Don't let the paint fully cure. The sweet spot for removing tape is when that final coat is just tacky to the touch. Pull it off slowly at a 45-degree angle, away from your fresh paint, for the cleanest line possible.
Real-World Scenario: Let's say you're painting around a cleat you couldn't remove. By carefully taping its base and pressing that edge down hard, you ensure the line is perfectly clean when you pull the tape. It'll look like the hardware was installed after the paint job, not before.
Troubleshooting Common Paint Problems
Even with the best prep, things can go wrong. A run in the paint or a bug deciding your fresh topcoat is the perfect landing spot can be frustrating, but don't panic. Both are fixable if you know what to do.
If you spot a run or sag while the paint is still wet, act immediately. Use the very tip of your brush to lightly lift the excess paint, then gently feather it back into the surrounding area. The key is a light touch—don't overwork it, and let it level itself out as it dries.
Found a dust speck, bug, or other imperfection after the paint has dried? Just wait until it's fully cured. Then, you can wet-sand that small spot with 1000-grit sandpaper to smooth it out, wipe it clean, and apply a small touch-up. Once that cures, the blemish will be virtually invisible.
Safety Is Not Optional
When you're learning how to repaint an aluminum boat, safety has to be your top priority. Marine paints, primers, and the solvents that go with them are packed with potent chemicals and volatile organic compounds (VOCs). Working in a poorly ventilated space is a serious health risk.
Always work outdoors if you can, or in a garage with the main door wide open for excellent cross-ventilation. More importantly, always wear the correct Personal Protective Equipment (PPE).
- Respirator: A NIOSH-approved respirator with organic vapor cartridges is absolutely non-negotiable. A simple dust mask offers zero protection from these fumes.
- Goggles: Protect your eyes from splashes with a pair of chemical-resistant safety goggles.
- Gloves: Nitrile gloves are a must to protect your skin from solvents and paints that can cause serious irritation.
Once your paint job is complete and has fully cured, the final step is to protect it. A good coat of wax doesn't just add a brilliant shine; it provides a crucial layer of UV and abrasion protection. You can learn the best techniques in our guide on how to wax a boat. This last step will extend the life of your new finish and keep it looking fantastic season after season.
Proper Curing and Long-Term Maintenance
You’ve laid down that final, beautiful topcoat, and the project looks complete. But hold on, the work isn't quite over yet. The next phase—the curing process—is a passive but absolutely critical step. Rushing this stage is one of the easiest ways to ruin a perfect paint job.
Patience is your best tool now. While the surface might feel dry to the touch in just a few hours, the paint underneath is still going through a complex chemical reaction. This process, known as curing, is when the paint achieves its maximum hardness, chemical resistance, and adhesion.
The Difference Between Dry and Cured
Understanding the distinction between "dry to the touch" and "fully cured" is essential. It's the difference between a fragile finish and a rock-solid protective shell for your aluminum boat.
- Dry to the Touch: This just means the solvents near the surface have evaporated enough that the paint film won’t feel tacky. It’s still soft and vulnerable underneath.
- Fully Cured: This is when all the chemical cross-linking within the paint is complete. The finish has reached its final state of hardness and is ready to withstand water, abrasion, and UV exposure.
Key Insight: Think of it like concrete. You can walk on it a day after it's poured, but you wouldn't drive a heavy truck on it for weeks. Your boat's new paint is the same; it needs time to gain its full strength before facing the rigors of the water.
Launching your boat too early can lead to water blistering, scratching, or even chemical damage. Always follow the manufacturer's specific guidelines, but a good rule of thumb is to wait at least 7 to 14 days in ideal conditions (warm, dry weather) before the boat goes back in the water.
Reinstalling Hardware and Long-Term Care
After the initial wait, you can start reassembling your boat. Even then, you need to be careful. Give the paint at least 48 to 72 hours before you start reinstalling hardware like cleats, railings, or seats. When you do, place a soft cloth under your tools to prevent any accidental dings or scratches.
For decals or registration numbers, wait even longer. Adhesives can sometimes react with uncured paint, so it’s best to give it the full curing time—at least a week or more—before applying any graphics.
Once your boat is fully cured and back on the water, a consistent maintenance routine will keep that new finish looking pristine for years. This doesn't require a huge effort, just smart habits.
Keeping Your New Paint Job Gleaming
A gentle but regular cleaning schedule is your best defense against grime and fading. After each outing, especially in saltwater, give the boat a thorough rinse with fresh water. This simple step washes away corrosive salt deposits that can eat away at your finish.
For a deeper clean, use a pH-neutral boat soap and a soft-bristled boat brush or microfiber wash mitt. Stay away from harsh, abrasive cleaners or stiff brushes, as these can easily scratch or dull the new polyurethane or epoxy.
How often you'll need to repaint really depends on your environment. Research shows that aluminum boats typically need a fresh coat every 3 to 7 years. Boats used exclusively in freshwater might stretch that to 5-7 years, while saltwater exposure can shorten the lifespan to 3-5 years due to aggressive corrosion.
A proactive approach is always best. Our comprehensive guide to boat maintenance tips every owner should know offers more in-depth strategies to protect your investment. By following these simple maintenance steps, you can extend the life of your new paint job and ensure your aluminum boat continues to look as good as it did the day you finished the project.
Common Questions About Repainting an Aluminum Boat
Even when you have a solid plan, questions always pop up during a big project like this. Learning how to repaint an aluminum boat means getting into the details, so let's tackle some of the most common things boat owners ask before they grab a sander.
Can I Just Paint Over the Old Paint?
It’s tempting to look for shortcuts, but just painting directly over an old, failing finish is a surefire recipe for disaster.
If the paint you've got now is peeling, bubbling, or chipping away, that's an unstable foundation. Any new paint you lay down will just flake right off, taking the old stuff with it. It’s a waste of time and money.
For a durable, professional-looking finish that will actually last, stripping the hull down to bare metal is always the best way to go. This is the only way to guarantee your new primer gets a death grip on the aluminum, which is the secret to a long-lasting job. If the old paint is in perfect shape and just faded, you might get away with a thorough scuff-sanding, but complete removal is the safest bet.
Easiest Way to Get a Smooth Finish Without a Sprayer?
The "roll and tip" method is your best friend here. It’s a classic technique that any DIYer can master, and it produces a remarkably smooth finish that looks almost like it was sprayed on.
Here’s the breakdown:
- Use a high-density foam roller to apply a thin, even coat of paint.
- Right after rolling, lightly go over the wet paint with the tip of a high-quality paintbrush, using vertical strokes.
This simple two-step process levels out the paint, gets rid of that "orange peel" roller texture, and pops any tiny air bubbles that might have formed.
Patience is everything at this stage. Your new marine paint might feel dry to the touch in just a few hours, but it needs to fully cure to get maximum hardness and water resistance. That process can take anywhere from 7 to 14 days, depending on the paint you used, the temperature, and the humidity. Always follow the manufacturer's specific guidelines; launching your boat too early will ruin the finish and all your hard work.
At Better Boat, we have all the premium tools and supplies you need for a flawless finish. From tough marine cleaners to high-quality brushes and everything in between, you can find it all for your project at https://www.betterboat.com.
Related Posts

Your Essential Boat Safety Equipment Checklist

How to Anchor Boat: Secure Tips for a Safe Stop
