How to Tie Dock Lines Securely and Safely
Tying up your boat seems simple enough, but doing it correctly is a different story. It all comes down to choosing the right line, putting it in the right place, and securing it with the right knot. For most of us, nylon rope is the gold standard. Its built-in strength and shock-absorbing stretch are exactly what you need to protect your boat and the dock hardware from the constant strain of wind, waves, and passing wakes.
Why Mastering Dock Lines Is a Boater's Most Critical Skill
Before you even think about throwing a cleat hitch, let's talk gear. Your dock lines aren't just ropes; they're your boat's lifeline when it's tied up to a pier. Getting to know them is the foundation of a solid docking strategy and can save you from some seriously expensive mistakes.
Believe it or not, improperly tied lines are a huge source of preventable boat damage. Marine insurers estimate that shoddy dock lines are responsible for 15–20% of all boat damage incidents in marinas. With over 12.4 million recreational boats registered in North America alone, that's thousands of avoidable accidents every single year.
Choosing the Right Line Material and Size
Your first big decision is the material. If you ask any seasoned boater, they'll almost always point you toward double-braid or three-strand nylon. Why? It's all about that superior strength and elasticity. The stretch acts like a bungee cord, cushioning your boat against sudden jolts.
Other materials just don't stack up for docking. Polyester, for example, has very little stretch, which makes it great for sailboat rigging but not for securing you to a dock. And polypropylene? It’s weak and breaks down in the sun, making it a poor choice for anything other than a temporary painter line.
Next up is diameter. A line that’s too thin for your boat could easily snap under pressure. But go too thick, and it becomes a real pain to handle and won't have the right amount of stretch. A good rule of thumb is to use 1/8 inch of line diameter for every 9 feet of boat length. For a more detailed breakdown, you can check out our handy guide at https://betterboat.com/blogs/news/dock-line-size-chart.
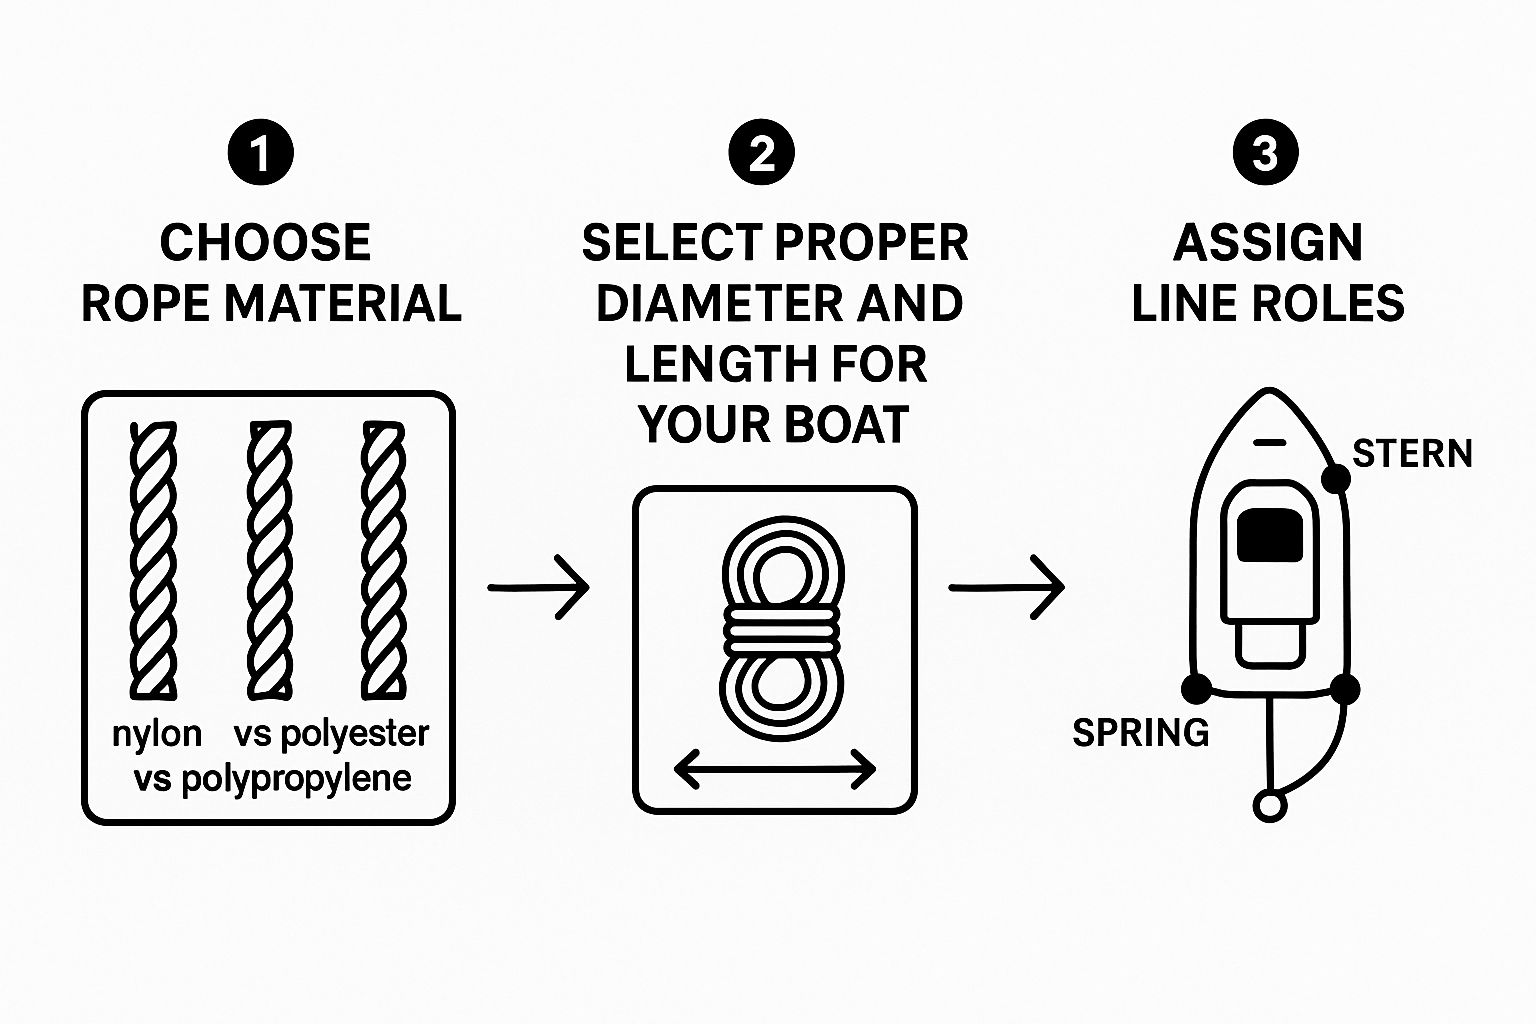
This infographic really simplifies the selection process into three key steps.

As you can see, picking the right material, size, and understanding each line's job are all connected. Get these three things right, and you're well on your way to a secure tie-up.
Understanding Each Line's Job
A proper setup uses a few different lines, and each one has a very specific job to do.
- Bow and Stern Lines: These are your basics. They run from the bow and stern cleats to the dock, keeping the boat from drifting away from the pier. Simple and effective.
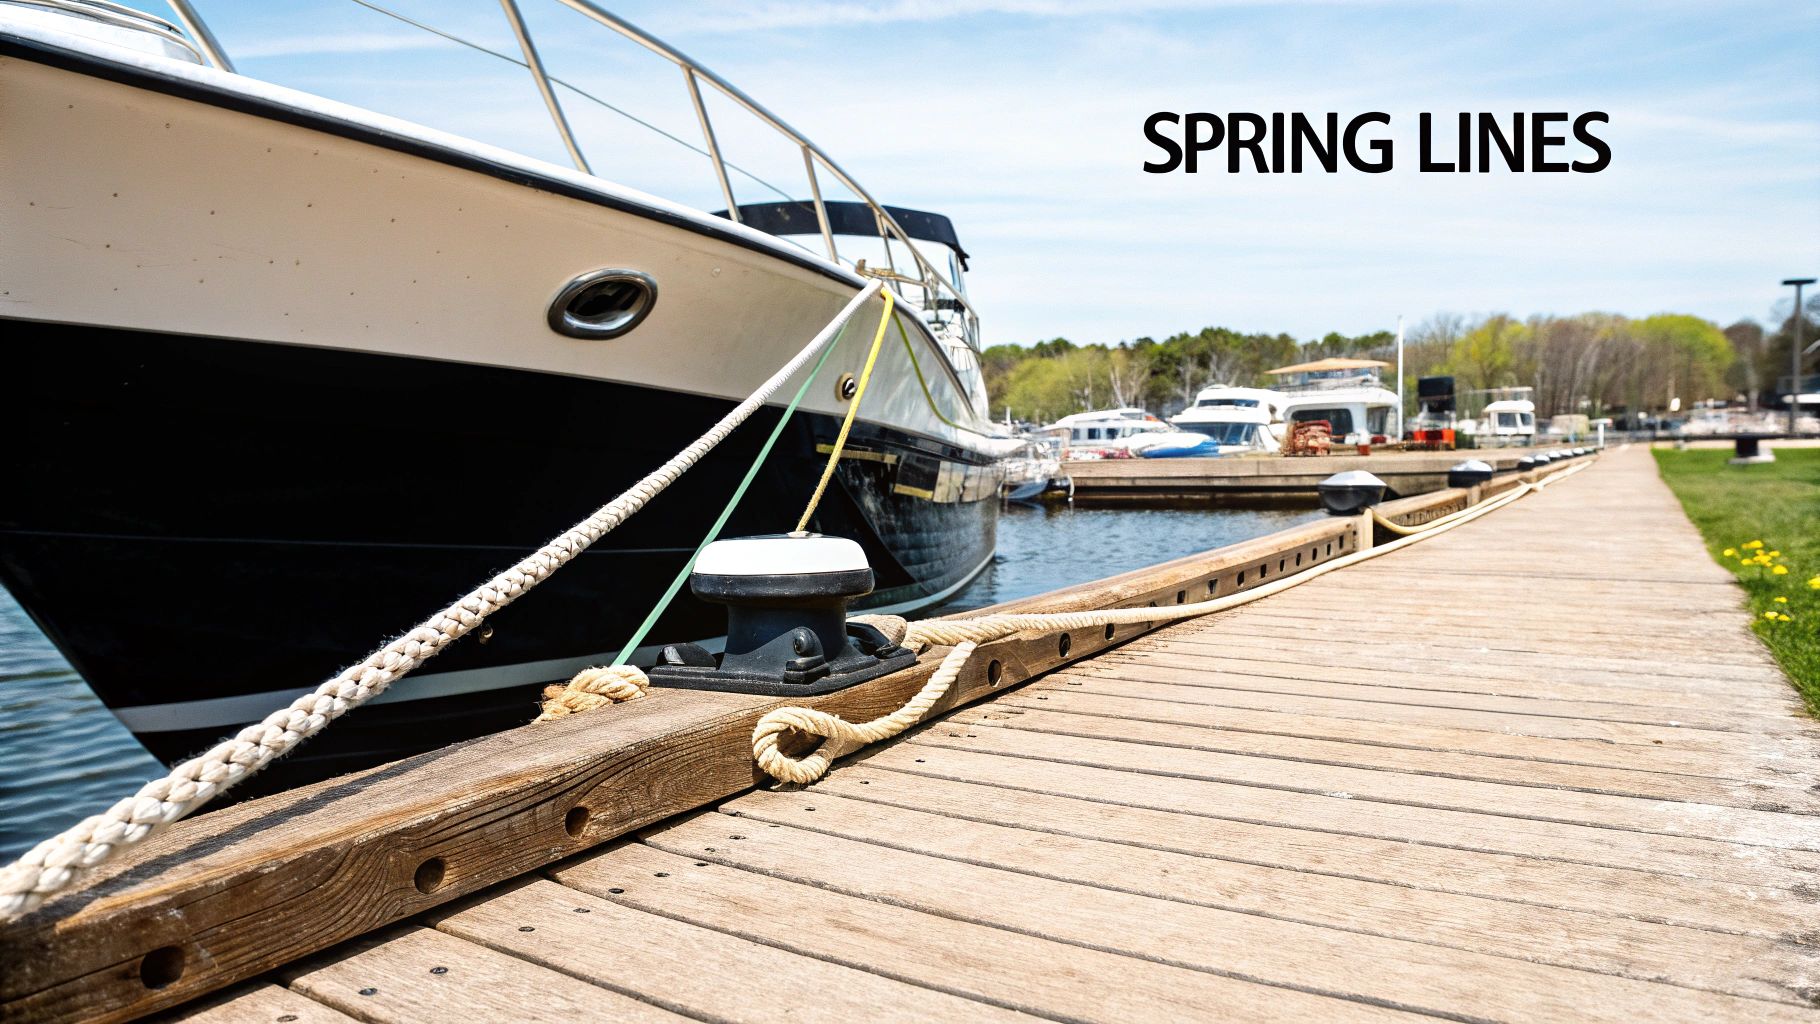
- Spring Lines: These are the real secret to a rock-solid tie-up. They run diagonally from the boat to the dock and stop the boat from surging forward or backward, preventing it from banging against the pier all day and night.
Pro Tip: Always have a minimum of four lines ready to go: a bow line, a stern line, a forward spring line, and an aft spring line. This setup gives you the best possible stability, especially when the wind and current pick up.
Of course, handling dock lines is just one piece of the puzzle. Responsible boat ownership also involves a range of essential boat maintenance tasks like hull cleaning to keep your vessel in top shape for years to come.
Mastering the Cleat Hitch Under Pressure
The cleat hitch is your bread and butter for docking. It's the knot you'll tie more than any other. While it looks simple, I see a surprising number of boaters tie a version that either jams up tight or slips loose when you least expect it.
Getting the technique down means you can secure your boat confidently in seconds, even when the wind and current are fighting you and the whole pier is watching. You want a knot that holds like a vise but comes undone easily, even after taking a heavy strain all night. It’s not about a complicated knot; it's about a simple, smooth motion that becomes pure muscle memory.
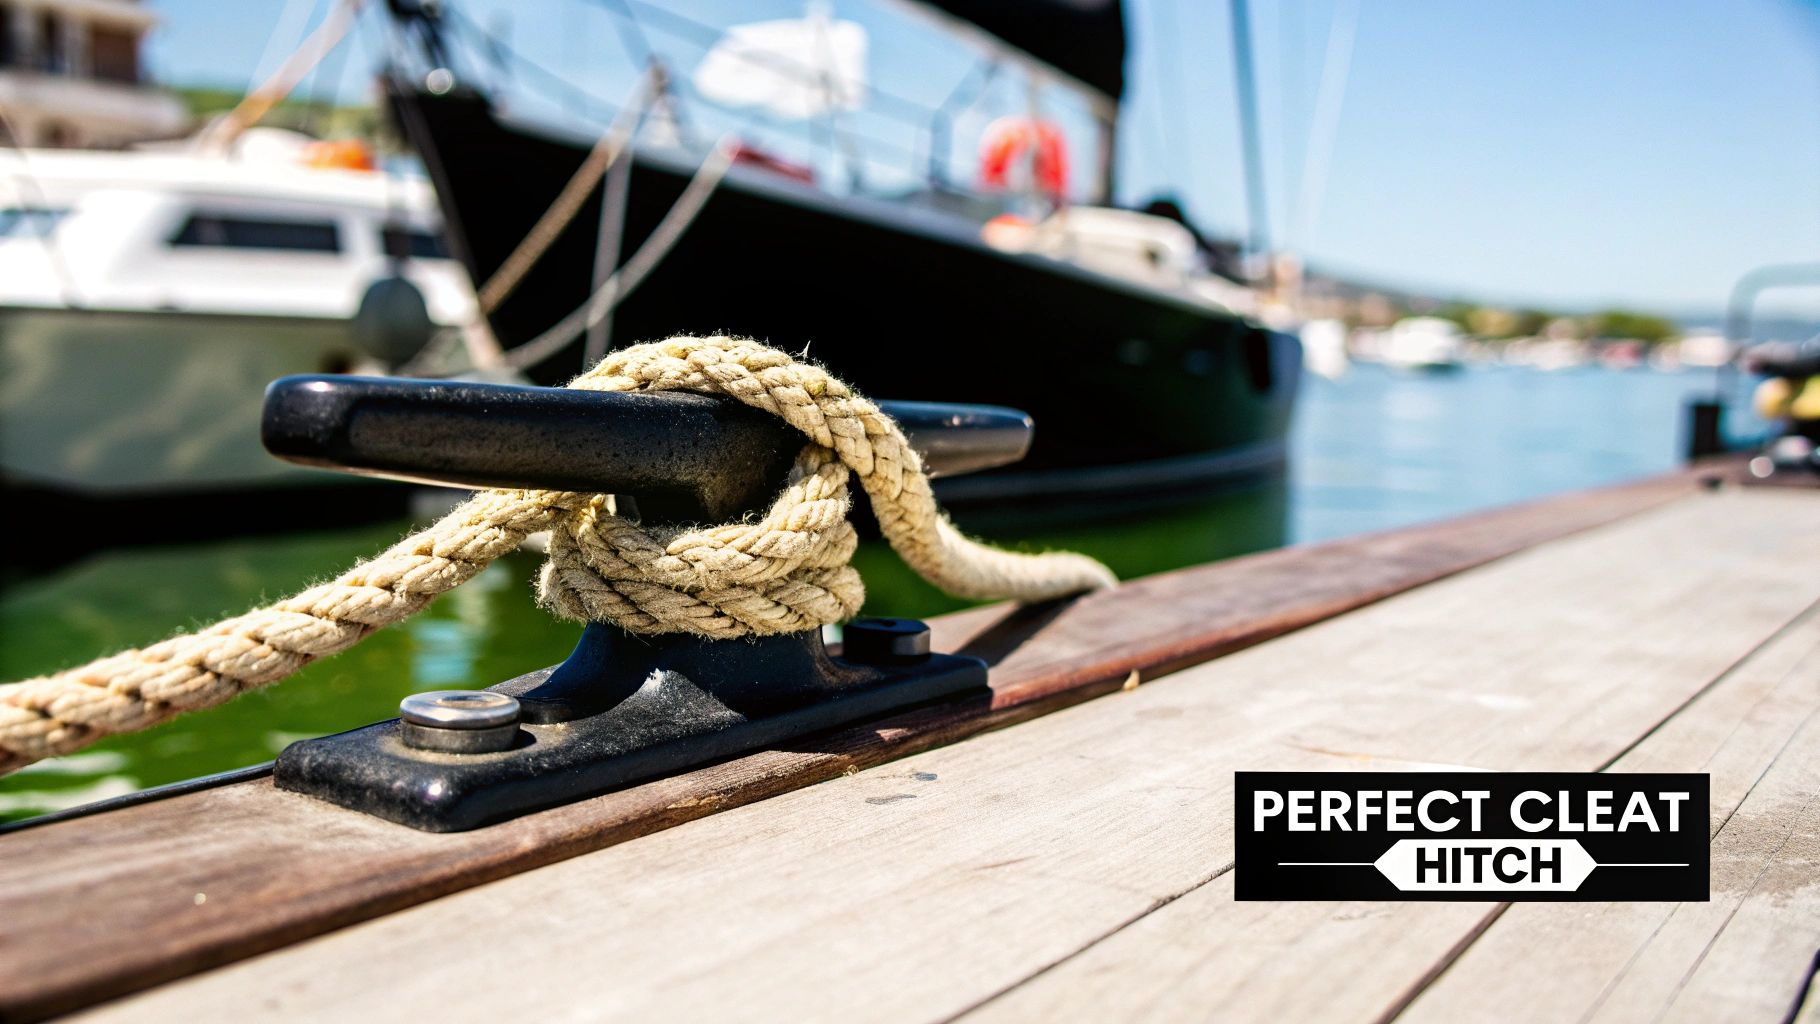
Take a look at this diagram. It shows the right way to run the line.

See how the line takes a full trip around the base before it even starts the figure-eight? That part is absolutely crucial for a solid hitch.
Tying the Perfect Cleat Hitch
The whole process should feel natural. A perfect cleat hitch is strong, but it's also elegant in its simplicity.
First, take a complete turn around the base of the cleat, making sure the line is coming from the direction of your boat. This first wrap is what takes all the immediate strain and sets the foundation for the knot. If you skip this, your hitch will be weak and likely to slip.
Next, bring the line up and over a cleat horn to start your figure-eight pattern. The line should cross over the top of the cleat. Then, bring it under the opposite horn. You should now see that classic "X" shape on top.
Crucial Takeaway: One full figure-eight is almost always enough. Piling on more wraps doesn't add strength—it just creates a jammed-up mess that's a nightmare to untie, especially if the line is wet and tight.
For the final locking move, you'll start another figure-eight, but instead of crossing over the top again, you'll tuck a loop (a "bight") of the line under itself. Here's the key: make sure the loose end of the line points away from the cleat, running parallel to the part taking the load. This setup prevents the knot from jamming.
If that loose end points back toward the cleat, you’ve accidentally tied a half hitch that will be nearly impossible to get undone when it's under tension. If you want a deeper dive, you can learn more about the different types of dock cleats and why they're shaped the way they are.
Common Mistakes to Avoid
Knowing what not to do is just as important as the steps themselves. I’ve seen plenty of well-meaning boaters make these small errors that completely undermine their knot.
- Skipping the Base Wrap: This is the big one. Going straight into the figure-eight without that initial full turn puts all the pressure on the crossover, which is a recipe for a slipping line.
- Too Many Wraps: Some folks think more wraps equal more security. It’s actually the opposite. It just makes for a bulky, sloppy knot that you can't inspect easily and will have to fight with to untie.
- Reversing the Final Tuck: Tucking that last loop the wrong way will create a jam knot. Always, always ensure the tail end of your line lies parallel to the loaded line, pointing away from the cleat.
Practice this on a cleat at home or on the dock when things are calm. Build that muscle memory. A properly tied cleat hitch is a boater’s best friend: simple, secure, and totally reliable.
Going Beyond the Cleat With Essential Knots

The cleat hitch is your bread and butter, but it's not the only knot you'll need in your back pocket. The reality of docking is that a perfect cleat isn't always waiting for you. Sometimes you're faced with a big, round piling, a simple post, or a metal ring.
In these moments, you need a way to create a strong, reliable loop in your line. This is where a couple of other workhorse knots come into play. Mastering them will give you the confidence to handle just about any tie-up scenario a marina can throw your way.
Tying the Bowline: The King of Knots
There's a good reason the bowline (pronounced "bo-lin") is one of the most famous knots in the world. It creates a fixed loop that absolutely will not slip or jam up, no matter how much load it's under. Even after a rough night with the boat pulling against it, a bowline is surprisingly easy to untie.
A lot of old-timers teach it with the "rabbit and the hole" story, and it's still the easiest way to remember it:
- Make the hole: First, you create a small overhand loop in the main part of your line. This is the "rabbit hole."
- Rabbit comes up: Take the working end of the line (the "rabbit") and bring it up through that loop from the bottom.
- Around the tree: Now, take the rabbit around the back of the standing part of the line (the "tree").
- Back down the hole: To finish, bring the rabbit back down through the original hole it came out of.
Pull it all snug, and you've got a perfect, secure loop. This knot is a lifesaver when you need to lasso a piling or tie up to a mooring ring without ever leaving the boat.
Real-World Scenario: Picture yourself at a busy fuel dock with nothing but big, slick pilings. Instead of fumbling around, you can quickly tie a bowline, toss the loop right over the piling, and have the boat secured in seconds flat.
Creating a Loop in the Middle of a Line
So what happens when you need an attachment point, but both ends of your line are already tied off? This situation comes up all the time, especially when rigging spring lines where you might need to hang a fender right at the midpoint.
For this, you need a temporary loop. A knot like the alpine butterfly loop is fantastic, but even a simple slipped overhand loop works wonders. You just form a bight (a loop) in the line and then tie a basic overhand knot using the loop itself.
This creates a handy, temporary eye in the line that holds surprisingly well under a moderate load. The best part? It comes undone with a simple pull. It's an incredibly useful trick for making on-the-fly adjustments to your setup without having to untie and retie everything from scratch.
The Secret to a Rock-Solid Dock Job: Spring Lines

Your bow and stern lines are essential for keeping the boat next to the dock, no question. But they do next to nothing to stop it from surging forward and backward. That constant fore-and-aft shuffle is what causes those annoying bumps in the night and, over time, can do some real damage to your gelcoat.
This is where spring lines come in. Honestly, they’re the mark of a boater who really knows their stuff.
Think of spring lines as your boat's brakes at the dock. They run diagonally from the boat to the pier, working against the forces of wind and current that want to push your vessel around. Without them, your boat is just a big pendulum swinging between its bow and stern lines.
Understanding Forward and After Springs
To really lock your boat down, you'll want to use two types of spring lines that work together. Each one has a very specific job.
- Forward Spring Line: This line runs from a cleat at the stern of your boat forward to a cleat on the dock. Its whole purpose is to keep the boat from sliding backward.
- After Spring Line: This one does the opposite. It runs from a cleat at the bow of your boat aft (or backward) to a dock cleat. This is what stops your boat from surging forward into the dock ahead.
When you rig both correctly, they form a sort of "X" pattern that pins your boat in place. It’s the key to eliminating that jarring back-and-forth motion that can keep you up at night.
Pro Tip: When you're setting spring lines, longer is almost always better. A longer line with a shallower angle has more give, acting like a shock absorber. This is a huge advantage in places with big tidal swings or constant wakes from passing boats.
This technique is more important than ever. Modern marinas are increasingly using floating and modular dock systems, which behave differently than old fixed piers. As of 2023, there were over 1,200 new marina projects proposed worldwide, adding more than 180,000 slips.
The best practices for these newer docks always recommend a minimum of three to four lines—including springs—to handle the dynamic conditions. You can read more about the growing mooring dock market and how it’s changing docking strategies.
The right combination of dock lines can make all the difference between a secure tie-up and a stressful one. Here's a quick reference for which lines to prioritize in different situations.
Dock Line Setups for Common Situations
| Docking Scenario | Required Lines | Primary Function |
|---|---|---|
| Short-Term Docking (Calm Weather) | Bow line, Stern line, After spring | Basic security, prevents forward surge |
| Overnight Docking (Moderate Weather) | Bow line, Stern line, Forward spring, After spring | Prevents all fore-and-aft movement |
| Docking in Strong Current/Wind | Bow line, Stern line, 2 After springs, 1 Forward spring | Maximum hold against parallel forces |
| Leaving a Dock (Wind Pinning Boat) | Forward spring only (temporary) | Pivots the stern away from the dock for departure |
This table isn't a rigid set of rules, but it's a solid starting point. Always assess the conditions—wind, current, and traffic—and adjust your setup to be on the safe side.
Putting Spring Lines to Work in the Real World
Knowing when to use a spring line can make you look like an absolute pro at the helm.
Picture this: you're coming into a tight slip with a stiff current trying to push you past it. An after spring line is your secret weapon. Before you're fully in, have a crew member step off and secure a line from your bow cleat to a dock cleat that's a bit behind your bow.
Now, you can put the engine in a gentle forward gear against that line. The boat will pin itself neatly against the fenders, giving you all the time in the world to calmly set the rest of your lines. No panic, no drama.
A forward spring is just as handy when you're leaving, especially if the wind has you pinned to the pier. Leave just the forward spring line attached, turn your wheel away from the dock, and give a quick burst of forward throttle.
That spring line will act as a pivot point, swinging your stern out into open water. Once you’re clear, you can release the line and back away cleanly. It’s slick, safe, and saves your gelcoat every time.
How to Adjust Your Lines for Weather and Tides
A boat that's perfectly snug on a calm day can turn into a real handful when the weather kicks up or the tide starts moving. Tying up isn't a "set it and forget it" kind of job; it's all about thinking ahead. Nature doesn't take a break, and those dock lines are the only thing standing between your pride and joy and a nasty bump with the dock.
Learning to adapt to these changes is a fundamental skill for any boater. The classic rookie mistake? Tying lines way too tight, especially at high tide, and completely forgetting about the water level dropping. This can literally leave your boat hanging by its cleats, putting an incredible amount of stress on your hardware and even the hull itself.
Rigging for Tidal Swings
When you're tied to a fixed dock in tidal waters, your boat absolutely needs room to move up and down. Water levels can swing by several feet, and locking your boat in place is a surefire recipe for disaster. The real secret here is to use longer lines set at shallower angles.
Think about it: a short, steep line has almost no give. But a long line with a gentle slope gives the boat a ton of room to rise and fall without the line going banjo-string tight or sloppy loose. This is where spring lines become your best friend.
- Crossed Spring Lines: If you run a line from your bow cleat back to a dock cleat, then another from your stern cleat forward, you create a stable "X" pattern. This setup is fantastic because it massively cuts down on your boat shifting forward and backward, but still gives it plenty of vertical play for the tide.
- Shallow Bow and Stern Lines: Instead of tying to the closest cleat, run your bow and stern lines out to cleats that are farther away. This simple change increases the line's length and decreases its angle, giving your boat the slack it needs to ride the tide up and down without any drama.
Crucial Takeaway: At a fixed dock, never tie your lines vertically to a high piling or cleat. As the tide drops, that line will tighten and can literally rip hardware right off your boat. Always go for longer, angled lines that work with the tide, not against it.
Preparing for a Storm
When you see heavy weather in the forecast, your standard docking setup needs a serious upgrade. It's time to go into storm-proof mode. A little bit of prep work beforehand can save you from catastrophic damage later. Your main goals are to build in some redundancy and add shock absorption.
Here’s a quick checklist for battening down the hatches.
- Double Up Your Lines: Don't rely on single lines. Add a second bow line, a second stern line, and another set of spring lines. If one happens to chafe through and snap, its backup is already there to take the strain.
- Use Chafe Guards: Storms mean constant, often violent, motion. Wrap chafe guards around your lines wherever they rub against the dock, through chocks, or around pilings. You can buy commercial ones, or even a simple piece of heavy-duty hose will do the trick.
- Add Dock Line Snubbers: These rubber shock absorbers are absolute game-changers. You splice them right into your lines, and they stretch to absorb the massive snatch loads from strong winds and waves. This can be the difference between your cleats holding firm and getting ripped right out of the deck.
For a deeper dive into different line materials and setups, check out our guide on choosing the right boat docking ropes for any situation. Having the right gear and knowing these techniques is what really keeps your boat safe when Mother Nature decides to get angry.
Common Questions About Tying Dock Lines
Even after you’ve tied up a thousand times, questions still pop up. Docking isn't a one-size-fits-all skill, and every boater eventually runs into a weird situation that needs a bit of creative thinking. Let's tackle some of the most common head-scratchers we hear from fellow boaters.
Think of this as a little extra guidance to help you refine your technique and dock with more confidence, no matter what the wind and tide are doing.
What If My Boat Doesn't Have Midship Cleats?
This is a classic problem, especially on smaller center consoles or runabouts that just don't have them. Trying to rig effective spring lines without a midship cleat can feel impossible, but you absolutely have options. The trick is to find a strong, secure alternative.
A sturdy railing stanchion or even the base of a handhold can work in a pinch. One of my favorite methods is to use a dock line with a pre-spliced eye on one end. Just loop the line around the stanchion, pass the running end through its own eye, and pull it snug. This creates a solid attachment point you can then run to a cleat on the dock.
Crucial Insight: Another great workaround is to use longer, crossed bow and stern lines to mimic what a spring line does. Run a line from your bow cleat back to an aft dock cleat, and another from your stern cleat up to a forward dock cleat. This creates diagonal tension that does a surprisingly good job of controlling that back-and-forth movement.
How Much Slack Should My Dock Lines Have?
Finding the right amount of slack is a constant balancing act. You never want your lines banjo-string tight—that puts a scary amount of stress on your boat's cleats and the dock hardware. On the flip side, too much slack lets your boat wander around, banging and rubbing against the dock with every passing wake.
A good rule of thumb is to aim for a gentle, slight curve in your lines. They should be snug enough to keep the boat in place, but have just enough give to absorb shocks from wind and waves.
If you’re in a tidal area with fixed docks (the kind that don't float), you'll need to leave significantly more slack to let the boat rise and fall with the water level. The goal here is dynamic security, not locking the boat down like it's in a vise.
Can My Lines Damage My Boat's Gelcoat?
Yes, they absolutely can, and it happens more often than you'd think. Over time, the constant, tiny rubbing of a dock line against your hull will chafe right through the gelcoat. It’s a silent killer for your boat's finish and can lead to some expensive cosmetic repairs down the road.
The solution is simple and incredibly effective: chafe guards. You can buy professional-grade ones made from leather or heavy-duty fabric, or even just slice open a section of an old fire hose.
Just slide them onto your lines wherever they make contact with your boat, paying special attention to where they pass through chocks or wrap around the gunwale. It’s a tiny, proactive step that preserves your boat’s value and appearance. A few minutes of prevention will save you hours of buffing and gelcoat repair later.
For a complete range of durable dock lines, chafe guards, and other essential boating accessories designed to protect your investment, trust the experts at Better Boat. Explore our full collection of premium, American-owned boating gear.


