Repainting a Boat Trailer: Expert Tips for a Perfect Finish
That peeling paint on your boat trailer is more than just an eyesore—it’s a warning sign. Think of it as the first crack in the armor, a signal that the structural integrity of your gear is at risk. A proper paint job isn't just about looking good; repainting a boat trailer is a critical investment in its safety and longevity, especially against the constant assault from saltwater, road grime, and moisture.
Why a Good Paint Job Is Your Trailer's Best Defense

The battle between your trailer's frame and the elements is relentless. Every single time you launch and retrieve your boat, you're dunking that steel or aluminum into a corrosive brew that works tirelessly to eat away at its finish. Once that paint chips or peels, rust and oxidation move in fast, weakening the very foundation that supports your pride and joy.
This isn't just about aesthetics. A compromised trailer frame can lead to catastrophic failure on the highway, turning what should be a fun day on the water into a dangerous and expensive disaster. Committing to a proper repaint is one of the smartest, most proactive things you can do to protect your investment and ensure safe travels.
More Than Just a Cosmetic Fix
Think of a new paint job as a complete defensive system. A high-quality marine coating does far more than just add color; it creates an impermeable barrier that seals the metal from oxygen and moisture—the two key ingredients for corrosion. This guide is here to turn what seems like a daunting task into a manageable and seriously rewarding weekend project.
By following a proven process, you can get a durable, professional-grade finish that will stand up to abuse for years. When you get this right, you'll see several key benefits:
- Enhanced Safety: Stops structural rust in its tracks, preventing a potential frame failure.
- Increased Longevity: You'll significantly extend the usable life of your trailer.
- Cost Savings: It's a lot cheaper than major repairs or a full replacement down the road.
- Personal Satisfaction: There's a real confidence that comes from a job done right with your own two hands.
With the growing popularity of recreational boating, there are more trailers on the road than ever. In fact, the global boat trailer market grew from approximately $0.87 billion to $0.92 billion in a single recent year. That highlights just how important solid maintenance practices are to keep all this equipment safe and functional.
A great paint job is the foundation of all other maintenance. It makes routine cleanups easier and future inspections more effective, forming the basis for overall trailer health. For a complete overview, check out these essential boat trailer maintenance tips that go hand-in-hand with a fresh coat of paint.
Choosing Your Arsenal of Paints and Tools

Walking into the paint aisle at a big-box store without a plan is a recipe for a headache. You're hit with a wall of confusing cans, and it's easy to grab the wrong thing. But this is the most important decision you'll make for the project. The right paint and primer combo is what stands between your trailer and a future of rust and decay.
What you choose really boils down to your budget, how much abuse your trailer takes, and your own comfort level with different application methods.
For a dependable, user-friendly finish, you can't go wrong with a high-quality marine-grade alkyd enamel. It’s incredibly forgiving to apply with a simple brush or roller, holds its gloss nicely, and gives you solid protection from moisture and the sun. This is my go-to recommendation for most freshwater trailers or even those that only see saltwater a few times a year.
But if your trailer practically lives in the ocean, you need to bring out the big guns: a two-part epoxy paint. This stuff is the gold standard for sheer toughness. Once cured, it creates an incredibly hard, chemically resistant shell that's pretty much waterproof. The downside? It's a lot fussier to work with. You have to mix it precisely, and you're on the clock before it starts to harden in the can.
To help you visualize the trade-offs, here’s a quick comparison of the most common paint systems you'll be looking at.
Boat Trailer Paint Comparison
This table breaks down the main options to help you pick the right armor for your trailer based on what matters most to you—durability, cost, or ease of use.
| Paint Type | Best For | Durability | Cost | Application |
|---|---|---|---|---|
| Marine Alkyd Enamel | General use, freshwater, occasional saltwater | Good | Moderate | Easy (Brush/Roll) |
| Two-Part Epoxy | Heavy saltwater use, maximum protection | Excellent | High | Difficult (Spray) |
| Rust-Inhibiting Paint | Budget projects, trailers with existing rust | Fair | Low-Mod | Easy (Brush/Roll) |
| Truck Bed Liner | High-impact areas, utility trailers | Excellent | High | Mod-Diff (Spray) |
Ultimately, the best choice is the one that fits both your trailer's environment and your willingness to put in the work. For most people, a good marine enamel offers the perfect balance.
Selecting the Right Primer
Let's be clear: primer isn't optional. It's the critical handshake between bare metal and your expensive topcoat. Skipping it is like building a house without a foundation. The right primer depends entirely on what your trailer is made of and what condition it's in.
You have to know your metal. For instance, galvanized steel trailers are hugely popular—they make up a 52% share of the market because that zinc coating is a beast against corrosion. For galvanized steel or aluminum, a self-etching primer is the only way to go. It has a mild acid that microscopically roughs up the slick metal surface, giving the paint something to bite into. Without it, your new paint job will peel off in sheets. You can dig deeper into these material trends in this detailed boat trailer analysis.
What if you have a standard steel trailer with rust pits you just can't sand away completely? Your best friend here is a rust-converting primer. This stuff is like magic—it chemically reacts with the iron oxide (rust) and transforms it into a stable, black, paintable surface. It stops the rust in its tracks.
Gathering Your Essential Tools
Nothing kills momentum like having to stop mid-project for a run to the hardware store. Get all your tools and supplies lined up before you start. Trust me, it makes the whole job feel less like a chore and more like a satisfying project.
Pro Tip: Don't go cheap on your masking tape and plastic sheeting. Good quality supplies will save you hours of scraping paint off your lights, wiring, and hubs. It's a small investment for a massive headache saved.
Here’s a look at what you should have in your toolkit:
- Angle Grinder: A real workhorse. You’ll want a wire wheel for blasting off loose paint and rust, plus some flap discs for smoothing out rough spots and feathering paint edges.
- Orbital Sander: Perfect for the lighter work of scuffing up old, solid paint so the new primer has a good mechanical bond. Use 80- to 120-grit sandpaper.
- Industrial Degreaser: Don't just use soap and water. A potent, residue-free marine degreaser is essential to get rid of every last bit of road grime, grease, and oil before you even think about sanding.
- Application Tools: This depends on your paint choice. For enamels, high-density foam rollers and a couple of quality brushes will do the trick. If you're going with a thinner epoxy and want that factory finish, an HVLP (High Volume, Low Pressure) spray gun is the tool for the job.
- Safety Gear: This is non-negotiable. At the very least, you need safety glasses, a respirator rated for paint fumes (not just a dust mask!), and some durable gloves.
Mastering the Art of Surface Preparation
Let’s get one thing straight about repainting a boat trailer: your final paint job is only ever going to be as good as the prep work you put in. This is the dirty, unglamorous part of the project, but it's where you'll spend about 80% of your time. Skimp on this step, and you’ll be looking at a peeling, flaking mess in six months. A little sweat equity here is the difference between a pro-level finish and a complete do-over.
Success starts with a proper teardown. You need to get to every single nook and cranny of that frame, and you can't do that with stuff in the way. Don't rush it.
Carefully take off the taillights—and for your own sanity, label the wires—then remove the side marker lights, bunk boards, guide-ons, rollers, and even the wheels. It feels like a lot of extra work upfront, but trust me, trying to paint around all those obstacles just leads to missed spots and a sloppy job.
Attacking Rust and Flaky Paint
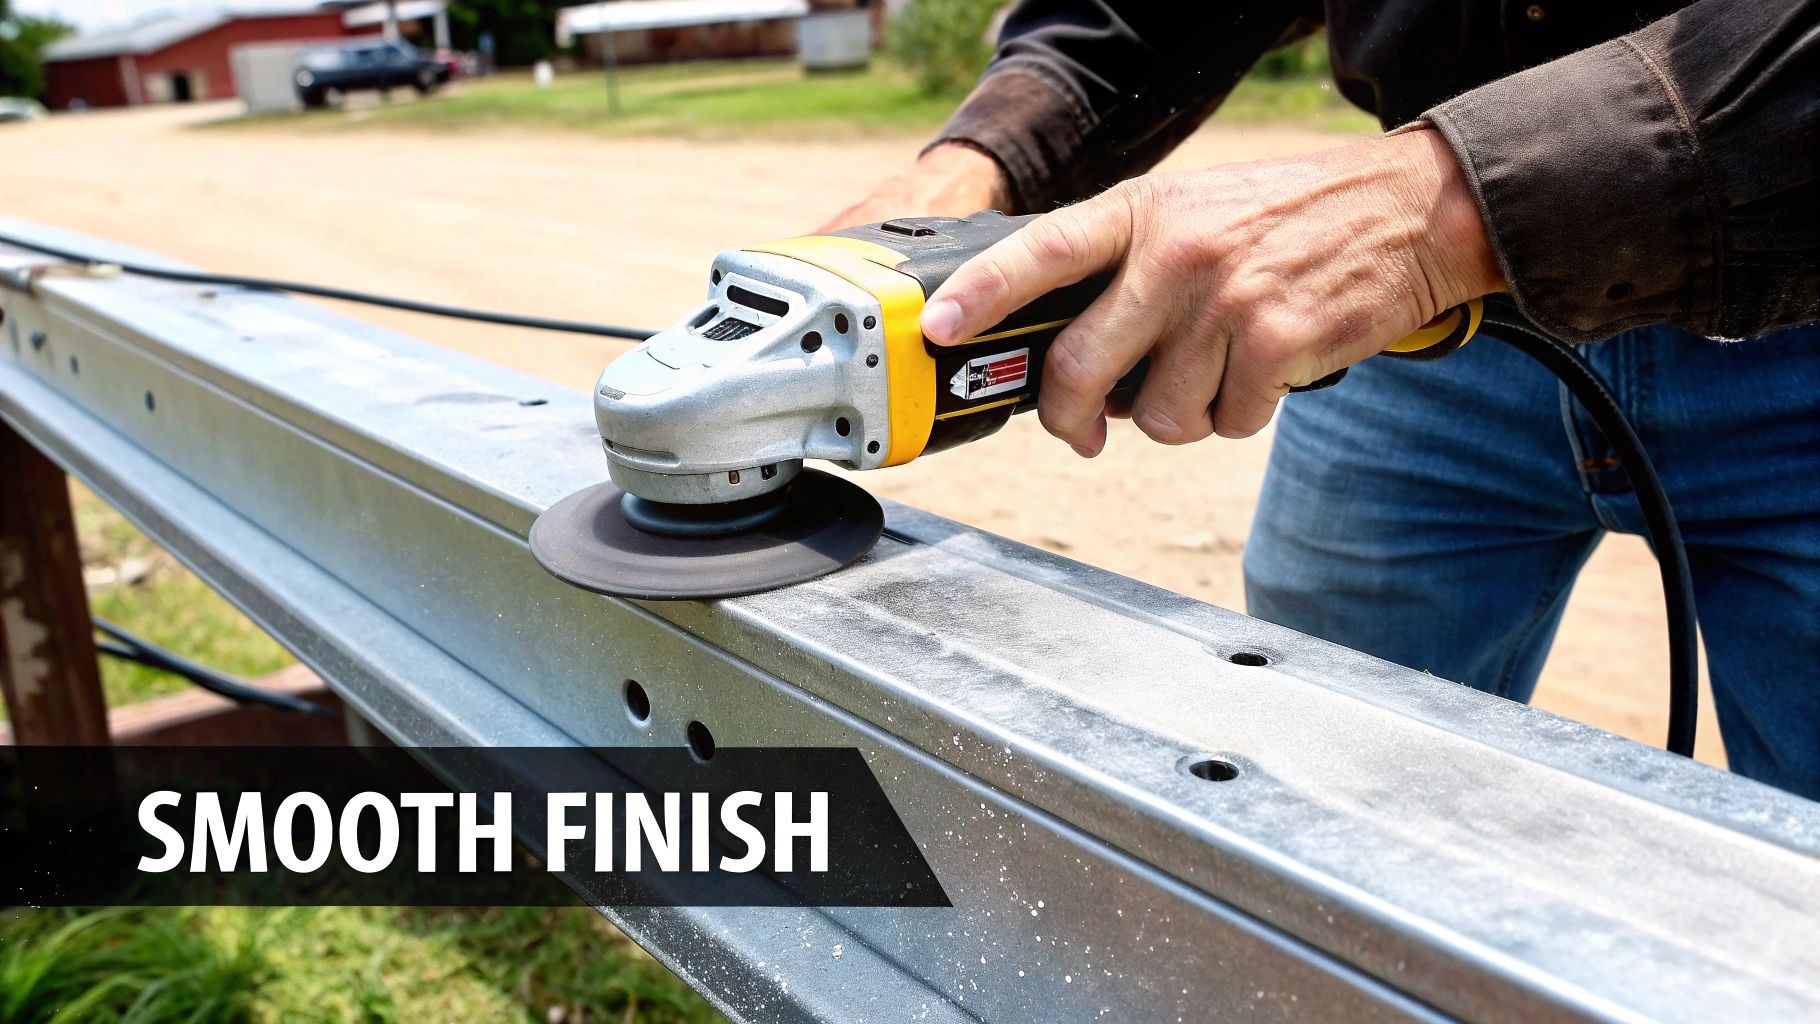
Once the trailer is stripped bare, the real fun begins: tackling the old rust and failing paint. Your new best friend for this part of the job is an angle grinder. I like to start with a wire wheel attachment to aggressively knock off the big, loose chunks of rust scale and flaking paint on the main frame rails.
For getting into tight corners or around welds, a flap disc gives you much better control. The real trick is to feather the edges where the old, solid paint meets the bare metal you just exposed. You're aiming for a super smooth, gradual transition. If you don't, you'll see a hard line from the old paint telegraphing right through your fresh topcoat.
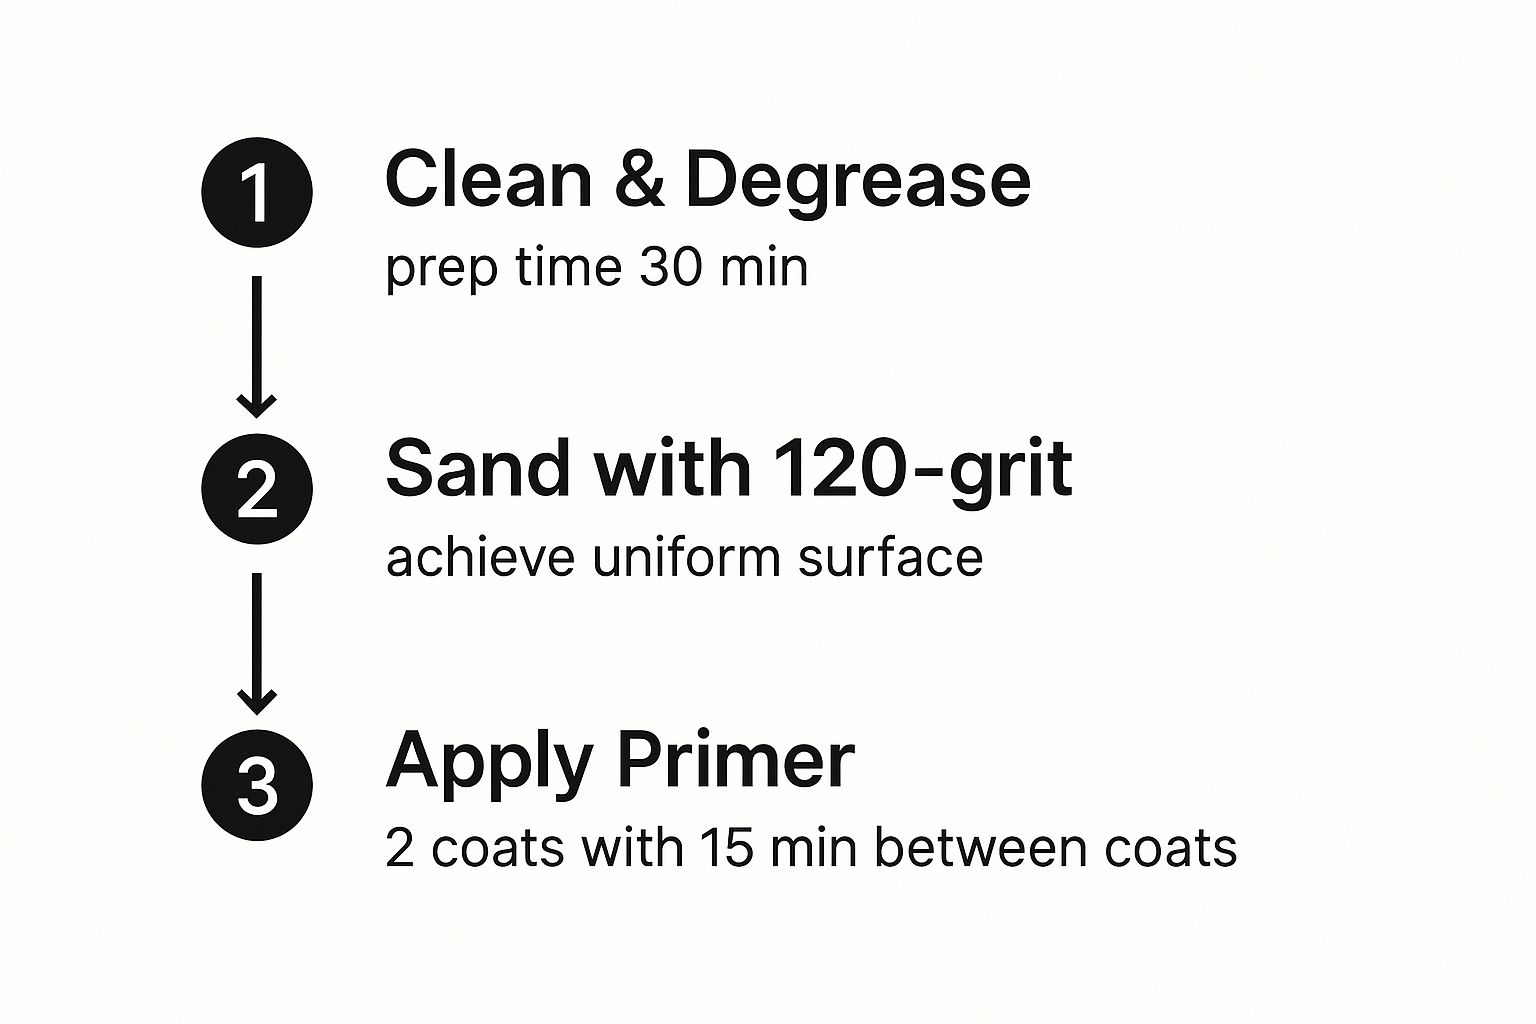
This image really helps visualize the workflow for getting the surface ready.

Thinking about it this way, you can see how each step is just a quick, focused task that builds on the one before it, all leading up to a perfectly prepped surface ready for primer.
Chemical Warfare on Corrosion and Grime
Sometimes, no matter how much you grind, you can't get every last speck of rust out, especially in those deep pits. That’s when it’s time to bring in the chemicals. A good rust converter is a lifesaver here. You just paint it directly over any remaining surface rust, and it works its magic, chemically changing the iron oxide into a stable, black, paintable surface.
This isn't just a cover-up. A quality rust converter actually stops the corrosion process at a molecular level. It neutralizes the rust and seals the metal so it can't spread under your new paint.
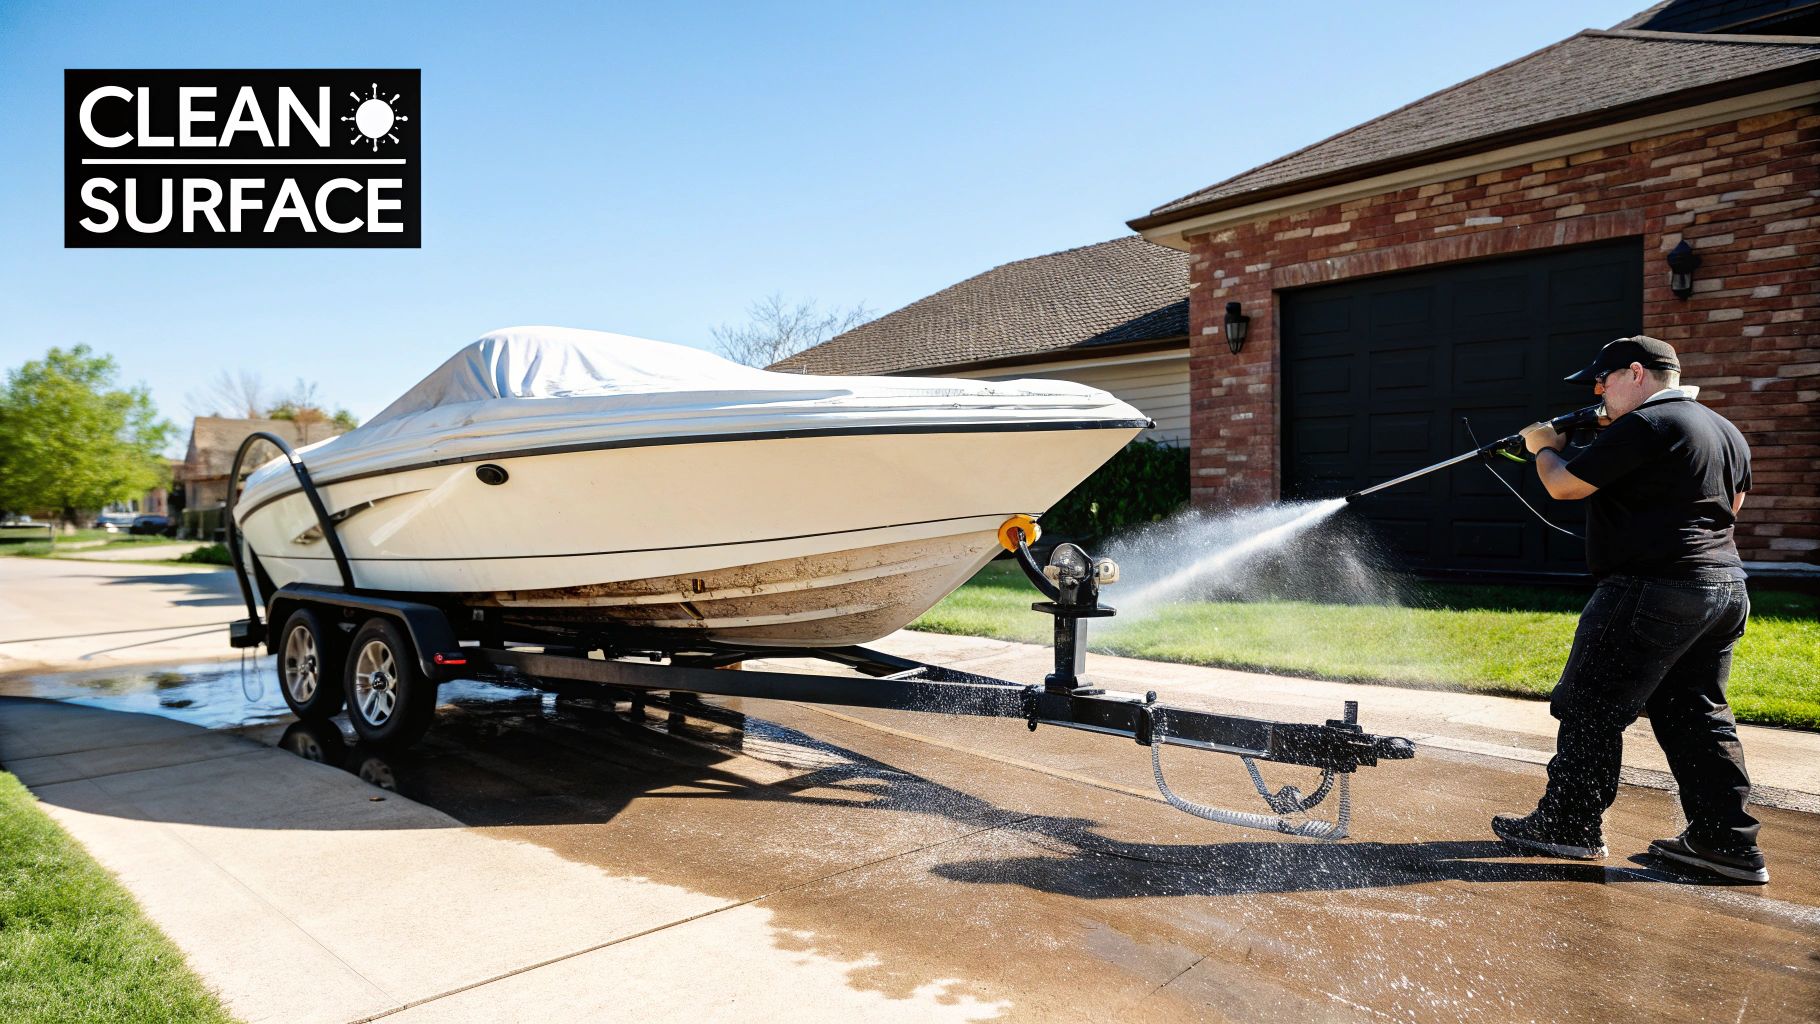
After the rust is handled, you’ve got one final, absolutely critical prep step: degreasing. Think about it—your trailer is coated in a nasty film of road grime, hub grease, and residue from the launch ramp. Paint will not stick to that.
Get a high-quality, residue-free degreaser and scrub every single inch of the frame. When you think you're done, do a quick test. Wipe a clean, white rag over a section. If that rag comes back dirty, you’ve still got work to do. You're aiming for a surgically clean surface, free of any contaminants that could ruin your primer's adhesion.
Safety Is Your Most Important Tool
I can't stress this enough: this part of the job kicks up a serious amount of nasty stuff. We're talking rust particles, paint dust, and fine metal shavings flying everywhere. This isn't stuff you want in your eyes or lungs.
Your personal protective equipment (PPE) is non-negotiable. At a minimum, you need to be wearing:
- Full-seal safety goggles. They protect you from debris coming at any angle.
- A quality respirator. Make sure it has cartridges rated for metal dust and paint fumes. A simple paper dust mask won't cut it.
- Durable work gloves. They'll save your hands from sharp metal edges and the chemicals you're using.
Treat your safety gear just like you treat your grinder. Investing a few bucks in the right PPE can prevent an injury that sticks with you for life. It’s what makes sure this project is a success from start to finish.
Pro Techniques for Primer and Paint Application
 With a perfectly clean and prepped surface, you’ve finally made it to the most rewarding part of the job. This is where all that hard prep work pays off and you get to see your trailer transform with a durable, professional-looking finish.
The secret to a great paint job is patience. Seriously. No matter which method you pick, the golden rule is to apply multiple thin coats instead of trying to slop on one thick one. Thinner coats cure harder, stick better, and give you a much sleeker surface in the end.
Before you even think about picking up a brush or sprayer, double-check your masking. Use high-quality painter's tape and plastic to meticulously cover everything you don't want paint on. This means hubs, the coupler, all the electrical wiring, and any zinc-plated hardware you want to leave as-is.
The Classic Brush and Roll Method
For a lot of us, the brush-and-roll approach is the most straightforward and budget-friendly way to get fantastic results. The key to avoiding a streaky, amateur look is an old sailor’s trick called "tip-and-roll." It's a fantastic technique for getting a finish that looks almost as good as a spray job, all by hand.
Here’s the breakdown:
- Roll it On: One person uses a high-density foam roller to apply a thin, even layer of paint to a small section of the frame, maybe 2-3 feet at a time. Don't get ahead of yourself and try to cover too much area.
- Tip it Off: A second person immediately follows behind with a quality paintbrush, lightly dragging just the bristle tips across the fresh paint. Use long, smooth strokes, all going in the same direction.
- Let it Level: This "tipping" smooths out the tiny bubbles and texture left by the roller, letting the paint settle into a beautiful, glossy coat.
Working as a two-person team is perfect for this, but you can definitely fly solo. Just work in smaller, more manageable sections. Roll on the paint, put the roller down, and immediately tip it off before the paint starts to get tacky.
Spraying for a Factory Finish
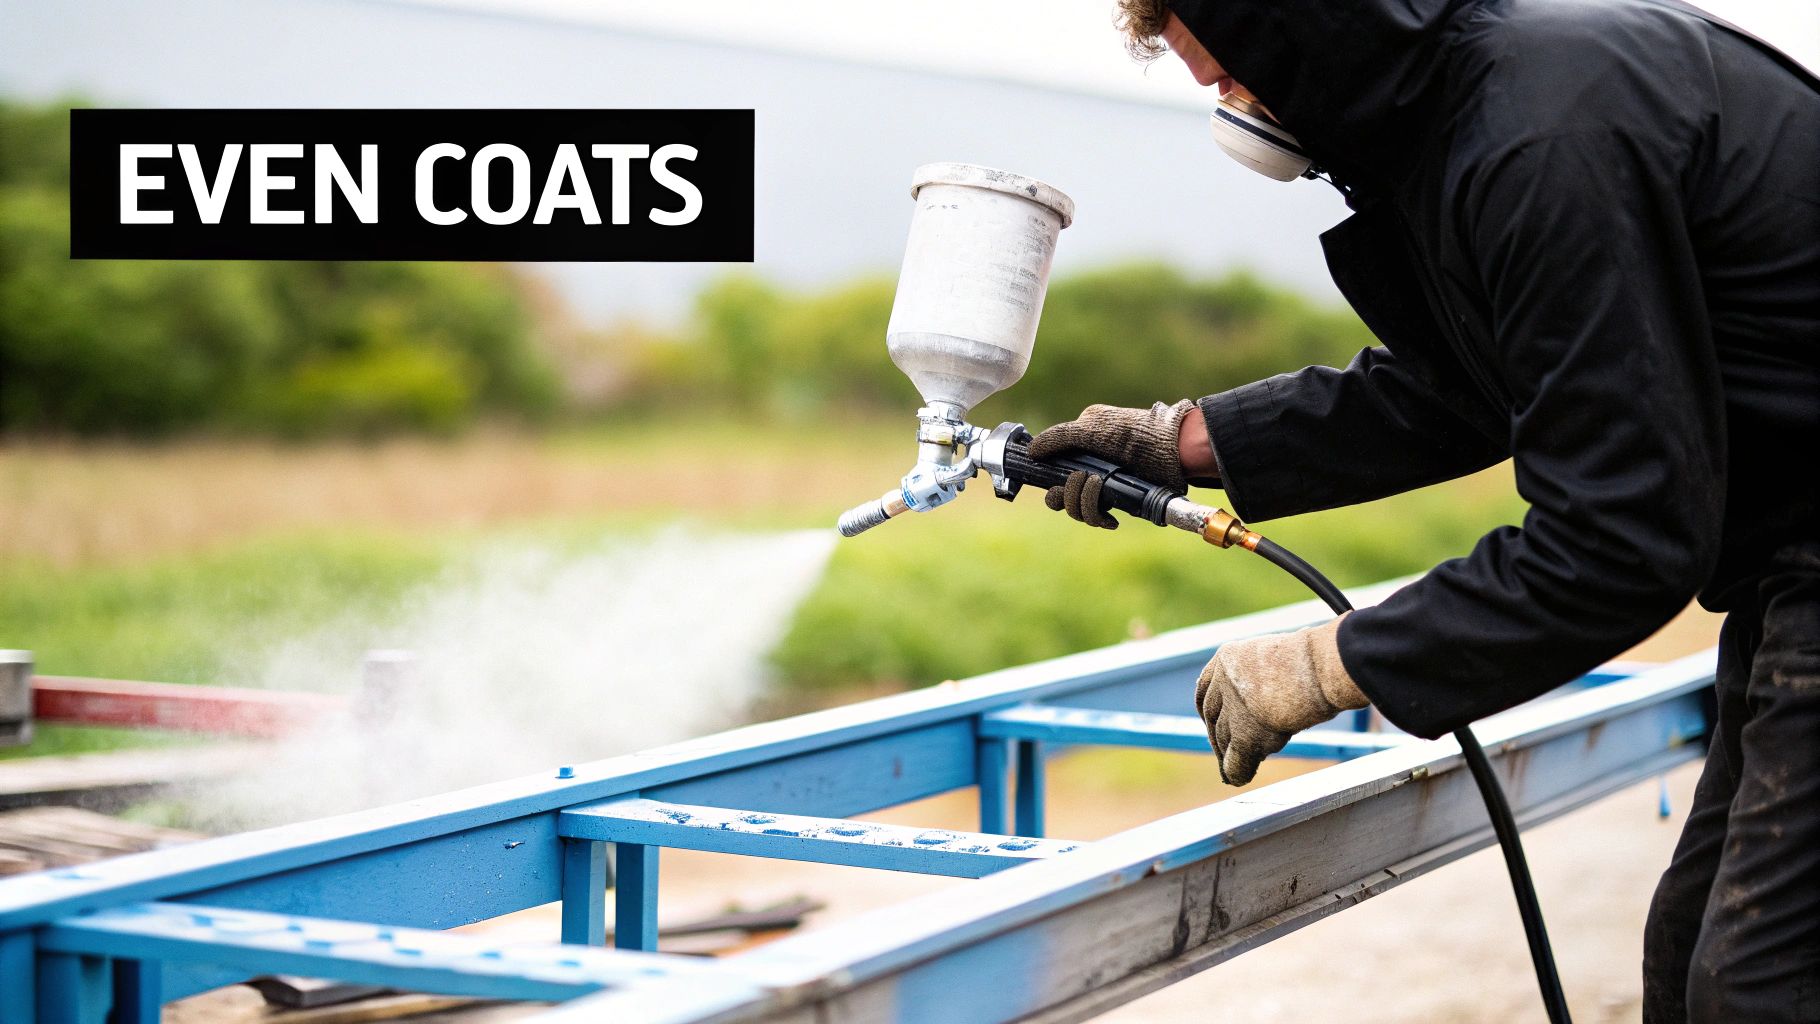
If you're after that flawless, "straight from the factory" look, a High Volume, Low Pressure (HVLP) spray gun is your best friend. Spraying lays down a perfectly atomized, even coat of paint that just settles beautifully.
It does require a bit more setup, though. You’ll need to thin your paint according to the can’s instructions—usually around 10-15%—to get it to flow properly through the gun.
A huge mistake I see first-timers make is cranking the pressure way too high. An HVLP gun is designed to be efficient at a lower PSI, which dramatically cuts down on overspray and wasted paint. Always test your spray pattern and flow rate on a piece of cardboard before you point it at the trailer.
Start your first pass with a light "tack coat." This is just a very thin layer that gives the next coats something to grip onto, which is a great way to prevent runs and sags. Give it 15-20 minutes to set up, then you can apply your first full, wet coat. Make sure you overlap each pass by about 50% to get that nice, even coverage.
Two or three coats are usually perfect for a boat trailer. And just like you would with a car, once the new paint is fully cured, a good coat of wax will add another barrier against UV rays and moisture. Many of the same principles apply here as they do for the boat itself, which you can read about in our guide on how to properly wax your boat.
Final Curing, Reassembly, and Long-Term Care
https://www.youtube.com/embed/6iMAoxo_BT4
Your trailer looks fantastic with its new, glossy coat, but whatever you do, don't hook it up and head for the ramp just yet. The single most overlooked step in a trailer repaint is letting the paint fully cure. This is a chemical process, and it's far more important than just being dry to the touch.
There's a huge difference between "dry" and "cured." Paint feels dry to the touch relatively quickly, sometimes in just a few hours, as the solvents evaporate. But a "full cure" is when the paint molecules actually cross-link and harden into that tough, protective shell you're after. This can take anywhere from 3-7 days—sometimes longer depending on the paint and the weather.
I've seen it happen too many times: someone gets impatient, straps their boat down, and permanently imprints the winch strap pattern into a soft, uncured finish. Don't make that mistake. Give it the time it needs.
Careful Reassembly for a Lasting Finish
Once the paint is rock-hard, you can get to the rewarding part—putting everything back together. This is also the perfect time to make a few small but meaningful upgrades that will really complement your fresh paint job.
Think logically about the reassembly process. I always start with the parts that are tougher to get to, like the bunk boards and rollers. And speaking of bunks, now is the absolute best time to replace that old, worn-out bunk carpet. It’s a cheap upgrade that does a world of good for your boat's hull.
As you start bolting things back on, keep a little checklist in mind:
- New Hardware: Seriously consider swapping out any old, rusty U-bolts and fasteners. New galvanized or stainless steel hardware looks sharp and prevents rust from bleeding onto your new paint.
- Electrical Check: Before you seal everything up, clean all your electrical contacts and test your lights. Once you know they work, a dab of dielectric grease will keep corrosion at bay.
- Wheel Hubs: While the wheels are off, take the time to repack the bearings with fresh marine-grade grease. This is critical maintenance, and there’s no easier time to do it.
It's all about making your investment last. In the North American boat trailer market—the world's largest—there's a huge focus on aftermarket care to fight back against harsh marine conditions. Smart owners know that proper maintenance, including a good paint job, is the key to protecting their gear. You can find more details about these trends in this boat trailer market report.
Protecting Your Hard Work with Proactive Care
Making your new paint job last is all about simple, consistent habits. The number one thing you can do, especially if you boat in saltwater, is give your trailer a thorough freshwater rinse with a hose as soon as you get home. Do it while the trailer is still wet from the ramp to stop salt from drying and embedding itself into the finish.
This quick rinse ties in perfectly with your regular boat cleanup. Once the trailer is done, you can move on to the boat itself. Our guide on how to properly clean a boat lays out a great routine to follow.
Finally, keep an eye out for any rock chips or deep scratches that inevitably happen. Catch them early and hit them with a small touch-up brush before rust can get a foothold. A quick dab of paint today will save you from a major sanding and repair job down the road.
Your Boat Trailer Repainting Questions Answered
Even with the best plan, repainting a boat trailer always seems to throw a few curveballs. You'll be chugging along, and then a question pops up that can stop you in your tracks. What about this weird rust spot? Is it too humid to paint today?
Getting good answers to these questions is the difference between a job you're proud of and one you'll have to redo next year. Here are some of the most common questions I hear from fellow boaters, along with some practical advice from years of doing this myself.
Can I Paint Over a Galvanized Boat Trailer?
Yes, but you absolutely have to do it the right way. A galvanized surface is coated in zinc to prevent rust, which is great, but it also makes the surface super slick. If you just slap regular paint on it, I guarantee it will peel off in sheets.
To get the paint to stick, you need to give it something to bite into.
- First, clean and degrease the entire frame like your life depends on it. Get all the road grime and salt spray off.
- Next, you need to scuff up the surface. I like using a Scotch-Brite pad or some light-grit sandpaper—120-grit is usually perfect. You’re not trying to remove the galvanizing, just knock down the shine.
- The last step is the most important: use a self-etching primer. This stuff has a mild acid in it that microscopically etches the zinc, creating a rock-solid bond for your paint. Don't skip this.
What Are the Best Weather Conditions for Painting?
Picking the right day to paint is half the battle. Your sweet spot is a dry day with low humidity (ideally below 60%) and temperatures somewhere between 50°F (10°C) and 90°F (32°C).
Whatever you do, don't paint in the blazing sun. The intense heat will make the paint dry on the surface almost instantly, a problem known as "flash curing." This traps the solvents underneath, prevents the paint from leveling out, and leaves you with ugly brush marks and a weak finish. High humidity is just as bad—it slows the curing process way down and can trap moisture, making your new paint job look cloudy.
Think like Goldilocks when you're planning your paint day: not too hot, not too cold, and definitely not too humid. If you have to choose, a cooler, overcast day is always a better bet than a hot, sunny one.
How Do I Handle Rust in Deeply Pitted Areas?
Sometimes, you'll find rust in deep pits where no amount of sanding or grinding can reach. When you hit these spots, a chemical rust converter is your best friend.
After you've knocked off all the loose, flaky scale with a wire brush, just apply the rust converter directly onto what's left. It’s a liquid that chemically transforms the nasty iron oxide (the rust) into a stable, black, paintable surface called magnetite.
This simple step completely neutralizes the corrosion, sealing it off from air and moisture. It ensures that the rust can't keep spreading and bubbling up under your beautiful new paint job a few months down the road.
Here at Better Boat, we know a well-maintained trailer is just as crucial as a well-maintained boat. From heavy-duty cleaners to tough trailering gear, we have everything you need to protect your investment. Head over to betterboat.com to see our full lineup of premium boating supplies and get ready for your next project.


