 Skip to content

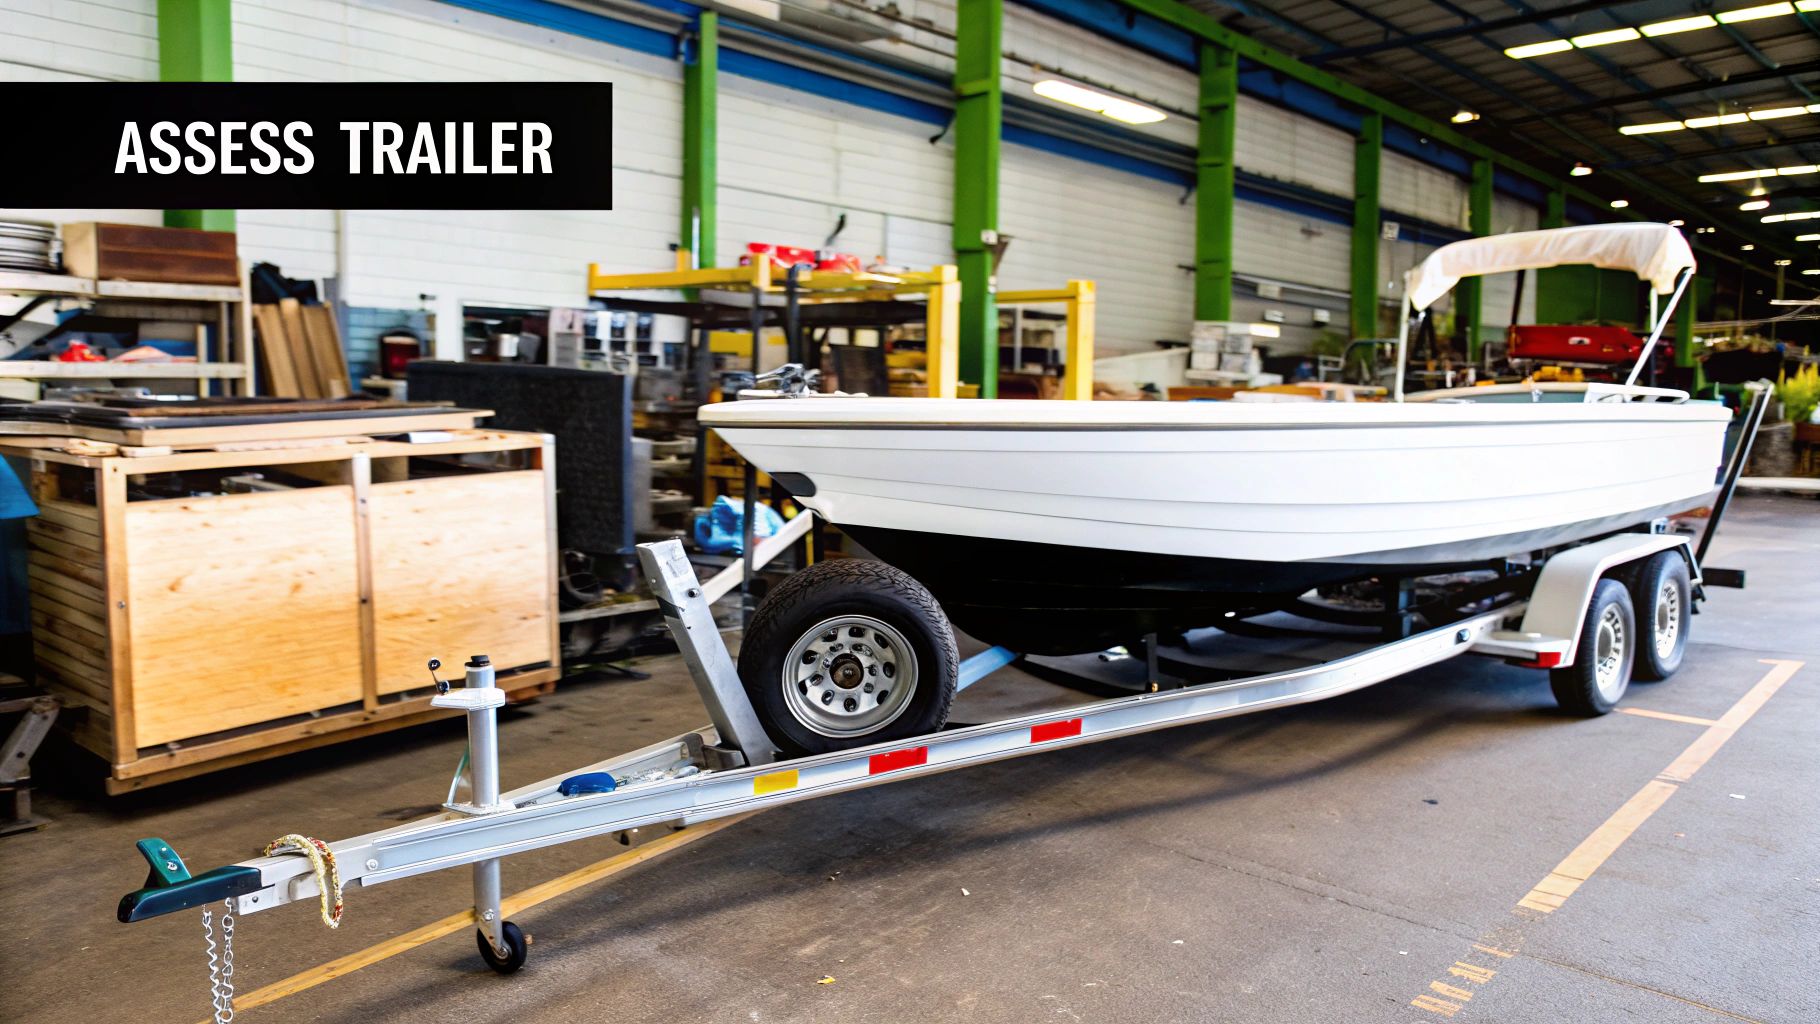
Replacing Trailer Bunks with Boat on Trailer: Easy DIY Guide
Absolutely. You can definitely replace your trailer bunks with the boat still on the trailer. It's a pretty common DIY job for boat owners and saves you the major headache (and cost) of having to get your boat off the trailer just for this. The trick is to carefully lift and support one side of the boat at a time.
Knowing When It's Time to Replace Your Trailer Bunks
Your trailer bunks are the only thing separating your hull from the steel trailer frame. They take a beating and are absolutely a wear-and-tear item that will eventually need replacing. Ignoring bunks that are on their way out isn't just about looks—it can lead to some seriously expensive hull damage or make your rig unsafe to tow.
The good news is, the warning signs are usually pretty obvious if you know what to look for.
Think of it this way: inspecting your bunks is a core part of regular trailer maintenance, just like winterizing is for your engine. Catching problems early saves you a world of hurt later. If you're heading into the off-season, our guide on the essentials of winterizing a boat for cold weather is a great place to start.
Visual Signs of Bunk Failure
The easiest red flags to spot are right on the bunk carpet. Keep an eye out for areas where the fabric is worn thin, has started to fray, or is torn right through. Any exposed wood is a major problem, as it’s an open invitation for moisture to soak in and start the rotting process.
Another huge concern is exposed hardware. As that carpet wears down, the staples or bolt heads holding it in place can poke through. This is a direct threat to your boat's gelcoat. It only takes one small exposed staple to carve a long, deep scratch into your hull the next time you launch or load.
Key Takeaway: Worn carpet and exposed hardware are more than just ugly—they're direct hazards to your hull. A single trip with a protruding screw can cause hundreds or even thousands of dollars in gelcoat repairs.
Structural Integrity Checks
You need to check more than just the carpet; the wood underneath is what's doing all the work. The next time your boat is off the trailer, take a screwdriver handle or just use your thumb and press firmly along the length of each bunk. If you find any soft, spongy, or mushy spots, that’s a clear sign that wood rot has taken hold.
Rotten bunks can't support the weight of your boat properly. This leads to uneven weight distribution and creates stress points on the hull. In a worst-case scenario, a rotten bunk could completely collapse while you're driving down the highway. The structural integrity of these boards is non-negotiable for safe trailering.
To help you keep track, here's a quick checklist for assessing your bunks.
Bunk Wear and Tear Checklist
Use this table as a quick reference guide during your walk-around inspections to determine if your bunks are due for replacement.
| Symptom | What to Look For | Urgency Level |
|---|---|---|
| Worn Carpet | Thinning fabric, fraying edges, bald spots where wood is visible. | Medium |
| Exposed Hardware | Staples, screws, or bolt heads poking through the carpet. | High |
| Wood Rot | Soft, spongy, or crumbling sections of the bunk board. | High |
| Loose Bunks | Bunk boards that wiggle or shift on their brackets. | Medium |
| Mold or Mildew | Visible discoloration or musty smell on the carpet. | Low to Medium |
Regularly checking for these signs will not only protect your boat but also extend the life of your trailer. Catching these issues early is the key to a long-lasting, reliable setup.
Assembling the Right Tools and Marine Grade Materials
A job well done starts long before you ever loosen the first bolt. Getting all your tools and materials lined up from the get-go saves you those maddening mid-project trips to the hardware store and keeps you from taking shortcuts you'll regret later. When you're swapping out trailer bunks with the boat still on the trailer, having the right gear isn't just about convenience—it's critical for safety and making sure your new bunks last.
Let's start with the tools you'll need to get the old bunks off and the new ones on. You'll definitely want a solid socket set, and I'd highly recommend one with a breaker bar. Some of those old bunk bolts can be seriously stubborn, especially if they've seen a lot of saltwater. You’ll also need a heavy-duty staple gun, a tape measure, a pencil, and a circular saw to cut your new bunk boards. Don't forget a drill for making pilot holes.
Choosing Your Hardware and Lumber
The hardware you pick is a huge deal, particularly for saltwater boaters. Galvanized bolts are okay and will get the job done, but stainless steel is the superior choice, hands down. It has exceptional durability in the harsh marine world. Yes, it costs a little more upfront, but it pays for itself by preventing seized bolts and making any future work a whole lot easier.
This move toward better, rust-resistant materials is happening across the industry. We're seeing a global shift to trailers built from aluminum and galvanized steel, with aluminum models expected to grab over 50% of the market by 2025 because they just hold up better. You can read more about these boat trailer market trends on futuremarketinsights.com. The same logic applies to your hardware—splurge on stainless steel now to avoid headaches down the road.
For the bunk boards themselves, it's best to go with untreated wood like cypress or fir. Standard pressure-treated lumber might seem like a good idea, but it often contains chemicals that can cause corrosion on aluminum trailers and even some boat hulls.
Selecting Carpet and Safety Equipment
Your choice of bunk carpet also makes a massive difference in how long this repair lasts. You want to get a heavy, marine-grade carpet made specifically for this job. Trying to save a few bucks with cheap indoor/outdoor carpet is a classic mistake—it'll wear out in a couple of seasons, and you'll be right back here doing this all over again.
Pro Tip: When you're buying staples, check the box to make sure they are stainless steel. Regular steel staples will rust into oblivion in a single season, which lets the carpet pull loose and trap sand and grit against your hull.
Finally, let's talk about staying safe. You're going to be working under the full weight of your boat, so this is no place to mess around. Rock-solid support is non-negotiable.
- Heavy-Duty Jack: You'll need this to lift the trailer frame.
- Boat Stands: Get at least two high-quality, adjustable boat stands. These will securely support the hull while you work.
- Safety Glasses: A must-have to protect your eyes, especially if you end up having to cut off old, rusted bolts.
- Work Gloves: Save your hands from splinters and sharp metal edges.
Getting your prep and materials right is a cornerstone of good trailer upkeep. If you want to get your whole rig in top shape, take a look at our essential boat trailer maintenance tips.
Replacing Your Bunks One Side at a Time
With all your tools and materials laid out, you’re ready to get into the heart of the project. The smartest and safest way to replace trailer bunks with the boat still on the trailer is to focus on one side at a time. Finish one side completely before you even think about touching the other. This keeps the boat stable and secure throughout the process.
Your first move is to create enough workspace between the bunk and the hull. Make sure your trailer wheels are chocked securely on both sides—you don't want any surprises. Now, grab your floor jack and carefully lift one side of the trailer frame, not the axle. You only need to lift it just enough to get the weight off the bunk you're about to replace.
Lifting and Supporting Your Boat
Once you see a small gap, it's time for the boat stands. Slide your heavy-duty stands into place directly under the hull. You'll want to position them under a strong point, like a chine, and make absolutely sure they're on solid, level ground. Slowly lower the jack until the boat's weight transfers completely onto the stands. The bunk should now be floating freely with a few inches of clearance.
Safety is Paramount: Never, ever work under a boat that is only supported by a jack. Jacks can and do fail. The boat stands are non-negotiable; they are the only thing ensuring your safety while you work underneath the hull.
Give the boat a gentle push to check for stability. If you feel any wobble, stop and readjust the stands until it’s rock-solid. Taking your time here is the most critical part of the entire job.
Removing the Old Bunks
Alright, now for the fun part: wrestling with old, rusted hardware. Get your socket set and a breaker bar to start loosening the U-bolts or lag bolts that hold the bunk brackets to the trailer frame. Don't be shocked if they put up a serious fight. A good tip is to hit them with a liberal spray of penetrating oil about 15-20 minutes beforehand. It can make a world of difference.
This is where the real work begins—getting that old hardware off.
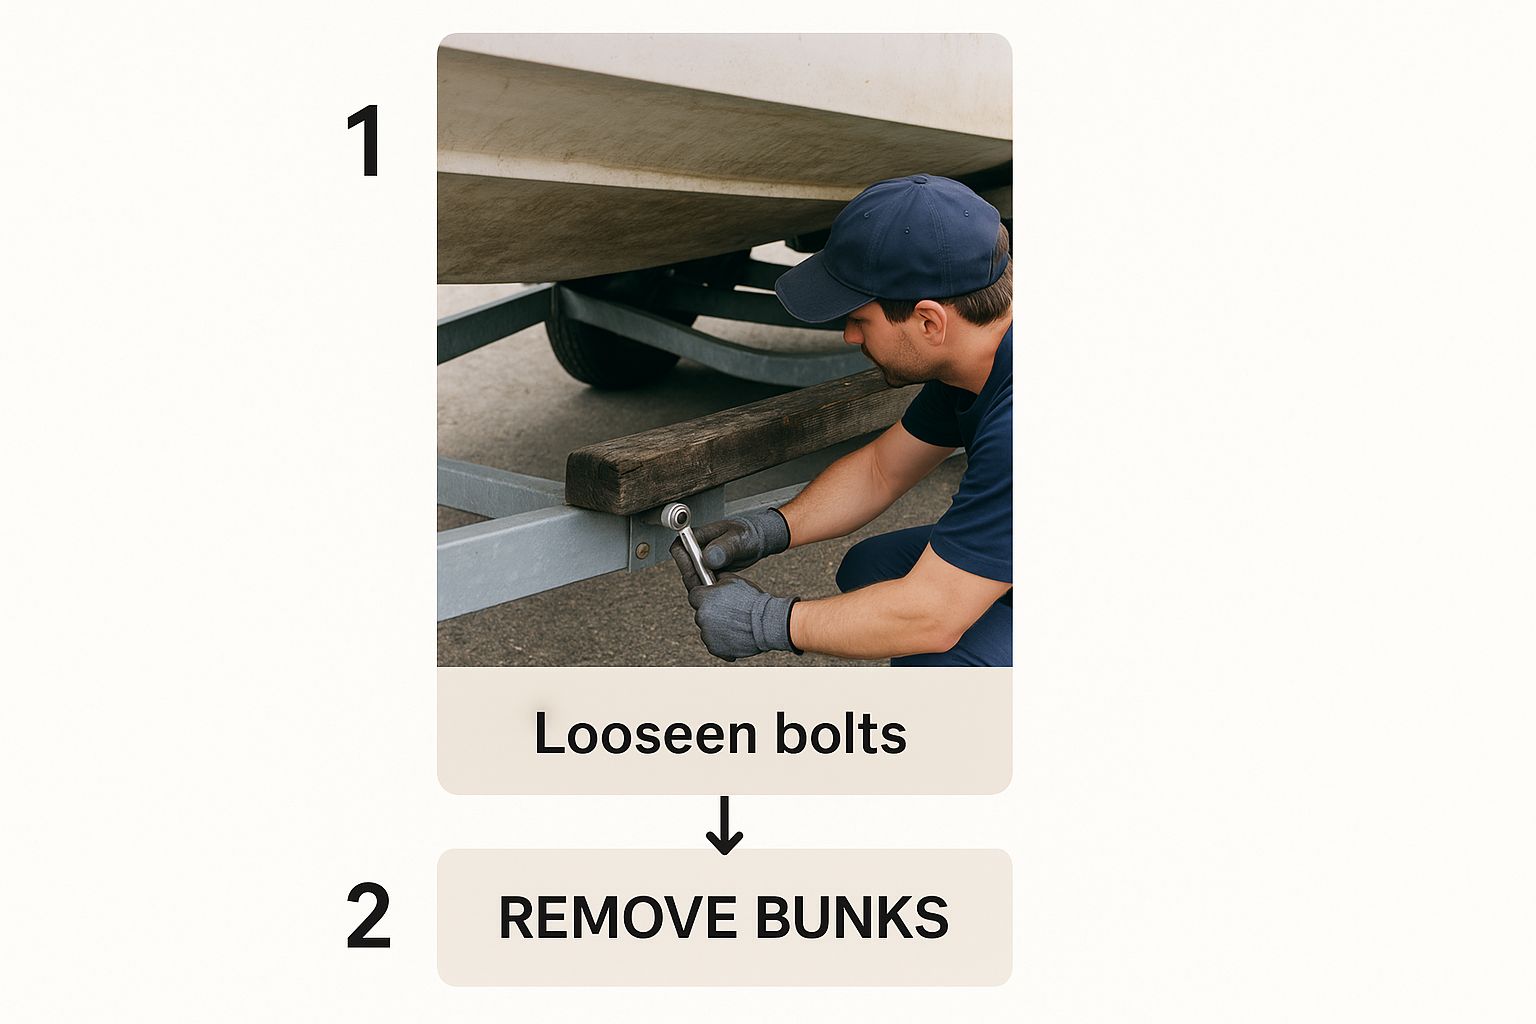
This image really captures the hands-on nature of the job. You'll be right there, loosening stubborn bolts to clear the way for your new bunks.
If a bolt is completely seized and just won't budge, an angle grinder with a cutting wheel is your best friend. Just remember to wear your safety glasses. Once all the hardware is off, the old bunk board and its brackets should lift right off the trailer crossmembers.
Preparing the New Bunk Board
Grab that old bunk board—it’s now the perfect template for your new one. Lay it directly on top of your new lumber, trace the length, and mark the exact spots for the mounting bolt holes. Getting this right now will save you a ton of frustration later on.
Use a circular saw to cut the new board to length, then drill your pilot holes. Before you go any further, take a minute to slightly round over the top edges of the board with a sander or router. It’s a small detail, but it prevents sharp corners from creating pressure points on your hull.
Now you're ready to wrap the board in its new marine-grade carpet.
- Lay It Out Flat: Roll the carpet out on a clean surface and place your new bunk board right in the middle.
- Start in the Middle: Pull the carpet tight and drive your first stainless steel staple into the center of the board's underside.
- Work Outwards: Keep adding staples every two to three inches, working from the center toward the ends. Alternate from side to side as you go—this is the key to preventing wrinkles and getting the carpet drum-tight.
- Finish the Ends: Treat the ends like you’re wrapping a gift. Fold the carpet over neatly and secure it with several staples so it can't unravel over time.
A tight, smooth carpet finish isn't just about looking professional. It helps your boat slide on and off the trailer more easily. Loose carpet is notorious for trapping sand and grit, which will scratch your gelcoat and make the wood underneath rot faster. Once your first new bunk is prepped and wrapped, it's time to get it mounted.
Perfecting Your New Bunk Alignment and Fit

Getting your new, carpeted bunk board bolted onto the trailer is a huge step, but the job isn't quite done. This is where the real magic happens. The final alignment is what protects your hull for the long haul, making sure the boat is evenly supported and preventing nasty stress points from developing. A little patience here makes all the difference, especially when you're replacing trailer bunks with the boat still on the trailer.
With the new bunk loosely attached to its brackets, you’re going to let the boat’s own weight do the heavy lifting. Carefully jack the trailer frame up, get those boat stands out of the way, and then slowly lower the trailer. As the hull settles onto the new bunk, watch it like a hawk. The board should naturally shift and conform to the hull’s shape, finding its sweet spot.
This whole process really shows why bunk trailers are the go-to choice for boaters everywhere. They're designed to perfectly cradle the hull, giving you way better support and load distribution than you'd get from roller trailers. That simplicity and lower maintenance is a big part of their popularity, a trend you can see in this bunk trailers market overview. Nailing this fit is what separates a DIY job from a professional one.
Fine-Tuning the Height and Angle
Once the boat’s full weight is resting on the new bunk, get down there and inspect the fit. You’re looking for solid, even contact along the entire length of the board. If you can see daylight between the carpet and the hull, it's time for some adjustments.
- Look for Gaps: Try to slide a piece of paper or a thin feeler gauge between the bunk and the hull. If it slips in easily anywhere, you've got a gap.
- Tweak Bracket Height: If your brackets are adjustable, you might need to raise or lower one end to perfectly match the hull's deadrise.
- Tilt for Full Contact: Some brackets let you tilt them slightly. Use this feature to get the bunk sitting perfectly flush against the hull's angle.
Crucial Insight: An improperly aligned bunk creates high-pressure "hot spots" on your hull. Over time, these can lead to gelcoat blistering, stress cracks, or even structural damage. The whole point is to spread the boat's weight as evenly as possible.
Final Torque and Inspection
When the alignment is perfect, you can finally crawl under the trailer and tighten all the nuts and bolts. I recommend using a ratchet with a long handle or even a breaker bar to get everything good and snug. You want them tight enough that the bunk can’t shift or wiggle at all, but don't go crazy and overtighten to the point you start crushing the wood.
After everything is torqued down, give the bunk a firm shake. It should feel like a solid, immovable part of the trailer. This final check gives you peace of mind that your boat will be secure and properly supported, whether it's parked in the driveway or bouncing down the highway.
With one side complete, you're ready to tackle the other side with confidence.
Common Mistakes and How to Avoid Them
Learning from someone else's mistakes is always the fastest—and cheapest—way to get a project done right. When it comes to replacing trailer bunks, especially with the boat still on the trailer, a few common slip-ups can turn a weekend job into a costly nightmare. Let’s walk through the biggest pitfalls I’ve seen so you can sidestep them completely.
The single most dangerous mistake you can make is underestimating your boat's weight. Trying to get by with a single floor jack or, even worse, propping up the hull with something like cinder blocks is just asking for a catastrophe. Always, always use heavy-duty, properly rated boat stands placed on solid, level ground. Your safety is riding on this foundation.
Another classic trap is trying to save a few bucks by cutting corners on materials. Sure, that standard pressure-treated lumber and cheap indoor/outdoor carpet from the hardware store look tempting, but it’s a decision you’ll regret. Non-marine-grade wood will rot out from under you, and that thin carpet will wear through in a single season, putting you right back where you started.
Hardware and Alignment Blunders
Your choice of hardware can be the difference between a long-lasting repair and a rusty, seized-up mess in a year. Opting for galvanized bolts instead of stainless steel is a critical error, especially if you're anywhere near saltwater. Spend the extra money on stainless steel hardware for everything—from the bunk brackets to the carpet staples.
I've also seen people make the subtle mistake of over-tightening the bunk bolts. You want them snug, of course, but cranking down on them with all your might can crush the wood fibers. This creates a weak spot that will eventually lead to cracks. Tighten them down firmly until the bunk is secure, but don't go crazy trying to bend the steel brackets.
A poorly aligned bunk won't properly support the hull, creating pressure points that can lead to gelcoat damage over time. Take the extra 15 minutes to ensure the bunk sits perfectly flush against the hull before you do the final tightening.
Finally, don't miss a golden opportunity for a little extra maintenance. With the boat lifted and a bunk out of the way, you have fantastic access to the hull. It’s the perfect time for an inspection and a good cleaning. For more on that, check out our quick guide on how to clean a boat bottom to keep your vessel in prime condition.
Answering Your Bunk Replacement Questions
Even with a step-by-step guide, you're bound to have a few questions pop up in the middle of a project. When you're trying to swap out trailer bunks with the boat still sitting right there, it can feel a little daunting. A bit of extra clarity can make all the difference, so let's tackle the most common questions we hear from fellow boaters.
This should give you that last little boost of confidence to get the job done right.
Can I Use Treated Lumber for My New Bunks?
This is a big one, and the short answer is no, you really shouldn't. It seems like a durable, common-sense choice, but using standard pressure-treated wood is a major mistake, especially if you have an aluminum boat or trailer.
The chemicals in that lumber, particularly the ones with high copper content, will kick off a nasty chemical reaction called galvanic corrosion when they touch aluminum. Over time, this reaction will literally eat away at your hull or trailer frame. It's a silent killer for aluminum boats.
Your best bet is to stick with untreated woods like cypress or fir. Once you wrap them properly in good marine-grade carpet, they'll last for many seasons without putting your boat at risk. If you're looking for a "one and done" solution, you could also invest in composite bunk boards—they'll never rot, period.
How Tight Should I Wrap the Marine Carpet?
You want that carpet wrapped as tightly as you can possibly pull it. Think about stretching a canvas for a painting—any slack or wrinkles are bad news.
Loose carpet does more than just look sloppy. It creates little pockets that trap sand, salt, and moisture right up against the wood, which is a perfect recipe for rot. Worse, that trapped grit creates an abrasive, sandpaper-like surface that can scratch and wear down your hull every single time you launch and load.
Pro Tip: The best way to get a drum-tight wrap is to start stapling in the center of the bunk's underside. Work your way out toward the ends, pulling the carpet taut with every staple. This method gives you a smooth, durable finish that lets your boat glide on and off with ease.
What Do I Do If the Old Bolts Are Rusted Solid?
Welcome to the club. This is probably the most common headache you'll run into with any trailer maintenance, but don't panic. You're not the first person to face a bolt that's become one with its nut.
Before you just grab a bigger wrench and hope for the best, try these steps in order:
- Soak It Down: Grab a can of quality penetrating oil and give the stubborn bolt and nut a heavy dousing. Be patient and let it sit for at least 20-30 minutes to creep into the threads before you try turning it again.
- Get Some Leverage: If the oil isn't enough, it's time for more power. A long-handled ratchet or a breaker bar will give you a massive mechanical advantage. That extra leverage is often all it takes to break a stubborn nut free.
- The Last Resort: When a bolt absolutely, positively refuses to budge, it's time to bring out the angle grinder. Put on your safety glasses, install a metal-cutting wheel, and carefully cut through the bolt. The best spot is usually between the bunk bracket and the trailer frame—just be careful not to nick the trailer itself.
At Better Boat, we know that having the right gear makes any boat maintenance job go smoother and safer. From high-quality trailer components to the best cleaning supplies on the market, we have everything you need to protect your investment. Check out our full lineup of boating essentials at BetterBoat.com.
Related Posts

How to Anchor Boat: Secure Tips for a Safe Stop

DIY Gelcoat Repair for Boats a Flawless Finish Guide
