 Skip to content

A Pro's Guide to Boat Gelcoat Repair
That brilliant, mirror-like shine on your boat? It’s more than just for looks. That's the gelcoat, and it's the single most important barrier protecting your fiberglass hull from the elements. When that shield gets compromised, a boat gelcoat repair isn't just a good idea—it's essential maintenance to head off water intrusion, UV damage, and much bigger structural headaches down the line.
With the right approach, what seems like a job for the pros can become a perfectly manageable project for a dedicated owner.
Why a Flawless Gelcoat Matters for Your Boat
Think of gelcoat as your boat's skin. It’s the first and last line of defense against the harsh marine world, from the constant slap of water to the relentless sun. When that protective layer gets chipped, cracked, or deeply scratched, it's not just an eyesore; it's a breach in your boat’s armor.
It’s tempting to ignore a small gouge, but doing so lets water seep into the underlying fiberglass laminate. This is how osmotic blistering starts—a painful and expensive problem to fix. Over time, it can even compromise the structural integrity of your hull.
The Value of Timely Repairs
A proactive approach to gelcoat repair does a lot more than just keep your boat looking sharp. It directly impacts your vessel's longevity and, frankly, its resale value. A well-maintained hull tells a story of a well-cared-for boat, a massive selling point for any potential buyer.
The boating world clearly understands its importance. In 2024, the global market for pleasure boat gelcoat was valued at around USD 1.2 billion and is expected to climb. This just underscores how critical this protective finish is to boaters everywhere. You can learn more about these market trends and the growth of gelcoat applications on pleasure boats.
My Two Cents: Don't let small dings turn into big problems. The time and effort it takes to fix a small chip today is a tiny fraction of the work you'll face repairing widespread water damage later. Trust me on this.
To give you a better sense of what you're getting into, here’s a quick overview of a typical gelcoat repair project. The timeline can shift based on the size of the repair and the materials you choose, but this should give you a solid starting point.
Gelcoat Repair Project at a Glance
| Repair Stage | Objective | Typical Time | Difficulty |
|---|---|---|---|
| Preparation | Clean the area, grind out damage, and mask off surrounding surfaces. | 1-2 hours | Low-Medium |
| Application | Mix and apply the gelcoat paste, ensuring it's slightly proud of the surface. | 30-60 mins | Medium |
| Curing | Allow the gelcoat to fully harden. Can be covered with wax paper or PVA. | 4-24 hours | Low |
| Finishing | Wet sand the repair smooth, starting with coarse grit and moving to fine. | 1-3 hours | Medium-High |
| Polishing | Use polishing compounds to restore the high-gloss shine and blend the repair. | 30-60 mins | Medium |
This table shows that while some steps are quick, the finishing stage requires patience and a good touch. Rushing the sanding or polishing is the fastest way to an obvious-looking patch job.
More Than Just a Pretty Finish
When all is said and done, a pristine gelcoat isn't just about pride of ownership. It delivers some key, non-negotiable benefits for your boat:
- Structural Protection: It’s a waterproof barrier, shielding the core fiberglass from moisture that leads to delamination.
- UV Resistance: It contains special additives that protect the hull from sun damage, which can make the underlying fiberglass brittle over time.
- Enhanced Durability: A smooth, whole surface is naturally more resistant to everyday wear, from bumps at the dock to minor scuffs.
- Aesthetic Appeal: Let's be honest—a glossy, unblemished hull just looks incredible and makes every trip out on the water that much better.
Equipping Your Dockside Workshop
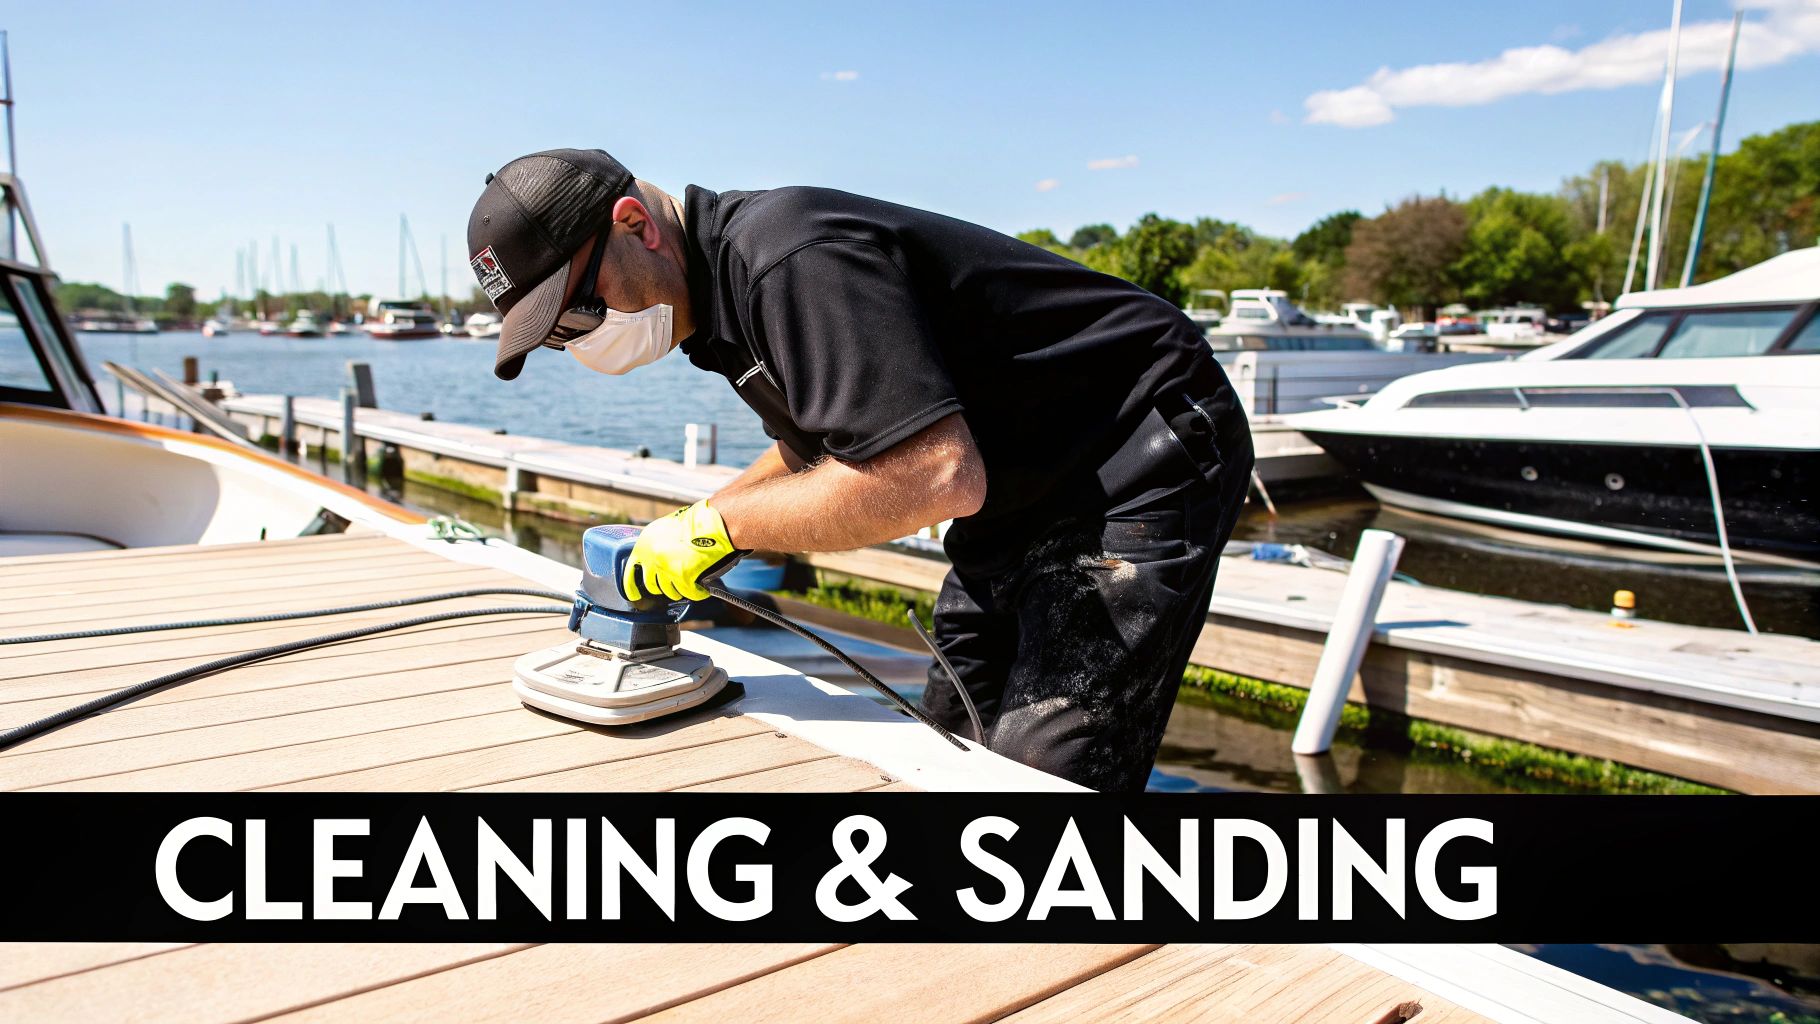 Walking into a marine supply store can be overwhelming. The walls of products all promise a perfect finish, but a successful boat gelcoat repair comes down to having the right tools for each stage of the job. Getting your kit sorted out beforehand will save you from those frustrating mid-project trips back to the store.
Your main purchase is, of course, the gelcoat. For most nicks and scratches on the surface, you'll want a gelcoat paste or putty. These are much thicker than standard gelcoat, which is a lifesaver on vertical surfaces—they won't sag and run all over the place. If you're dealing with deeper, more structural problems like big cracks or holes, you might need to start with a polyester or epoxy filler to build strength before you even think about the cosmetic gelcoat layer.
Core Repair Materials
Gelcoat won't harden on its own; it needs a catalyst to kick off the chemical reaction. This is almost always Methyl Ethyl Ketone Peroxide (MEKP). You add it in tiny, precise amounts—we're talking a few drops per ounce—so having a set of measuring cups or a syringe is non-negotiable if you want a proper cure.
A classic rookie mistake is just eyeballing the catalyst ratio. If you add too little, your repair will stay a sticky, gummy mess forever. Add too much, and it’ll cure way too fast, becoming brittle and likely to crack down the road. You have to follow the manufacturer’s ratio exactly.
To get that fresh-from-the-factory look, you've got to nail the color. If you can't get your hands on the OEM gelcoat from your boat's manufacturer, a color-matching kit is your new best friend. These kits typically come with several primary color pigments that you mix, drop by drop, into a white or neutral base. Mix a small test batch, let it cure completely on some cardboard, and check the color against your hull in direct sunlight before you commit to the real repair.
Essential Tools and Safety Gear
Beyond the chemicals, your success really hinges on the tools you use for finishing. You aren't just buying a sheet of sandpaper; you're building a progression of grits that will let you blend the repair seamlessly.
- Dremel or Rotary Tool: This is a must-have for properly prepping cracks. You'll use it to grind them out into a "V" shape, which gives the new gelcoat a wide, solid base to bond to.
- Sandpaper (Wet/Dry): You'll need a whole range of grits. Start with a coarse 80-grit for shaping any underlying filler. Then, use 220-grit for the initial leveling of the gelcoat. After that, you’ll switch to wet sanding with a sequence of 400, 600, 800, and finally 1200-grit to polish out every last scratch.
- Applicators and Mixing Supplies: Don't forget the basics. Plastic spreaders, mixing sticks (tongue depressors are perfect for this), and a stack of disposable mixing cups are essential.
Last, but definitely not least, is safety. Gelcoat and its catalyst give off some seriously potent fumes. A respirator with organic vapor cartridges isn't optional, it's a requirement. You'll also want to wear nitrile gloves to keep the harsh chemicals off your skin.
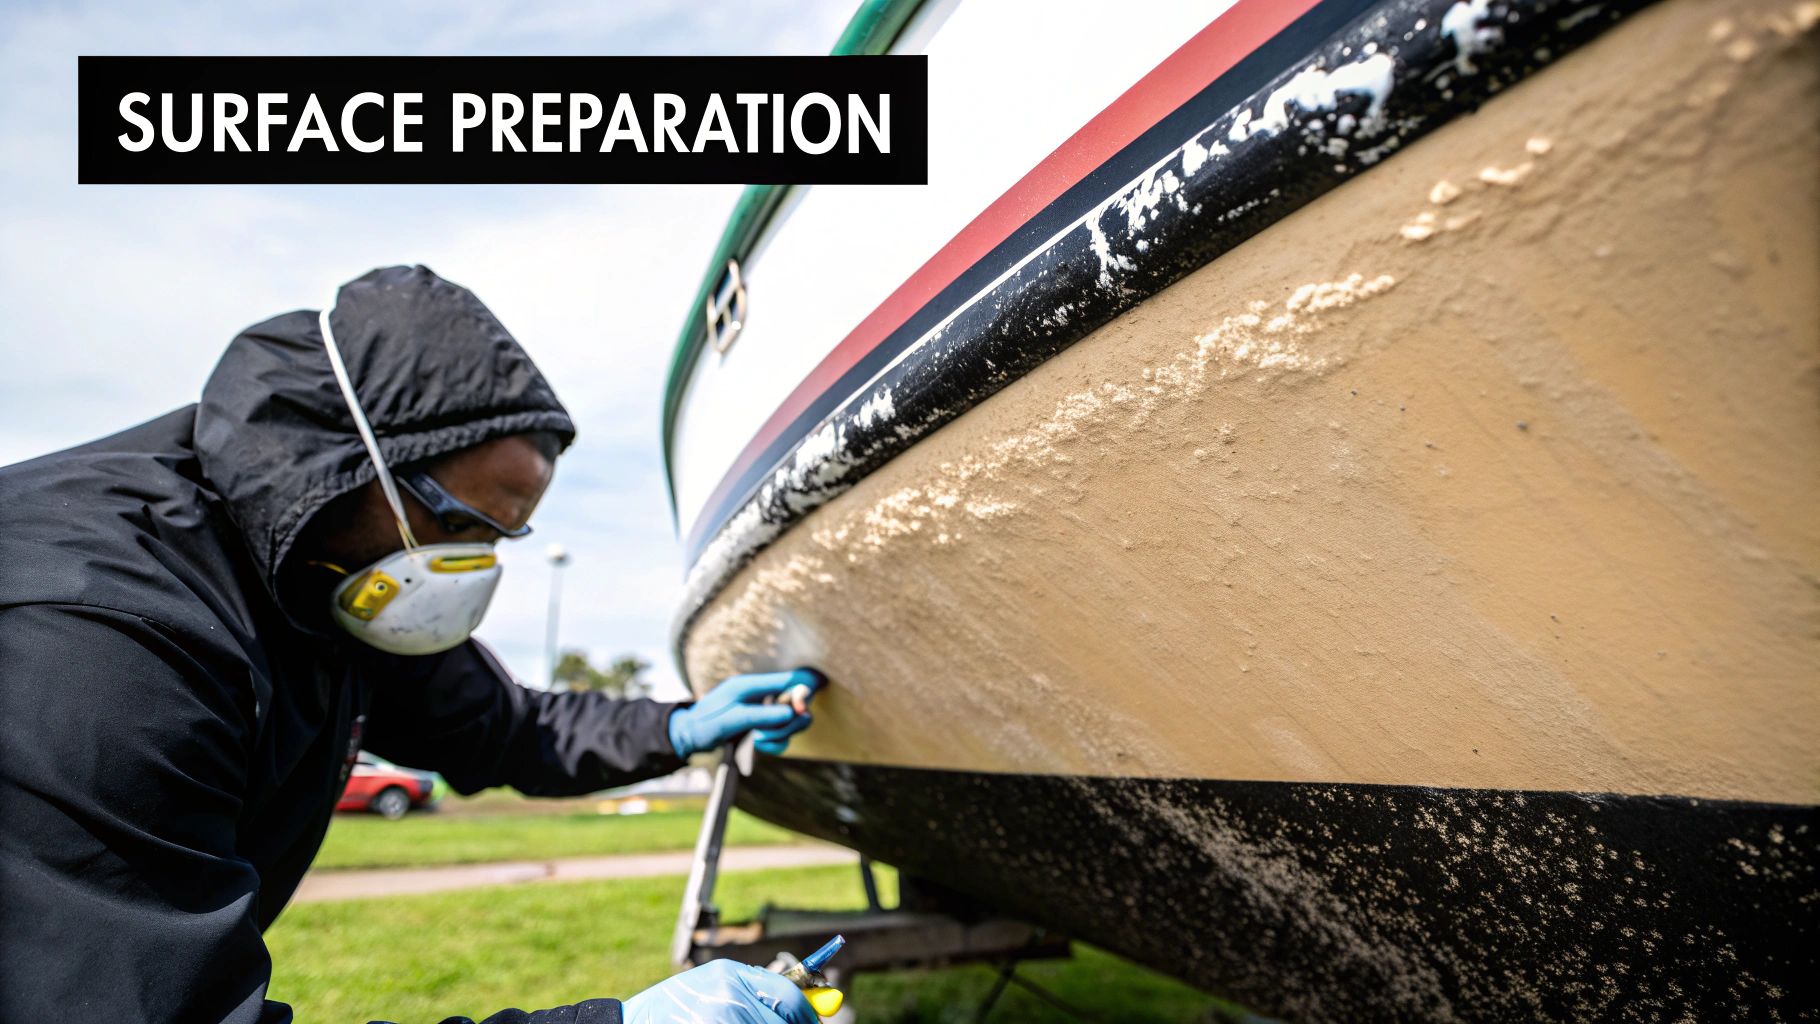
Prepping Damage for an Invisible Repair
I've learned a hard lesson over years of working on hulls: the secret to a truly invisible boat gelcoat repair is about 90% preparation. This is where most DIY projects go wrong, but it’s exactly where you’re going to get it right by being meticulous. If you rush the prep, you’re almost guaranteed a patch that sticks out like a sore thumb.
The first, non-negotiable step is to get the area spotlessly clean. You've got to remove every last trace of wax, old polish, salt, and any other gunk that will prevent the new gelcoat from getting a death grip on the hull. Don't just give it a quick wipe; grab a solvent like acetone or a dedicated marine dewaxing product and a clean rag.
Wipe the area down, then flip to a fresh part of the rag and wipe it again. You want to lift the contaminants completely off, not just smear them around.
Shaping the Damage for a Strong Bond
With the surface squeaky clean, it’s time to deal with the shape of the damage itself. A simple hairline crack or a chip with sharp, vertical edges just won't hold new gelcoat for the long haul. The new material needs a nice, wide, beveled surface to lock into for a permanent mechanical bond.
This is where a rotary tool like a Dremel, fitted with a small grinding bit, is your best friend. Your mission is to grind out any cracks and bevel the edges of chips and gouges, essentially turning them into a shallow "V" shape. The deepest part of the damage should form the bottom of the V, with the sides sloping gently up to the surrounding, undamaged surface. This process not only creates the perfect profile for the new material but also gets rid of any fractured, weak gelcoat around the impact zone.
It might feel completely backward to make the damage look bigger, especially with a hairline crack. But you'll need to open it up wider than you'd think—aim for a groove about 1/8-inch wide at the surface. Trust me, this is the single most important step for a repair that lasts.
Pro Tip: Gelcoat dust is nasty stuff, so always wear safety glasses and a good dust mask when grinding. Keep your rotary tool on a low speed. If you go too fast, you risk melting the gelcoat, which creates a hard, glassy surface that new material just won't stick to. Let the tool do the work; don't force it.
After you're done grinding, give the area one more quick wipe with your solvent to clear out all the dust from the freshly exposed surfaces.
Masking for a Clean Workspace
The final prep step is to carefully mask off the area around your repair. This isn't just about keeping things neat—it’s about protecting your boat's original finish from the inevitable sanding that comes later. Use a high-quality painter's tape to create a crisp border, leaving about a one-inch margin around your beveled-out damage.
A couple of quick tips here:
- Double Up: I always apply two layers of tape. It provides extra protection against accidental drips and sanding scuffs.
- Burnish the Edge: Run your thumbnail firmly along the edge of the tape closest to the repair. This seals it down tight and prevents any gelcoat from bleeding underneath, giving you a perfectly clean line.
Once you’re cleaned, V-grooved, and masked off, you've built the ideal foundation. This careful groundwork is what separates a frustrating patch job from a professional, invisible boat gelcoat repair that will blend seamlessly and stand the test of time. Now, you’re ready to start mixing and applying the gelcoat.
Mixing and Applying Gelcoat Like a Pro
With all the prep work behind you, you’ve laid the perfect groundwork for a solid repair. Now for the fun part—the bit that feels like a blend of art and chemistry. This is where we mix and apply the gelcoat, a stage that really defines how your repair will look and hold up over time.
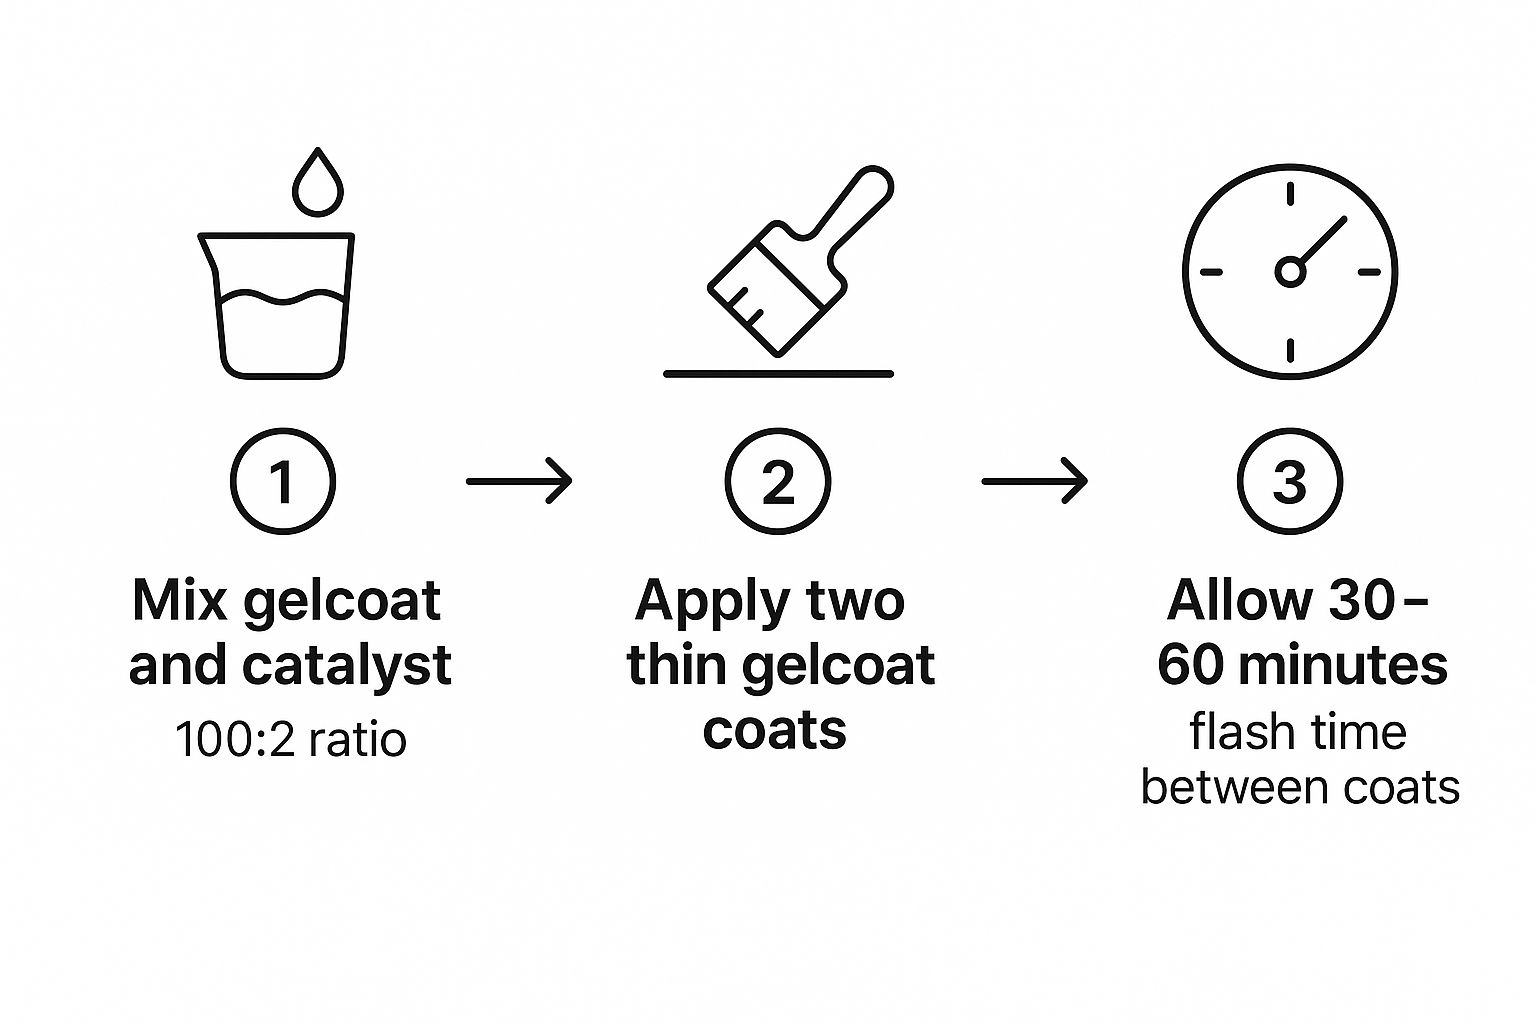
The single most critical piece of this puzzle is getting the catalyst-to-gelcoat ratio right. Gelcoat paste is pretty useless on its own; it needs a catalyst, almost always Methyl Ethyl Ketone Peroxide (MEKP), to kick off the chemical reaction that makes it harden. The industry standard is a 1-2% ratio of MEKP to gelcoat by volume. For a small job using a quarter-cup of gelcoat, that’s just a few dozen drops. Always, always read the manufacturer's instructions, because things like temperature and humidity can seriously mess with your working time.
Achieving the Perfect Mix
Trust me on this one: work in small, manageable batches. I’ve seen it a hundred times—someone gets overeager, mixes up a giant cup of gelcoat on a warm day, and watches in horror as it starts to "kick" (harden) before they're even halfway done. It turns a straightforward job into a rushed, sloppy mess.
Instead, only mix what you can confidently apply within a 10-15 minute window. Grab a clean mixing cup and a stir stick, and don’t add the catalyst until you are literally ready to start applying. When you do mix, stir it slowly but make sure it’s completely blended. You want to avoid whipping air into it, which creates tiny pinholes you'll have to deal with later.
As you can see, getting the mix right and giving it proper time to flash off are essential. Skipping these basics is a recipe for sags, drips, and a weak cure.
Application Techniques for a Seamless Finish
How you apply the gelcoat depends on the size of the repair.
- For tiny nicks and scratches, a fine artist's brush gives you pinpoint control.
- For bigger gouges, a small plastic spreader works perfectly.
Your main goal is to completely fill the V-shaped groove you ground out earlier. Here’s a pro tip: slightly overfill the repair area. You want the gelcoat to sit just a little "proud," or higher than the surrounding hull. Gelcoat shrinks as it cures, so this extra material ensures that when you sand everything down, the final surface will be perfectly flush. If you underfill it, you'll be left with a permanent, visible dip.
Now, while gelcoat is fantastic for surface-level fixes, it's not the answer for deep, structural damage. If you're looking at a problem that goes way beyond cosmetic dings, you might need something with more muscle. Take a look at our ultimate guide to choosing epoxy resin for your boat to see if that's a better fit for your project.
Expert Insight: Chasing a perfect, one-and-done application is a rookie mistake. It's far better to apply two thin coats than one thick one that will inevitably sag. Lay down the first coat, let it get tacky (usually about 30-60 minutes), then come back with a second, slightly thicker coat to build it up.
Sealing the Repair for a Hard Cure
Most finishing gelcoats you'll buy have a wax additive mixed right in. As the gelcoat cures, this wax migrates to the surface and forms an airtight barrier. This is what allows the gelcoat to fully harden into a tack-free finish that you can actually sand. Without that seal, the surface would stay frustratingly sticky forever.
If you're using a "no-wax" gelcoat (which is more common for building boats in a mold) or just want to be absolutely certain you get a hard cure, you'll need to create that airtight barrier yourself. It's easy, and you have a couple of options:
- PVA Curing Agent: This is a water-soluble liquid you can spray or brush over the wet gelcoat. It dries into a thin film that seals out the air.
- Plastic Film: For a simple, low-tech solution, just cover the wet repair with a smooth piece of plastic. A piece from a sandwich bag or even wax paper works great. Just tape it down securely around the edges.
Once your repair is applied and sealed, step back and let it cure. Depending on the product, temperature, and how thick you applied it, this could take a few hours or a full day. Whatever you do, resist the temptation to poke it. Just let the chemistry do its thing.
The Art of Finishing for a Seamless Blend
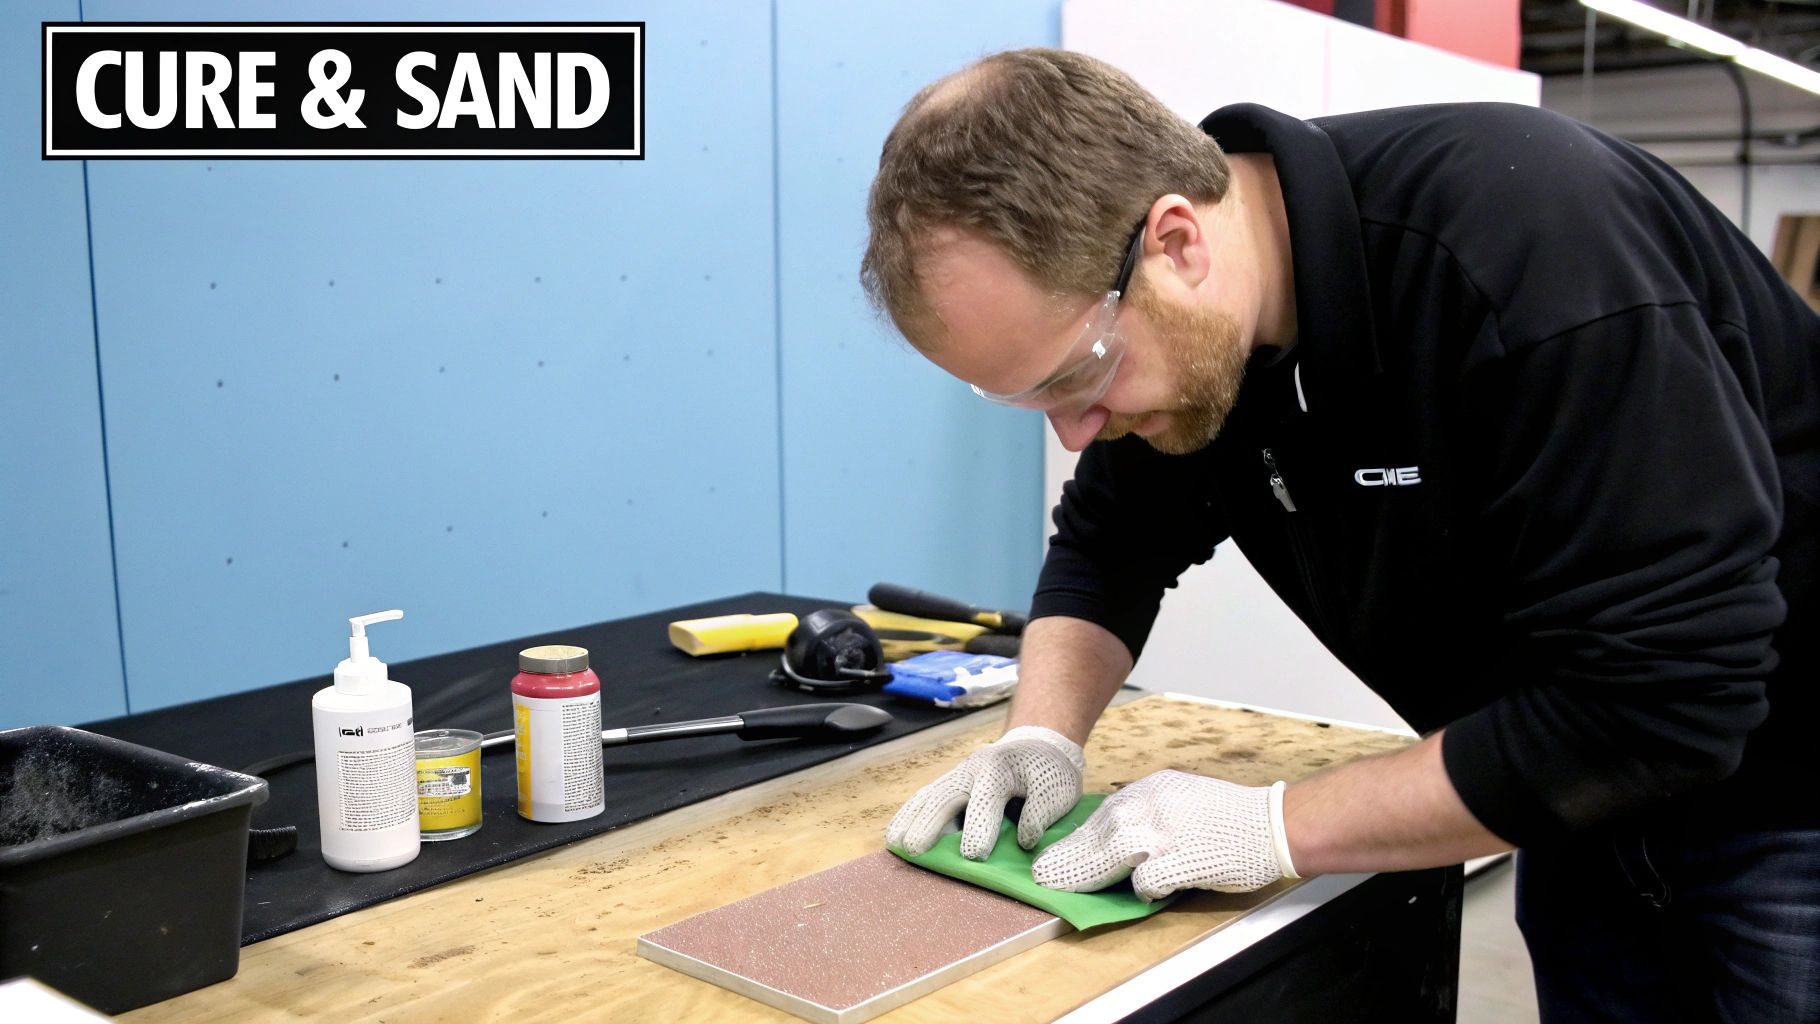
A good boat gelcoat repair is one you can't find when you're done. This last stage is where the magic happens. It’s all about the patient, hands-on art of finishing—the meticulous work that makes your repair completely disappear into the original hull. This is what separates a botched, obvious patch from a professional-grade restoration.
After your gelcoat patch has fully cured, it will be sitting a little "proud," or higher than the surrounding surface. Your first job is to level it out perfectly. This kicks off the wet-sanding sequence, a methodical process that takes both patience and a light touch.
The Wet-Sanding Sequence
Let's start by knocking down that high spot. Grab some coarser grit sandpaper, something around 320-grit, and wrap it around a firm sanding block. Don't skip the block; it's essential for distributing pressure evenly and preventing you from accidentally creating dips and valleys with your fingertips.
Dip your sandpaper and block into a bucket of clean, soapy water and start sanding the raised patch using light, circular motions. The main goal here is just to flatten the repair until it's perfectly flush with the original gelcoat. You’ll feel the resistance change as the high spot gets ground down. Wipe the area down often and run your fingers over it—your sense of touch is your best guide for knowing when it’s level.
Once the patch is flush, it’s time to start erasing those initial sanding scratches. You’ll do this by working your way up through progressively finer grits of wet/dry sandpaper. Each finer grit is designed to polish out the scratches left by the one before it.
A pretty standard progression looks like this:
- 400-grit to remove the initial 320-grit marks.
- 600-grit to smooth the surface out even more.
- 800-grit to start bringing out a dull sheen.
- 1200-grit for the final sanding stage, which leaves a hazy but smooth-as-glass finish.
Remember to keep the surface wet the entire time. The water acts as a lubricant, washing away the sanding debris and stopping your paper from clogging up. By the time you’re done with the 1200-grit, the repair should feel incredibly smooth, even if it still looks pretty dull.
Compounding and Polishing for a Mirror Shine
With the sanding behind you, you're ready to bring back that deep, factory gloss. This is a two-step process: first a marine-grade rubbing compound, then a fine polish. For the best results, I really recommend using a power buffer.
Kick things off with the rubbing compound. It's a more aggressive abrasive designed specifically to buff out the fine scratches left by your 1200-grit paper. Apply a small amount to your buffer pad and work in small, manageable sections. The key is to keep the buffer moving constantly to avoid burning the gelcoat. You’ll see that dull haze quickly transform into a real shine.
It's amazing how much demand there is for these finishing materials. The global gelcoat market was valued at an incredible USD 1.28 billion in 2023. With the boating world expanding, it’s projected to grow by about 13.1% annually through 2033. If you're curious, you can discover more about the gelcoat market's impressive growth.
After compounding, give the surface a good cleaning. Now, switch to a fresh, clean pad on your buffer and apply a fine finishing polish. This step removes any faint swirls left by the compound, deepening the gloss into a true mirror-like finish.
Here's a quick guide to help you keep the process straight:
Sanding and Polishing Grit Progression
This table shows the standard sequence of sandpaper grits and polishing compounds needed to take your gelcoat repair from a rough patch to a factory-like shine. Following this progression is key to a truly invisible finish.
| Stage | Sandpaper Grit | Purpose | Next Step |
|---|---|---|---|
| Leveling | 320-grit | Flatten the raised repair until it's flush with the surface. | 400-grit sandpaper |
| Initial Scratch Removal | 400-grit | Remove the coarse scratches left by the 320-grit paper. | 600-grit sandpaper |
| Intermediate Smoothing | 600-grit | Continue to smooth the surface and refine the finish. | 800-grit sandpaper |
| Pre-Polish Sanding | 800-grit | Prepare the surface for final sanding, creating a light sheen. | 1200-grit sandpaper |
| Final Sanding | 1200-grit | Create a hazy, but very smooth, finish ready for compound. | Rubbing Compound |
| Initial Polishing | Rubbing Compound | Buff out the 1200-grit scratches and restore the initial gloss. | Finishing Polish |
| Final Gloss | Finishing Polish | Remove swirls from the compound and achieve a mirror shine. | Marine Wax |
By methodically moving from one stage to the next, you ensure that each step properly prepares the surface for what follows, resulting in a flawless blend.
Finally, you need to protect your invisible repair. Apply a high-quality marine wax over the entire area. This last layer adds crucial UV protection and makes sure the whole section—old and new—is shielded from the elements. To keep it looking great, make sure you know how to clean a fiberglass boat properly for ongoing care.
Common Gelcoat Repair Questions Answered
Even the most carefully planned gelcoat repair can leave you scratching your head. It's totally normal for questions to come up mid-job. Let's walk through some of the most common ones I hear from other boat owners so you can get the job done right.
How Do I Get a Perfect Color Match?
Nailing the color match is probably the biggest source of stress in a gelcoat repair, but it's more straightforward than you think. It's part art, part science.
Your first move should always be to find your boat's hull identification number (HIN) and ring up the manufacturer. They can often give you the exact gelcoat code you need. If you have an older boat or the manufacturer is no help, a gelcoat color matching kit is your next best friend.
The secret is to mix a small test batch first. I mean small. Apply a dab to a piece of scrap cardboard or a plastic lid and let it completely cure. Gelcoat color changes as it hardens, so you have to be patient. Once it's fully cured, take it outside and compare it to the hull in direct, natural sunlight. Keep tweaking your mix with tiny amounts of pigment until it’s a dead-on match.
For hulls that have seen a few years of sun, you might need to polish a small, out-of-the-way spot on the boat to bring back the original, unfaded color. That’s your true target.
Expert Insight: Never, ever trust the lighting in your garage or workshop for color matching. What looks like a perfect match under fluorescent lights can stick out like a sore thumb once you're on the water. Always take your cured sample outside.
What Is the Difference Between Wax and No-Wax Gelcoat?
This is a big one, and getting it wrong can ruin your repair. "No-wax" gelcoat is what builders use in the factory. It’s designed to stay a bit tacky when exposed to air, which is great for building up multiple layers because they bond together chemically.
For DIY repairs, you almost always want "waxed" gelcoat, which is also called "finishing" gelcoat. This type has a wax solution mixed in. As the gelcoat cures, that wax rises to the surface and creates an airtight barrier. This allows it to harden completely into a tack-free finish that you can sand and polish.
For pretty much any boat gelcoat repair, you need to use a finishing (waxed) gelcoat. If all you can find is the no-wax version, you're not out of luck, but you have an extra step. You’ll have to cover the wet repair with a PVA curing agent or even just a piece of plastic film to seal it off from the air. If you don't, it will stay sticky forever.
Can I Repair Gelcoat in Cold or Humid Weather?
Temperature and humidity are your biggest enemies when it comes to getting a solid cure. Pay close attention to this. Most gelcoats have a pretty specific sweet spot for application, usually somewhere between 65°F and 85°F (18-29°C).
If you try to apply it when it's too cold, the chemical reaction slows to a crawl and you'll end up with a weak, soft cure. Too hot, and it can "kick" way too fast, causing it to wrinkle or even crack.
High humidity is another troublemaker. It can mess with the curing process and leave the surface feeling sticky, even if you did everything else right. Always read the manufacturer’s instructions on the can—they know their product best. And while you're thinking about moisture, keep an eye out for other issues it can cause. Our guide on winning the battle against boat mildew has some great tips for keeping your boat dry and healthy.
For more helpful pointers, check out these effective boat gelcoat repair tips for some excellent all-around advice.
Ready to tackle your next project with confidence? From cleaners and wax to all the tools you need for a perfect repair, Better Boat has you covered. Explore our full range of premium boat care products at https://www.betterboat.com and get your vessel looking its best.
Related Posts

Winterizing a Boat: Essential Tips for Cold Weather Care

Your 2025 Boat Maintenance Checklist: 8 Core Systems
