Fixing Gelcoat on Boat: Expert Tips for a Flawless Repair
Before you can even think about mixing up gelcoat or grabbing a sander, you’ve got to play detective. Getting the diagnosis right is the single most important part of the job. It’s what separates a professional, invisible repair from a patch-up job that fails in a few months.
Every scratch, crack, and dull spot on your hull tells a story, and you need to listen.
First things first, give the boat a good wash. You can’t diagnose what you can’t see, and a layer of salt and grime will hide the true extent of the problem. Once it's clean and dry, run your hand over the damaged areas. Is the surface chalky and dull? That’s oxidation from sun damage. Is it a deep gash where you can see the weave of the fiberglass? That's a classic impact from a dock or debris.
Identifying Common Gelcoat Flaws
You'll want to get a good look at the hull in bright, clear light—sometimes even at different times of the day to see how the light hits it. This will help you figure out exactly what you're dealing with.
- Surface Scuffs and Scratches: These are the most common and least severe issues. Think of them as light abrasions that haven't broken through the top layer of the gelcoat. They look like faint lines and are usually just a cosmetic headache.
- Deep Gouges or Chips: This is the nasty stuff, usually from an unfortunate encounter with something hard. You'll see a clear crater, and if you can spot the darker, crisscross pattern of the fiberglass underneath, you know it’s a deep one that needs a full repair.
- Stress Cracks (Crazing): These are frustrating. They look like a spiderweb of tiny, fine cracks, often radiating out from a point of high stress like a cleat, winch, or a sharp corner. This can be a sign of the fiberglass flexing underneath. If you're seeing a lot of this, especially on structural parts of the boat, you might be looking at a bigger issue. Our guide on how to repair cracked fiberglass can help you tackle those more complex jobs.
- Oxidation: This is the slow fade. UV rays break down the gelcoat over time, leaving it with a dull, hazy, or chalky finish. The vibrant color your boat once had will look washed out and lifeless. This is especially common on older boats or those that live under the sun.
The goal here isn't just to spot the damage—it's to understand its cause. A single, deep gouge tells a very different story than a web of stress cracks, and your repair strategy will change completely depending on what you find.
Why a Proper Assessment Matters
Taking the time to get this right from the start saves you headaches, time, and money. There’s nothing worse than buying supplies for a simple buffing job only to realize you actually need to fill a deep gouge. A proper diagnosis means you get the right materials—polishing compound for oxidation, gelcoat paste and catalyst for a chip—the first time around.
You’re not alone in needing these supplies. The pleasure boat gelcoat market was valued at around $500 million in 2025 and is expected to grow by about 6% each year through 2033. This growth is being driven by new and better materials that make DIY repairs more durable than ever. You can learn more about this growing market on datainsightsmarket.com. Your careful diagnosis is the first step toward a professional-grade restoration.
Gelcoat Damage Identification Chart
To make things easier, here’s a quick reference chart. Use it to match what you're seeing on your hull with the likely cause and the best way forward.
| Damage Type | Visual Cues | Common Cause | Recommended Action |
|---|---|---|---|
| Oxidation | Dull, chalky, or hazy finish; faded color. | Prolonged UV sun exposure. | Multi-stage wet sanding and polishing. |
| Surface Scuffs | Faint lines or marks on the surface. | Minor bumps against docks, fenders, or lines. | Start with a polishing compound; may require light wet sanding. |
| Stress Cracks | Fine, spiderweb-like cracks, often in a pattern. | Hull flexing, impact, or overtightened hardware. | Grind out cracks, fill with gelcoat, and fair the surface. |
| Deep Gouges | A crater or groove exposing the fiberglass layer. | Significant impact with a hard object. | Clean and bevel edges, fill with gelcoat paste, sand, and polish. |
Having this chart handy can help you quickly build a plan of attack and ensure you're using the right technique for each specific type of damage you find.
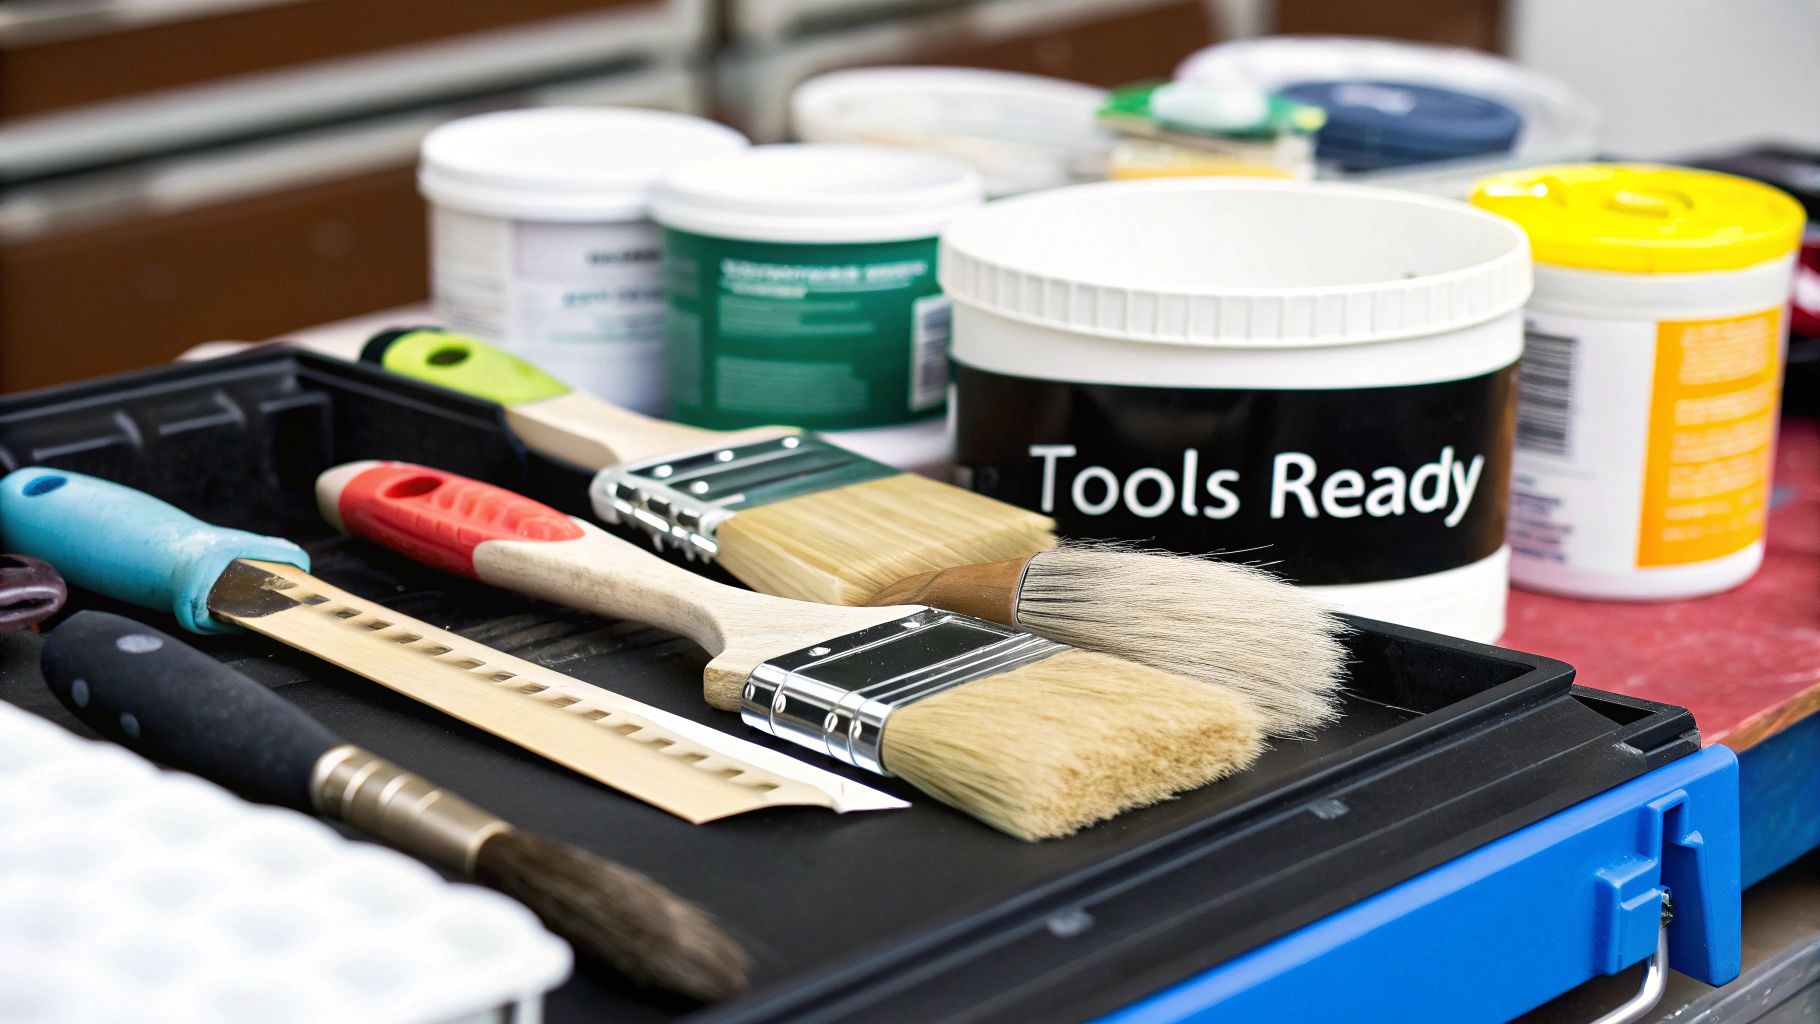
Your Essential Gelcoat Repair Toolkit

Walking into a repair with the right gear is half the battle. Nothing’s worse than having to stop mid-project for a frustrating run to the marine store because you forgot something crucial. This isn't just about having any tools; it’s about having the right tools for the job.
A truly professional-looking gelcoat repair hinges on using the correct materials and equipment. You need to pick the right type of gelcoat, understand how to work with it, and have the proper tools to apply and finish it seamlessly. Think of it as setting up your workshop for success before you even start.
Core Materials and Chemicals
First up, let's talk about the absolute essentials—the stuff that forms the foundation of your repair. Choosing the right gelcoat and catalyst is probably the most critical decision you'll make at this stage.
- Gelcoat Paste vs. Liquid Gelcoat: For anything on a vertical surface or for filling deeper gouges, gelcoat paste is your best friend. It has a thick, peanut-butter-like consistency that won't sag or run. On the other hand, liquid gelcoat is better for flatter, horizontal areas or for spraying larger sections.
- Color-Match Kit: Don't assume the factory color will be a perfect match, especially if your boat has seen a few seasons. Sun exposure fades gelcoat over time. A good kit with various tinting pigments is essential for tweaking the color until it blends in perfectly.
- Catalyst (MEKP): This is the magic ingredient—methyl ethyl ketone peroxide, or MEKP. It's the hardener that kicks off the curing process. The amount you add is absolutely critical and depends entirely on the temperature and humidity you're working in.
- Acetone: This is your go-to solvent for cleanup and prep. It's fantastic for wiping down the repair area to remove any wax, grease, or other gunk that would prevent the new gelcoat from getting a solid bond.
A quick but important note on safety: working with these chemicals isn't a game. A high-quality respirator with organic vapor cartridges, nitrile gloves, and safety glasses are non-negotiable. Gelcoat fumes are nasty, and MEKP can cause serious damage to skin and eyes.
Tools for Preparation and Finishing
Beyond the chemicals, you'll need a handful of specific tools for shaping, applying, and polishing your repair until it shines. The right gear here is what separates an obvious patch from an invisible fix.
For the prep work, I swear by my rotary tool (like a Dremel) with a V-shaped grinding bit. It lets you precisely grind out cracks and put a perfect bevel on the edges of a gouge, which creates a lot more surface area for a rock-solid mechanical bond. You'll also want some quality masking tape and paper to protect the surrounding area from any accidental slips.
When it's time for the finishing touches, your sanding and polishing game needs to be on point.
- Sanding Block: Always use a hard rubber or foam block. It ensures you sand the repair perfectly flat and level with the surrounding hull. If you just use your hand, you'll almost always create low spots and an uneven finish.
- Wet/Dry Sandpaper: You'll need a full progression of grits. I typically start with something around 220-grit to knock down the hardened gelcoat and level it out, then work my way up through 800, 1000, and sometimes even 1500-grit to smooth out all the scratches.
- Polishing Compound and Polisher: After the final sanding, a machine polisher with a wool pad and a quality rubbing compound will bring back that gloss. I follow that up with a finer finishing polish to really get that deep, mirror-like shine you’re looking for.
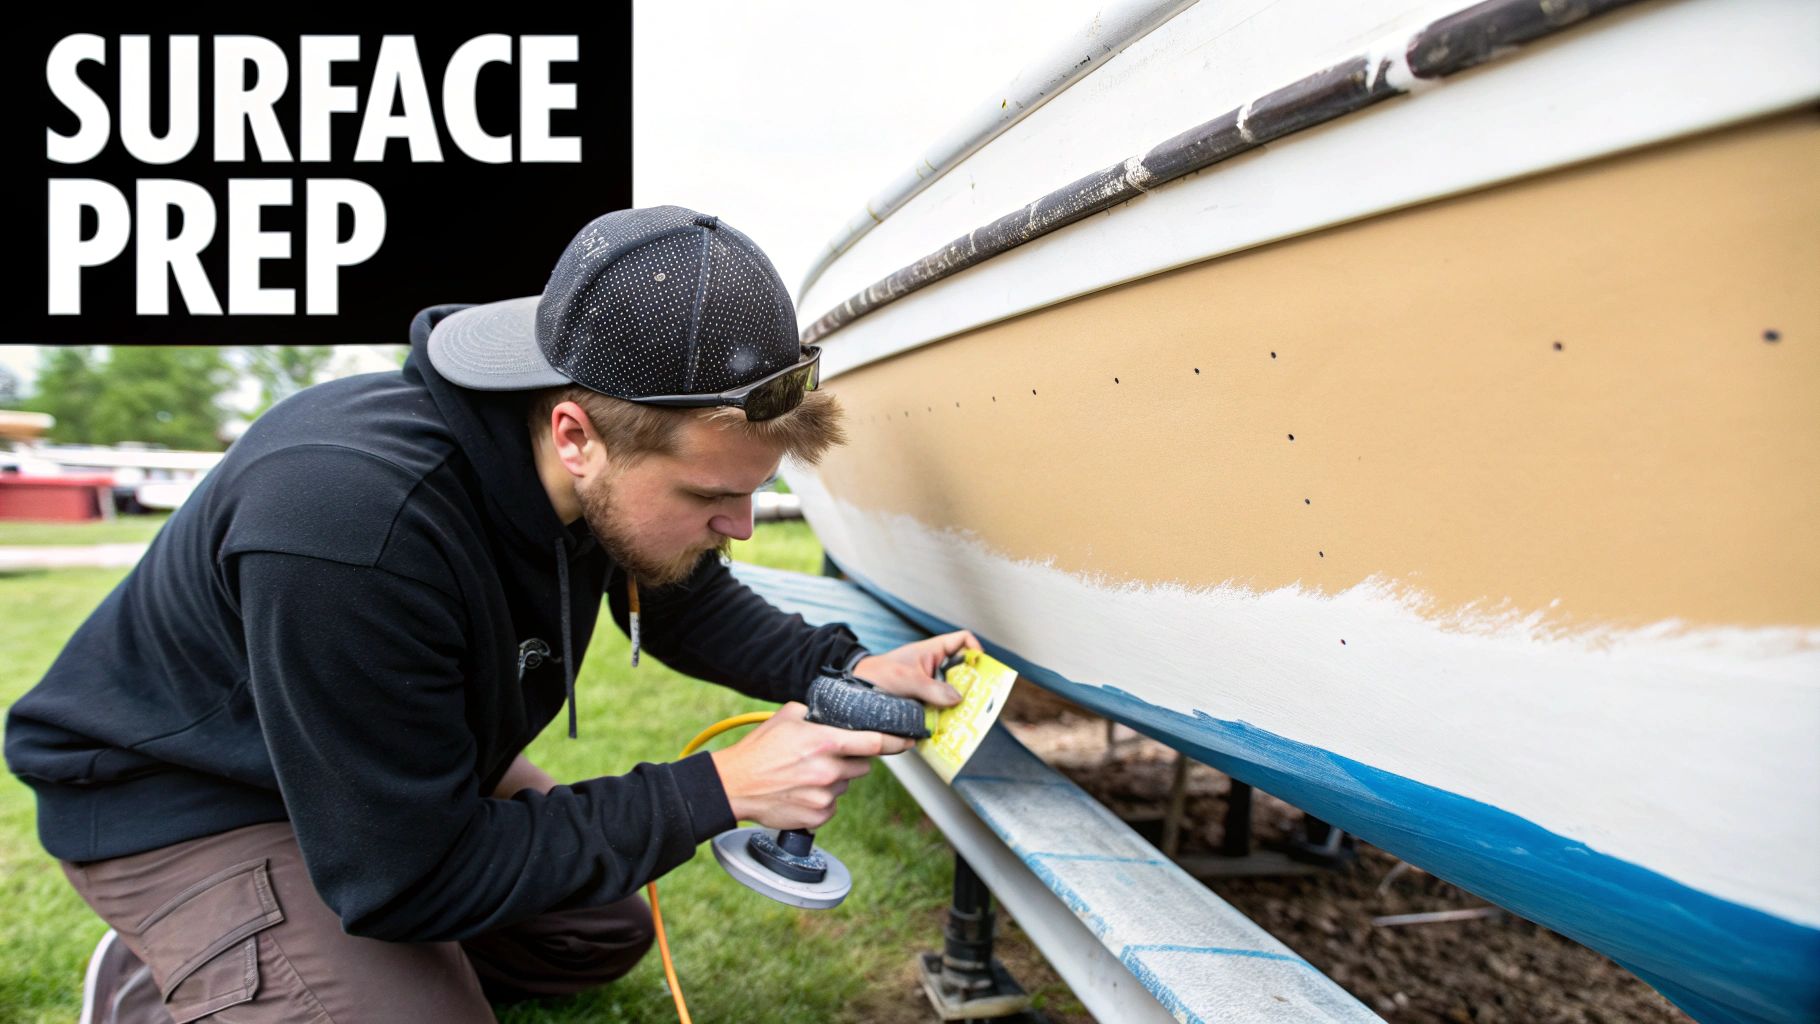
Prepping the Damaged Area for a Lasting Bond

A successful gelcoat repair is all in the prep work. Seriously. This is the stage that separates a quick patch from a permanent, seamless fix that truly restores your boat's protective skin. Cutting corners here is the fastest way to watch your hard work flake off in a few months.
First thing's first: a thorough cleaning. Grab a clean rag and some acetone, and wipe down the entire damaged area plus a few inches around it. This is non-negotiable. You have to get rid of any wax, oil, silicone, or other gunk that will absolutely prevent your new gelcoat from bonding. Think of it as creating a sterile field for surgery—you need a perfectly clean slate.
Shaping the Repair for Strength
With the surface clean, it's time to deal with the damage itself. For small chips and deeper gouges, you can't just fill them in. You need to open them up to create a strong mechanical lock for the new gelcoat. A rotary tool like a Dremel, fitted with a V-shaped grinding bit, is your best friend for this task.
Your goal is to create a beveled or tapered edge around the whole perimeter of the damage. By grinding a shallow "V" shape, you dramatically increase the surface area for the new gelcoat to grab onto. This chamfered edge is what keeps the patch from popping loose under stress later on. For those pesky hairline stress cracks, just carefully trace along the crack with the bit to open it up enough to accept the new material.
Take your time here. A neatly prepped area with clean, beveled edges doesn't just create a stronger repair—it makes the final fairing and sanding process a whole lot easier down the line.
The demand for quality marine coatings is huge. The global marine gelcoat market is estimated to be worth between $1.5 billion and $2 billion as of 2025. With recreational boating booming, this sector is projected to grow at an annual rate of 5-7% through 2033. You can read more insights on the marine gelcoat industry from archivemarketresearch.com.
Protecting the Surrounding Area
Before you even think about mixing any gelcoat, there's one last prep step: masking. Grab some high-quality painter's tape and create a clean border around your repair.
- Create a perimeter: Lay down tape about a quarter-inch away from the beveled edges of your repair. This gives you a small buffer zone for sanding.
- Protect from spills: If you're tackling a larger job, use masking paper along with the tape to shield a wider area from accidental drips and smears.
This simple step protects your boat’s original finish and saves you from a massive cleanup headache later. With the area properly cleaned, shaped, and masked off, you've built the perfect foundation for a lasting and invisible repair.
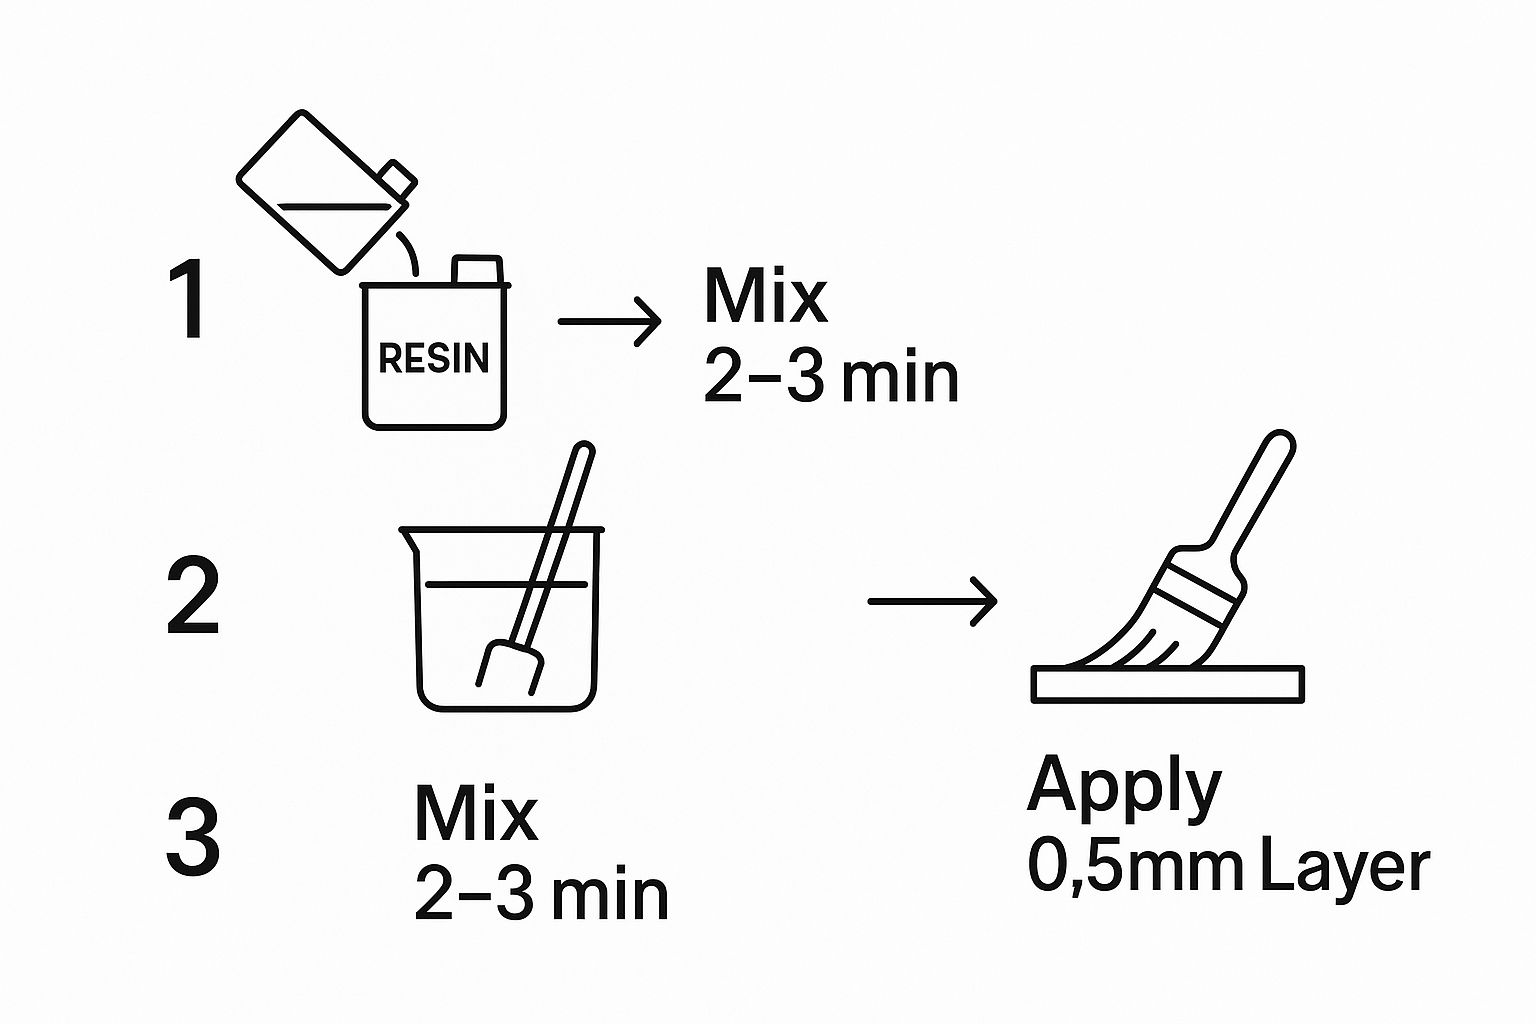
Getting the Mix and Application Just Right
This is where the real magic happens. With all the prep work behind you, it's time to turn that chalky paste and clear liquid into a durable, seamless part of your boat’s hull. Getting the mix and application perfect is what separates an obvious patch from a truly invisible repair.
First up, let's talk color-matching. Your boat's gelcoat has almost certainly faded from its original factory shade after years in the sun. Don't just grab a pre-matched color and hope for the best. Mix a tiny test batch, dab it on an inconspicuous spot (like under the gunwale), and let it fully cure. You'll be surprised how much the color can change as it hardens. Use tinting pigments very sparingly to dial it in—a single drop can make a huge difference.
Nailing the Catalyst Ratio
This is easily the most critical part of the process: adding the MEKP (methyl ethyl ketone peroxide) catalyst. This little liquid kicks off the chemical reaction that hardens the gelcoat. The ratio isn't a fixed number; it's a delicate balance that hinges entirely on the ambient temperature.
- Warm weather (around 80°F): You'll need less catalyst to slow things down, typically a 1% ratio. That's about 10 drops per ounce of gelcoat.
- Cooler weather (around 60°F): You need to give the reaction a boost, so you'll use more catalyst—closer to a 2% ratio, or about 20 drops per ounce.

The moment you add that catalyst, the clock starts ticking. You’ve got a working time of about 10-15 minutes before the gelcoat begins to "kick," or set up. Mix it thoroughly but not violently for at least a full minute. Scrape the sides and bottom of your mixing cup constantly to make sure every last bit gets catalyzed. An unmixed spot will never cure properly.
For bigger jobs that might require more structural integrity, it pays to understand what different epoxy resins can do. We break down the options in our guide on using epoxy resin for boat repair.
Application Tips for a Flawless Finish
With your gelcoat mixed, it's go-time. Grab a small plastic spreader or a putty knife and carefully work the mixture into the prepared gouge.
The secret to a perfectly level finish is to slightly overfill the repair area. Gelcoat shrinks a bit as it cures, so building it up just proud of the surrounding surface ensures you'll have enough material to sand down for a flush, flat result.
Once the gelcoat is applied, you have to seal it off from the air. Standard gelcoat is "air-inhibited," which means the surface will stay tacky forever if you leave it exposed. You can cover the repair with a piece of clear wax paper, smoothing it out to squeeze out any air bubbles. Another pro method is to brush on a thin layer of PVA (polyvinyl alcohol), a release agent that creates an airtight barrier.
This final step is non-negotiable. It’s what guarantees you get a hard, fully cured surface that you can actually sand, setting you up for the final finishing work.
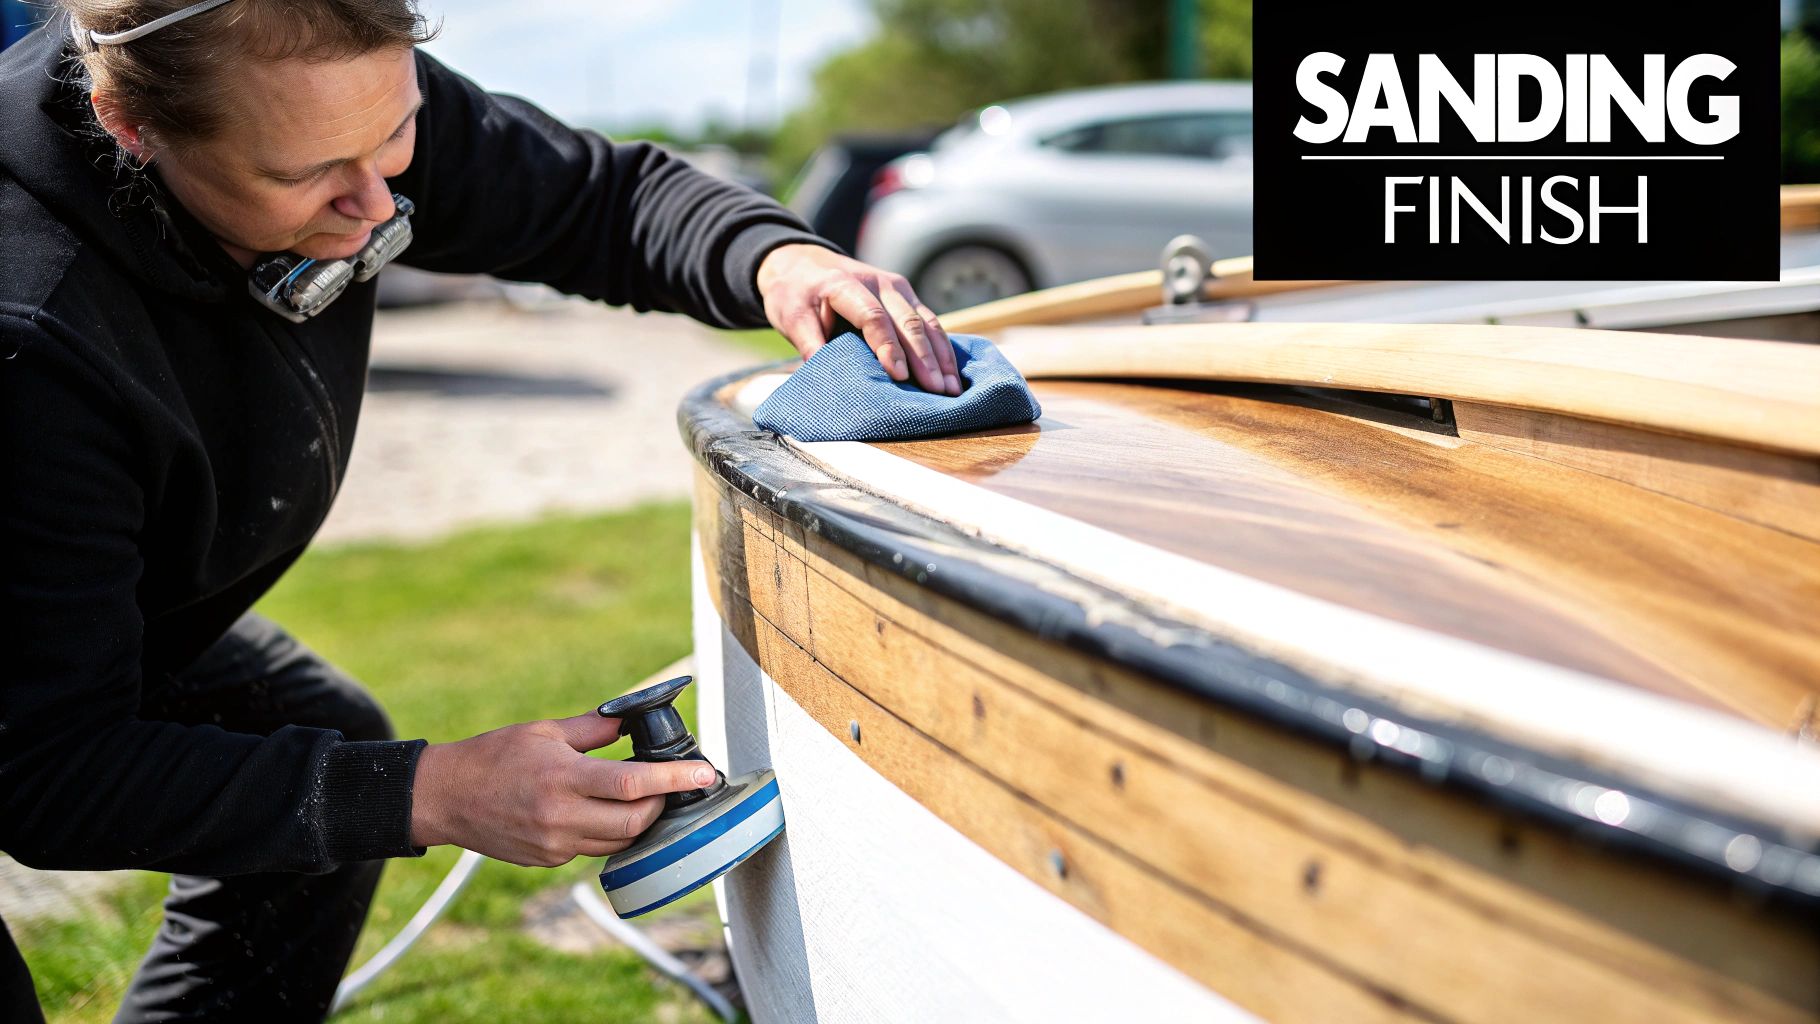
Finishing Your Repair for a Mirror Shine

This is where the magic happens. After you've let the gelcoat cure—and seriously, walk away for at least 24 hours—you’ll be looking at a dull, slightly raised patch. Don't panic. That's exactly what you want to see.
The final finishing work is what makes your repair truly disappear, blending that rough patch into a seamless, high-gloss surface that's completely indistinguishable from the rest of the hull. This is easily the most satisfying part of the job, but rushing it is the fastest way to ruin all your hard work.
The Art of Progressive Wet Sanding
The whole point of this stage is to first level the repair and then methodically remove the sanding scratches from each previous grit until the surface is perfectly smooth. Wet sanding is your best friend here. It keeps the paper from loading up with dust and, more importantly, prevents heat buildup that can scorch your new gelcoat.
Whatever you do, use a firm rubber or foam sanding block. It distributes pressure evenly and keeps the surface perfectly flat. If you just use your fingers, you're guaranteed to create an ugly, wavy finish that will stick out like a sore thumb once you hit it with the polisher.
Kick things off with a coarser grit, something like 220-grit or 320-grit, just to knock down the high spots and get the patch flush with the surrounding hull. Once it's level, the real refinement begins.
- Switch to 400-grit: This will knock out the deep scratches left by the initial leveling pass.
- Move on to 800-grit: You'll start to feel the surface smoothing out significantly now.
- Finish with 1000-grit or finer: This is the final prep step before polishing. The scratches left by this grit are so fine they're almost microscopic.
Keep a spray bottle handy with water and just a drop of soap to keep the area lubricated. After you’re done with one grit, wipe the surface down completely before moving to the next. You don't want a stray piece of 400-grit messing up your 800-grit finish.
Bringing Back the Gloss with Polishing
With the sanding done, you're left with a perfectly smooth but very dull surface. Now, it's time to bring back that factory shine. For this, a variable-speed machine polisher is the right tool for the job. It gives you the control you need to work the compound without burning the gelcoat.
Start with a wool cutting pad and a good quality rubbing compound. These are more aggressive products designed specifically to buff out those fine 1000-grit sanding scratches. Work in small, manageable sections, about two-by-two feet. Keep the polisher moving slowly and consistently across the surface.
The global gelcoat market was valued at approximately $1.49 billion in 2024 and is projected to reach about $2.93 billion by 2032. This growth just goes to show how critical a high-quality finish is to a boat's value and integrity. You can find more data about the gelcoat market on maximizemarketresearch.com.
Once the compounding is done, swap out the wool pad for a softer foam finishing pad and switch to a less abrasive finishing polish. This last step is what removes any faint swirl marks left by the compound and really brings out that deep, wet-looking gloss. If you're unsure what to use, our guide to choosing the best boat polishing compound can point you in the right direction.
To finish it all off, protect your pristine repair with a high-quality marine wax. This will add a layer of UV protection and keep that incredible shine locked in.
Common Questions on Gelcoat Repair
Even with the best instructions in hand, you're bound to have a few questions pop up in the middle of a repair. Gelcoat work can feel a bit finicky, but trust me, most of the common problems have pretty simple solutions. Getting these little details right is what separates an okay patch from a durable, invisible finish that makes you proud.
So, let's walk through some of the most frequent hurdles I see boat owners run into. These tips should help you troubleshoot on the fly and sidestep those common mistakes that can ruin an otherwise perfect repair.
https://www.youtube.com/embed/wFirhACk7Qw
Can I Apply New Gelcoat Over Old Without Sanding?
I’m going to be blunt: absolutely not. Skipping the sanding is probably the number one reason I see gelcoat repairs fail.
Think about it—that old gelcoat has been sitting out in the sun and salt. It’s oxidized, and it’s almost certainly got traces of old wax or other contaminants on the surface. If you just slap new gelcoat on top, it has absolutely nothing to grab onto.
For a solid, permanent bond, you need to give the new material a clean, mechanically scuffed surface to bite into. A good wipe-down with acetone to dissolve any gunk, followed by thorough sanding, creates that essential "tooth." If you skip this prep, your patch is guaranteed to peel or chip off down the road, and you'll be right back where you started.
How Long Does Gelcoat Actually Take to Cure?
This is a classic "it depends" situation. The real cure time is a moving target, and it's heavily swayed by temperature, humidity, and how much catalyst you mixed in. It’s more of an art than an exact science, but there are some solid guidelines to follow.
On a perfect day, around 77°F (25°C) with a standard catalyst mix, you should feel the gelcoat start to harden up in about 15-25 minutes. It’ll probably be firm enough to start sanding in 4-6 hours.
But for a full, rock-hard cure? Give it at least 24 to 48 hours. If you're working in cooler or more humid weather, always err on the side of caution and give it even more time than you think it needs. Rushing the sanding is a recipe for a gummy mess.
What Is the Difference Between Gelcoat With Wax and Without?
The big difference here is all about how they cure when exposed to air. Getting that final, tack-free surface is the whole game.
-
Standard Gelcoat (No Wax): This stuff is "air-inhibited." That's just a fancy way of saying its surface will stay sticky as long as it's exposed to oxygen. To get it to cure hard, you have to seal it off from the air with something like a PVA film or even just a piece of wax paper.
-
Finishing Gelcoat (With Wax): This product comes with a little paraffin wax already mixed in. As the gelcoat starts to cure, that wax floats to the top and creates its own built-in airtight barrier. This lets it cure to a hard, tack-free finish that’s ready for sanding, which is why it's perfect for the final layer of your repair.
Here’s the easy way to remember it: standard gelcoat is for building up layers inside a mold or a deep gouge. Finishing gelcoat is for that final, sandable topcoat. Knowing which one to use makes the finishing process a thousand times easier.
My Color Match Is Slightly Off. What Can I Do?
Welcome to the biggest challenge in gelcoat repair! Getting a perfect match on a hull that’s been weathered by the sun and sea for years is tough. My best advice is to always mix a tiny test batch first. Apply it to a hidden spot, let it fully cure, and then see what the final color looks like.
If it’s still a little off, you can try adjusting it with tinting pigments, but be warned—a single drop goes a very long way.
For really minor differences, you can sometimes blend the repair in by aggressively compounding and polishing the entire area around the patch. This can help smooth the transition between the new and old finishes, making the slight color difference much less noticeable to the eye.
For all the tools, materials, and expert-approved products you need for a flawless gelcoat repair, trust Better Boat. From our premium compounds to our durable repair kits, we make DIY boat maintenance simple and effective. Shop our full collection at Betterboat.com and get your boat looking its best.


