


How to Clean a Boat Hull Like a Pro: Your Complete Guide
Getting Your Boat Ready for the Perfect Hull Clean

So, is it time to scrap, scour, rub, and wipe that grimy boat hull? Before you even think about grabbing a scrub brush, let's talk prep work. This is the part of the job that really separates a frustrating and messy afternoon from a smooth, professional-quality result.
Knowing how to clean a boat hull starts with a good look at what you’re up against. A light coating of green slime is one thing; a hull covered in rock-hard barnacles is a completely different beast. Your initial assessment sets the stage for everything that follows, from the boat cleaning tools you'll need to the time you'll have to block out on your calendar.
This isn’t just about making the boat look pretty. The growth of biofouling—all that algae, slime, and barnacle buildup—can increase a vessel's fuel consumption by a shocking 40%. That’s a massive hit to your wallet and isn't great for the environment either.
This financial reality is a big reason the global market for hull cleaning and repairs is projected to hit $3.5 billion by 2033. A clean hull is a core part of responsible and efficient boating. You can dig deeper into the economic impact of hull maintenance on Data Insights Market.
Planning Your Cleaning Session
With the "why" firmly established, let's get into the "where" and "when." Your first big decision is location. If your boat lives on a trailer, your driveway or a designated wash-down area at a local boat ramp is perfect.
For boats kept in a slip, you’ll need to check your marina's policies. Many have strict rules about in-water cleaning to protect the local ecosystem from chemical runoff. They may even offer haul-out services and wash bays just for this task.
Next, look at the weather forecast. A blazing hot, sunny day seems like a good idea, but direct sunlight can make your boat cleaning products evaporate almost instantly. This not only makes them less effective but can also leave behind a streaky, chemical residue that's tough to remove. Your ideal cleaning day is overcast, mild, and calm.
Gathering Your Gear and Safety Equipment
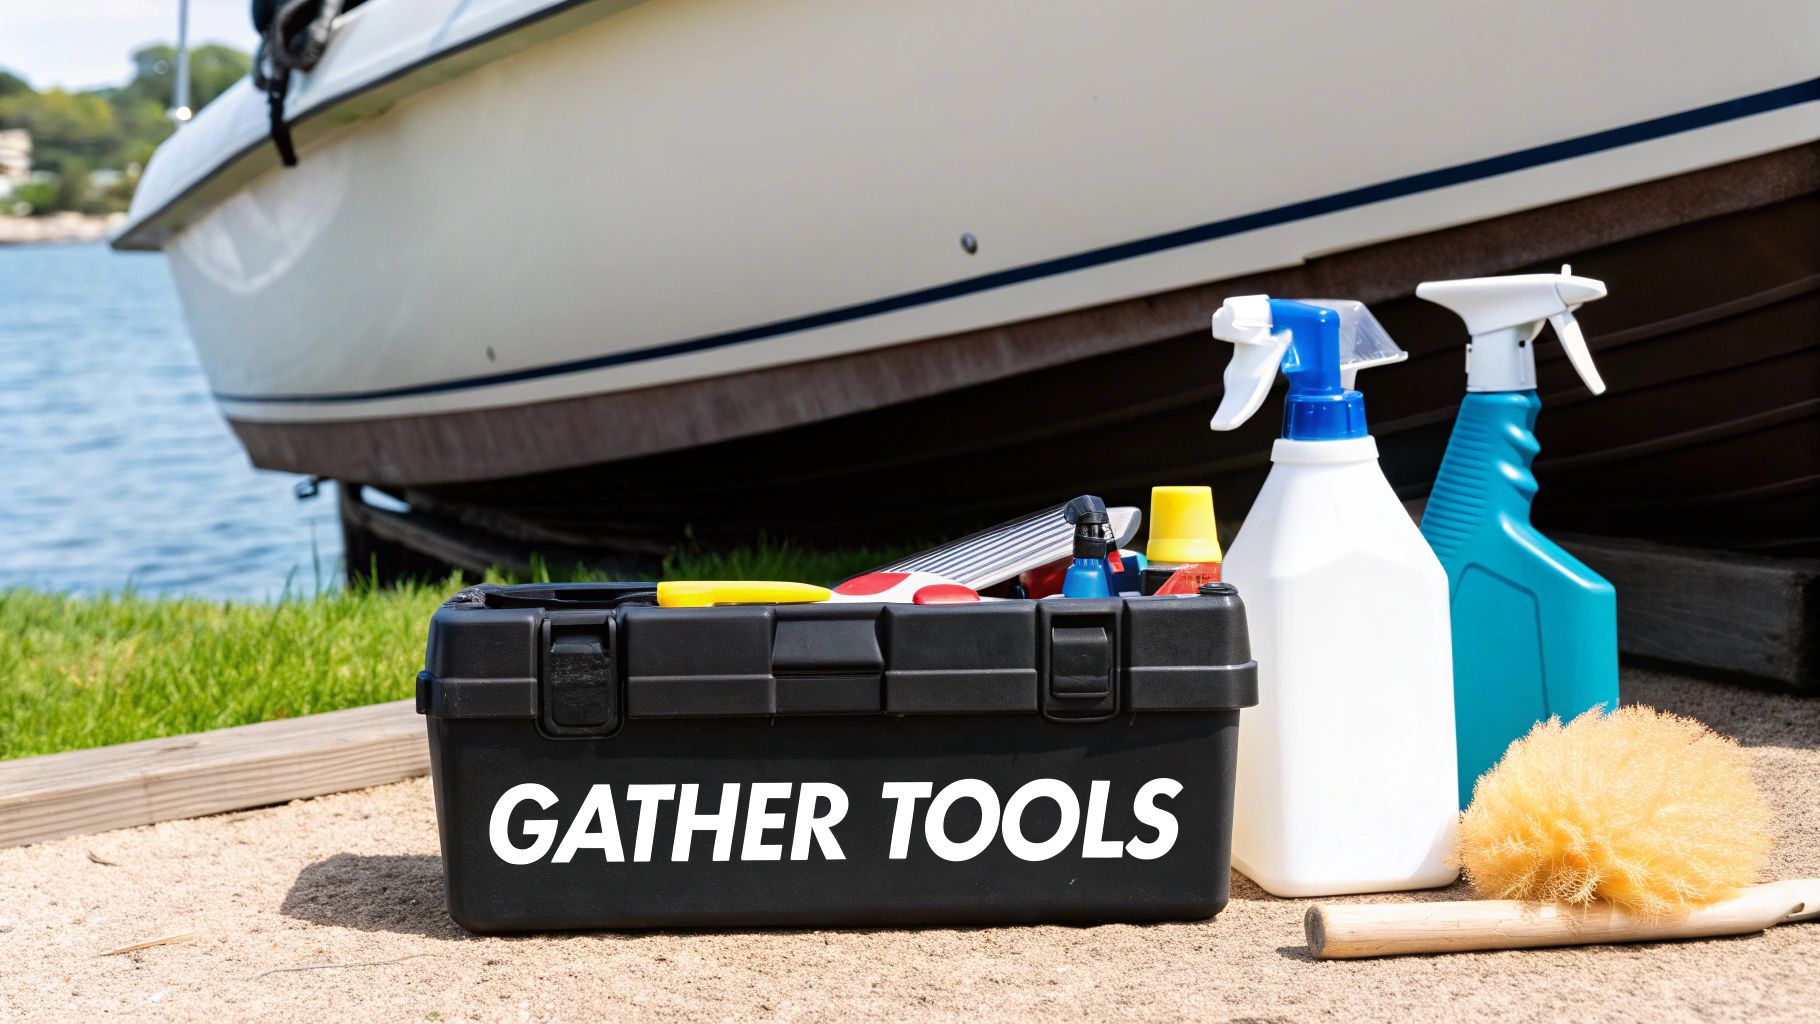
Once your plan is set, it's time to assemble your arsenal of boat cleaning products and gear. The last thing you want is to be halfway through the job and realize you're missing a crucial piece of equipment, such as the perfect scrub brush or a boat hose nozzle.
Here’s a rundown of the essentials you should have ready to go:
- Protective Gear: This is non-negotiable. At a minimum, you need waterproof gloves and safety glasses. Hull cleaners can be powerful and aren't something you want on your skin or in your eyes.
- Scrapers: Have a set of both plastic and metal scrapers handy. Plastic is great for more delicate gelcoat surfaces, while a metal one might be necessary for those really stubborn barnacles.
- Brushes: A collection of medium and stiff bristle brushes is key. Make sure at least one has a long handle—your back will thank you later.
- Buckets and Hoses: You’ll need at least two buckets. One is for your cleaning solution, and the other is for clean rinse water. A reliable garden hose with a good spray nozzle is also a must.
Choosing Products That Actually Work for Your Hull
Walking down the marine supply aisle can feel like a pop quiz you didn't study for. There are dozens of hull cleaners promising miraculous, spray-on, wipe-off results. The truth is, picking the wrong product for the job can do more harm than good.
It can potentially damage your gelcoat or strip away expensive antifouling paint. The key is to match the cleaner's strength and chemical makeup to your specific hull material and the type of grime you're battling.
This isn’t just about clever marketing,it’s about chemistry. A product formulated for a tough, unpainted fiberglass hull might be far too harsh for an aluminum pontoon or a surface with custom decals.
The boat hull cleaner market, valued at around $500 million in 2025, shows just how specialized these products have become. With a growing demand for eco-friendly options, many boaters are now looking for powerful cleaners that are also biodegradable. You can discover more insights about the boat cleaner market and its growth on datainsightsmarket.com.

Better Boat Instant Boat Hull Cleaner
For waterline stains, rust marks, algae, and hull scum, this is the Better Boat cleaner that matches the job described in this section.
Check availabilityDecoding Cleaner Types
Generally, boat hull cleaners fall into a few categories, each suited for a different task. For light slime and that annoying waterline scum, a gentle and biodegradable boat soap is often all you need. However, for serious marine growth and stubborn brown or yellow "boat smile" stains, you’ll probably need to reach for an acid-based or non-acidic chemical cleaner.
To help you decide what's right for your boat, here's a quick comparison of the common types of hull cleaners you'll find on the shelf.
| Cleaner Type | Best For | Hull Material | Environmental Impact | Price Range |
|---|---|---|---|---|
| Acid-Based (e.g., Oxalic Acid) | Tough waterline stains, rust, heavy algae buildup | Unpainted fiberglass, gelcoat (use with caution) | Moderate to High; can be harmful to aquatic life if not used properly. | $$ - $$$ |
| Non-Acidic Chemical | General grime, light to moderate stains, exhaust marks | Fiberglass, gelcoat, painted surfaces, aluminum | Low to Moderate; many biodegradable options available. | $$ - $$$ |
| All-Purpose Boat Soap | Light slime, dirt, post-trip rinses | Most materials, including vinyl and decals | Low; often biodegradable and safe for marine life. | $ - $$ |
| Abrasive Compound/Polish | Oxidation, scuffs, fine scratches | Gelcoat, fiberglass (not for painted surfaces) | Low; physical abrasion, not chemical. | $$ - $$$$ |
As you can see, acid-based cleaners are the heavy lifters for neglected hulls but must be used with caution. They can damage trailers and certain types of paint if not rinsed off quickly and thoroughly.
A great alternative is a non-acidic instant hull cleaner, which uses different chemical agents to break down grime without the harshness of strong acids. These are often safer for a wider range of surfaces, making them a more versatile choice for regular maintenance. For those interested in seeing one in action, you can check out a helpful demo and review of our Instant Hull Cleaner.
Assembling Your Essential Cleaning Kit
Beyond the chemical cleaner itself, a few well-chosen tools will make a huge difference in your quest to properly clean a boat hull. You don’t need a professional-grade setup, just the right gear for the job. Your kit should include:
- A set of brushes: A long-handled medium-stiff brush is perfect for the main hull surfaces. You'll also want a smaller handheld one to get into tight spots around transducers and thru-hulls.
- Scrapers: Both plastic and metal scrapers have their place. I always start with a plastic one to avoid scratching the gelcoat and only switch to metal for the most stubborn barnacles.
- A reliable sprayer: A simple garden pump sprayer is fantastic. It allows you to apply your boat cleaning solution evenly and efficiently over a large area without wasting product.
- Safety gear: This is non-negotiable. Always wear nitrile gloves and safety glasses. These cleaners are powerful, and protecting your skin and eyes is critical.
The Proven Process That Marine Professionals Actually Use
Alright, you’ve done the prep and have your boat cleaning products ready. Now for the main event: the actual cleaning process that professional detailers swear by. This isn’t about scrubbing harder. It’s about working smarter and letting your chosen cleaners do the heavy lifting. The real goal is to get rid of all that marine growth without harming your hull's delicate gelcoat or antifouling paint.
Working Systematically Around the Hull
First things first, you need a game plan. Trying to clean the entire side of your boat in one go is a rookie mistake that leads to frustration. Your cleaning solution and boat soap will dry out long before you can scrub it, leaving you with a streaky mess. Instead, mentally divide the hull into manageable sections. I find that four to five-foot chunks work perfectly.
Always work from the bottom up. It might seem counterintuitive, but this prevents dirty runoff from streaking over the areas you just cleaned. It’s a simple trick that saves you from having to do the same job twice.
The infographic below shows the basic sequence: scrape, apply chemicals, then rinse and inspect.
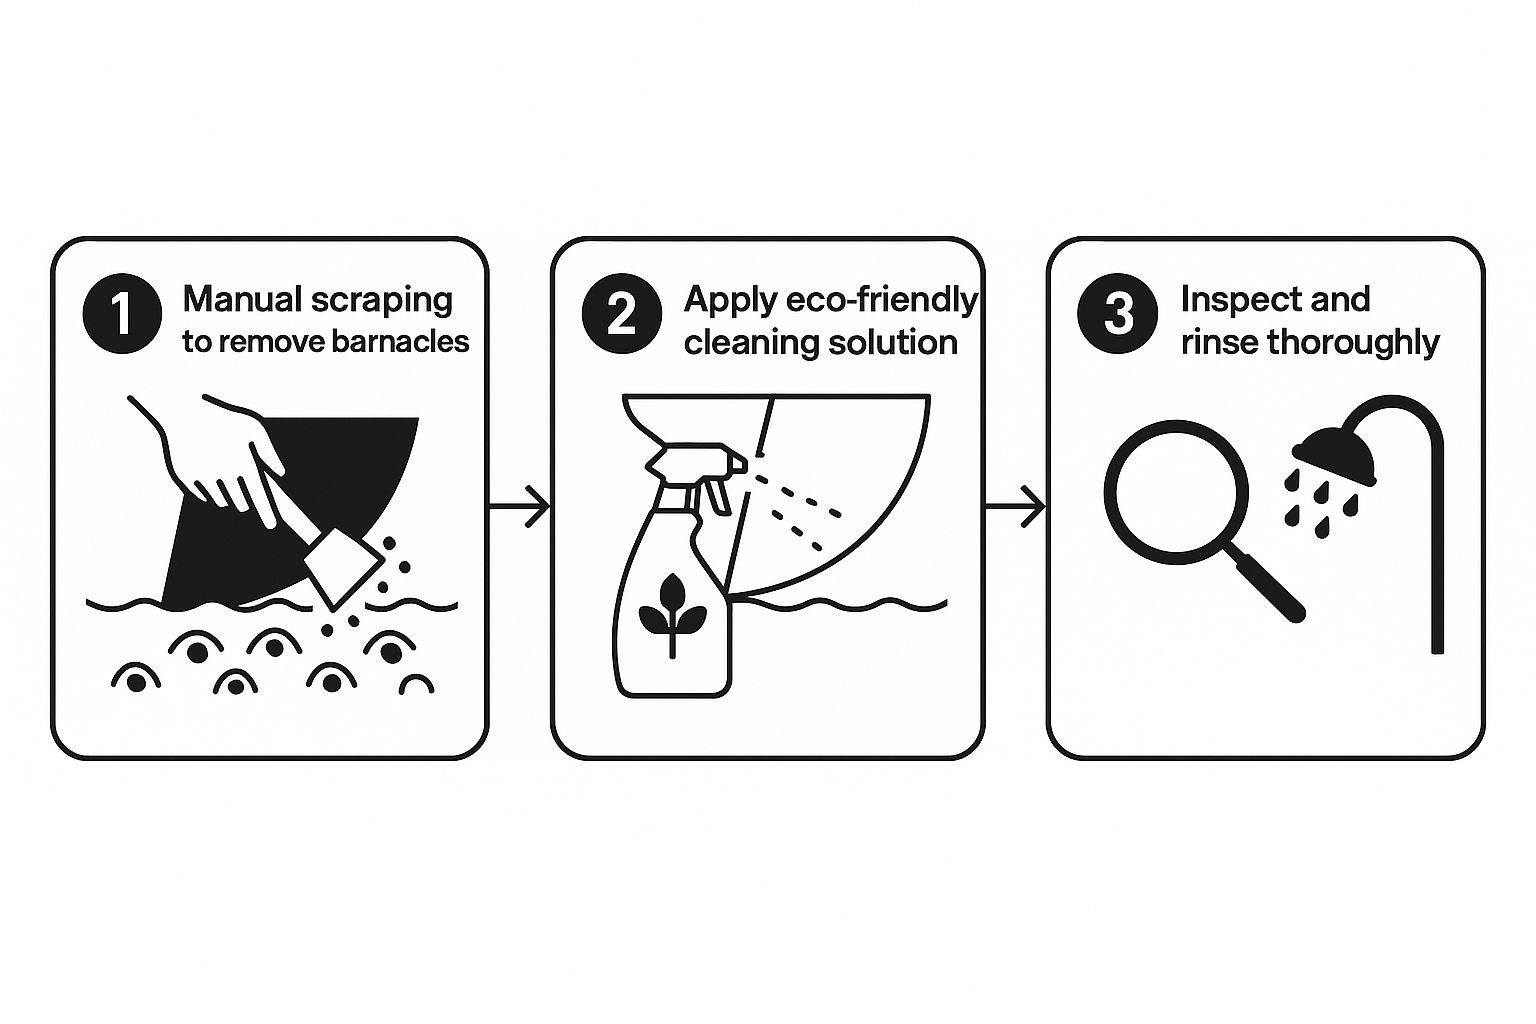
This visual really drives home the point that a quick manual scrape first is key. It clears the worst of the growth, letting the chemical cleaner penetrate and work on the stubborn stains that are left.
The Application and Scrubbing Sequence
Once you've picked your starting section, it's time to get to work. Following this sequence will give you consistent, professional results every time.
- Initial Scrape: Before a single drop of boat cleaner touches the hull, grab your plastic scraper. Gently knock off the big stuff—any large barnacles, oysters, or thick patches of algae. The aim here isn't perfection; you're just removing the major offenders so the boat cleaner can get to the hull surface.
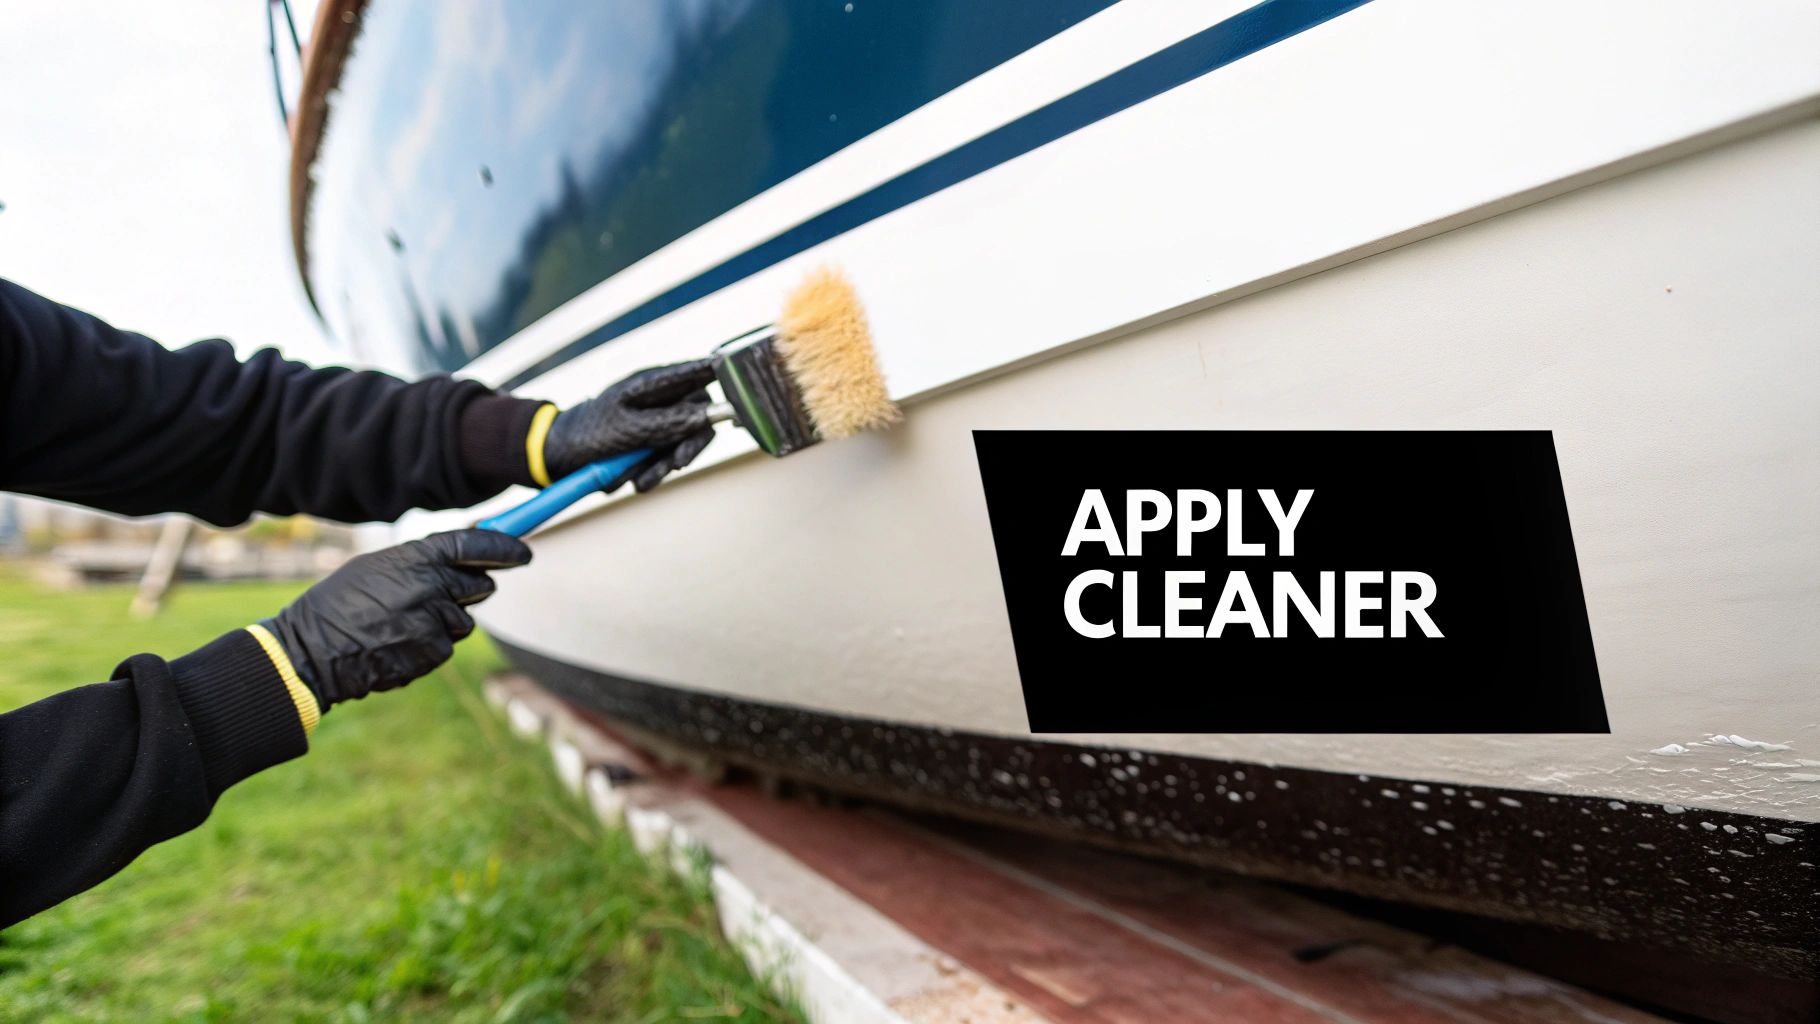
- Apply the Cleaner: With your pump sprayer, apply an even coat of your chosen hull cleaner to the section. You want good coverage, but don't drench it to the point of excessive dripping. Now, let the product sit for the time recommended on the bottle. This dwell time is the most important part of the process. Timing matters more than brute force, as the chemicals need a few minutes to break down the grime's bond with the hull.
- Gentle Agitation: After the cleaner has had a chance to do its thing, it's time to scrub. Using your long-handled, medium-stiff brush, agitate the surface with gentle, circular motions. If you don't have a long-handled brush, an extension pole will work too. You’re simply lifting the grime that the cleaner has already loosened, not trying to scrape it off with the brush bristles. This distinction is crucial for protecting your gelcoat from scratches.
- Rinse Thoroughly: Before the cleaner can dry on the surface, rinse the entire section completely with fresh water. Make sure you wash away all the residue with a garden hose. Dried-on cleaner can leave behind a stubborn film that's a pain to remove later.
Once you’re done, move on to the next section and repeat the process. Give a little extra attention to tricky spots like the areas around thru-hulls, transducers, and propellers. For these tight spaces, a smaller handheld brush will be your best friend. By sticking to this methodical pattern, you’ll avoid missing any spots and end up with a uniformly clean and professional-looking hull.
Tackling the Tough Stuff That Won't Come Off
 There are times when, even after you’ve put in the work with chemical boat cleaners, you’re left staring at stubborn spots that refuse to disappear. This is where many boat owners get frustrated, but dealing with these tough challenges is what separates a decent-looking boat from a truly well-maintained one.
I’m talking about thick barnacle clusters that seem welded to the fiberglass, rust streaks that bleed down from fittings, and those deep, dark tannin stains that have been setting in for seasons.
The good news? These issues are almost always fixable. It just takes a bit more elbow grease and a more targeted approach than your standard wash-down.
Advanced Scraping for Stubborn Barnacles
When those rock-hard barnacle shells won't budge with a plastic scraper, it's time to consider a metal one—but you need to be extremely careful. The secret to avoiding damage is all in the angle. Hold the scraper nearly flat against the hull, using a very low angle. The idea is to slide the blade just under the barnacle's base to pop it off, not to dig into your boat's gelcoat.
Use short and controlled pushing motions. Think precision, not brute force. It's a bit of a delicate dance, but it’s the most effective way to remove these calcified squatters without leaving a nasty gouge. After the barnacles are gone, you'll probably see the cement-like rings they leave behind. You'll need to follow up with a good stain remover or even a light abrasive compound to buff those out.
The Dilemma: DIY vs. Calling in the Pros
At some point, you have to ask yourself if the time and effort are worth it. If your hull looks like a reef exhibit or you're dealing with a larger vessel, hiring a professional hull cleaner is often the most practical choice.
The demand for these services is huge for a reason; the global underwater hull cleaning market was valued at around US$ 1.4 billion in 2024. This number shows just how many owners turn to experts for a job done right. You can read the full analysis on the growing hull cleaning service market at Valuates Reports.
A pro can often accomplish in a few hours what might take you an entire weekend of back-breaking work. Plus, they have the right equipment and experience to do it efficiently and safely. And while you're focused on the hull, don't forget that other parts of your boat, like the seats, need their own special care. For more on that, you can check out our guide on how to clean vinyl boat seats.
Protecting Your Hard Work with the Right Finish
Getting your boat hull sparkling clean feels like a major accomplishment, but all that effort can be washed away in just a few weeks without the right protection. Think of it like washing your car right before a dust storm—pointless, right?
This final stage, applying a protective coating, is what really locks in that shine and keeps your boat performing at its best. It's the difference between a simple rinse-down later and another back-breaking scrub session a few months down the line.
The world of boat waxes, sealants, polishes and coatings can feel overwhelming with all the marketing hype. At their core, though, all these products have one job: to create a super slick, hydrophobic (water-repellent) surface that algae and grime just can't cling to.
This finish seals the tiny invisible pores in your gelcoat and forms a smooth shield that not only repels gunk but also defends against sun damage and oxidation.
Choosing Your Shield: Wax, Sealant, or Coating?
Not all finishes and boat waxes are the same, and the best one for you depends on your budget, how much elbow grease you're willing to put in, and how long you want the protection to last.
- Marine Wax: This is the classic choice. Traditional carnauba-based waxes deliver a beautiful deep gloss that’s hard to beat. They're generally inexpensive and easy to apply, whether by hand or with a buffer. The main drawback? They're not built for the long haul and typically only last about 3-4 months. This means more frequent applications to keep your boat hull protected.
- Polymer Sealants: These synthetic products are a solid step up. They are chemically designed to create a stronger bond with your hull's surface, offering much better durability. A good sealant can last 6-12 months and provides excellent resistance to UV rays.
- Ceramic Coatings: This is the top-tier option for ultimate protection. A ceramic coating forms a hard, semi-permanent shell over your gelcoat that is incredibly tough. It offers unmatched resistance to chemicals, minor scratches, and UV damage, with protection that can last 2 years or more. The trade-off is a higher upfront cost and a more precise application process.
To help you decide, here's a quick comparison of the most common hull protection products.
| Product Type | Duration | Application Method | Cost | Performance Benefit |
|---|---|---|---|---|
| Carnauba Wax | 3-4 Months | Hand or orbital buffer | $ | Deep, rich gloss; easy to apply. |
| Polymer Sealant | 6-12 Months | Hand or orbital buffer | $$ | Stronger bond, excellent UV protection. |
| Ceramic Coating | 2+ Years | Careful hand application | $$$ | Hard, durable shell; superior chemical and UV resistance. |
As the table shows, your choice comes down to balancing longevity with cost and application effort. While a ceramic coating is a bigger investment initially, its long-lasting protection can save you time and work over the next couple of seasons.
Application for Lasting Protection
No matter which product you go with, the application is what makes or breaks its effectiveness. Always work on a boat hull that is completely clean and dry, and try to stay in a shaded spot to prevent the product from drying too quickly.
- If you're applying by hand, a soft microfiber applicator pad is your best friend. Work in small overlapping circles to ensure even coverage.
- If you’re using a buffer, stick with a soft foam finishing pad and keep it on a low-speed setting. Applying too much pressure or speed can burn the gelcoat, creating more problems than you're trying to solve.
Let the product sit until it hazes over—this is the crucial time when it's bonding to the surface. Once it's hazed, buff it off with a clean microfiber towelto reveal the shine.
After making your hull spotless, applying a protective finish, like paint, is essential. To get more ideas on protecting your hull for the long term, check out these pro tips for durable hull painting. Taking this final step ensures all your hard work in learning how to clean a boat hull pays off for many seasons to come.
Keeping Your Hull Clean Without the Major Hassle
A pristine hull isn't just about one big cleaning day. It's the result of smart and consistent habits that stop major problems before they even start. I’ve learned from years on the water that a little proactive care saves me from hours of back-breaking labor down the road.
The real secret is to change your thinking from "deep clean" to "routine upkeep." This doesn't mean you're scrubbing the boat every weekend, but rather folding a few simple tasks into your regular boating life.
Developing an Inspection Routine
Your best tool is a good pair of eyes. Get into the habit of checking your hull every few times you're out, paying close attention to the waterline. You don’t need to haul the boat out for this. A quick look over the side while you’re docked or anchored in clear water can show you the first signs of growth.
Look for that initial hint of a slimy green film or a few small, lonely spots of algae. Catching these early often means you can just wipe them away with a soft scrub brush on a long pole—a job that takes minutes, not hours.
Keep an eye out for these tell-tale signs that a little more attention is needed:
- A "Fuzzy" Waterline: When the waterline starts to lose its crisp edge and looks a bit soft or fuzzy, that’s your first signal that soft growth is getting comfortable.
- Visible Slime Trails: If you can spot green or brown streaks running down from the waterline, it’s a clear sign that algae is starting its march across your hull.
- Minor Performance Drop: You know how your boat feels. If it seems a little more sluggish getting on plane, or if you notice you're burning slightly more fuel, that's often the first physical sign of hull drag.

Better Boat De-Salt Concentrate
For saltwater maintenance after a trip, this matches the rinse-and-maintain step that keeps salt from eating into wax and protective coatings.
Check availabilitySimple Habits for a Cleaner Hull
Beyond just looking, a few simple actions can make a world of difference. After every trip, especially in saltwater, give the hull a good freshwater rinse and use Better Boat De-Salt Concentrate. Salt crystals left behind don't just look grimy; they attract more dirt and can slowly eat away at your wax and other protective coatings.
How you store your boat is also a huge factor. If your boat lives on a trailer, make sure the hull gets a chance to dry completely. If your boat stays in the water, think about hiring a diver for a quick wipe-down every 4-6 weeks during the peak growing season.
This simple service is a game-changer; it prevents buildup and can dramatically extend the life of your expensive antifouling paint. By making these small steps part of your routine, you can keep your hull in great shape without the major hassle.
Your Action Plan for Long-Term Hull Care Success
Everything you've learned about cleaning a boat hull really comes together in this section. This isn't about one massive, back-breaking cleaning day; it’s about building a practical, year-round plan that keeps your boat running efficiently and looking sharp without consuming your entire life.
The goal is to turn what you know into a routine that fits your boating style, whether you're out every weekend or embarking on longer cruises.
Creating a Realistic Maintenance Schedule
A good maintenance plan is one you’ll actually stick with. Instead of setting vague goals, let’s build a schedule based on what really happens out on the water. A great habit to get into is doing a quick visual check every few trips. Pay close attention to the waterline, as that’s usually the first place you’ll see growth starting to form.
For a more structured approach, here’s a timeline that has worked well for many boaters:
- Monthly (During Peak Season): Think of this as your quick-response period, especially if you're in warm water where things grow fast. A simple in-water wipe-down of the waterline with a long-handled, soft-bristle brush can make a huge difference. This 15-minute job stops that fuzzy green algae from getting a serious grip and becoming a much bigger headache later.
- Quarterly: Now it’s time for a more detailed inspection. If you can, take a look at the hull below the waterline, either by taking a quick dive with a mask or using an underwater camera. You're looking for any stubborn spots or the first signs of barnacles. This is also the perfect time to give your sacrificial anodes a check-up.
- Annually/Biannually: This is when you'll likely do the major service. It’s time for the full clean, polish, and wax or sealant application we’ve been talking about. How often you do this really depends on where you boat and the type of protection you've applied. If you’ve invested in a high-quality ceramic coating, you might be able to stretch this to every two years.
Knowing When to Get Help
There's no shame in calling for backup. Being honest about the state of your hull is key to good boat maintenance. If you pull your boat out of the water and it looks more like a coral reef than a smooth surface, it's probably time to call a professional.
Here are a few signs that you're facing more than a simple DIY project:
- Widespread, dense barnacle growth that's hard to the touch
- Deep or extensive blistering in the gelcoat
- Heavy rust stains that aren't budging with standard boat cleaners
By getting into these maintenance rhythms, hull care shifts from a dreaded chore to just another part of owning a boat. If you’re interested in a broader view of upkeep, you might find our complete guide to boat cleaning helpful.
Taking care of your vessel is about more than just looks. It's about protecting your investment. For every part of your boat, from the hull to the deck, Better Boat offers top-tier boat cleaning products and accessories and the expert advice you need to get the job done right.


