How to Fix Oxidized Paint and Restore Your Car's Shine
Fixing oxidized paint isn't a quick wipe-down; it's a multi-stage process. You’re looking at a deep clean, followed by using compounds to gently abrade the damaged top layer, then refining the finish with a polish, and finally, sealing it all up for protection. It’s a seriously rewarding DIY project that can bring your boat’s shine and color back from the dead, saving you a small fortune compared to a body shop.
What Is Paint Oxidation and Can It Be Fixed
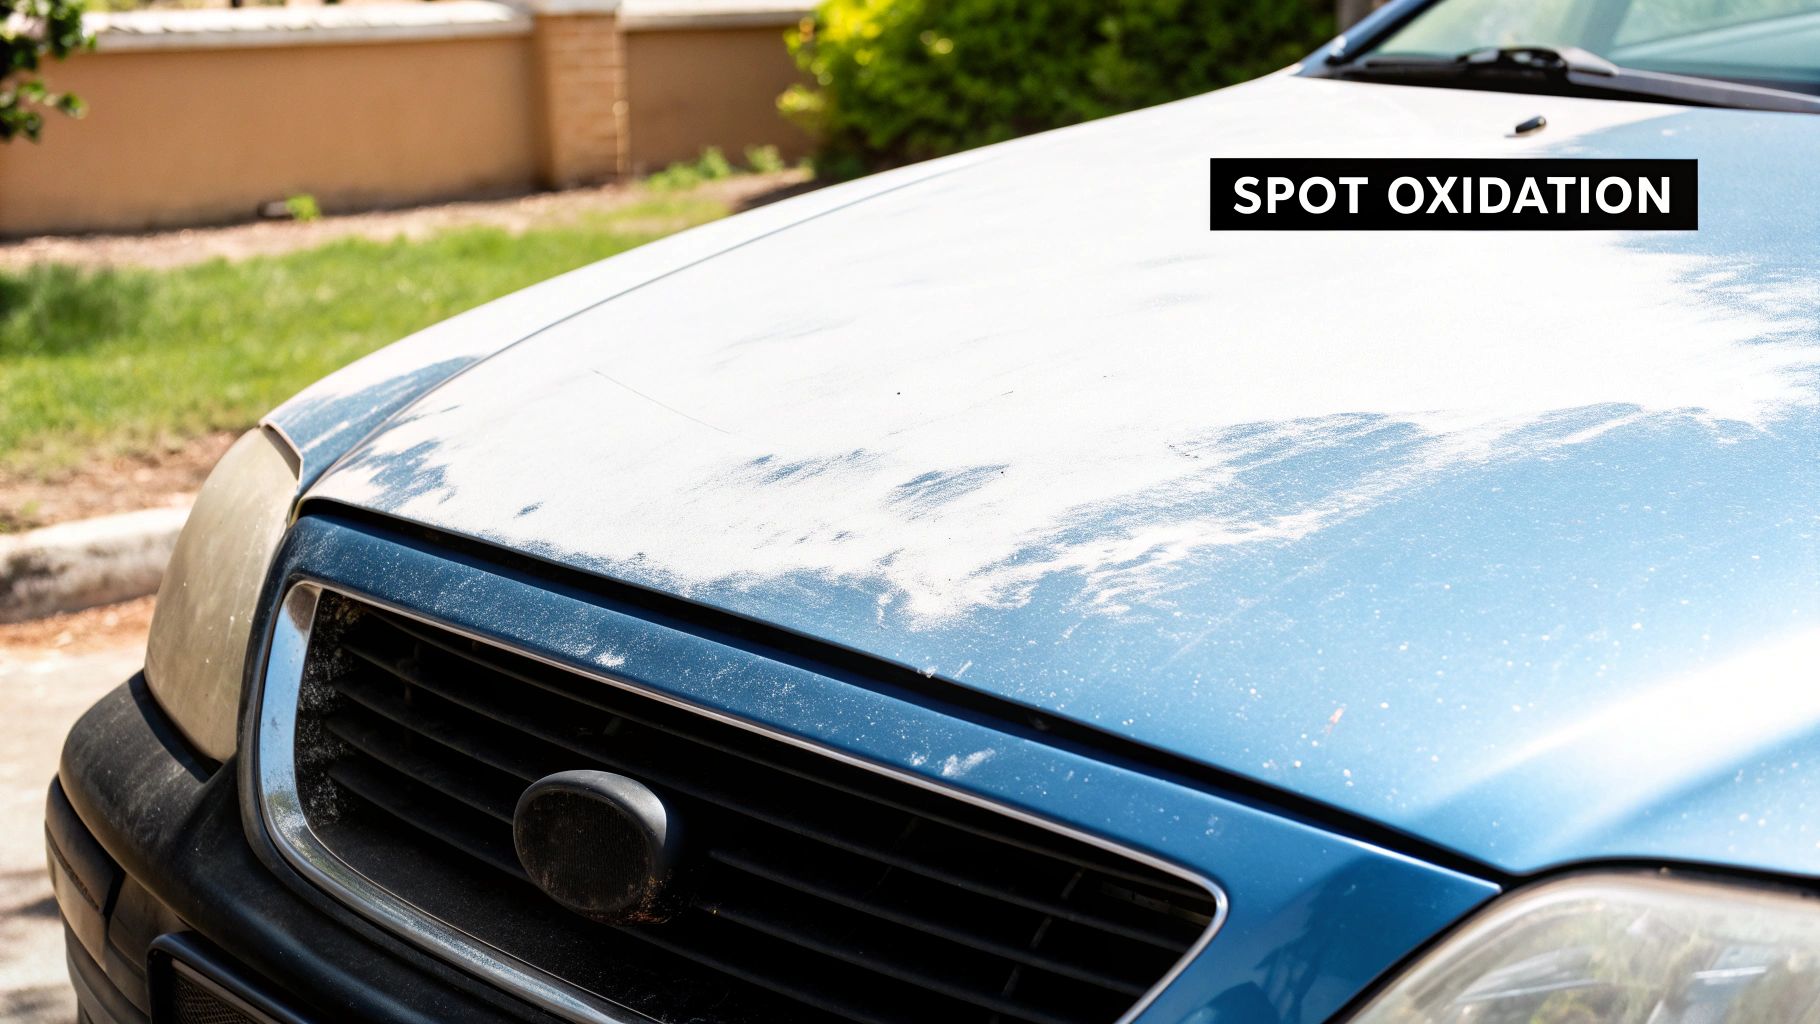
If your boat’s once-glossy finish now looks dull, chalky, or faded, you're almost certainly dealing with paint oxidation. It’s a common problem caused by the breakdown of the clear coat after too much time in the sun. Think of the clear coat as sunscreen for your paint; once it wears away, the pigmented layer underneath is left exposed and vulnerable to UV rays, heat, and pollutants.
The good news? Most moderate cases of oxidation are completely fixable. You can spot this stage by a hazy or cloudy look that just won't wash off.
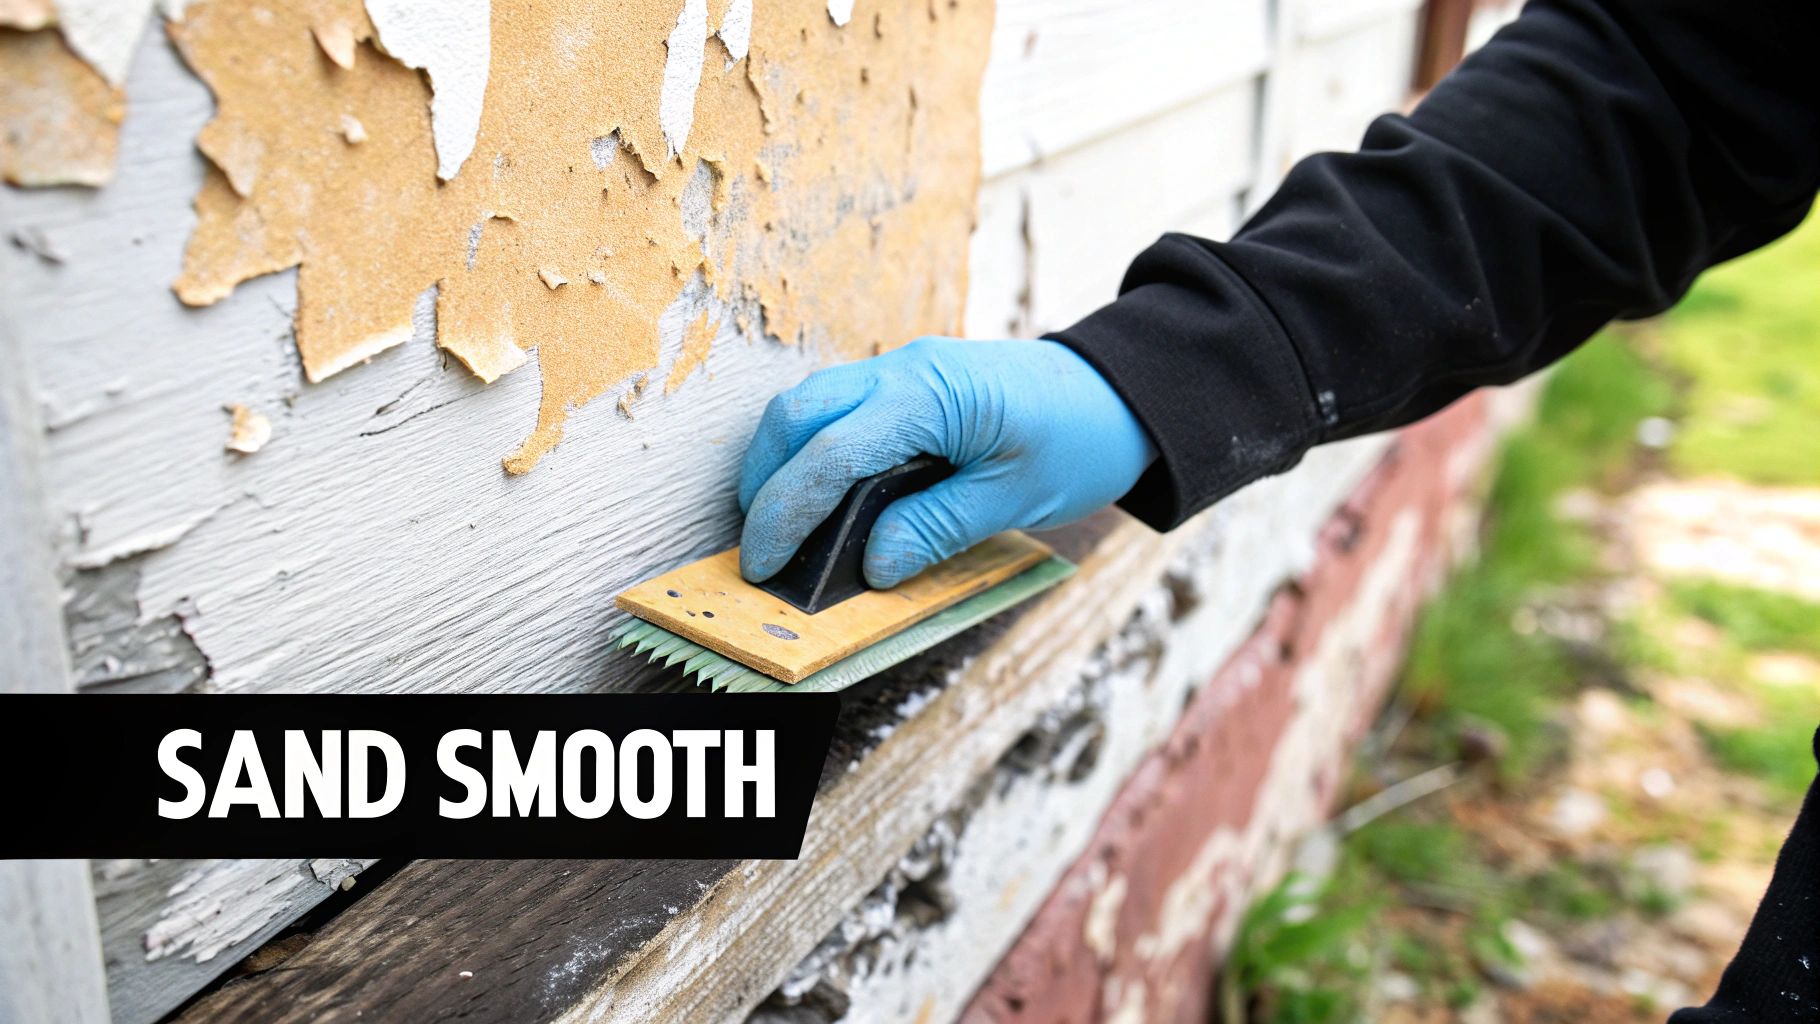
However, if the surface is actually peeling, flaking, or you can see the primer showing through, you’ve got clear coat failure. At that point, the only real fix is a professional repaint.
Key Takeaway: If the surface feels rough to the touch but the clear coat is still intact, you can almost certainly restore the shine yourself. The whole idea is to carefully remove that very top, damaged layer of paint to reveal the fresh, vibrant layer just beneath it.
Understanding the Causes and Solutions
The number one culprit here is prolonged sun exposure, which is why boats and vehicles in sunny climates get hit the hardest. Knowing what causes it is the first step in preventing it. For instance, looking at car maintenance tips specifically for Arizona drivers offers some great insights into protecting a finish in brutally sunny conditions.
This isn’t just about looks, either—it tanks your vessel's value. The global refinish paint market was valued at USD 8.7 billion and is only growing, largely because people want to keep their investments looking sharp.
While this guide uses cars as a common example, the principles are identical for your boat. In fact, if you're tackling this on a marine vessel, our specialized guide on choosing a great boat oxidation remover is the perfect place to start.
Oxidation Severity and Recommended Action
To get started, you need to figure out exactly how bad the oxidation is. A little chalkiness requires a much different approach than a heavily faded surface. Use this table to assess where your boat's paint stands and what your game plan should be.
| Oxidation Level | Visual Cues | Recommended Action |
|---|---|---|
| Light | Slight dullness, minor loss of shine, feels a bit rough. | A one-step cleaner wax or a light polish followed by a sealant is usually enough. |
| Moderate | Noticeable chalky or hazy appearance, faded color. | Use a medium-cut polishing compound, follow with a finishing polish, and then apply a sealant. |
| Heavy | Significant chalky residue, very dull and faded. | Start with a heavy-cut compound, possibly wet sanding for severe cases, then polish and seal. |
| Failure | Clear coat is peeling, flaking, or cracking. | The paint has failed. This requires professional sanding and repainting. |
Assessing the paint correctly from the get-go will save you a ton of time and effort. It ensures you’re not using an overly aggressive method on light oxidation or wasting your time with a light polish on a heavily damaged surface.
Assembling Your Paint Restoration Toolkit

Getting that flawless, glass-like finish really comes down to having the right gear. This isn't just a random shopping list; think of it as your battle plan for putting together a pro-level kit without blowing your budget on stuff you just don't need.
The absolute star of the show is your machine polisher. If you're just learning how to tackle oxidized paint, a dual-action (DA) polisher is, without a doubt, your safest and most effective bet. Forget those aggressive rotary buffers you see in old-school body shops—those can burn right through your paint if you don't have years of experience. A DA polisher oscillates as it spins, which keeps heat buildup to a minimum and makes it incredibly forgiving for beginners.
Pads and Compounds
Of course, a polisher is pretty useless without the right pads to go with it. You'll want a few different types to get the job done right, since each one has a specific role to play in bringing that paint back to life.
- Microfiber Cutting Pads: These are the heavy hitters. You’ll use these to power through that chalky, heavy oxidation. The fibers give you some serious cutting action when you pair them with a good compound.
- Foam Polishing/Finishing Pads: Once the heavy lifting is done, you'll switch over to these softer foam pads. They work with a much finer polish to get rid of any light haze left behind by the compound, refining the surface to a deep, wet-looking gloss.
Here’s a pro tip that’s often overlooked: get yourself a clay bar. A simple wash will never get rid of all the embedded gunk like industrial fallout or brake dust. A clay bar just glides over a lubricated surface, grabbing all those gritty particles and leaving the paint perfectly smooth and ready for polishing.
And don't forget the little things that make a huge difference. A roll of painter’s tape is a lifesaver for protecting your plastic trim and rubber seals from getting caked with polish residue.
Finally, do yourself a favor and invest in a good stack of high-quality microfiber towels. Using old, scratchy rags will just put swirls and scratches right back into the beautiful surface you just perfected, undoing all your hard work.
Prepping and Decontaminating the Surface

Here's where so many people go wrong. They see the oxidation, grab a polisher, and jump right in, but that’s the single biggest mistake you can make. A true restoration starts with a perfectly clean canvas, and that means much more than a quick rinse.
If you don’t prep the surface meticulously, you’re just grinding existing dirt and grit into your finish, which can cause even deeper scratches than the ones you're trying to fix.
Start with a thorough wash using the classic two-bucket method. One bucket gets your soapy water, and the other is just for rinsing your wash mitt. This simple trick stops you from dragging the dirt you just pulled off right back across the paint. Our guide on how to clean a fiberglass boat is a great resource that covers these crucial first steps in detail.
Decontaminating for a Flawless Base
Even after a good wash, the surface might look clean, but it's not. It's covered in bonded contaminants that soap and water can't touch. This is where we bring out the heavy hitters: chemical and mechanical decontamination.
First, grab an iron remover. This is a spray-on product that reacts with tiny, embedded iron particles from things like brake dust that can cause little rust spots to form. You’ll know it’s working when you see the paint "bleed" purple as the chemicals dissolve the iron.
Next up is the clay bar. This is a non-negotiable step for a truly professional finish. The clay glides over the surface and gently lifts out all the embedded grit, tree sap, and grime hiding in the paint's microscopic pores. You're left with a surface that's as smooth as glass. If your clay bar is catching or dragging, the surface isn't ready for polish. Simple as that.
A properly decontaminated surface is the foundation of a great finish. Polishing a dirty or gritty surface is like sanding with sandpaper that has rocks in it—you'll do more harm than good.
Finally, it’s time to mask off any sensitive areas. Get some painter's tape and carefully cover all your plastic trim, rubber seals, and emblems. Polishing compounds can permanently stain these materials, so this little bit of prep ensures you get crisp, clean lines and don't create a new mess to clean up.
The industrial coatings market is huge—valued at nearly USD 150 billion—which tells you just how much science goes into these finishes. Protecting the unpainted parts is just as important as restoring the painted ones.
Bringing Back the Shine with Compounds and Polishes
Okay, you've done the prep work and the surface is looking good. Now for the fun part—polishing. This is where you really see that dull, lifeless finish transform into a deep, reflective shine. The magic lies in a two-step combo of compounds and polishes.
Think of a cutting compound as a very fine liquid sandpaper. Its whole job is to do the heavy lifting, gently grinding away that top layer of chalky, dead paint. A finishing polish, on the other hand, is much finer. It comes in after the compound to refine the surface, buffing out any tiny scratches or haze to create that jaw-dropping, mirror-like gloss.
This is a big deal in the detailing world. The whole automotive refinish coatings sector was valued at over USD 11 billion and is only getting bigger. It just goes to show how many people are looking for ways to restore and protect their investments. You can actually discover more insights about the refinish coatings market if you're curious about the industry trends.
Finding Your Perfect Combination
Before you go all-in on the entire boat, you absolutely have to do a small test spot. Pick a less-visible area, maybe two feet by two feet, and start experimenting. Always begin with your least aggressive option—think a finishing polish on a soft foam pad—and see if that's enough to cut through the oxidation.
If it doesn't quite do the trick, you can step it up to a more aggressive pad or switch to a medium-cutting compound. This methodical approach is crucial because it keeps you from taking off more of the clear coat than is absolutely necessary. It's the only way to find the perfect system for your boat's specific condition.
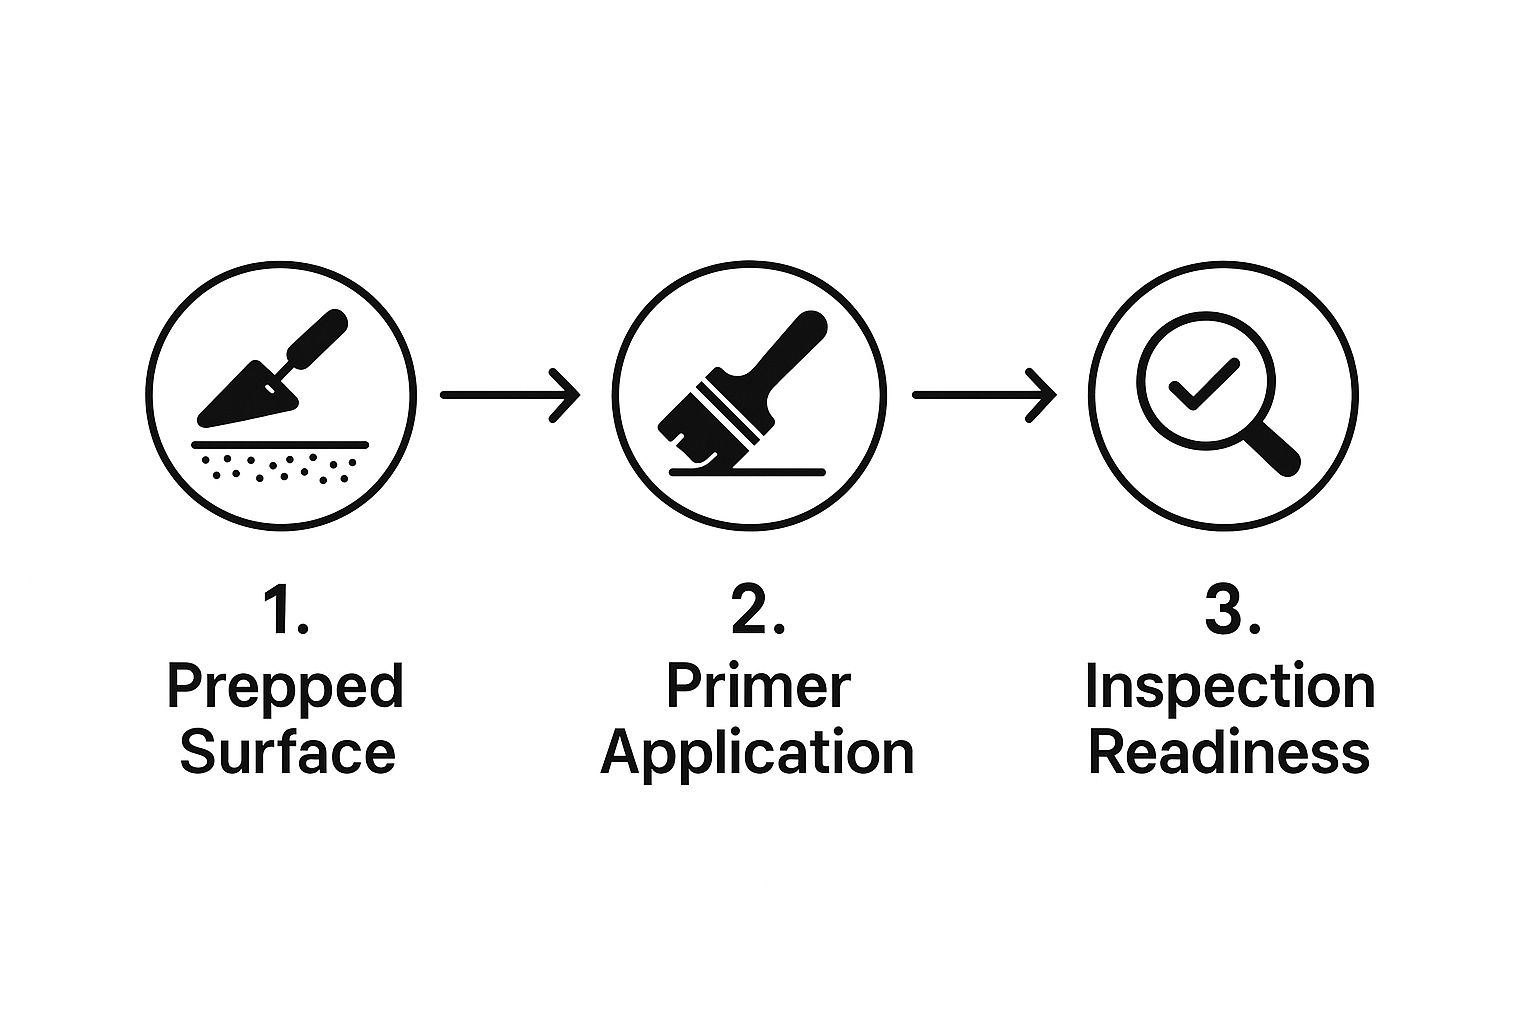
This diagram gives you a good sense of the prep work that leads up to this point, setting you up for a flawless finish.

It really drives home the idea that a systematic approach is key. Each step builds on the last, and skipping one can compromise the whole job.
Pro Tip: Keep your polishing pads clean while you work. Old compound and removed paint will build up, making the pad less effective and, worse, potentially adding new scratches. I always keep a brush or compressed air handy to clean my pad after every single section.
Once you’ve nailed down the right products, like the ones we cover in our guide to the best boat polishing compound, you're ready to get to it.
Work in small, manageable sections. Let the machine do the work with just light to moderate pressure, and overlap each pass by about 50% to get perfectly even coverage. Taking your time here is the ticket to erasing years of neglect and getting that coveted swirl-free shine.
Locking In Your Results with Waxes and Sealants
You’ve done the hard work, and your boat’s finish looks incredible. Don't stop now! If you skip this last step, all that oxidation will start creeping back before you know it. Protecting that freshly polished surface is what turns a quick fix into a restoration that lasts.
You've essentially exposed a new, delicate layer of paint. It needs a tough shield to stand up to the very same UV rays and salt that caused all the trouble in the first place.
Think of it this way: compounding and polishing is the surgery. Applying a wax or sealant is the critical aftercare that keeps it healthy. Leaving the surface unprotected is like sending it back into a storm without a raincoat. The goal here is to lock in that deep gloss and create a barrier that beads water and sheds grime, which makes your next wash-down a whole lot easier.
Choosing Your Paint Protection
You've got a few great options, and each one brings something different to the table. What you choose really boils down to your priorities. Are you after the warm, classic glow of a traditional wax, or do you need the rugged, set-it-and-forget-it durability of a modern sealant?
-
Carnauba Wax: This is the old-school favorite, loved for the deep, wet look it gives the paint. It’s a breeze to apply but doesn’t last very long, usually giving you about 1-3 months of protection before it's time to reapply.
-
Synthetic Sealant: Built for endurance, these polymer-based products are a boater's best friend. They deliver a slick, high-gloss shine and protect for much longer, typically in the 4-6 month range. For most of us, this is the sweet spot between performance and effort.
-
Ceramic Coating: This is the undisputed king of paint protection. A ceramic coating forms a hard, glass-like shell over your gelcoat or paint that can last for years with the right care. It offers the best defense against UV rays, chemicals, and light scratches, but be warned—the application is much more involved and unforgiving.
The best protection is the one you'll actually apply consistently. A sealant you put on every four months is far better than a top-of-the-line ceramic coating you never get around to installing.
Paint Protection Options Compared
This table breaks down the key differences between the most common paint protection products to help you decide which is best for your boat after all that correction work.
| Protection Type | Durability | Gloss Level | Application Difficulty |
|---|---|---|---|
| Carnauba Wax | Low (1-3 months) | High (Warm Glow) | Easy |
| Synthetic Sealant | Medium (4-6 months) | High (Slick Shine) | Easy |
| Ceramic Coating | Very High (2+ years) | Very High (Glassy) | Difficult |
Ultimately, the right choice depends on how much time you want to spend and how long you need the protection to last.
When you're ready to apply, go for a thin, even coat using a clean foam applicator pad. Putting on a thick layer won't add extra protection; it'll just make it a real pain to buff off.
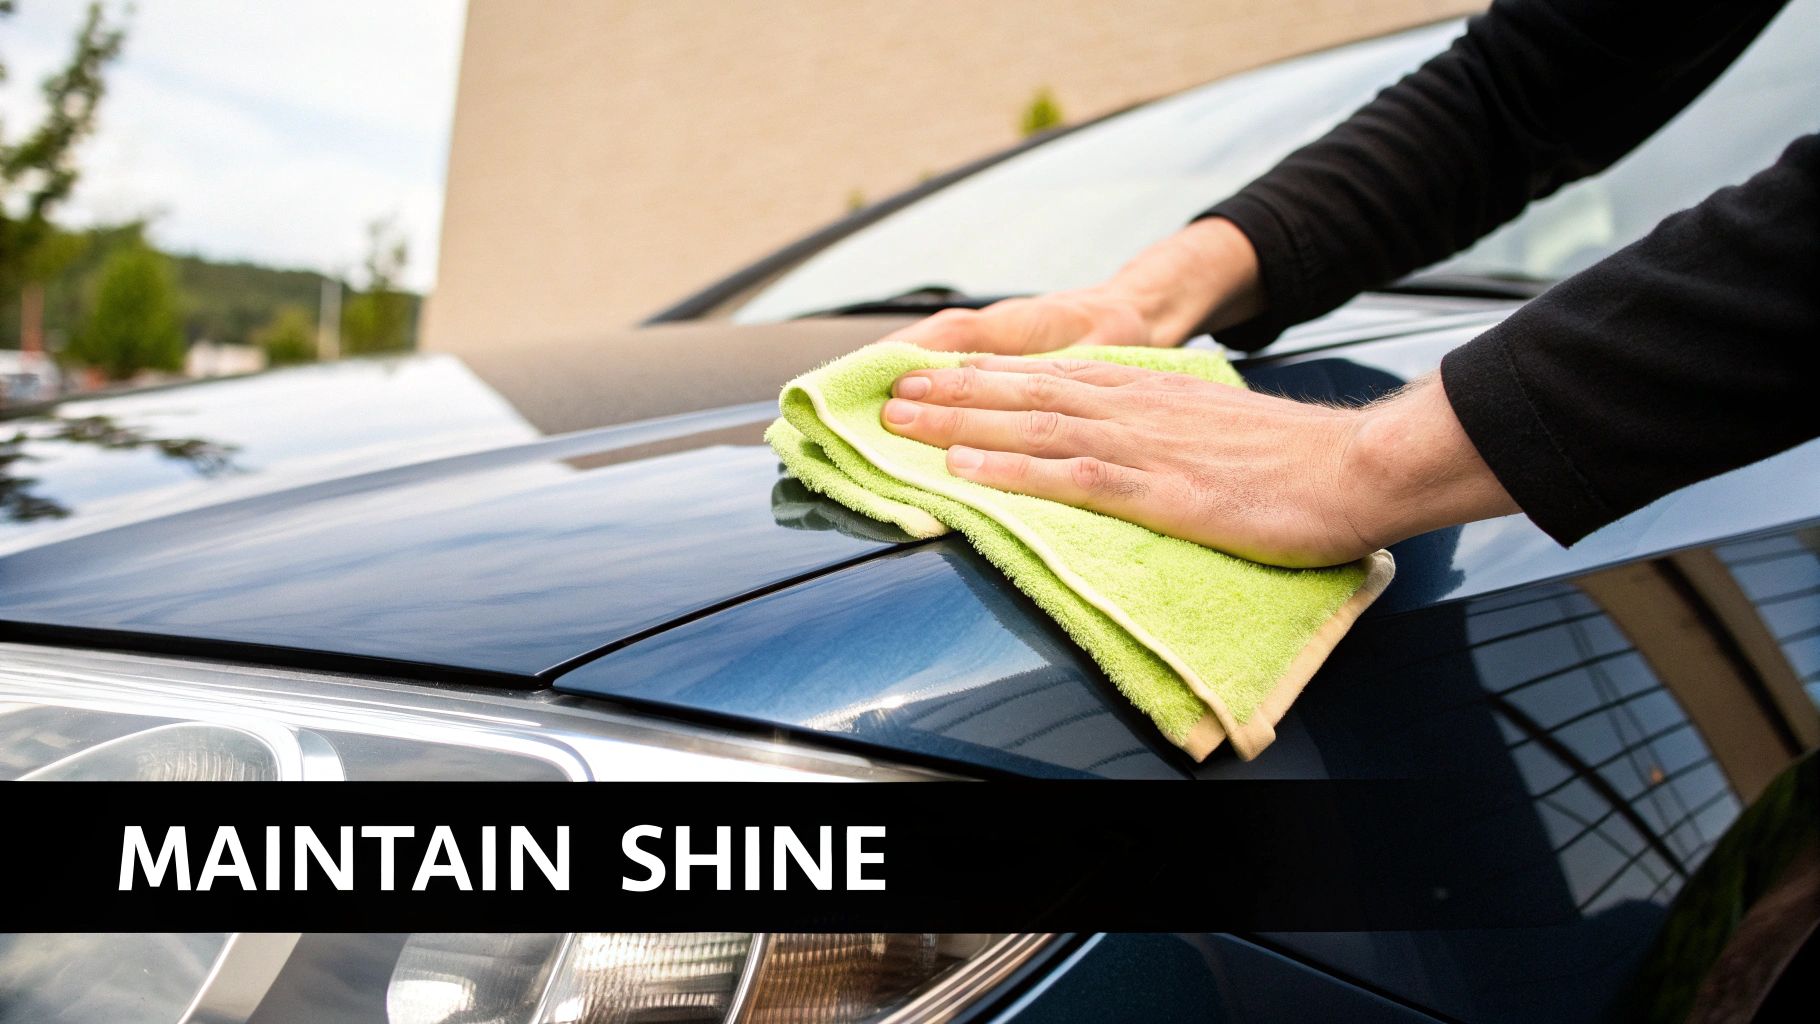
Let the product haze up according to the directions on the bottle, then gently wipe it away with a fresh microfiber towel. Keep flipping the towel to a clean side as you go. This simple routine is your ticket to keeping that brilliant shine all season long.
Common Questions About Paint Oxidation Repair

Even with a solid game plan, you're bound to have a few questions floating around before you dive into fixing that oxidized paint. Getting good answers can be the difference between a job you're proud of and a weekend of frustration, so let's tackle some of the big ones.
Probably the most common question I hear is, "Is my paint too far gone for a DIY fix?" It all comes down to the clear coat. If you see it actively peeling, flaking off, or worse, you can spot the primer underneath, the problem has moved beyond simple oxidation. That's clear coat failure, my friend.
At that stage, no amount of polishing is going to save it. The only real fix is a trip to a professional for a repaint. The process we're talking about here is for moderate oxidation—that hazy, chalky, or dull look on a clear coat that's still fundamentally intact.
How Do I Keep It From Coming Back?
Once you've put in all that work to bring back the shine, the last thing you want is for the oxidation to return. The secret isn't complicated: it's all about consistent protection. How often you need to apply wax or sealant really depends on your climate and the type of product you're using.
- Carnauba Wax: This is your classic choice. It looks great but only lasts about 1-3 months. It's perfect if you actually enjoy the process of waxing your boat or car regularly.
- Synthetic Sealant: A step up in durability. These will typically give you 4-6 months of solid protection before you need to reapply.
- Ceramic Coating: This is the heavyweight champion of paint protection. A professionally applied coating can last for years with the right maintenance.
If your boat or vehicle is constantly baking in the sun, reapplying your chosen protection every few months is just part of the deal. It's non-negotiable.
So, is it worth trying to fix oxidized paint by hand? Honestly, for a tiny, lightly faded spot, maybe. But it's an incredible amount of work for a small payoff. For any area larger than your hand, a dual-action (DA) polisher is your best friend. It will give you dramatically better, professional-looking results in a tiny fraction of the time.
Here at Better Boat, we've got all the premium detailing supplies you need to take on oxidation and keep your investment protected. From heavy-duty compounds to durable, long-lasting sealants, our products are put to the test and trusted by over a million customers. You can check out our whole lineup and get what you need for a brilliant, lasting shine at https://www.betterboat.com.


