How to Winterize Boat Motor: DIY Guide
Learning how to winterize your boat's motor is about a whole lot more than just ticking boxes on a checklist. It's about protecting a serious investment from some seriously expensive damage. The whole process boils down to a few key jobs: stabilizing your fuel, flushing the cooling system, changing the fluids, fogging the engine's guts, and adding antifreeze. Get this right, and you’re setting yourself up for a quick, pain-free start next season.
Why You Can't Afford to Skip Winterization
Before you even think about grabbing your tools, let's get real about what’s at stake here. Skipping your boat motor winterization isn’t just a gamble; it's practically a guarantee that you'll be dealing with expensive, frustrating problems come springtime. The biggest risk is just simple physics.
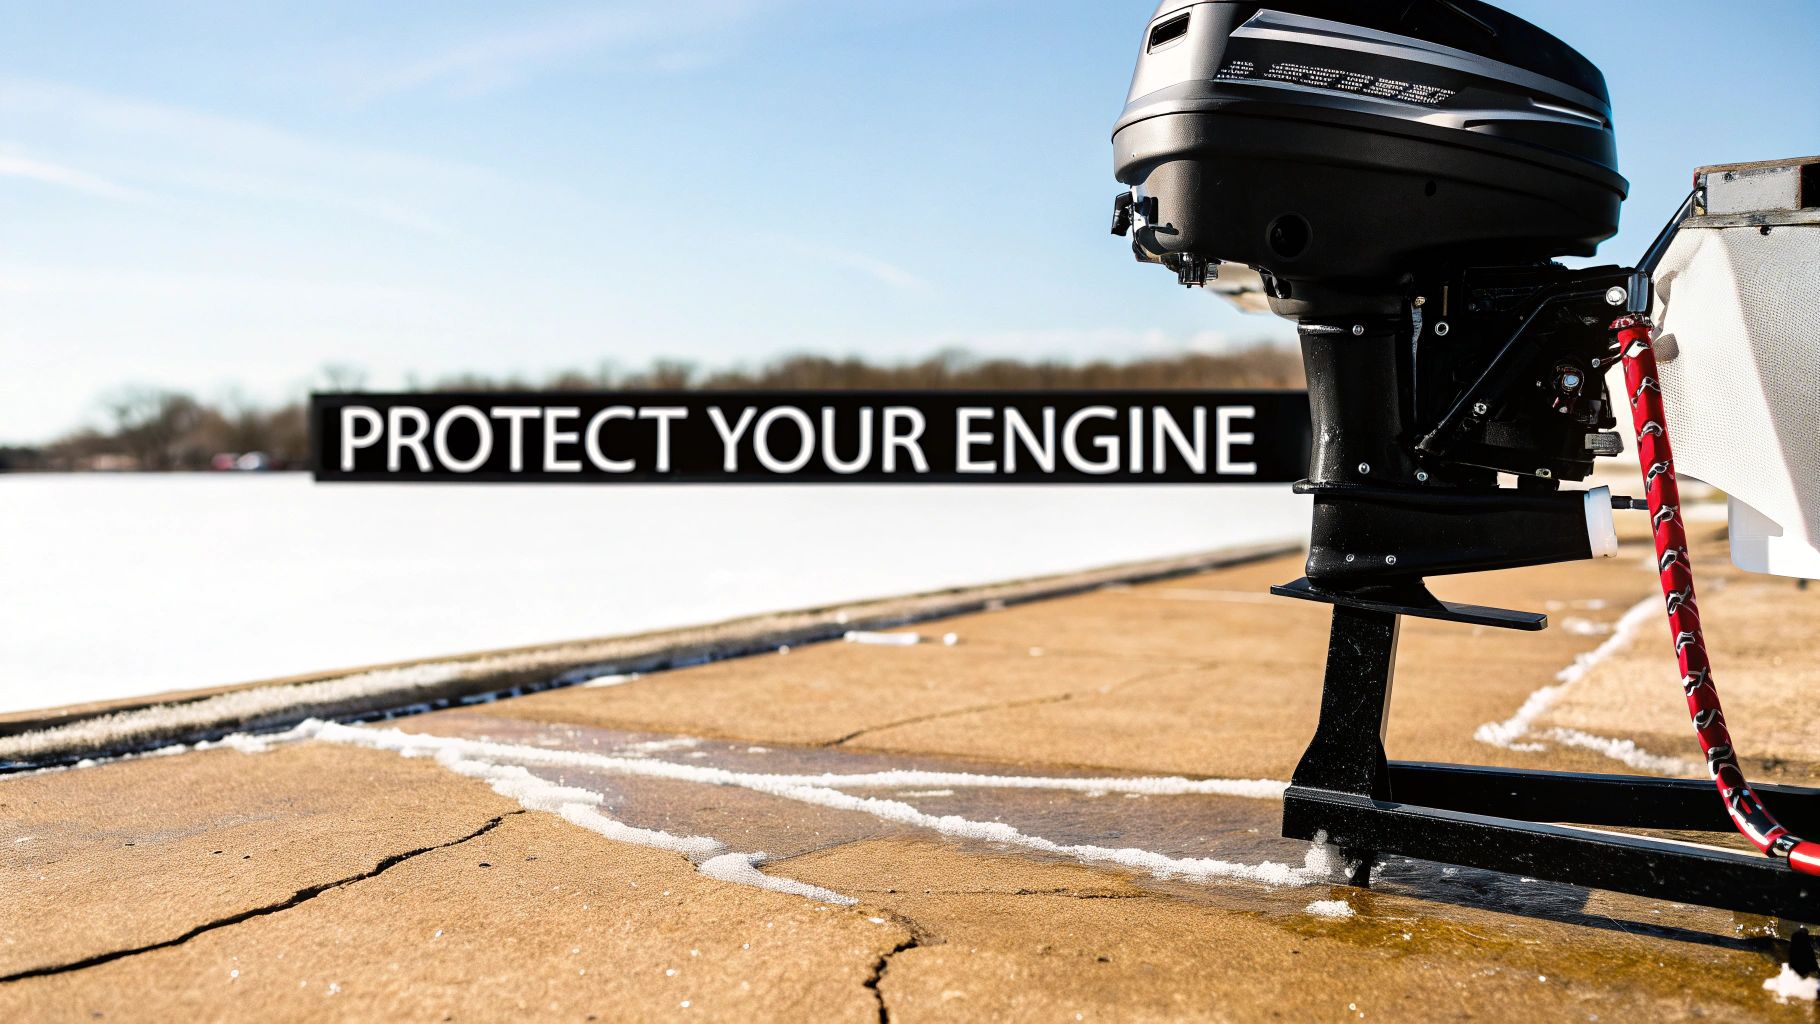
When water gets trapped inside your engine block, manifolds, or those little cooling passages and then freezes, it expands with incredible force. I’m talking enough force to crack solid metal. Just imagine coming back to your boat in the spring only to find a cracked cylinder head or a busted water pump. These aren’t scare tactics—I've seen it happen, and it's the real-world consequence of missing a few simple steps.
The Financial Impact of Neglect
Properly winterizing your engine is one of the smartest financial moves you can make as a boat owner. A few hours of your time now can literally save you thousands of dollars in repairs later.
Industry numbers show that improper winterization is to blame for engine damage in 25% to 30% of boats stored in cold climates every year. That damage, often a cracked engine block, can run you anywhere from $3,000 to $7,000 on average.
This isn't just about dodging one big repair bill, either. Consistent neglect beats up your motor over time, chopping down its lifespan, killing its resale value, and completely ruining the joy of that first perfect day back on the water.
Think of it this way: winterization is the cheapest insurance policy you can buy for your boat motor. It's a direct investment in reliability and peace of mind for the seasons to come.
Beyond Just the Motor
This whole idea of seasonal prep goes way beyond just your engine. It's a mindset that applies to all your gear. For some more great advice on taking care of your equipment through the off-season, check out these essential winter care tips for your water sports gear.
Ultimately, taking the time to learn how to winterize a boat motor the right way is all about making sure you’re back on the water without a hitch when the weather warms up. It turns a potential headache into a well-preserved asset, ready for your next adventure.
Your Essential Boat Motor Winterization Checklist
Nothing torpedoes a DIY project faster than an unplanned trip to the store because you're missing a key tool. Before you even think about starting your boat motor winterization, you need to get all your ducks in a row. A little prep work now saves a ton of headaches later and keeps you from taking risky shortcuts with your engine's health.
Think of this as your pre-flight checklist. Understanding what each item does is just as important as having it. You're not just buying stuff; you’re gathering the essential gear to shield your investment from the damage a cold, damp winter can inflict.
Core Supplies for Every Motor
It doesn't matter if you have an inboard or an outboard—a few items are absolutely non-negotiable. These are the foundational pieces for a successful winter layup.
- Fuel Stabilizer: Today's ethanol-blended gasoline can start to go bad in as little as 30 days. A quality marine fuel stabilizer is your first line of defense, preventing the nasty varnish and gum buildup that clogs fuel lines, carburetors, and injectors. This alone prevents one of the most common causes of a rough-running engine come springtime.
- Fogging Oil: This stuff is magic in a can. You'll spray it directly into the engine's air intake while it’s running, and it coats all the critical internal metal surfaces—pistons, cylinder walls, rings—with a thin, anti-corrosive film. It's a critical step to block the rust-causing moisture that condensation creates during storage.
- Engine Oil and Filter: Letting used engine oil sit all winter is like leaving a bath of contaminants and acids to eat away at your engine's guts. A fresh oil and filter change is one of the single best preventative maintenance tasks you can perform before putting the boat away.
Tools and Fluids for Specific Engine Types
Once you have the basics covered, the specifics of your engine will call for a few extra items. Having the right tools for your particular motor is what separates a smooth job from a frustrating one.
Outboard and sterndrive owners, for example, will absolutely need a motor flusher (you've probably heard them called "ear muffs"). This simple gadget hooks up to a garden hose and clamps over the raw water intake on the lower unit. This lets you run the engine on the hard to flush the cooling system with fresh water and antifreeze. Inboard owners have a slightly different process, typically involving connecting a hose directly to the raw water intake system.
The biggest difference between engine types comes down to one critical fluid: antifreeze. Outboards are built to drain all the water out by themselves when tilted down. Inboard and sterndrive (I/O) engines, however, are notorious for trapping water in the engine block and exhaust manifolds. For these engines, using non-toxic marine-grade antifreeze is an absolute must to prevent a cracked block—a truly catastrophic and expensive failure.
To make it easy, I've put together a quick-reference checklist of the essential supplies you'll need to winterize your inboard or outboard boat motor. Having these on hand before you start will make the entire process a breeze.
Essential Winterization Supply Checklist
| Supply Item | Purpose | Pro Tip |
|---|---|---|
| Marine Antifreeze | Protects inboard/sterndrive engines from freezing and cracking. | Always use a propylene glycol-based antifreeze. It's non-toxic and much safer for our waterways. |
| Gearcase Lube Pump | Simplifies refilling the lower unit oil on outboards and sterndrives. | Get the pump that screws directly onto the gear lube bottle. It costs a few extra bucks but minimizes the mess. |
| Basic Hand Tools | Wrenches and a socket set for changing oil, filters, and drain plugs. | A dedicated oil filter wrench is a knuckle-saver. Trust me on this one. |
| Oil Suction Pump | Essential for changing the oil on most inboard engines where you can't drain from a plug. | Run the engine for a few minutes before pumping. Warm oil flows much faster and easier. |
Gathering everything on this list before you begin transforms the job from a potential chore into a straightforward, satisfying project.
For a deeper dive into the specific steps for sterndrives, be sure to check out our detailed guide on how to winterize an inboard outboard motor.
Preparing Your Fuel System and Flushing the Engine
Alright, with your supplies in hand, it's time to get into the two most important jobs of the entire winterization process: dealing with the fuel and flushing the engine.
Trust me on this—getting these two things right will save you from the biggest headaches boat owners face in the spring. We're talking about clogged-up fuel systems and, even worse, a cracked engine block.
The first question is always what to do with the fuel tank. For years, you'd hear guys argue whether it's better to store it bone-dry or topped right off. A full tank leaves less room for air, which means less condensation and less water sneaking into your fuel. An empty tank, on the other hand, means you don't have to worry about old gas going bad.
This quick overview gives you a good visual of how these first steps flow together.
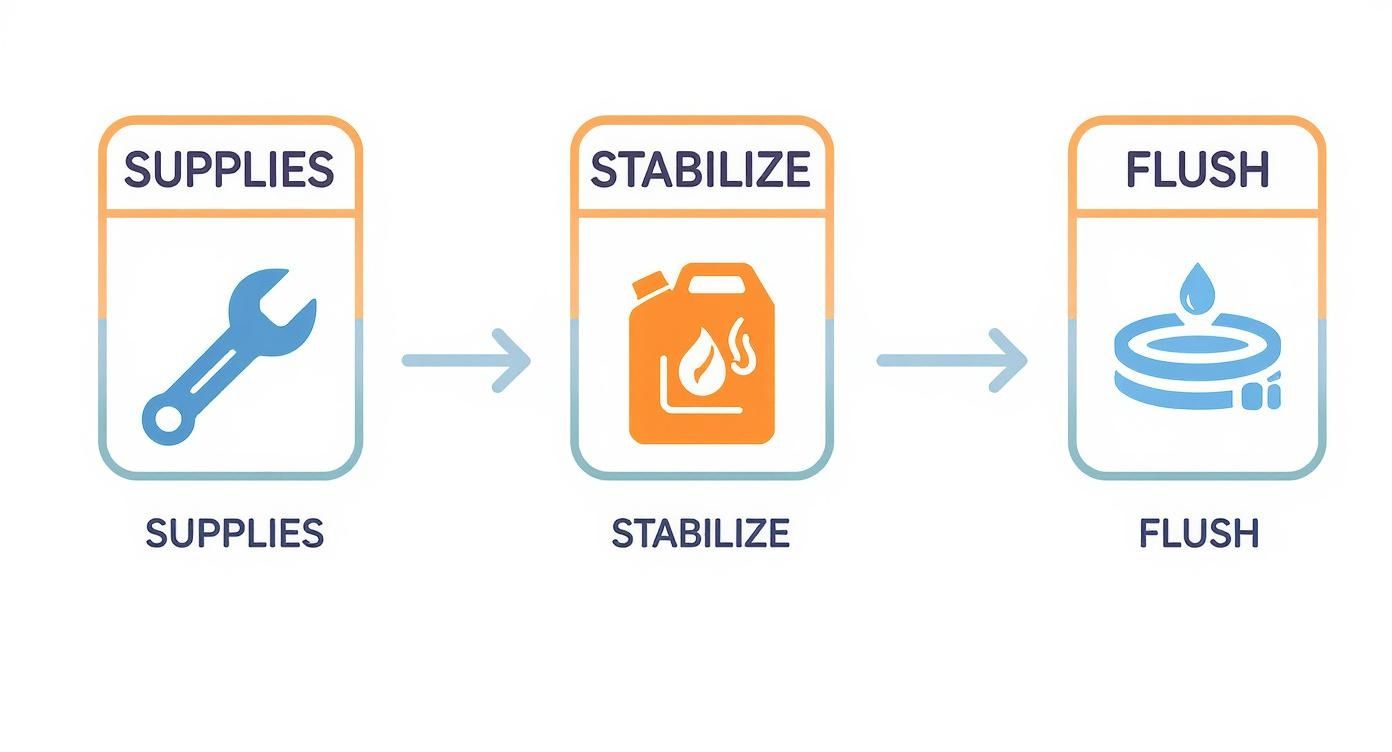
As you can see, stabilizing the fuel is something you absolutely have to do before you even think about flushing the engine.
Stabilizing Your Fuel for the Off-Season
For just about any modern boat, especially those with built-in tanks, the best practice is to fill the tank 90-95% full. This strategy is the sweet spot—it minimizes that damp air pocket but still leaves a little room for fuel to expand and contract with the temperature swings.
Once it's full, you absolutely must add a quality marine fuel stabilizer. Modern ethanol-blended gas can start to break down and turn into a gummy mess in as little as 30 days. That gunk is what clogs fuel lines, injectors, and carburetors. The stabilizer stops that from happening. Just be sure to follow the instructions on the bottle for the right stabilizer-to-fuel ratio.
Here’s the part people always forget: after you pour in the stabilizer, you need to run the engine for at least 10-15 minutes. Don't skip this. Just dumping it in the tank won't protect anything. You have to get that treated fuel circulated through the whole system—the lines, the filters, right up to the injectors—to make sure every part is coated and protected.
The Critical Engine Flush
With the fuel system buttoned up, the next job is clearing out the cooling system. Any salt, crud, or minerals left sitting in those cooling passages all winter will eat away at the metal. More importantly, any water left behind will freeze, expand, and can easily crack your engine block or exhaust manifolds. It’s a costly and completely avoidable repair.
Once the freshwater is hooked up, go ahead and start the engine. Let it run at a fast idle for about 10-15 minutes, basically until it gets up to its normal operating temperature. You'll want to keep an eye on the "telltale" stream—that little jet of water spitting out the side. As long as you have a steady stream, you know water is circulating like it should.
How you flush depends on what kind of motor you have:
- Outboards and Sterndrives (I/Os): You'll need a motor flusher, what we all call "ear muffs." This simple device clamps over the water intake vents on the lower unit and connects right to a garden hose.
- Inboard Engines: These are a bit different. They usually pull water through a fitting in the hull. You'll have to disconnect the intake hose from the seacock and use an adapter to connect it to your garden hose.
Pro Tip: Whatever you do, never run your engine out of the water without a water supply connected. Even a few seconds of running it dry can smoke the water pump impeller. That’s a frustrating fix you don't want to deal with come springtime.
This flush does two things: it cleans out all the corrosive gunk and makes sure that stabilized fuel you just added gets fully circulated. For a deeper dive into flushing different types of motors, check out our complete guide on how to properly flush your boat engine.
Changing Fluids and Fogging for Internal Protection
Now that your fuel is stabilized and the cooling system is flushed clean, it's time to shift focus to internal defense. This part of winterizing is all about getting old, contaminated fluids out and putting a protective coating on your engine's most vulnerable metal surfaces.
Trust me, skipping these next steps is like leaving the front door unlocked all winter—you’re just inviting corrosion to move in and make a mess.
First on the list is the engine oil and filter. Leaving used oil in the crankcase for several months is one of the biggest mistakes you can make. As oil does its job, it picks up all sorts of nasty stuff—unburnt fuel, moisture, and soot—which eventually combine to form corrosive acids. Let that sit all winter, and those acids will have a field day etching away at critical parts like bearings and crankshaft journals.
A pre-storage oil change isn't just a good idea; it's non-negotiable. When you swap out that dirty, acidic oil for fresh lubricant, you're bathing the engine's internals in a protective, non-corrosive film until spring. For most inboard motors, this means using an oil suction pump, since the drain plugs are almost always impossible to reach.
Think of it this way: a pre-winter oil change is one of the best investments you can make in your engine’s longevity. It's cheap insurance against internal corrosion and ensures your motor is ready for a clean start when the season returns.
Protecting the Cylinders with Fogging Oil
With fresh oil in the crankcase, let's move on to protecting the upper part of the engine. As your boat sits through the temperature swings of winter, condensation is going to form inside the cylinders. It's unavoidable. That moisture can cause rust to develop on the cylinder walls, pistons, and rings, which can lead to serious performance loss or even a seized engine.
This is exactly what fogging oil is for. It’s a specialized oil that you spray directly into the engine’s air intake while it’s running. The engine sucks that fine mist into the combustion chambers, coating every internal surface with a sticky, anti-corrosive layer. It’s your best defense against rust caused by condensation.
Here’s how to do it right: get the engine running one last time (on the motor flusher, of course). While it's idling, spray the fogging oil in short bursts into the carburetor or air intake. You'll know you're doing it right when you see thick, white smoke billowing from the exhaust. Right before the engine stalls from the rich mixture, shut it down. This little trick ensures the fogging oil is perfectly distributed.
Don't Overlook the Gearcase Lubricant
One of the simplest yet most revealing jobs in the whole winterizing process is changing the gearcase lubricant in your outboard or sterndrive's lower unit. This is more than just routine maintenance; it's a critical diagnostic check.
Grab a large, flat-head screwdriver and remove the upper and lower drain screws, letting the old gear lube drain completely into a pan. Now, pay very close attention to what comes out.
- Healthy Lube: Normal gear oil is thick and dark (often blue, green, or black).
- Warning Sign: If it looks milky or like a coffee-with-cream, you’ve got water in the gearcase.
Seeing milky oil is a big deal. It means you likely have a failed seal on the propeller shaft or driveshaft. Catching this now is crucial because if that water freezes and expands, it can crack the gearcase housing—a repair that can easily run into the thousands. Finding it in the fall gives you all winter to get the seals replaced and avoid a catastrophic failure next season.
To refill, use a gear lube pump to push fresh lubricant into the bottom drain hole until it starts flowing out of the top vent hole. Put the top screw back in first, then quickly replace the bottom one. This quick fluid change not only provides fresh lubrication but also gives you a vital health report on your lower unit.
Applying Antifreeze and Final Storage Prep
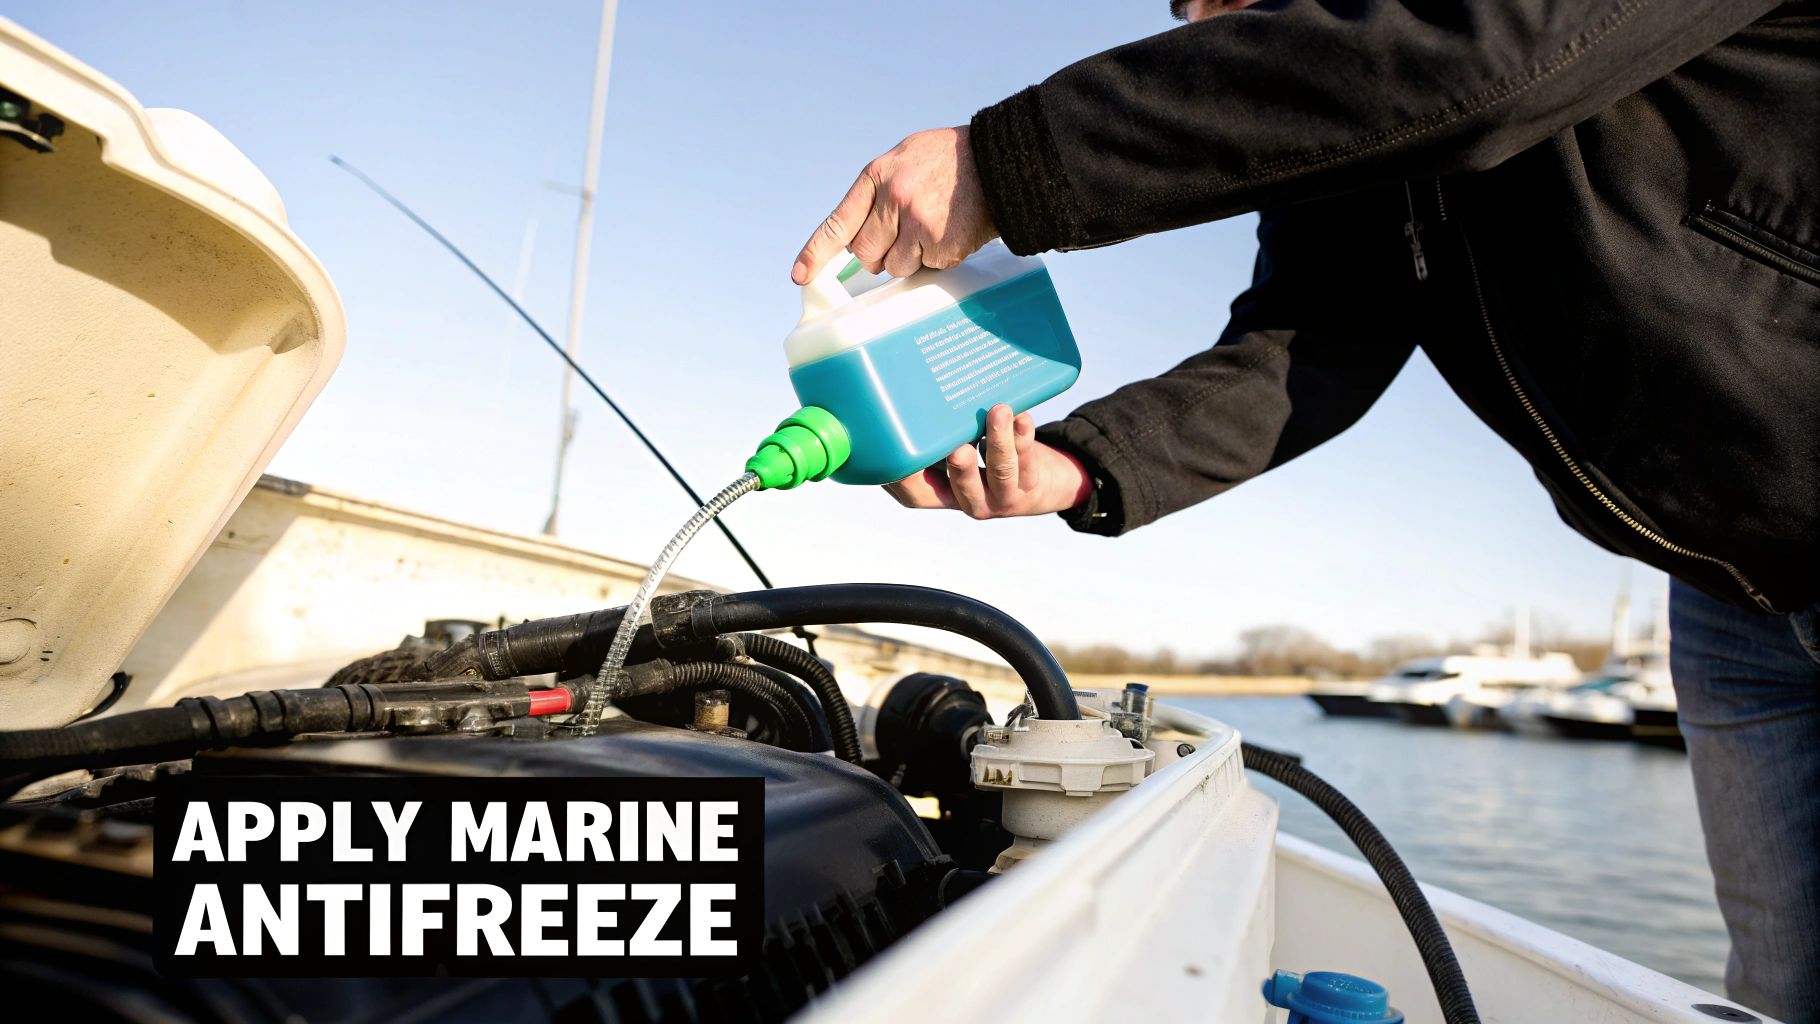
Now that your engine's internals are fogged and stabilized, it's time to create the final protective shield. For anyone with an inboard or sterndrive, this means running non-toxic marine antifreeze through the engine block and manifolds. This is the step that displaces any lingering water, and it's absolutely non-negotiable if you want to prevent a catastrophic cracked block from freezing water.
The whole process is pretty straightforward. You'll want to grab about five to six gallons of a marine-grade propylene glycol antifreeze—the pink stuff. Just like you did for the freshwater flush, connect a hose from the bottom of your antifreeze bucket right to the engine's raw water intake.
Fire up the engine and let it start sipping that pink antifreeze into the system. You’ll want to keep a close watch on the exhaust ports. The moment you see pure, undiluted antifreeze spitting out, you know the engine block is full. Shut the engine down immediately. That’s it—you’ve achieved full burst protection for the winter.
Final Touches for a Secure Layup
Your motor is now buttoned up internally, but we're not quite done yet. A few quick external preparations are what separate a decent winterization job from a great one, ensuring a pain-free start next spring and preventing other kinds of winter damage. Think of these steps as safeguarding the entire motor and all its supporting systems.
Here’s how to put the finishing touches on your work:
- Disconnect the Battery: Even when everything is switched off, some electronics can create a slow, parasitic drain on your battery. Always disconnect the negative terminal first, then the positive. For best results, I always pull the battery completely and store it somewhere cool and dry, hooked up to a trickle charger.
- Clean the Exterior: Give the motor a good washdown to get rid of any salt, grime, or algae buildup from the season. Once it’s dry, apply a quality marine wax or a dedicated anti-corrosion spray. This simple step protects the finish and prevents ugly pitting over the long winter months.
- Deter Pests: Mice and other critters see a cozy engine compartment or exhaust port as a five-star hotel for the winter. Stuffing a rag or a bit of steel wool loosely into the exhaust outlet is an old-school trick that works wonders. Just be sure to tie a big, bright "Remove Before Starting" tag to your steering wheel so you don't forget!
A complete winterization process addresses every potential vulnerability, from internal freezing to external corrosion and pest infestation. Taking these extra minutes now ensures your motor is truly ready for its long winter nap.
The final, crucial step in securing your boat is a good cover. To learn how to get the tightest, most protective fit, check out our guide on how to properly shrink wrap a boat for maximum protection against snow, ice, and critters.
Common Questions About Winterizing Your Boat Motor
Even after you've done this a few times, certain questions always seem to pop up. Getting the right answer can be the difference between a smooth winterization job and a very expensive mistake come springtime. Let's run through some of the most common "what-ifs" we hear from fellow boat owners.
Think of this as your quick-reference guide for those nagging little doubts. Nailing these details means all your hard work will pay off with a boat that fires right up next season.
Can I Just Drain the Engine Instead of Using Antifreeze?
This is a big one we hear all the time, especially from inboard and sterndrive owners trying to shave off a step. On the surface, it makes sense, but just draining the block is a huge gamble. Modern engines have incredibly complex cooling passages, and it's almost impossible to get every last drop of water out. Pockets of water always get trapped, no matter how many drain plugs you pull.
All it takes is one small, hidden puddle of water to freeze, expand, and crack a manifold or—even worse—the engine block itself.
Antifreeze does more than just prevent freezing; it pushes out any water left hiding in the system. For the price of a few gallons of marine antifreeze, you're buying peace of mind and protecting yourself from a repair bill that could easily run into the thousands. It's the cheapest insurance policy you'll ever buy for your boat.
Is Fogging an Outboard Motor Really Necessary?
Yes, 100%. Whether you're running a classic two-stroke or a modern four-stroke, your outboard is just as susceptible to internal corrosion as any inboard engine. The real enemy here is condensation. As temperatures fluctuate over a long, cold winter, moisture will form inside the cylinders.
Fogging oil coats every critical internal part—cylinder walls, pistons, rings—with a thin, protective film that repels that moisture. This simple step is your engine's only line of defense against the rust that can silently eat away at its insides. Skipping this five-minute job can lead to lost compression and a poorly performing engine next year. It's a tiny bit of effort that protects the heart of your motor.
What Happens If I Forget to Add Fuel Stabilizer?
Forgetting to add a fuel stabilizer is probably one of the most common—and most frustrating—winterizing mistakes. Today's ethanol-blended gasoline can start breaking down in as little as 30 days.
When that fuel goes bad, it leaves behind a gummy, varnish-like gunk that wreaks havoc on your entire fuel system. This residue is the #1 reason boats won't start in the spring.
- Clogged Fuel Lines: That sticky varnish can choke off fuel flow from the tank.
- Jammed Injectors: It easily gums up the microscopic nozzles on modern fuel injectors, causing the engine to run rough or not at all.
- Carburetor Issues: On older motors, it will clog the tiny jets and passages inside the carburetor, requiring a full teardown and cleaning.
Pouring in a quality marine fuel stabilizer before you put the boat away is non-negotiable. It keeps the fuel fresh and ensures the entire system stays clean and ready for your first trip next season.
At Better Boat, we provide all the premium, easy-to-use supplies you need to protect your investment. From fuel stabilizers to non-toxic antifreeze, our products are tested and trusted by over a million boaters. Shop our full line of winterization essentials at https://www.betterboat.com.


