Plastic Gas Tank Repair Epoxy Your Durable DIY Fix
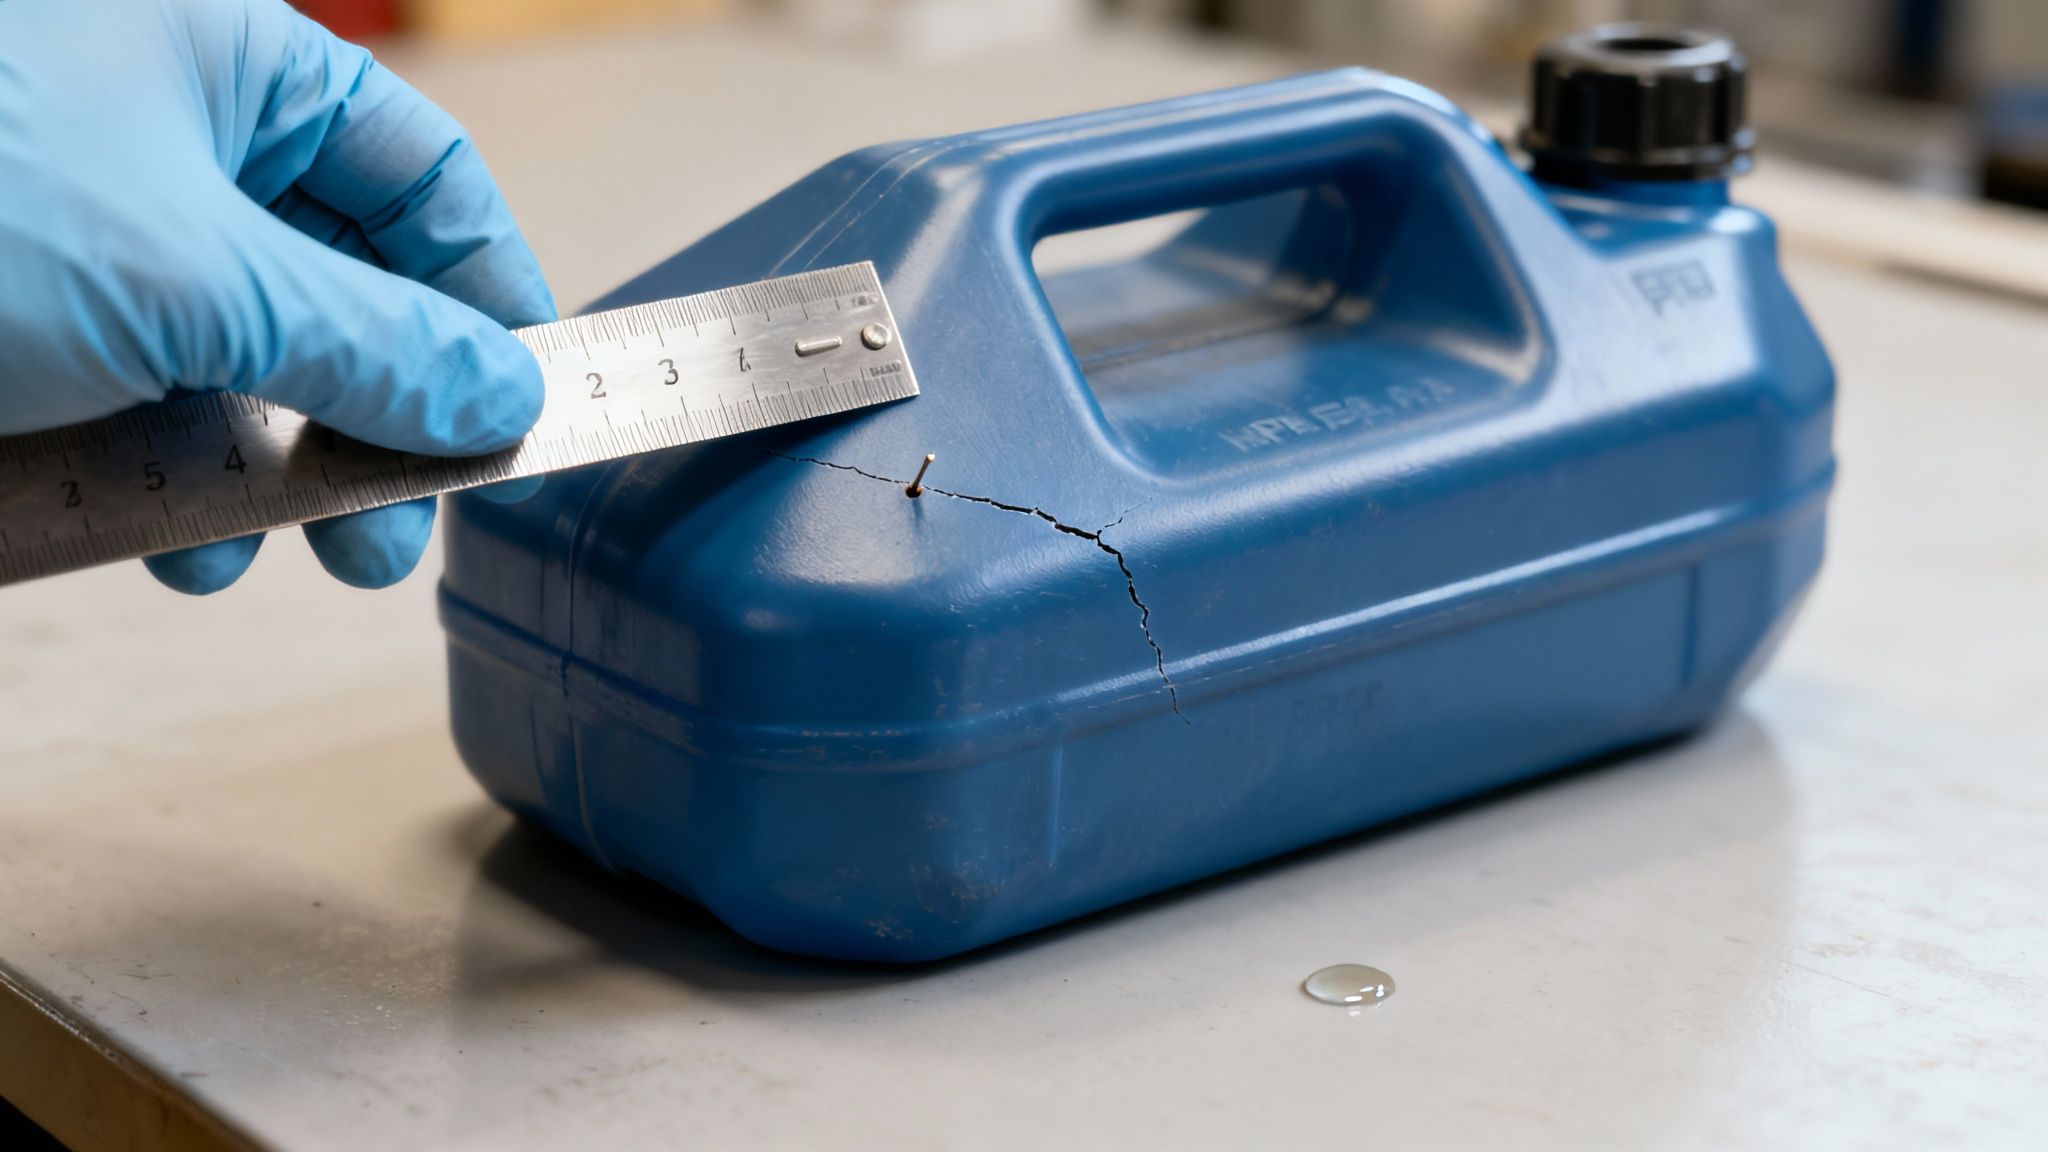
If you've got a small crack, a pinhole leak, or a minor puncture in your plastic gas tank, a high-quality, fuel-resistant epoxy can be a permanent fix. I've seen it work time and time again.
The key is using a modern formula designed to chemically bond with plastics like HDPE, creating a tough seal that holds up against gasoline, all those additives, and the constant vibration of the road or water.
When to Trust Epoxy for a Plastic Gas Tank Repair

Making the call between repairing or replacing a damaged plastic gas tank can feel pretty high-stakes. While sometimes you just have to bite the bullet and get a new one, a properly done epoxy repair is often a perfectly safe, permanent, and much cheaper solution for certain types of damage. The trick is knowing when epoxy is the right tool for the job.
Most modern fuel tanks are made from High-Density Polyethylene (HDPE), which is tough stuff. But nothing is indestructible. Impacts from road debris, constant stress around the mounting points, or just plain old age can cause small failures.
Ideal Scenarios for Epoxy Repairs
An epoxy repair really shines when you're dealing with localized, non-structural damage. Think of it less like a total rebuild and more like a targeted, surgical fix.
These are the best candidates for an epoxy patch:
- Pinhole Leaks: Those tiny, frustrating holes that pop up, often from a bit of corrosion around a metal fitting or a minor impact, are perfect for an epoxy seal.
- Hairline Cracks: Small, stable cracks that haven't warped or compromised the tank's overall shape are easily sealed up.
- Minor Punctures: Got a small hole from a kicked-up rock or a sharp object? That can almost always be filled and sealed reliably with epoxy.
For these jobs, a specialized product like our Better Boat Epoxy Resin creates a chemical bond that’s often stronger than the original plastic itself. This ensures the patch flexes right along with the tank and stays sealed tight against both fuel and vapor pressure.
Expert Insight: The secret to a successful epoxy repair is creating a true molecular-level bond. This only happens with meticulous surface prep. You need to give the epoxy something to "grip" onto the plastic, not just sit on top of it.
When to Consider a Full Replacement
Now, let's be clear: epoxy is not a miracle cure for every situation. Some types of damage are just too severe, compromising the tank's structural integrity and making a repair both unsafe and unreliable. Knowing when to walk away and get a replacement is critical.
It's time for a new tank if you're facing:
- Major Structural Damage: I'm talking about large cracks, significant crushing, or any kind of warping. If the tank's core structure is compromised, a patch won't save it.
- Seam Failures: If the leak is along one of the factory-molded seams, that points to a manufacturing defect or widespread material fatigue. A patch is just a temporary band-aid for a much bigger problem.
- Extensive Cracking: Multiple cracks spreading across a large area? That's a clear sign of systemic failure, and the tank is on its last legs.
Understanding these boundaries will give you the confidence to make the right call—one that's safe and built to last.
Choosing the Right Epoxy for Your Gas Tank Repair

Walking into an auto parts store and staring at that wall of adhesives can feel a bit overwhelming. You've got dozens of epoxies on the shelf, everything from putty sticks to two-part liquids. Picking the wrong one for a plastic gas tank repair epoxy job won't just fail—it could lead to a seriously dangerous leak.
The secret isn't grabbing the strongest-looking box. It's about knowing the specific chemistry you need for this critical task. After all, you're not just patching any old plastic; you're dealing with aggressive chemicals and a specific type of material, usually High-Density Polyethylene (HDPE). This job demands an epoxy that's formulated to handle both.
Liquid Epoxy vs Putty Sticks
When you're looking at your options, you’ll mainly find two types: moldable putty sticks and two-part liquid systems. They are not interchangeable.
-
Epoxy Putty Sticks: These are super convenient, I'll give them that. You just knead two different colored materials together until you have one solid color, then press it over the damaged spot. They’re fine for an emergency, temporary fix, but they often lack the flow to get deep into hairline cracks. That means you're not getting a truly seamless bond with the plastic.
-
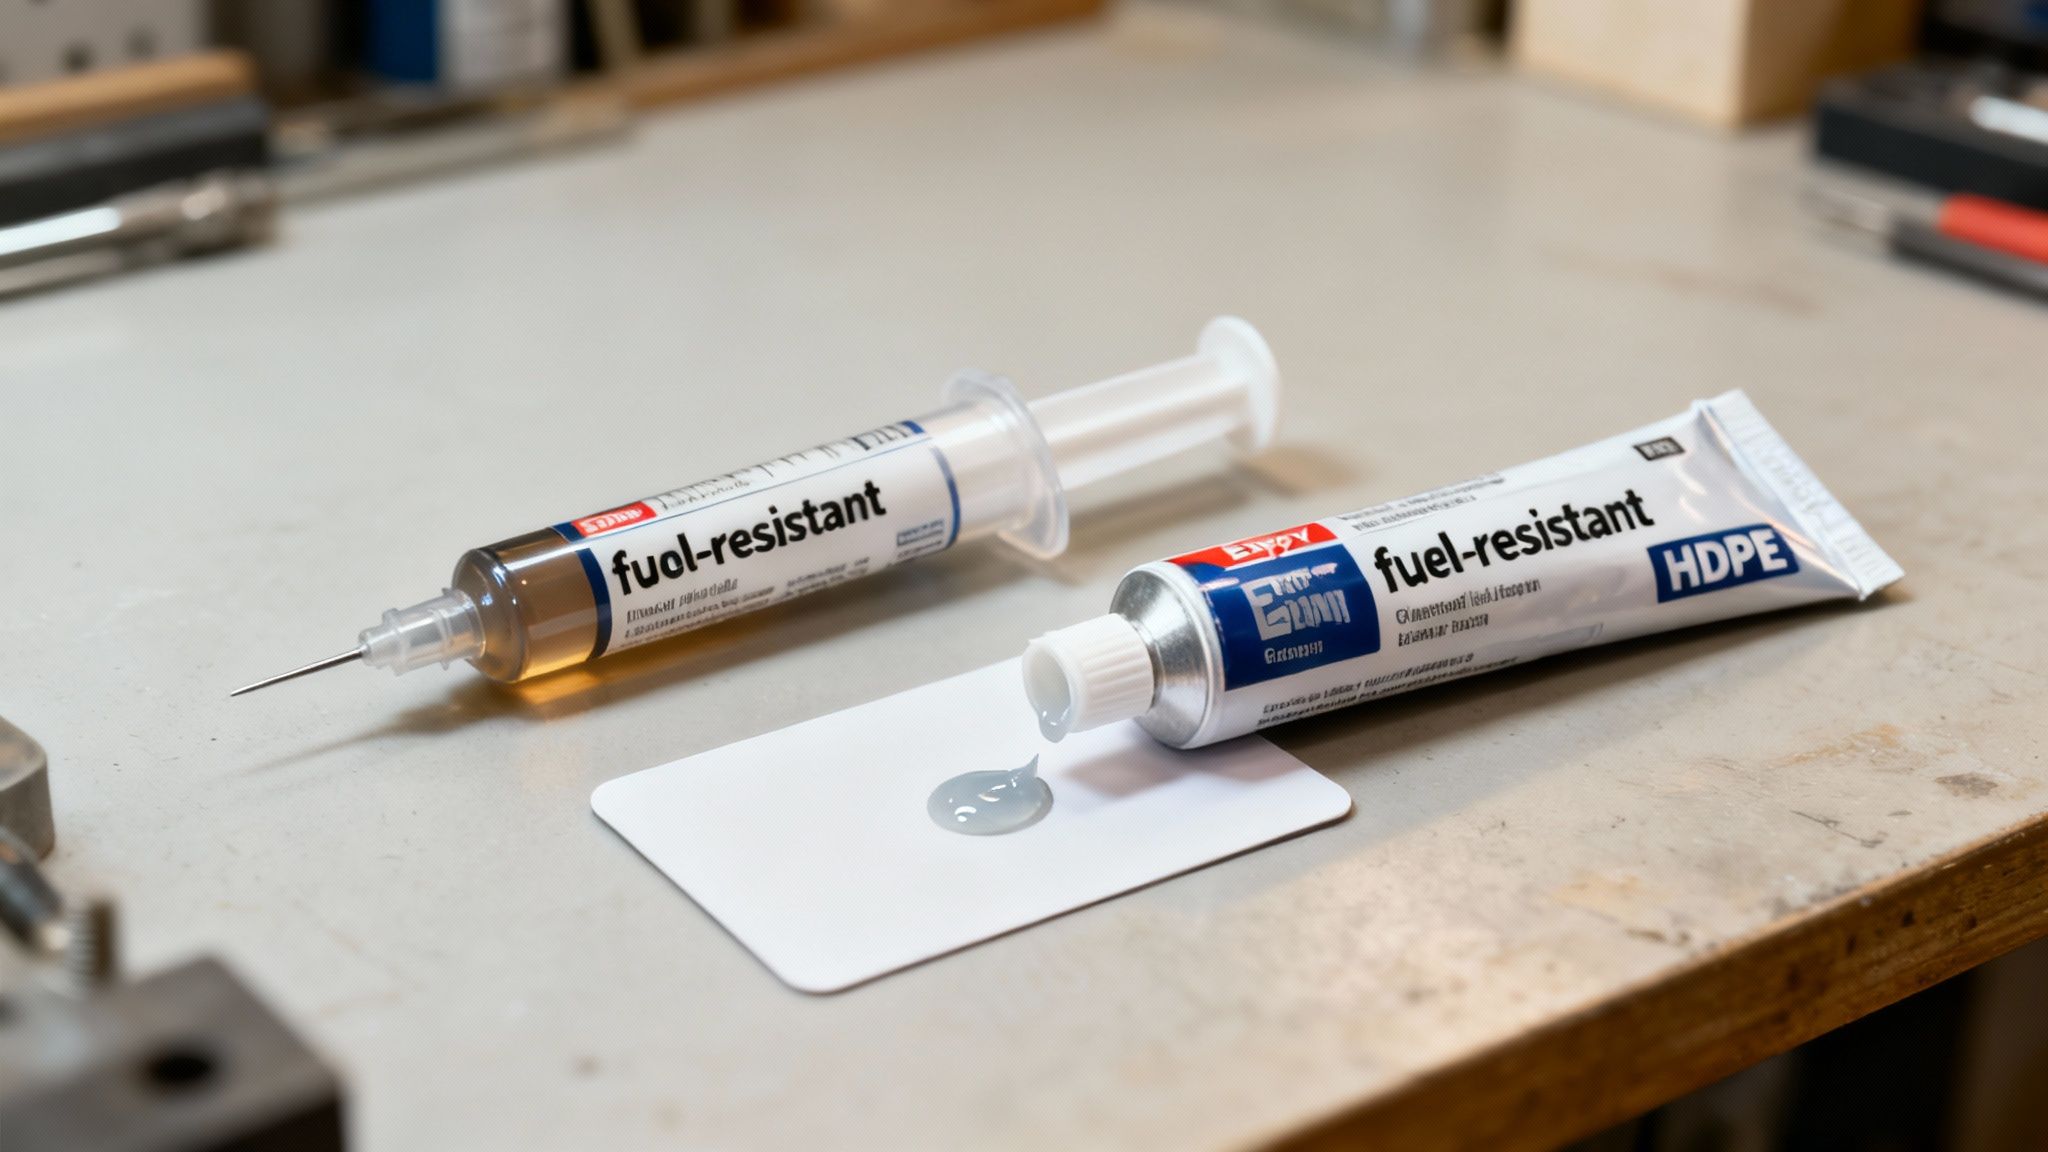
Two-Part Liquid Epoxies: These systems, where you mix a separate resin and hardener, are almost always the better choice for a permanent gas tank repair. The liquid consistency is key—it allows the epoxy to seep into every microscopic crevice and the V-groove you’ve prepared. This creates a much larger and stronger bonding surface area.
For a reliable, long-term seal that you can trust, a liquid system is what the pros use. Its ability to create a solid patch that chemically fuses with the tank wall provides durability that putty sticks just can't compete with.
A strong bond is all about maximizing surface area. A liquid epoxy flows into tiny imperfections and prepared grooves, creating an integrated repair that’s far more resilient to vibration and fuel exposure than a simple surface patch.
What to Look for on the Label
Forget the flashy marketing on the box. The fine print on the packaging is your best friend here. A general-purpose "5-minute epoxy" will break down and fail fast once it's exposed to gasoline.
Here's what you absolutely need to see on the label:
- Fuel and Chemical Resistance: This is non-negotiable. The label must explicitly state it is resistant to gasoline, diesel, and ethanol. Modern fuels have additives that can eat away at standard epoxies in no time.
- Plastic Compatibility: Make sure it’s made for plastics, and specifically HDPE. Some epoxies are designed for metal and just won't form a proper chemical bond with the low-surface-energy plastic used in fuel tanks. For a closer look at material properties, a professional 3D printing materials guide offers some great context on different plastics and resins.
- Temperature Range: Check the service temperature. You need an epoxy that can handle the heat cycling from the engine and nearby exhaust components without weakening.
Here’s a quick look at common epoxy types to help you choose the best one for your repair.
Epoxy Type Comparison for Plastic Gas Tanks
| Epoxy Type | Best For | Application Method | Cure Time |
|---|---|---|---|
| Two-Part Liquid (HDPE-Specific) | Permanent, high-strength repairs on plastic tanks. | Mix resin and hardener, apply with a spreader. | 4-24 hours (full strength) |
| Epoxy Putty Stick | Quick, temporary fixes for small leaks. | Knead together and press onto the damaged area. | 15-60 minutes (sets), 24 hours (full cure) |
| General-Purpose 5-Minute Epoxy | Not recommended for fuel tanks. | Mix and apply quickly. | 5-15 minutes (sets) |
As you can see, a liquid epoxy formulated for HDPE is the clear winner for a lasting repair. This is exactly why we spent time engineering our Better Boat Epoxy Resin. It's specifically formulated for continuous fuel immersion and creates a rock-solid, permanent bond with marine-grade plastics. It gives you the confidence that your repair will actually hold up.
Your Essential Toolkit for a Safe Repair
Trying to fix a plastic gas tank isn't something you just jump into. A successful repair is all about having the right gear on hand before you start. Trust me, the last thing you want is to be elbows-deep in a project only to realize a crucial tool is back in the garage. This is more than a simple list; it’s the setup I use to make sure every repair is solid and, more importantly, safe.
Let's get the big one out of the way first: safety. When you're working with a fuel system, it's non-negotiable. Gasoline vapors are incredibly flammable, and a tiny static spark is all it takes for things to go sideways. So, before you do anything else, disconnect the vehicle's battery. It’s a simple step that completely removes the risk of an accidental spark from any electrical part.
Your workspace is just as important. An open garage with plenty of airflow is the bare minimum, but honestly, working outside is always the smarter move. It helps any lingering fuel vapors clear out fast.
Essential Safety and Preparation Gear
Let's talk about personal protective equipment. This is the stuff you absolutely must have before you even touch the tank.
- Nitrile Gloves: These are a must for protecting your skin from both gasoline and the epoxy itself.
- Safety Glasses: You really don't want fuel or epoxy splashing into your eyes.
- Siphon Pump: This is the only safe way to get the remaining gas out of the tank and into an approved container. Seriously, don't ever use your mouth to start a siphon.
Tools for a Flawless Repair
With safety handled, it's time to gather the tools for the actual repair. The whole game here is to create the perfect surface for that epoxy to grab onto and never let go.
For the epoxy to create a permanent bond, you have to get the surface prep right. A good set of quality surface conditioning discs is worth its weight in gold for scuffing up the plastic properly. This rough texture gives the epoxy something to physically bite into.
Here’s what your prep kit should look like:
- 80-Grit Sandpaper or Scuff Pads: You need to rough up the plastic for at least two inches around the entire damaged spot. This is what creates that strong mechanical bond you're after.
- Isopropyl Alcohol and Clean Cloths: After sanding, the surface has to be perfectly clean. A final wipe-down with alcohol will lift off any dust, oil, or fingerprints that could ruin the bond.
Pro Tip: Never, ever use aggressive cleaners like brake cleaner on a plastic tank. They can actually damage and weaken the plastic, which will just lead to more problems down the road. Stick with isopropyl alcohol for that final clean.
Finally, you’ll need your application tools. A clean mixing surface (a scrap of cardboard works great) and a putty knife or spreader are the basics. But if you want to eliminate the guesswork and get a perfect mix every time, a dedicated tool like our Epoxy and Paint Mixer ensures your two-part epoxy is blended thoroughly for maximum strength. Having all this ready to go will make the whole repair process go a lot smoother.
A Practical Guide to Applying Epoxy Flawlessly
Alright, you've got your tools and your safety gear is on. Now for the main event: the repair itself. This is where a little bit of patience and meticulous work really pays off. A careful job now turns that vulnerable crack into a permanent, rock-solid seal for good.
We're going to skip the generic advice and get right into the techniques the pros use. This will help make sure your plastic gas tank repair epoxy job is a one-and-done deal.
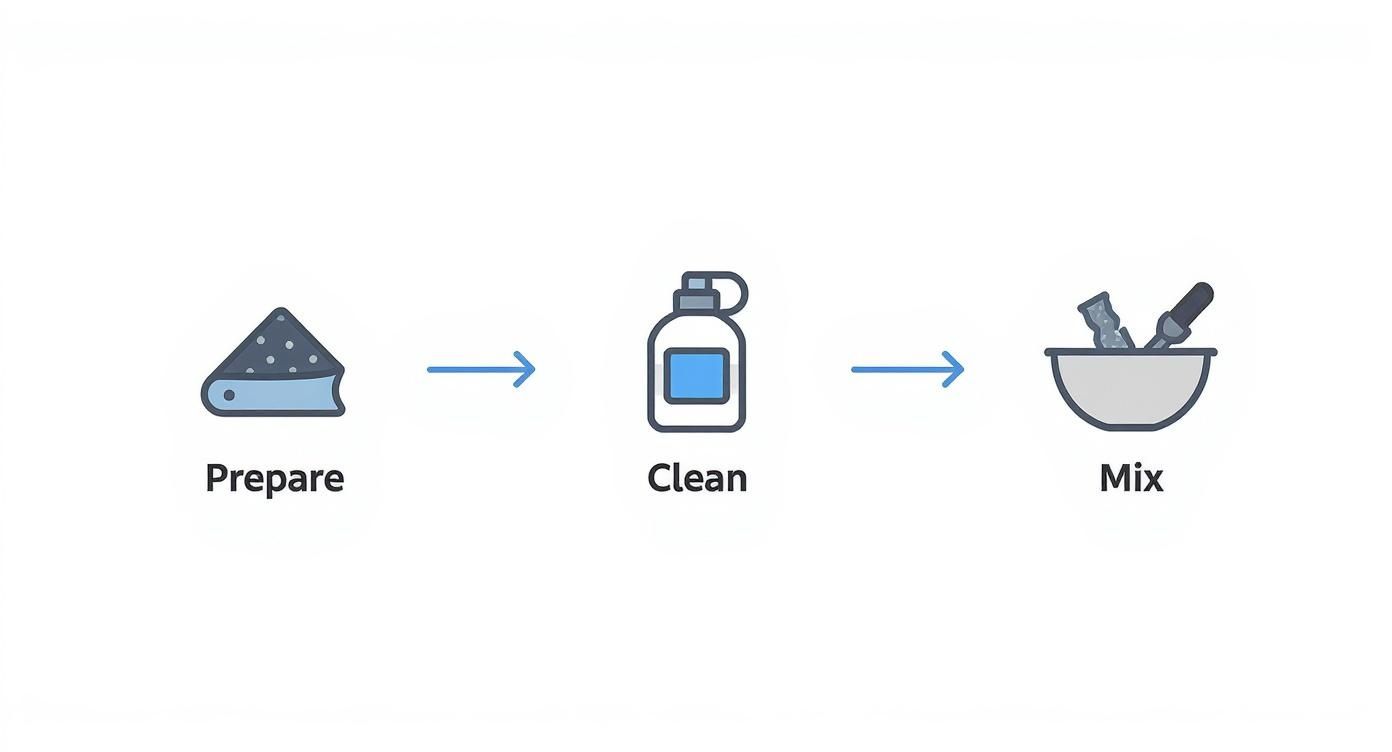
Success hinges almost entirely on prep work. You simply can't get a lasting bond if the surface isn't perfectly ready to accept the epoxy.
This infographic breaks down that crucial workflow into three distinct stages.

As you can see, the prepare-clean-mix sequence is non-negotiable. Each step lays the foundation for the next, creating the perfect conditions for a powerful chemical bond that won't fail you down the road.
Pinpointing and Prepping the Damage
First thing's first: the tank absolutely has to be drained and removed from the vehicle or boat. Never, ever try to do this repair with the tank still installed. It's not just incredibly unsafe, it also pretty much guarantees a sloppy, failed patch.
Once the tank is empty and you've moved it to a well-ventilated space, your next job is to find the exact source of that leak.
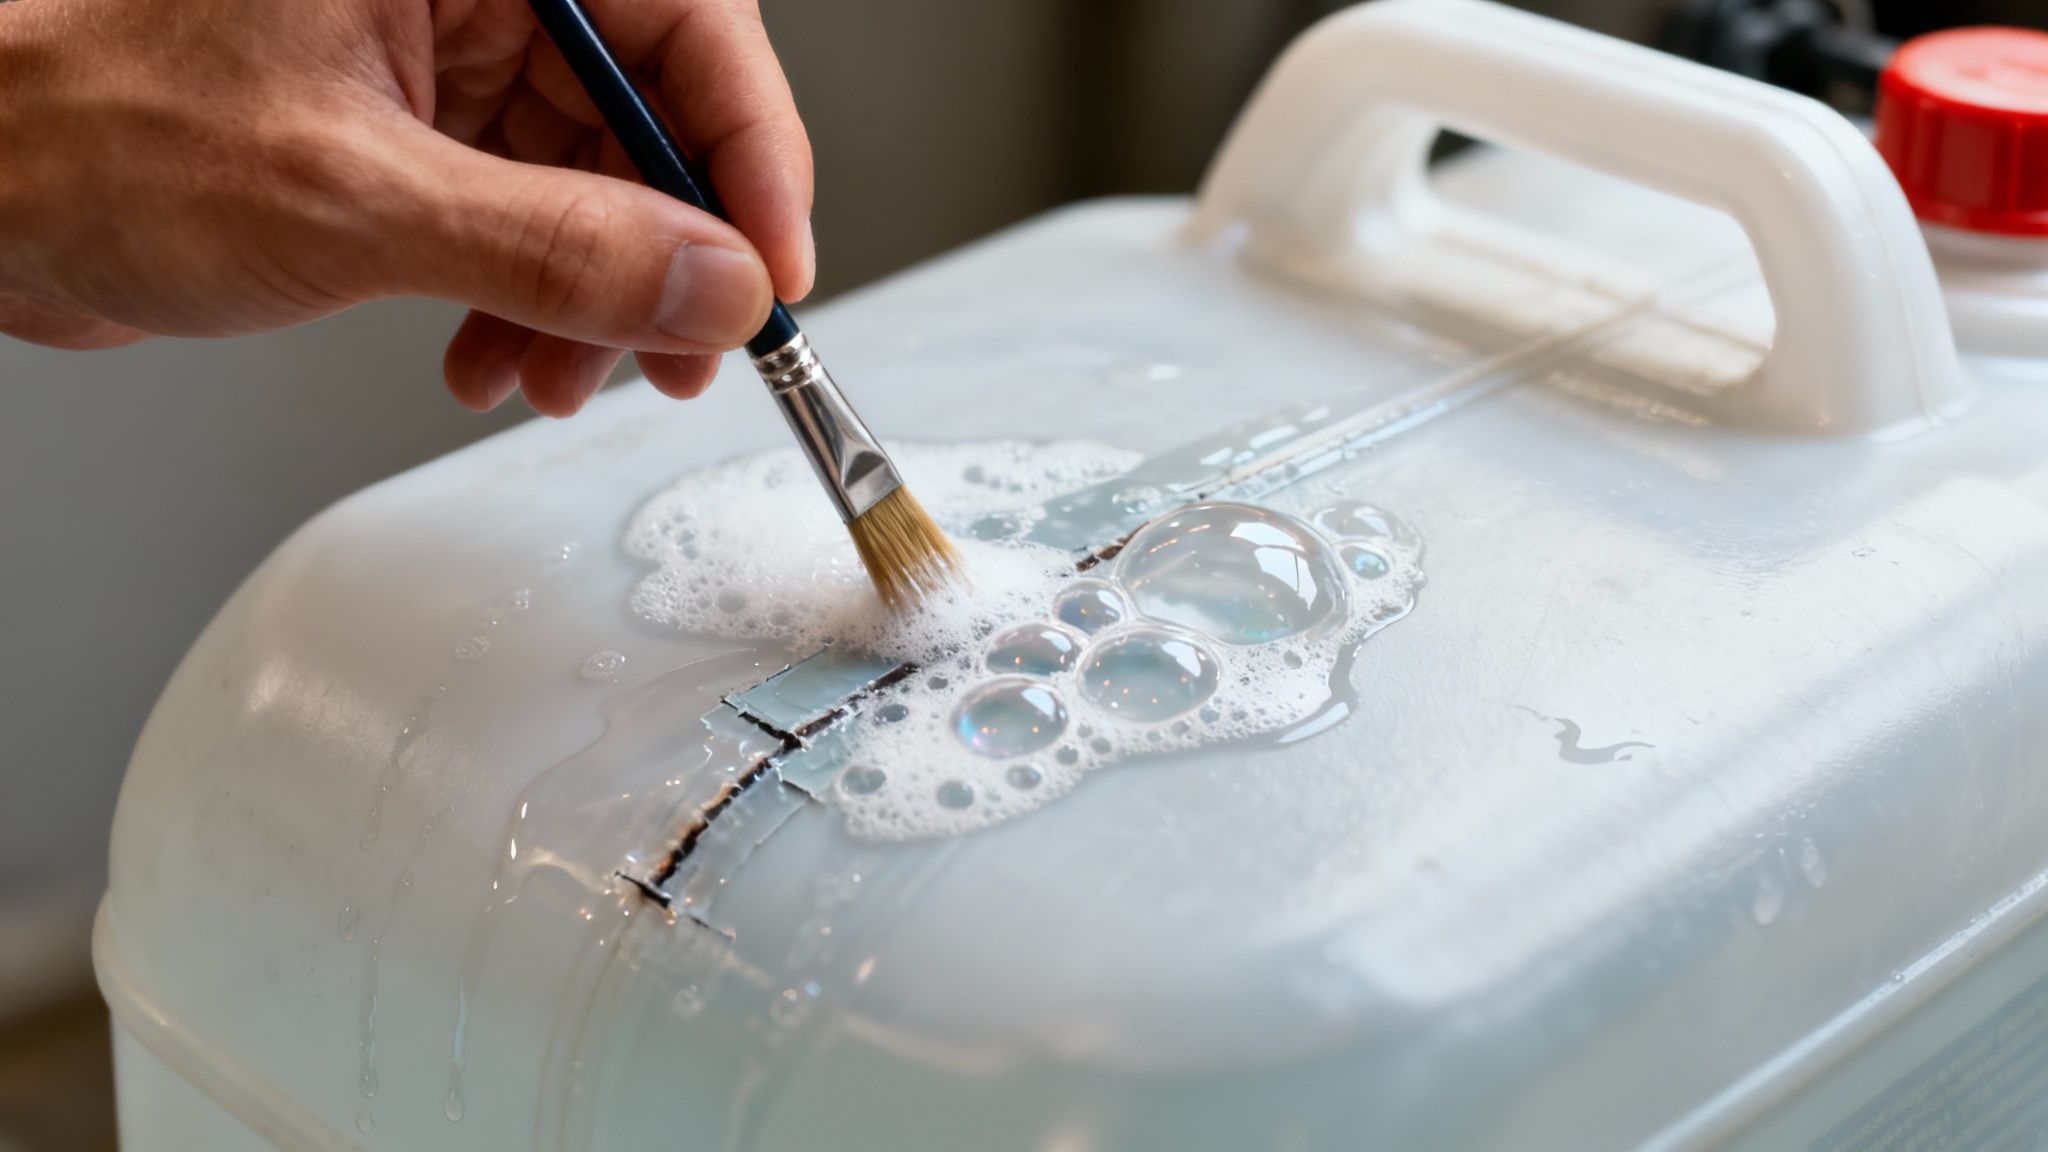
Sometimes a crack is obvious, but those tiny pinhole leaks can be tricky to spot. Here’s a simple trick from the field: slightly pressurize the tank with a low-pressure air source (no more than 2-3 PSI) and then spray the suspect area with soapy water. Bubbles will immediately form right over any breach, pinpointing the exact spot you need to fix.
After you've marked the damage, it’s time for the most critical prep technique of all: V-grooving.
Pro Tip: Grab a rotary tool with a V-shaped bit and carefully grind out the crack to create a shallow trench. This dramatically increases the surface area for the epoxy to grab onto, creating a mechanical lock that keeps the patch from ever peeling away.
With the groove cut, get aggressive with 80-grit sandpaper. You want to sand the area extending at least two inches around the repair site. The goal is to scuff up that smooth, shiny plastic and create a rough, abraded texture for the epoxy to bite into.
One final prep step: wipe down the entire area with isopropyl alcohol. This gets rid of all the sanding dust, oils, and any other residues that could ruin the bond.
Mixing and Applying the Epoxy
Now you're ready to break out the epoxy. The growing popularity of these repair kits is no accident—the market is on track to hit USD 500 million by 2025. This just shows how effective these products are when you use them right.
Follow the manufacturer’s instructions for your specific epoxy to the letter, especially when it comes to the mix ratio. Getting this wrong is a recipe for disaster; an incorrect ratio can leave you with a patch that never fully cures or one that becomes brittle and weak.
Here’s a proven method for applying the epoxy to build a strong, layered patch:
- Initial Layer: Use a clean spreader to work a thin "primer" coat of the mixed epoxy directly into the V-groove and over the entire sanded surface. Press firmly to make sure it fills every tiny scratch and pushes out any trapped air.
- Building Layers: Don't try to glob it all on at once. Instead, apply several subsequent thin layers, overlapping each one slightly. A single thick layer can trap air bubbles and cure unevenly. Building it up in thin coats creates a much denser and stronger final patch.
- Feathering the Edges: On your final layer, use the spreader to smooth and "feather" the edges of the patch. You want them to taper down flush with the tank's surface, creating a seamless transition that eliminates stress points.
This layering technique is a core principle for many types of durable repairs. You can see similar concepts at play in our guide on using epoxy resin for boat repair, which applies these ideas to marine applications.
Once everything looks good, just let the epoxy cure fully according to the product's directions before you even think about reinstalling the tank.
How to Properly Cure and Test Your Repair

You've just smoothed out that final layer of plastic gas tank repair epoxy, and it looks perfect. It's tempting to call the job done, but hold on. The next phase—curing—is where the real magic happens. This is the chemical process that turns that soft putty into a rock-solid, fuel-proof barrier.
Believe me, rushing this part is the single biggest reason repairs fail down the road. Patience is your best friend right now.
The chemical reaction that hardens epoxy is surprisingly sensitive to its surroundings, especially temperature and humidity. Trying to let it cure in a cold, damp garage will dramatically slow things down and can lead to a much weaker bond.
Creating the Ideal Curing Environment
For the strongest possible patch, you need to give the epoxy a little help by controlling the conditions. The sweet spot for most epoxies is a temperature range between 70°F and 80°F (that’s 21°C to 27°C).
If your workspace is on the chilly side, a simple heat lamp can make all the difference. Just be sure to place it a safe distance from the tank. You're not trying to bake the repair—just provide gentle, consistent warmth. Getting it too hot can actually make the epoxy cure too fast, leaving it brittle.
Key Takeaway: Curing isn't just about waiting. It's an active chemical process. Giving the epoxy the right temperature and enough time to fully cross-link is what guarantees it can handle years of vibration and constant fuel exposure.
Most of the fuel-resistant epoxies I've used need a solid 24 hours to reach a full, fuel-proof cure. Always double-check the manufacturer’s instructions, as times can vary. Even if the patch feels hard to the touch after a few hours, the internal chemical structure is still settling in. You'll see similar principles at play in other heavy-duty jobs, like those covered in our guide to epoxy fiberglass repair.
Performing a Final Leak Test
Once the epoxy has fully cured according to the product guidelines, don't just bolt the tank back on and hope for the best. A quick and easy leak test gives you total peace of mind that your patch is 100% sealed. This is one step you absolutely cannot skip—it can save you from a dangerous and expensive mess later.
Here’s a safe and effective way to test your work:
- Seal It Up: Get the tank completely sealed by capping all the openings except for one.
- Add a Little Pressure: Use an air compressor with a good regulator to introduce a tiny bit of air pressure. I’m talking no more than 2-3 PSI. Anything higher risks damaging the tank itself.
- Spray It Down: Mix some dish soap and water in a spray bottle. Give your entire repair area a good, thorough spray.
- Watch for Bubbles: Now, look closely. If you see any bubbles forming, even tiny ones, you’ve got a leak.
If a leak shows up, don't panic. Just sand the leaky spot down again, clean it thoroughly with isopropyl alcohol, and apply another thin layer of epoxy right over the pinhole. Let it cure completely, then test it again. Only after it passes the bubble test is it ready to be reinstalled.
Common Questions About Epoxy Gas Tank Repairs
Even with a step-by-step guide, it's totally normal to have a few questions rolling around in your head. Tackling a plastic gas tank repair epoxy job is a specific skill, and we see a lot of the same great questions pop up from folks doing it for the first time. Let’s clear up some of the most common ones.
How Long Will an Epoxy Gas Tank Repair Actually Last?
This is the big one, and the short answer is this: when you do it right, an epoxy repair is permanent. It will absolutely last for the rest of the vehicle's or equipment's life.
But—and this is a big but—its lifespan hinges on three critical things:
- You must use a high-quality, fuel-rated epoxy. This isn't the place to cheap out.
- Surface prep has to be meticulous. This is what creates that unbreakable chemical bond.
- Your application technique needs to be spot-on. You're building an integrated, structural patch.
A rushed job with the wrong stuff might get you a few months before it fails. A proper, careful repair with the right materials? That thing is built for the long haul, lasting for years.
Expert Insight: Don't think of it as a patch. Think of it as a chemical weld. You're literally creating a new, fused section of the tank wall that’s often stronger than the original plastic around it.
Can I Repair the Tank While It Is on the Car?
We get why you'd ask, but the answer is a hard no. It might seem like a brilliant shortcut, but trying to patch a tank still on the vehicle is both incredibly dangerous and pretty much guarantees the repair will fail.
There's just no way to completely drain every last drop of fuel, properly clean the surface, or scuff up the plastic to get the grip the epoxy needs. It's a recipe for a weak bond.
More importantly, you're working right next to highly flammable gasoline fumes. A single stray spark from the car's electrical system could be catastrophic. For your own safety and for a repair that actually works, always take the tank off.
What Happens If I Mess up the Epoxy Mixing Ratio?
The mix ratio on a two-part epoxy is pure chemistry, not a friendly suggestion. If you stray from the manufacturer's specified ratio (usually 1:1), the chemical reaction that cures the epoxy simply won't happen correctly.
Get it wrong, and one of two things will happen. Add too much hardener, and your patch will cure brittle, making it prone to cracking under normal vibrations. Go the other way with too much resin, and it will never fully harden. You’ll be left with a soft, gummy disaster that gasoline will chew right through. Always mix the exact ratio for a reliable, rock-solid cure.
For any repair, the quality of your materials is what guarantees a lasting result. At Better Boat, we've engineered our epoxy systems for maximum strength and chemical resistance, giving you the confidence to tackle critical repairs yourself. Explore our full range of maintenance solutions and see why over a million customers trust our products for their projects. Visit us at https://www.betterboat.com to get started.


