Repairing Gelcoat Scratches: Expert Tips for a Flawless Finish
Dealing with gelcoat scratches is usually a pretty manageable job. For the most part, you'll be cleaning up the damaged spot, filling it with a gelcoat paste that matches your boat's color, and then sanding and buffing it until it disappears into the surrounding finish.
If you're just looking at minor scuffs, a little wet sanding and a good boat polish might be all you need. However, for those deeper gouges, you'll have to break out the filler and put in some more elbow grease on the finishing.
What Is Gelcoat and Why Scratches Matter

Think of gelcoat as the tough, glossy skin on your boat. It’s a pigmented polyester resin that gives your vessel its vibrant color and shiny finish, but its real job is much more critical: protecting the fiberglass laminate underneath. This protective layer is the first and most important line of defense against two of fiberglass’s worst enemies: water and UV radiation.
When a scratch breaks through this barrier, it’s not just a cosmetic flaw. Even a small nick can create a tiny channel for moisture to seep into the fiberglass structure. Over time, this can lead to nasty blisters or even delamination. On top of that, UV rays can start to break down the exposed fiberglass, making it brittle.
Identifying the Damage You Are Repairing
Not all scratches are the same, and the first step to a solid repair is knowing exactly what you're up against. Getting this wrong can mean your patch fails quickly or just never looks quite right.
- Surface Scuffs: These are the lightest of the bunch, just faint abrasions that haven't actually broken through the gelcoat. They often show up as dull or discolored marks and can typically be buffed out or removed with some careful wet sanding.
- Minor Scratches: You can feel these with your fingernail, but they haven't gone all the way through the gelcoat layer. These are the perfect candidates for a straightforward gelcoat paste repair.
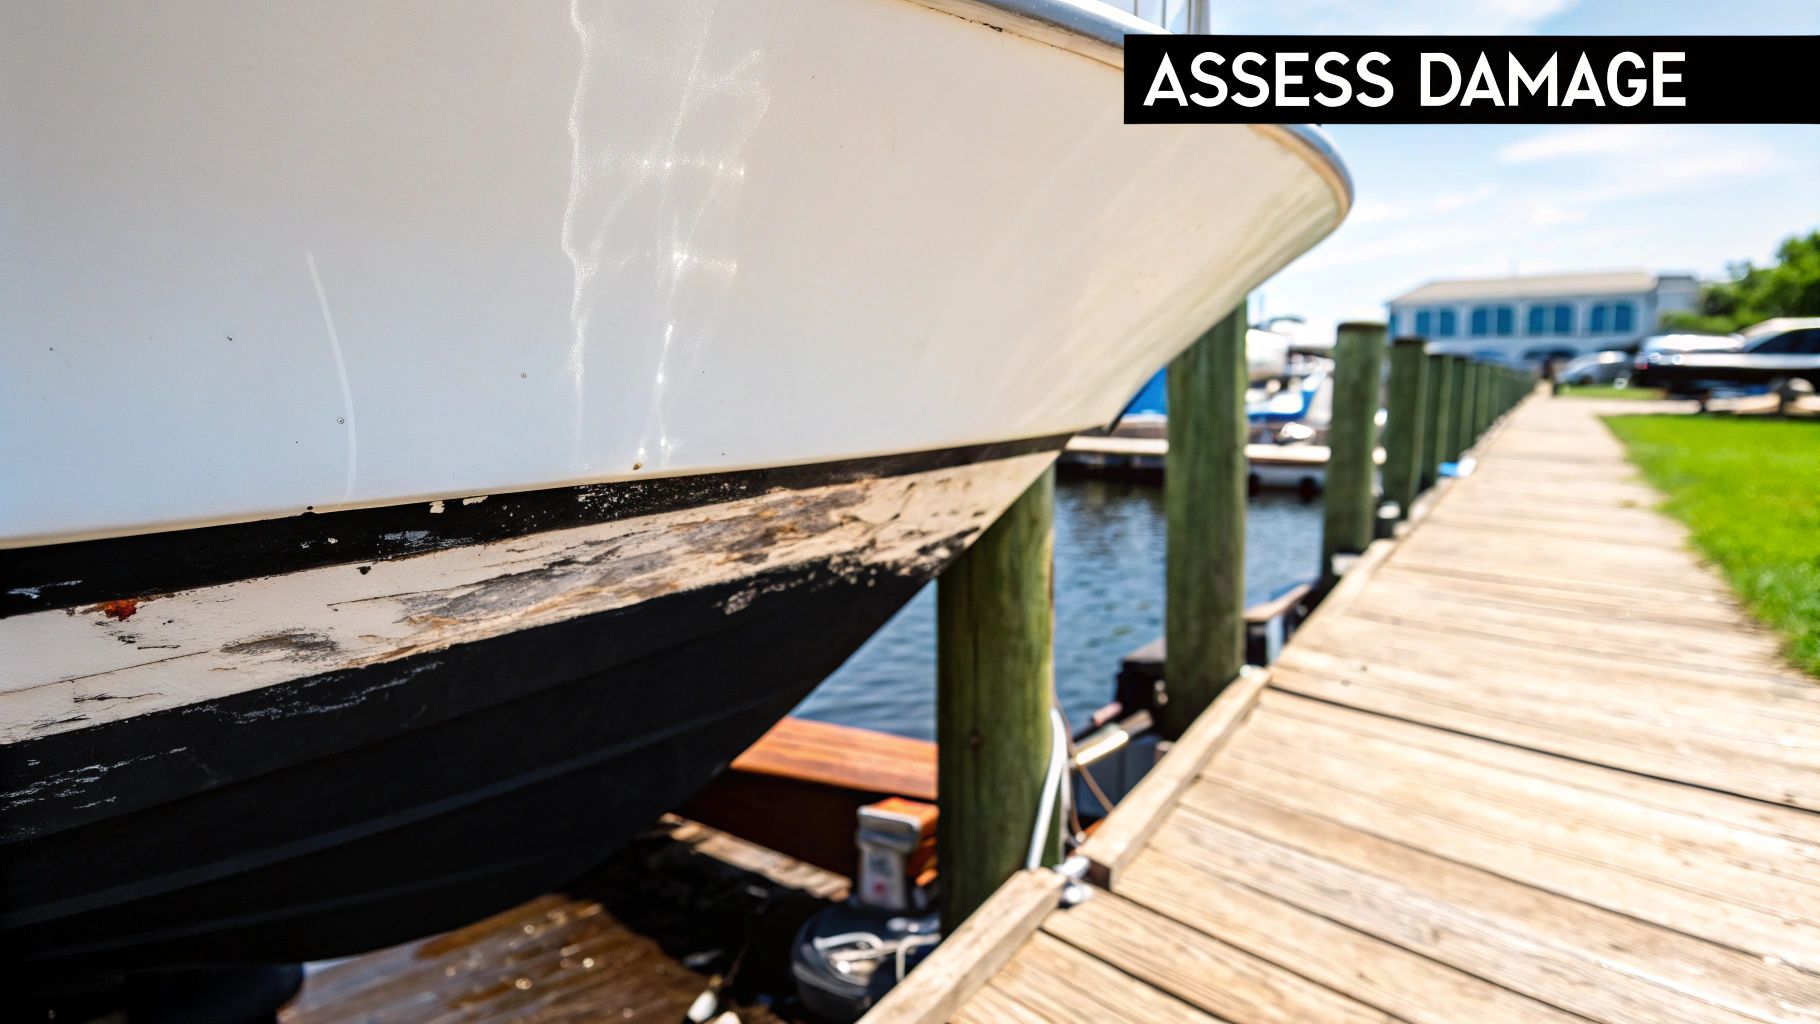
- Deep Scratches and Gouges: These are the serious ones. If you can see the dark, fibrous pattern of the fiberglass matting underneath, you’ve got a deep gouge. This needs to be addressed immediately to stop water from getting in. For these deeper wounds, a more thorough approach to boat gelcoat repair is absolutely essential.
Key Takeaway: Ignoring a gelcoat scratch is like ignoring a small leak in your roof. It seems minor at first, but it can lead to major, expensive structural damage if you let it go.
This reliance on gelcoat for protection is huge in the marine and automotive worlds. The global gelcoat market was recently valued at around $1.3 billion, a number driven by the need for durable, protective finishes.
To help you get started, here's a quick reference table. Use it to size up the damage on your hull and figure out the best way to tackle it. A good diagnosis is half the battle won.
Scratch Severity and Recommended Repair Approach
This table is a quick reference guide to help you identify the type of gelcoat scratch and understand the general repair strategy required for each.
| Scratch Severity | Visual Cues | Primary Repair Method |
|---|---|---|
| Surface Scuff | Dull area, faint mark, can't be felt with a fingernail. | Buffing with a polishing compound or light wet sanding. |
| Minor Scratch | A visible line that catches a fingernail but doesn't show fiberglass. | Fill with color-matched gelcoat paste, then sand and polish. |
| Deep Gouge | Obvious depth, you can see the dark, fibrous pattern of the fiberglass. | Clean and prep the area, fill with gelcoat paste (may need multiple layers), extensive sanding and finishing. |
By correctly identifying the scratch, you're setting yourself up for a repair that not only looks professional but also properly protects your boat for the long haul.
Gathering Your Essential Repair Tools and Materials

Before you even think about touching that scratch, let’s talk about getting your gear in order. Trust me, having everything you need within arm's reach is the difference between a pro-level repair and a frustrating mess. I've seen too many people rush this step only to end up with a patch that sticks out like a sore thumb or fails after a season.
The star of the show, of course, is the gelcoat repair paste. If you have a newer boat, you might get lucky and find a perfect color match directly from the manufacturer. For the rest of us with older or sun-faded hulls, a color-matching kit is the way to go. These usually have a neutral base and a few pigments, letting you mix and test small batches until you nail the exact shade of your hull.
Your Core Repair Checklist
Beyond the gelcoat itself, there are a few other items that are absolutely non-negotiable. Each one has a critical job to do in making that scratch disappear for good.
- MEKP Catalyst: This is the magic liquid that hardens your gelcoat. Getting the ratio right is everything. Too little, and you’ll have a sticky mess that never cures. Too much, and the patch can become brittle and crack.
- Safety Gear: Don't even think about skipping this. You absolutely need chemical-resistant gloves, safety goggles, and a respirator designed for organic vapors. These resins are no joke, and your health comes first.
- Acetone or a Dewaxing Solvent: This is your prep cleaner. It cuts through any wax, grease, or grime on the surface, which would otherwise ruin the bond and cause your repair to fail.
- Mixing Cups and Stir Sticks: Grab a few clean, disposable cups for mixing your gelcoat. You’ll be working with small, precise amounts.
Pro Tip: If you're just fixing one or two minor dings, a complete gelcoat repair kit is easily the most convenient and budget-friendly choice. For bigger jobs or if you own a few boats, buying your materials in larger quantities will save you money in the long run.
Sanding and Finishing Supplies
This is where the artistry comes in. Getting that perfectly smooth, invisible blend is all about the sanding and polishing process.
First, grab some masking tape to create a clean border around the scratch and protect the good gelcoat. You'll also need a few small plastic spreaders to work the gelcoat paste into the repair area.
For the finishing work, you’ll need a progression of wet/dry sandpaper. I usually start with something around 320-grit to knock down the fresh patch and level it, then work my way up through finer grits to at least 1000-grit to get it baby-smooth. To finish it off, a good quality rubbing compound followed by a protective marine wax will bring back that factory gloss and seal your repair from the elements.
Preparing the Damaged Area for a Flawless Repair

This is where your patience really pays off. If you want a professional-looking, long-lasting gelcoat repair, it all starts with meticulous prep work. Trust me, rushing this stage is the number one reason I see patches that fail or look painfully obvious. Let's break down how to get it right.
First things first, you need to give the area a serious cleaning. The surface around the scratch is undoubtedly covered in wax, grime, oil, and other contaminants you can't even see. If you leave them there, the new gelcoat won't be able to form a solid chemical bond with the old surface.
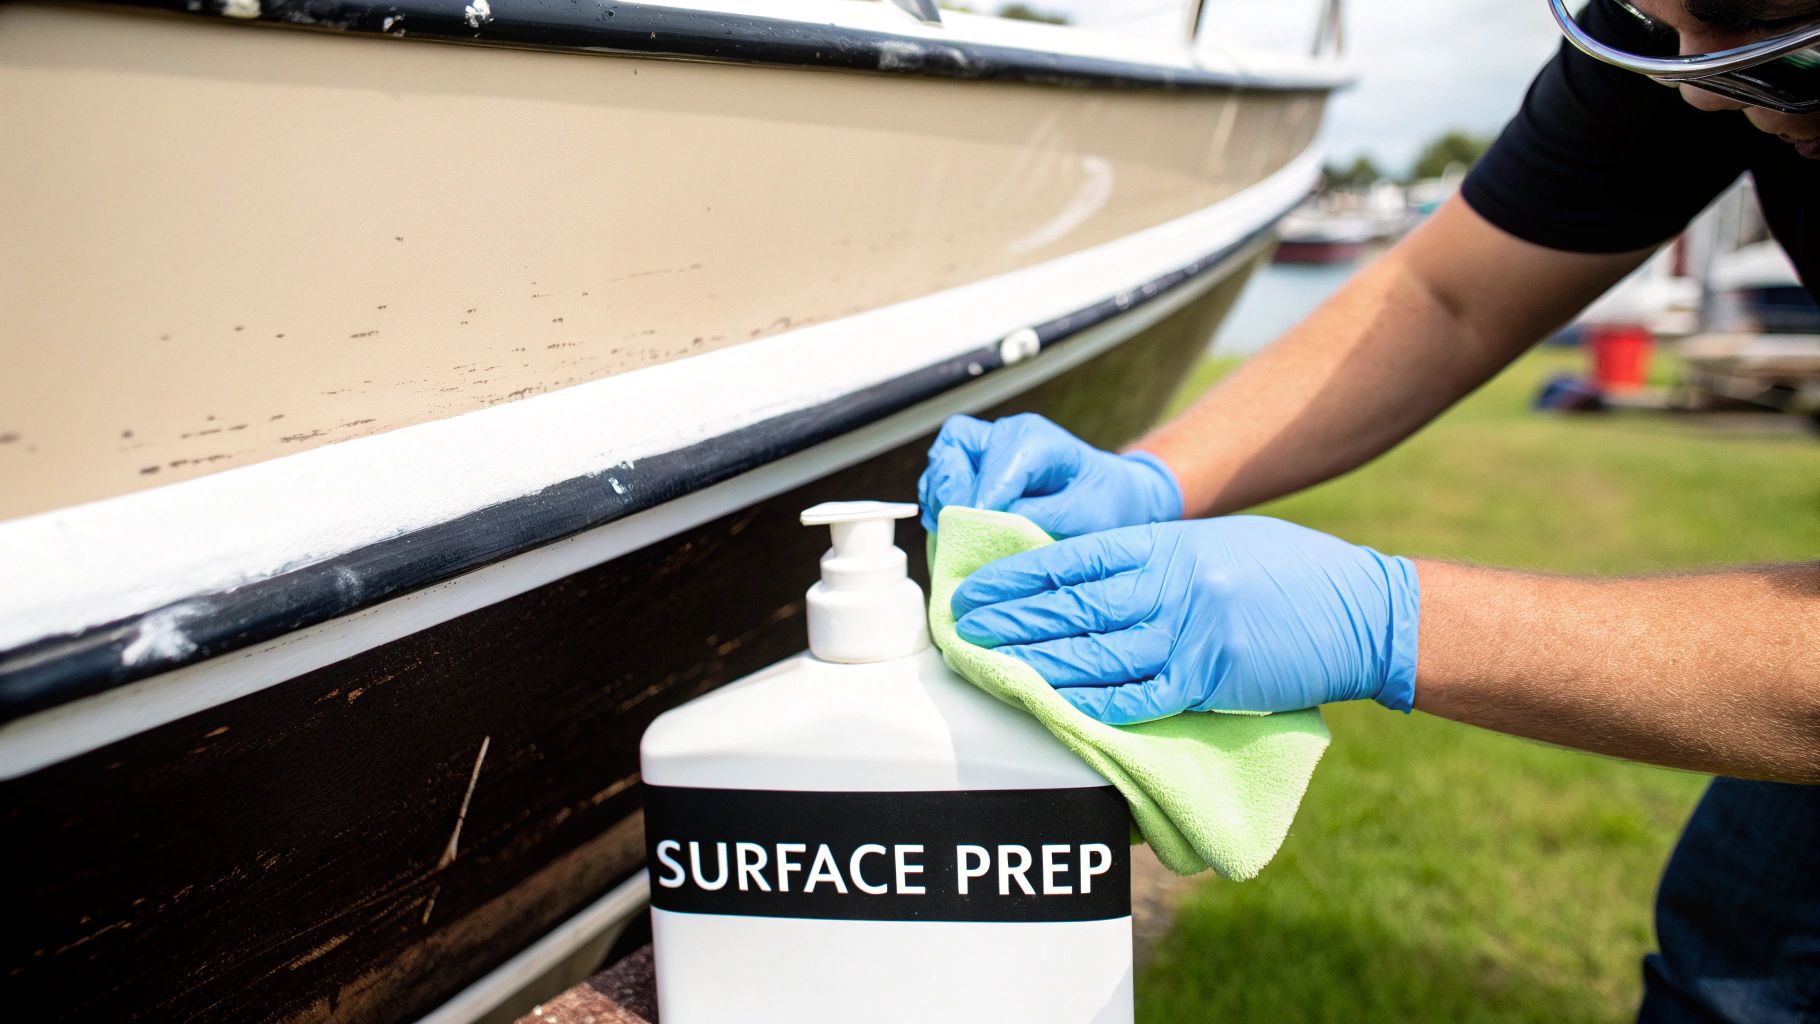
To get rid of all that gunk, grab a clean rag soaked in a good solvent like acetone. Always wear your chemical-resistant gloves and respirator for this part. Wipe down the entire work area generously to create a pure, clean surface. This is the foundation for a permanent repair.
Widening the Scratch for a Stronger Bond
For any scratch that's more than a light, surface-level scuff, you'll need to open it up a bit. A tight, narrow gouge just doesn't give the new gelcoat paste enough surface area to grab onto, which can lead to a weak patch.
The fix is to grind out the scratch into a subtle "V" shape. You can use a rotary tool like a Dremel with a pointed grinding bit, or even just the sharp corner of a good scraper. The goal isn't to make it massively wider, but simply to create beveled edges. This simple move dramatically increases the bonding surface area and makes the final repair significantly tougher.
Expert Tip: When you're V-ing out the scratch, the idea is to get right to the bottom of the damage without grinding into the fiberglass laminate underneath. Take it slow and let the tool do the work. The last thing you want is to create an even bigger repair job for yourself.
After grinding, it's time for one more careful wipe-down with acetone. This will clear away all the dust and debris you just created, leaving the area perfectly prepped and ready for the next step.
Masking for Clean and Professional Edges
Your final prep task is to mask off the surrounding area. This does two critical things: it protects the perfectly good gelcoat from accidental scuffs or drips, and it helps you create a crisp, defined repair line that's much easier to blend in later.
Use a high-quality masking tape to create a neat border about a quarter-inch around the prepared scratch. It’s a small detail, but it makes cleanup a breeze and helps contain the repair paste, giving you a much more professional-looking result in the end.
This careful preparation isn't just a chore; it’s an investment in the quality of your finish. It's a critical step in repairing gelcoat scratches, a common task for any boat owner. With recreational boating seeing a 3% increase in sales recently, the need for good maintenance is only growing. This demand is a key driver in the pleasure boat gelcoat market, which was valued at around USD 1.2 billion and continues to expand. You can learn more about how these market trends impact boat maintenance.
Applying and Curing New Gelcoat Like an Expert
With your prep work done, it's time to move on to the most critical part of the job: applying the new gelcoat. This is where your patience and precision really pay off, and it's the step that makes or breaks the entire repair.
First things first, you need to mix your gelcoat paste with its hardener, which is a chemical called methyl ethyl ketone peroxide (MEKP). This is the catalyst that kicks off the curing reaction. Getting this ratio right is non-negotiable. Add too little, and you’ll end up with a tacky, sticky mess that never fully hardens. Add too much, and the gelcoat cures too quickly, making it brittle and likely to crack down the road. Stick to the manufacturer's directions like glue—this is usually a 1-2% catalyst ratio by volume.
The Application and Curing Process
Once that catalyst is in, the clock starts ticking. You typically have about 10-15 minutes of working time in ideal temperatures (think 70-85°F) before the gelcoat starts to set up.
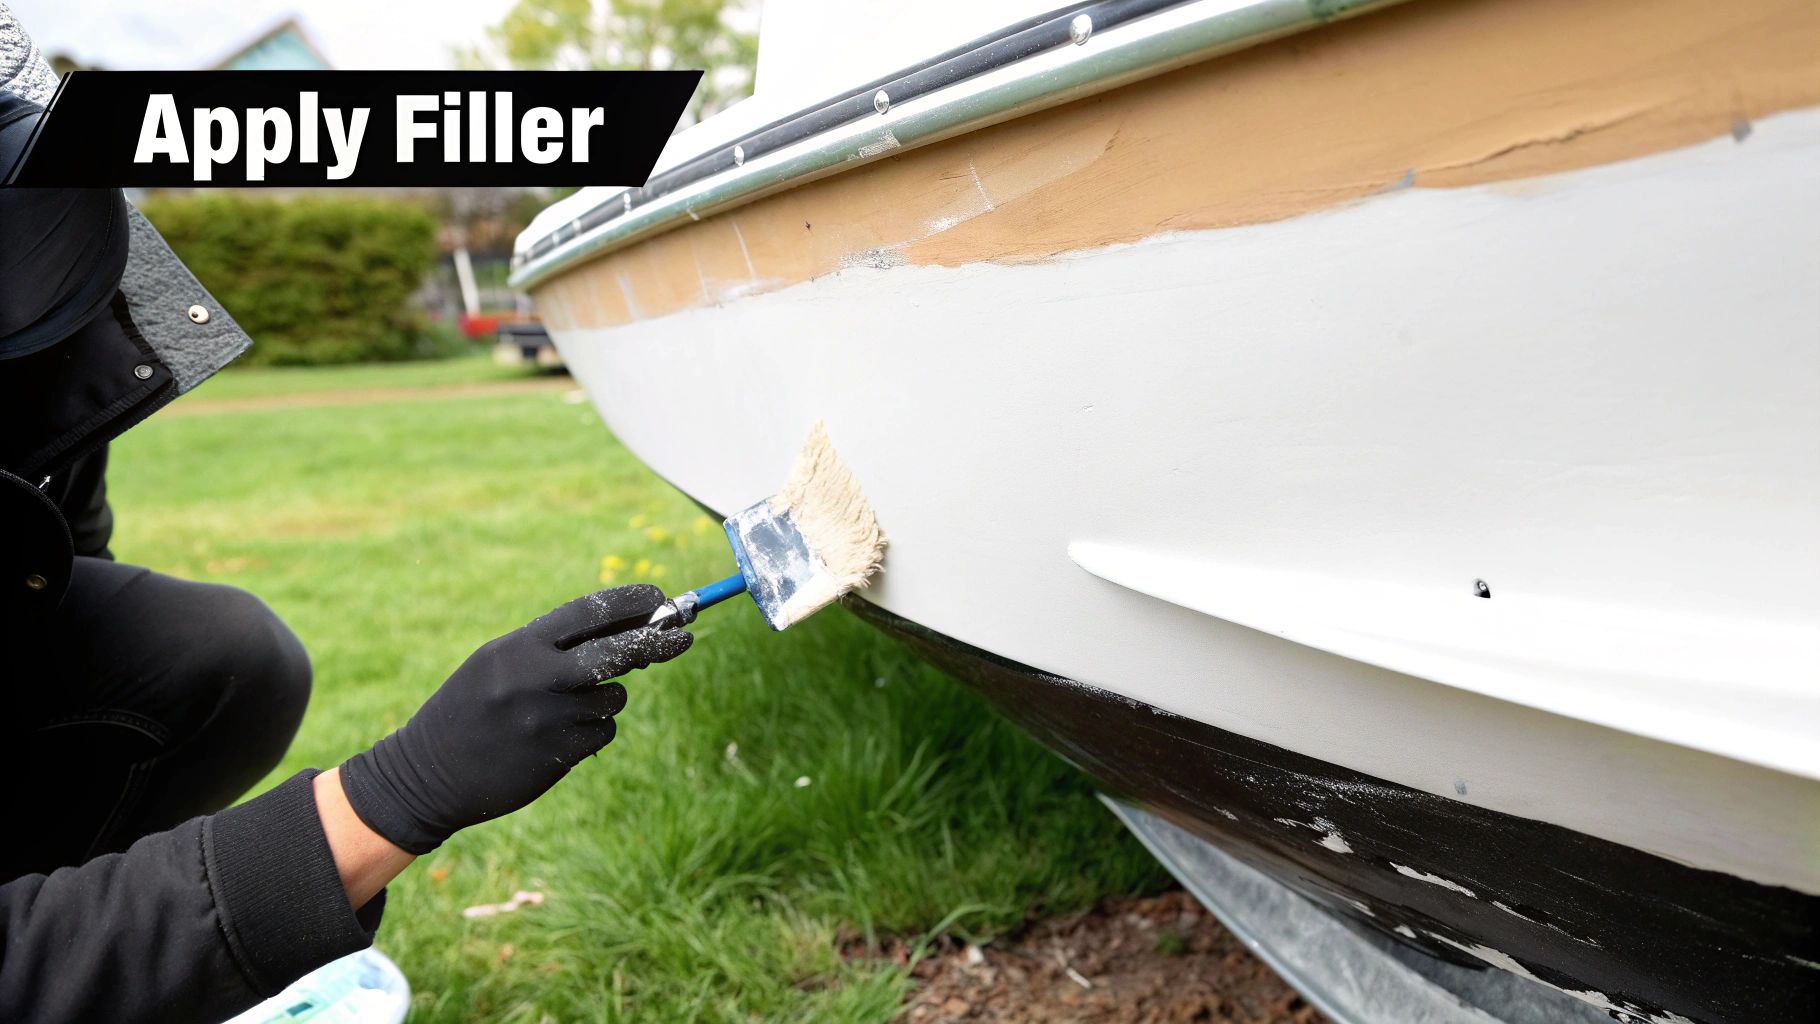
Grab a small plastic spreader and firmly press the gelcoat mix into the scratch. The real trick here is to overfill the area just slightly. Polyester resins like gelcoat actually shrink a bit as they cure. By building up a small mound, you ensure that once it shrinks, the patch will be perfectly level with—or just a hair above—the surrounding surface. This is exactly what you want for sanding it down later.
After filling the scratch, you have to protect the repair from the air. Standard gelcoat is what we call "air-inhibited," meaning it won't cure to that hard, tack-free finish if it's exposed to oxygen.
You've got a couple of solid options for creating this air barrier:
- PVA Curing Agent: Polyvinyl alcohol (PVA) is a liquid you can spray or brush right over the wet gelcoat. It creates a film that blocks oxygen and, best of all, washes away easily with water once the gelcoat is fully cured.
- Plastic Film: You can also use a simple piece of plastic wrap or a specialty Mylar film. Just press it over the fresh gelcoat, smoothing it out carefully to push out any air bubbles, which can leave annoying imperfections in the final finish.
Key Insight: Your environment has a huge say in how this goes. Warm temperatures and low humidity will speed up the cure time, while cool, damp weather can slow it down dramatically. A big rookie mistake is working in direct sunlight, which can cause the gelcoat to kick off way too fast and cure unevenly.
Understanding Environmental Impacts
Speaking of the environment, things like UV intensity, temperature swings, and saltwater exposure all play a part in how long your gelcoat lasts. It's just a fact of life for boat owners. For example, boats moored in high-UV areas like Florida or Arizona might need gelcoat touch-ups up to 20-25% more often than boats in milder, northern climates.
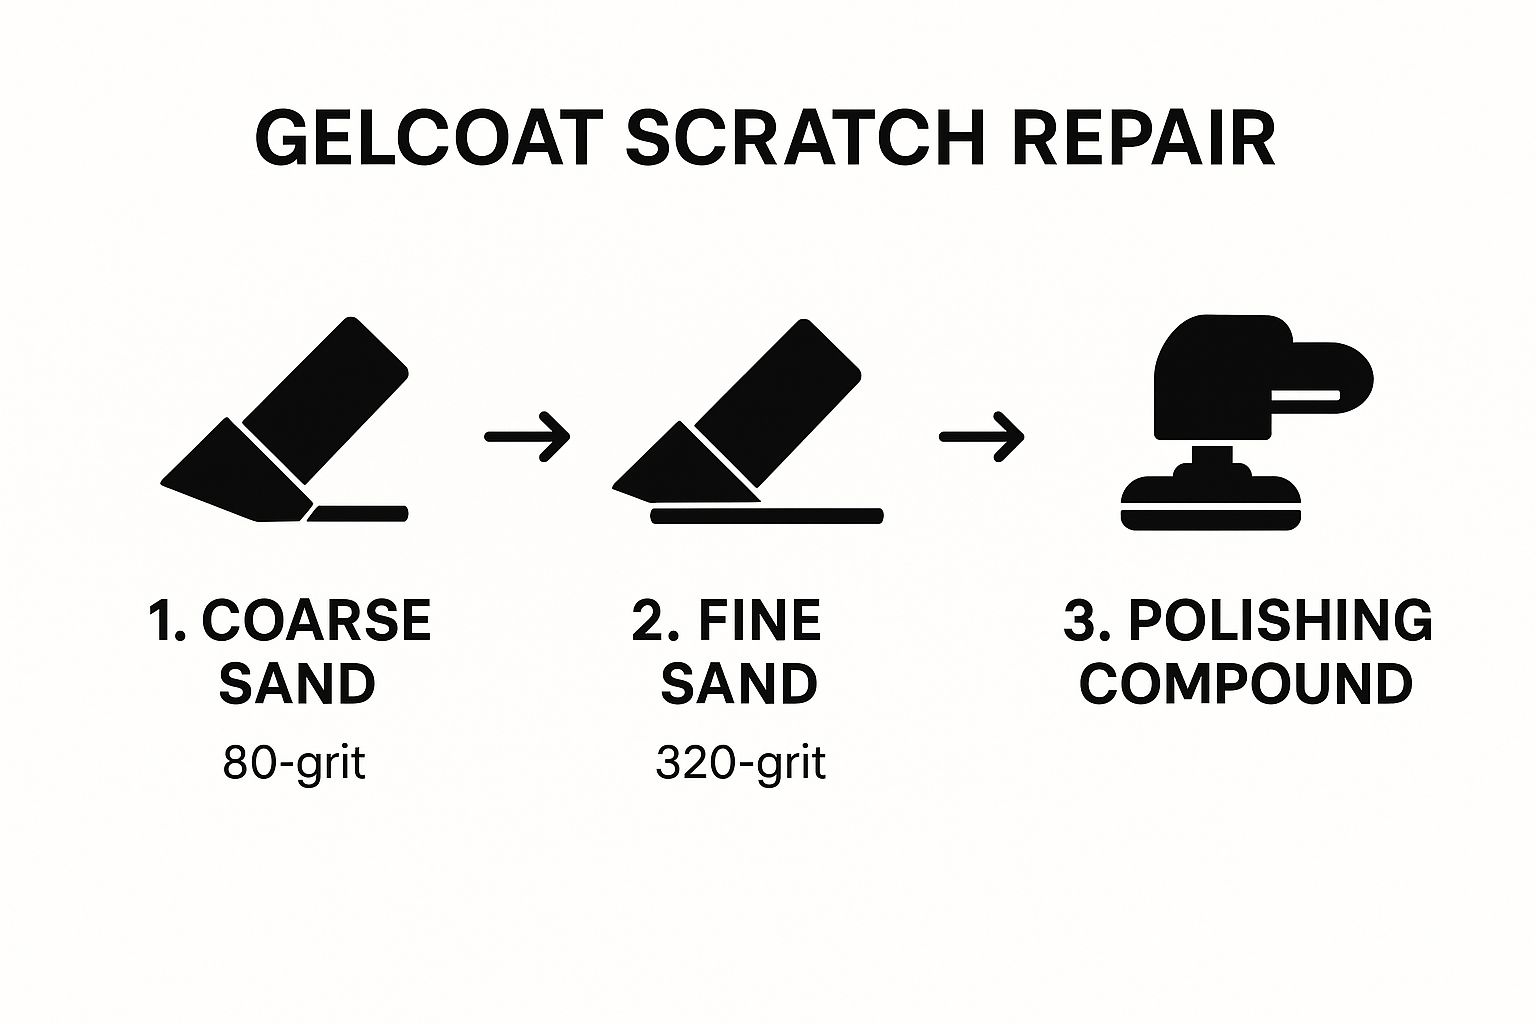
The image below gives you a great visual of the finishing workflow, which is what you'll tackle after the gelcoat has completely cured.

As you can see, getting that invisible, seamless finish is all about a methodical process of sanding—from coarse to fine—and then bringing back the shine with a good polish.
Now, if you're dealing with a really deep gouge that might have compromised the structural integrity of the fiberglass, gelcoat alone isn't the answer. You'll want to fill the bulk of the damage with a stronger material first. We have a whole guide on using epoxy resin for boat repair that walks you through when and how to use it. You'd use epoxy resin for the structural fill and then top it with gelcoat for that perfect, color-matched finish.
Sanding and Polishing for an Invisible Finish
Alright, your gelcoat patch is fully cured. Now for the fun part—this is where all your prep work pays off. We’re about to take that lumpy, dull-looking patch and make it completely disappear into your boat’s hull.
This is the stage that separates a DIY job from a professional one. It’s all about a methodical process of wet sanding and polishing. When you’re done, the repair will be so seamless, you’ll be the only one who knows it was ever there.
Remember how you overfilled the scratch? That was on purpose. The goal now is to carefully sand that raised area down until it’s perfectly level with the surrounding gelcoat. Fight the urge to go at it hard and fast; a gentle, patient hand is what gets you that mirror-smooth finish.
For this job, we'll be wet sanding. Using water is a game-changer. It acts as a lubricant, keeping your sandpaper from getting clogged with gelcoat dust and, crucially, preventing you from accidentally gouging new, deep scratches into the surface you just fixed.
The Art of Wet Sanding Your Repair
First things first, grab a sheet of 320-grit wet/dry sandpaper and wrap it around a firm sanding block. Don’t skip the block! Using just your fingers will create pressure points, leading to a wavy, uneven finish that will stick out like a sore thumb.
Dip the block and paper into a bucket of clean water and start sanding the cured patch. Use light, even strokes. The goal is simple: level the overfilled repair until it’s totally flush with the rest of the hull. You'll know you've nailed it when you can run your hand over the area without feeling any hint of a bump.
Once the patch is level, it's time to erase those initial sanding marks. Switch to a finer 400-grit paper and repeat the wet sanding process. From there, you'll continue to move up through progressively finer grits—600-grit, then 800-grit, and finally 1000-grit or even 1200-grit for a truly flawless base. Each new grit systematically buffs out the finer scratches left by the one before it.
Pro Tip: Keep the repair area consistently wet while you work, and don't be shy about rinsing the sandpaper in your bucket often. A clean cutting surface is key to getting the smoothest possible finish before you even think about polishing.
Bringing Back the High-Gloss Shine
After that final round of sanding, the area will be perfectly smooth but will have a hazy, dull look to it. Don't panic—this is exactly where you want to be. The next step is all about restoring that brilliant, factory-new shine using rubbing compounds.
You can tackle this by hand with a clean microfiber cloth, but a machine polisher on a low-speed setting will get you there much faster. Start with a more aggressive cutting compound. These polishes have abrasives designed to quickly buff out the super-fine scratches left by the 1000 or 1200-grit paper.
Apply a small dab of compound and work it into the surface with firm, overlapping circular motions. After a minute or two, you'll see that haze start to vanish, replaced by a deep, satisfying gloss.
When you're happy with the results from the cutting compound, it's time to refine it even further. Switch to a less aggressive finishing polish and a clean pad. This last step removes any tiny swirl marks from the initial compounding and really brings the shine to its absolute maximum potential.
Protecting Your Perfect Repair
With the polishing done, your gelcoat scratch should be completely invisible. There's just one last, vital step: protecting all your hard work. Applying a coat of high-quality marine wax over the repaired area not only shields the new gelcoat from UV damage and grime but also helps it blend perfectly with the rest of the hull's finish.
For more in-depth tips on this final touch, check out our complete guide on how to wax a boat to ensure your repair stays protected for the long haul.
Got Questions About Your Gelcoat Repair? I've Got Answers.
Even when you've got the process down, gelcoat repair can throw you a curveball. You're in the middle of the project, everything's going smoothly, and then a question pops up that wasn't in the instructions. Having the right answer can be the difference between a pro-level finish and a do-over. Here are a few of the most common questions I hear from fellow boaters.
A big one is about working conditions. Lots of people assume working in the hot sun will help the gelcoat cure faster. It seems logical, but it's one of the quickest ways to ruin a repair.
Expert Insight: Working in direct sunlight or high heat is a recipe for a failed repair. The gelcoat will "kick" or start to harden far too quickly. This makes it brittle and much more likely to crack down the road. You'll get much better results in a shaded, well-ventilated space.
The sweet spot for most gelcoat products is somewhere between 60-80°F (15-27°C). If it's too cold, the cure will drag on forever, or might not happen at all.
How Do I Get a Perfect Color Match?
Trying to match the color on an older hull that's seen its share of sun can feel impossible. If you've got a newer boat, your first move should be to call the manufacturer. You might just get lucky and be able to buy the exact factory gelcoat, which takes all the guesswork out of it.
For the rest of us with older boats, a color-matching kit is your ticket. These kits usually have a white or neutral base and a handful of pigments. The real trick here is patience. Mix up tiny test batches on a scrap piece of cardboard or plastic. Critically, you need to let them cure completely before you judge the color. The shade can shift a bit as it hardens, so don't rush this step.
What if My Gelcoat Repair Stays Sticky?
That tacky finish is a classic, frustrating problem. It almost always points to one of two culprits: either the gelcoat wasn't sealed off from the air while it was curing, or your catalyst ratio was off.
- Air Inhibition: Most gelcoats are "air-inhibited," which is a technical way of saying they won't fully harden if they're exposed to oxygen. You have to cover the fresh patch with a PVA curing agent or even just a simple piece of plastic film to create that necessary barrier.
- Incorrect Catalyst Ratio: Too little MEKP catalyst, and the chemical reaction just won't have enough juice to finish. It's a common mistake when you're eyeballing the measurement.
Sometimes you can salvage a tacky surface by giving it a firm wipe with acetone. If that doesn't harden it up, you'll unfortunately have to bite the bullet, sand it down, and start over. This time, be meticulous about your air barrier and catalyst measurements.
At Better Boat, we know that having the right products and clear guidance makes all the difference. Equip yourself for a perfect repair every time with our professional-grade boat care supplies. Explore our full range of cleaning and maintenance solutions at betterboat.com and keep your vessel in pristine condition.


