


Mastering the Salt Away Engine Flush
A salt away engine flush is a post-saltwater rinse that runs a salt-removing solution through your outboard, sterndrive, inboard, or PWC cooling passages. Fresh water helps, but a dedicated salt remover is the better choice when you want to dissolve salt crystals before they harden around the thermostat, impeller, and water jackets.
Quick engine-flush setup: Use De-Salt Concentrate Salt Remover and Flusher with a hose-end mixer and the right motor muffs. For most outboards and sterndrives, rectangle motor muffs or round motor muffs feed the solution through the cooling intakes.
Why Saltwater Is Your Engine's Worst Enemy
Saltwater is the absolute nemesis of your boat's engine. It works around the clock to eat away at critical components from the inside out. A quick spray-down with a garden hose might feel like you're doing something, but honestly, it's not nearly enough. The real problem is the salt crystals that get left behind.
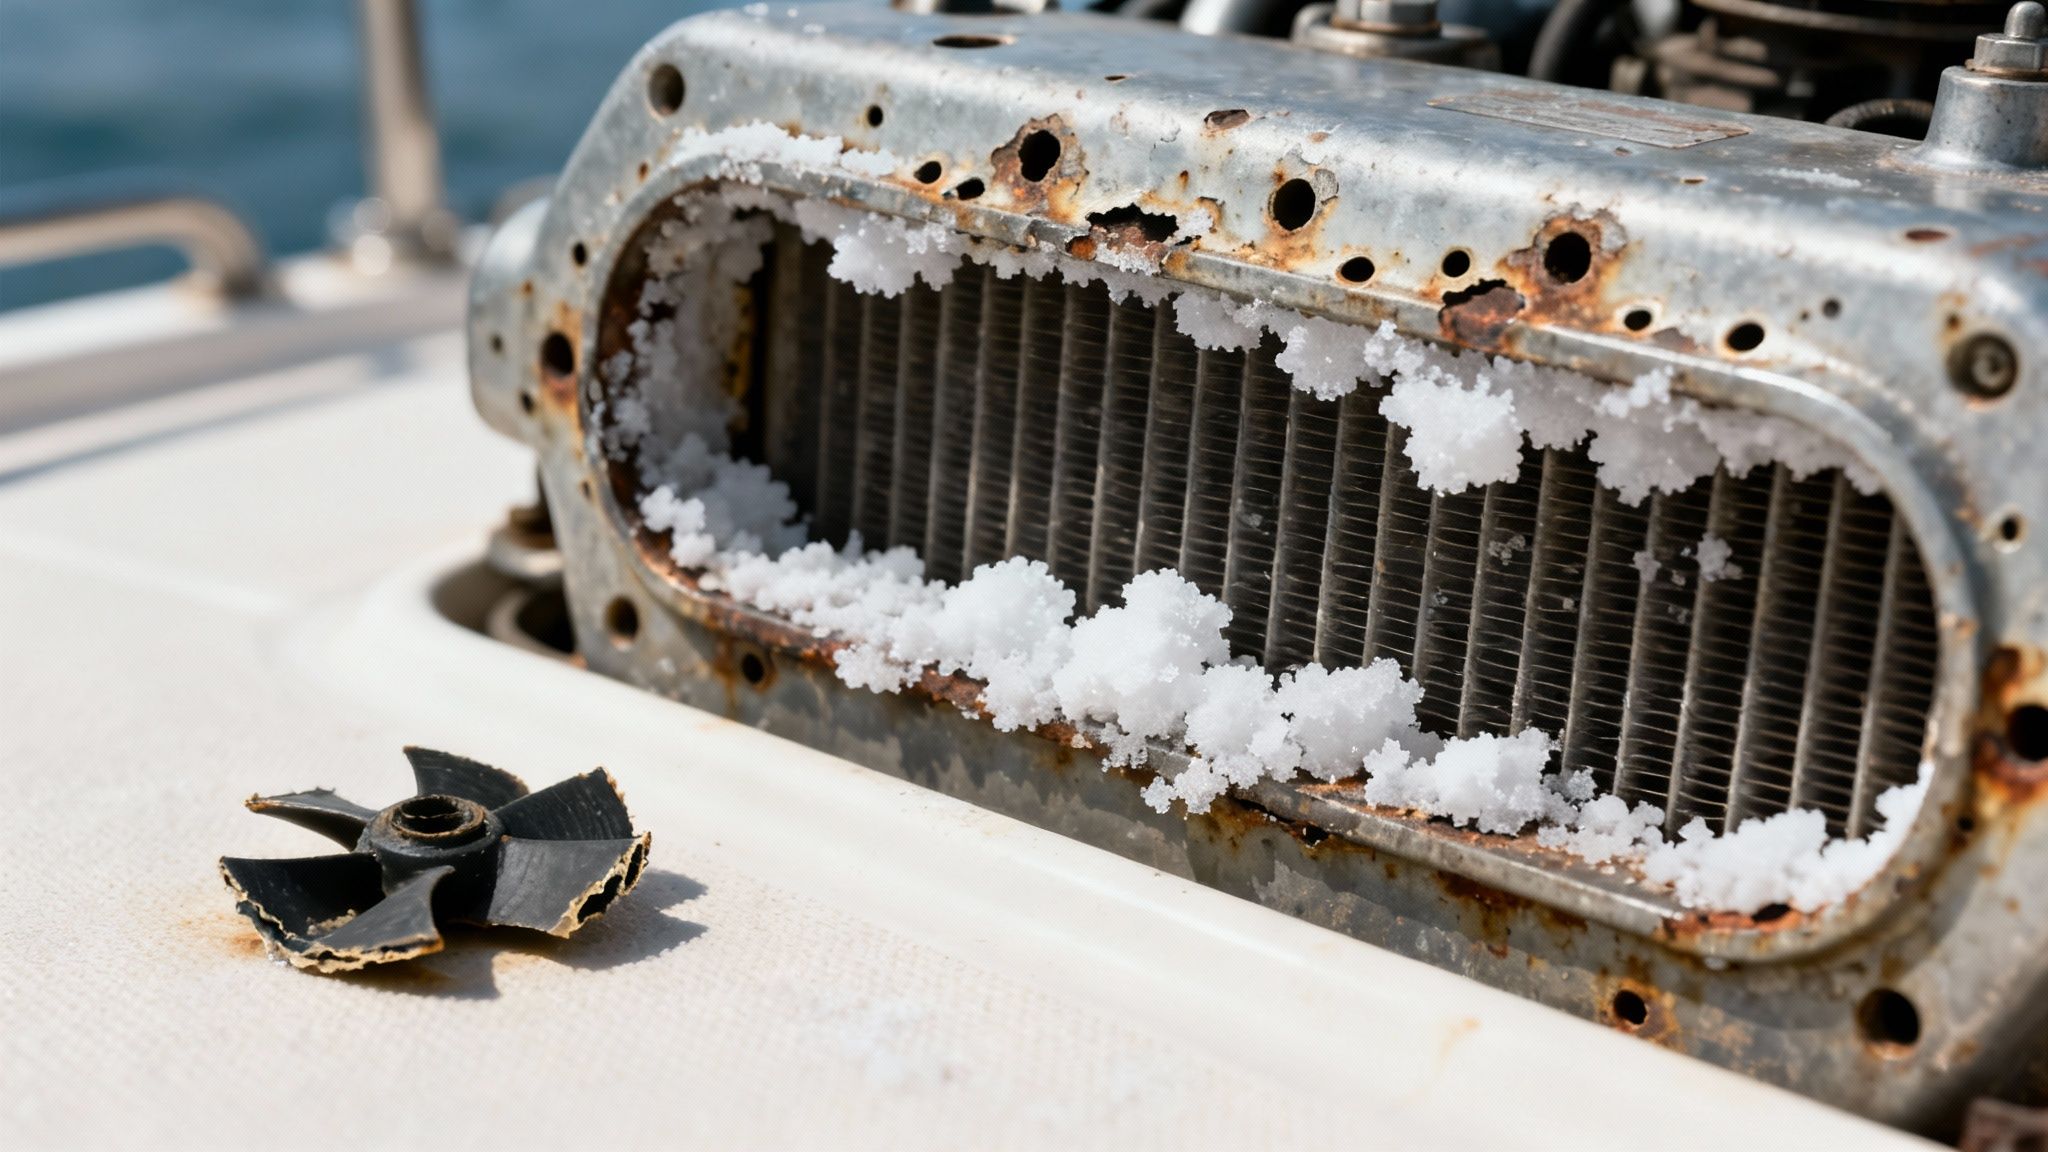
Here's what happens: as the water evaporates from your engine's cooling passages, thermostat, and water pump impeller, it leaves behind concentrated salt. These deposits dig in deep, acting like tiny, corrosive sponges that pull moisture right out of the air. This kicks off a process called galvanic corrosion, which silently chews away at the metal long after your boat is trailered.
The Science of Salt Damage
The damage starts small but can quickly turn into a nightmare. Here’s a look at what’s really going on inside your engine:
- Blocked Cooling Passages: Salt builds up, narrows, and can eventually clog the small passages your engine relies on for cooling. This is a fast track to overheating and, in the worst case, a seized engine.
- Thermostat Failure: Those little salt crystals can make your thermostat stick open or shut, messing with your engine’s ability to run at the right temperature.
- Impeller Degradation: The rubber impeller in your water pump doesn't stand a chance against abrasive salt deposits. It can become brittle and fail, which means no cooling water is being pumped at all.
This internal attack wrecks performance and kills reliability, turning what should be a preventable maintenance task into a huge, expensive repair job. To really fight back, you need something that can neutralize and remove salt on a chemical level.
"Simply rinsing with fresh water only removes surface salt. The real damage comes from the salt crystals that have already formed and adhered to internal surfaces. An active salt remover is the only way to dissolve these deposits and halt the corrosion cycle."
Beyond Rinsing to Active Treatment
This is exactly why a dedicated salt-removing flush is a game-changer. Products with formulas engineered to break down stubborn salt in less than a minute, neutralizing the corrosive elements and leaving a protective barrier, are essential for saltwater boaters.
Understanding just how aggressive saltwater is is the first step. By making a proper flush part of your regular routine, you’re ensuring your engine stays reliable and ready for your next trip out. For a broader look at protecting the rest of your boat, check out our guide on fighting salt corrosion on boats.
Gearing Up for the Perfect Flush
Turning your post-trip engine flush from a chore into a quick, effective routine starts with having the right gear ready to go. You don't want to be scrambling for a hose or the right adapter after a long day on the water. Taking a few minutes to get organized beforehand makes a huge difference in protecting your engine.
The heart of the operation, of course, is the salt remover itself. A quality concentrate is what you need to chemically neutralize those corrosive salt deposits. Our own Better Boat De-Salt Concentrate is formulated not just to dissolve salt but also to leave behind a protective coating, which really simplifies your ongoing maintenance.
The Essential Flushing Toolkit
| Item | Why it matters | Better Boat fit |
|---|---|---|
| Salt remover concentrate | Dissolves salt deposits a plain rinse can leave behind. | De-Salt Concentrate |
| Hose-end mixer or flush kit | Meters the solution while water runs through the cooling system. | Boat Soap Wash Sprayer and Engine Flush Kit |
| Motor muffs | Seals over outboard or sterndrive water intakes for a controlled flush. | Rectangle muffs or round muffs |
To get the job done right, you’ll need more than just the solution. Each piece of equipment plays a key role in making sure the salt remover gets into every nook and cranny of your engine's cooling system.
Here's what your primary toolkit should look like:
- A Quality Garden Hose: Do yourself a favor and invest in a good, kink-free hose that’s long enough to reach your boat without a struggle. Fighting with a tangled hose is just frustrating and wastes time.
- A Hose End Mixer: This little attachment is a game-changer. It connects right between your hose and the engine, automatically mixing the concentrate to the perfect ratio. This takes all the guesswork out of the process and guarantees you get a consistent, effective flush every single time.
- Engine-Specific Adapters: How you connect the hose to your engine depends entirely on your setup. You'll need one of the following.
For most outboard and sterndrive engines, engine flushing muffs are the go-to tool. You might hear them called "ear muffs," and they fit right over the water intake vents on the lower unit. Getting a snug fit here is absolutely critical. If the seal is loose, the engine will suck in air instead of water, which can cause it to overheat in a hurry during the flush.
A classic mistake I see all the time is people using old, stiff muffs that just don't seal properly. Before you turn on the water, always give them a quick inspection for cracks and make sure they create a tight fit over the intakes.
Many newer engines, as well as different types like inboards and PWCs, will have a built-in flush port adapter. This is just a threaded connection on the engine cowling designed for a garden hose to screw right in.
Finally, rounding out your kit with a few helpful extras just makes the whole process cleaner and easier. A good pair of gloves will keep the grime off your hands, and having an absorbent marine towel nearby is always a smart move to catch any drips or spills. With these items pulled together, you're ready to tackle the job.

How to Flush Outboard and Sterdrive Engines
Flushing your outboard or sterndrive is easily one of the most critical post-trip routines you can get into. It’s a pretty simple process, but doing it right will add years to your motor's life by getting rid of corrosive salt before it has a chance to settle in and cause real damage. Let’s walk through it like we’re right there on the dock.
First up, get your engine in the right position. You’ll want to trim the motor all the way down so it's vertical, just like it would be when you're running. This simple step lets gravity do its job, helping the water and salt-removing solution drain out completely so no pockets of saltwater get left behind.
Now it's time to hook up the water supply with a good set of engine flushing muffs—you've probably heard them called "ear muffs." These need to fit snugly over the water intake grates on your lower unit. A tight seal here is non-negotiable. If it's loose, your engine's water pump will just suck air instead of water, which can lead to overheating in a hurry and potentially torch your impeller.
This diagram lays out the simple setup for a proper flush.
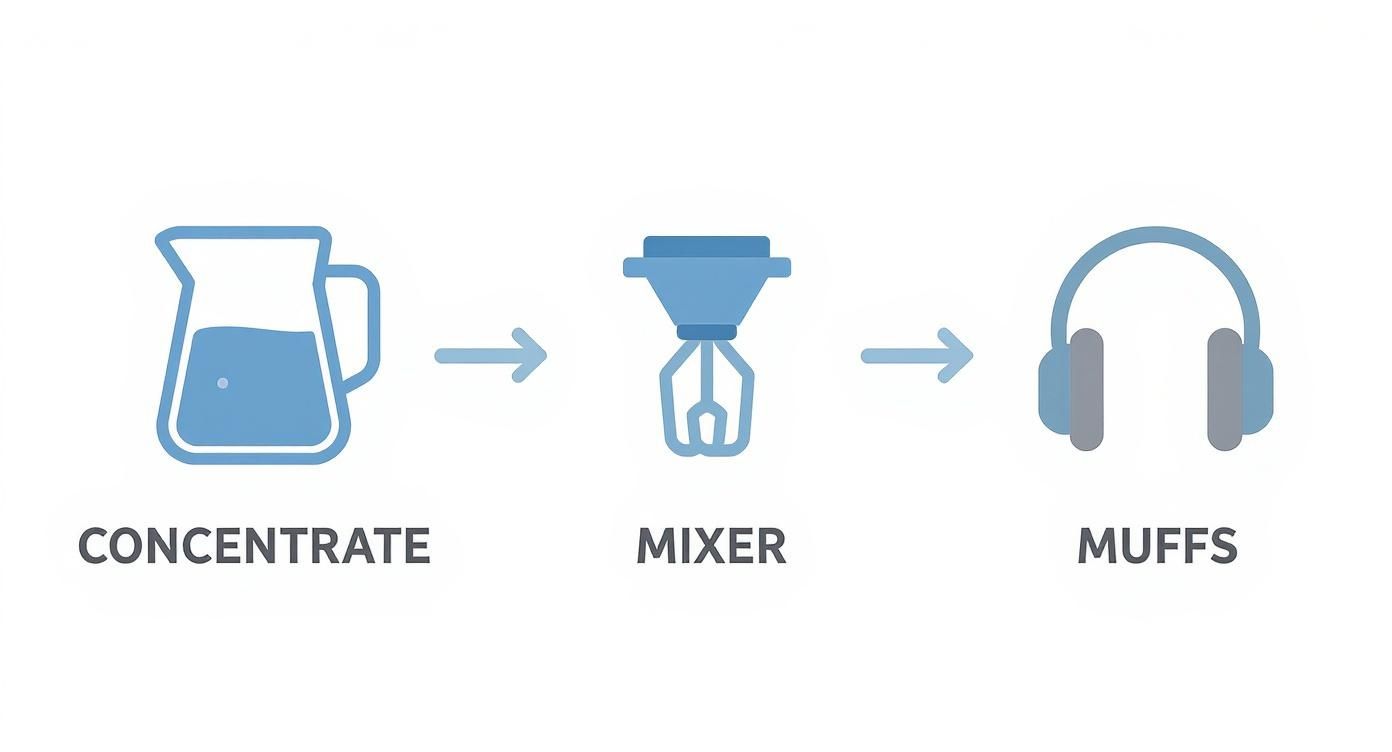
As you can see, the concentrate flows into the mixer, which sends the perfectly diluted solution through the muffs and straight into your engine's cooling system.
The Flushing Sequence
With the muffs clamped on tight, connect your garden hose to your hose-end mixer, and then hook the mixer up to the muffs. Here's a crucial tip: turn the water on first, before you start the engine. You should see water seeping out around the edges of the muffs, which tells you that you’ve got a good water supply ready to go.
Now you can safely fire up the engine. Just let it run at idle speed. Never, ever rev the engine while you’re flushing on muffs; you risk dislodging them or starving the engine of water. Keep an eye out for the "telltale" stream—that little jet of water that shoots out from the back of the engine. That's your proof that the water pump is working and water is circulating properly.
Let the engine idle with just fresh water for a few minutes. The idea is to get it warm enough for the thermostat to open up. Once it opens, water can flow through the entire cooling system, including the engine block and heads. This is the key to making sure the salt remover actually reaches every nook and cranny.
One of the most common mistakes I see is people adding the salt removing solution before the engine is warm. If that thermostat is still closed, the solution only flushes the lower unit, leaving the most important parts of your engine completely unprotected from salt buildup.
Applying the Salt Removing Solution
Once the engine is warm and the water is flowing, it's go-time. Switch your mixer from the "rinse" setting over to the "mix" position. You'll probably see some foamy, soapy-looking water coming out of the exhaust and telltale stream.
Let this solution run through the engine for about 30 to 60 seconds. That’s all the time it needs for the formula to break down the salt and leave a protective coating on the internal passages.
Now for the most important part of the whole process. When your time is up, shut the engine off first, and then turn off the water. Do not rinse the engine with fresh water afterward. A quality salt remover is designed to leave a non-corrosive, protective film inside the cooling system that keeps guarding against rust until your next trip. Rinsing just washes that protection away.
For a great visual walkthrough, you can watch a video on how to properly de-salt your boat motor. After that, just disconnect the hoses and muffs, and you're good to go.
Getting Inboard and Jet Ski Engines Flushed Correctly
When you move from an outboard to an inboard or PWC, the flushing game changes a bit, but the mission is still the same: get the salt out. These engines have their own unique cooling setups, and nailing the right procedure is key to making sure your flush works effectively without causing any harm. Missing a step here can lead to some pretty big headaches.
Unlike an outboard that sucks water up through the lower unit, an inboard engine pulls its raw water through a hull fitting called a seacock. To flush this kind of setup, you’ll need a specific flush kit that lets you feed fresh water and the salt removing solution right into the raw water intake line—after the seacock.
Handling an Inboard Engine Flush
First things first, you need to find your engine’s raw water intake seacock. It’s typically in the engine bay and will have a big valve handle. Now for the most important part of this whole process: you absolutely must close the seacock before you start flushing. If you forget, your garden hose will pump water straight into your boat, which can flood the bilge and cause some serious damage.
With the seacock shut tight, you can connect your flush kit to the intake hose that runs to the engine. Then, hook up your hose-end mixer and garden hose to the kit. The rest of the process is pretty similar to what you’d do for an outboard:
- Turn on the water first. Give your connections a quick check to make sure there are no major leaks.
- Start the engine and let it run at a nice, steady idle.
- Give the engine a few minutes to warm up so the thermostat opens. This is crucial for a complete flush.
- Flip the mixer to the solution setting and let the mixture run through for about 30-60 seconds.
- Always shut the engine off first, and then turn off the water.
Once you're done, disconnect your flushing gear and—this is just as critical as closing it—re-open the seacock. If you forget this final step, you'll starve the engine of cooling water the next time you fire it up on the water.
One of the most expensive mistakes an inboard owner can make is forgetting to close that seacock before flushing. It’s such a simple thing, but missing it can turn a routine maintenance job into an absolute disaster. Always, always double-check that valve.
The Jet Ski and PWC Method
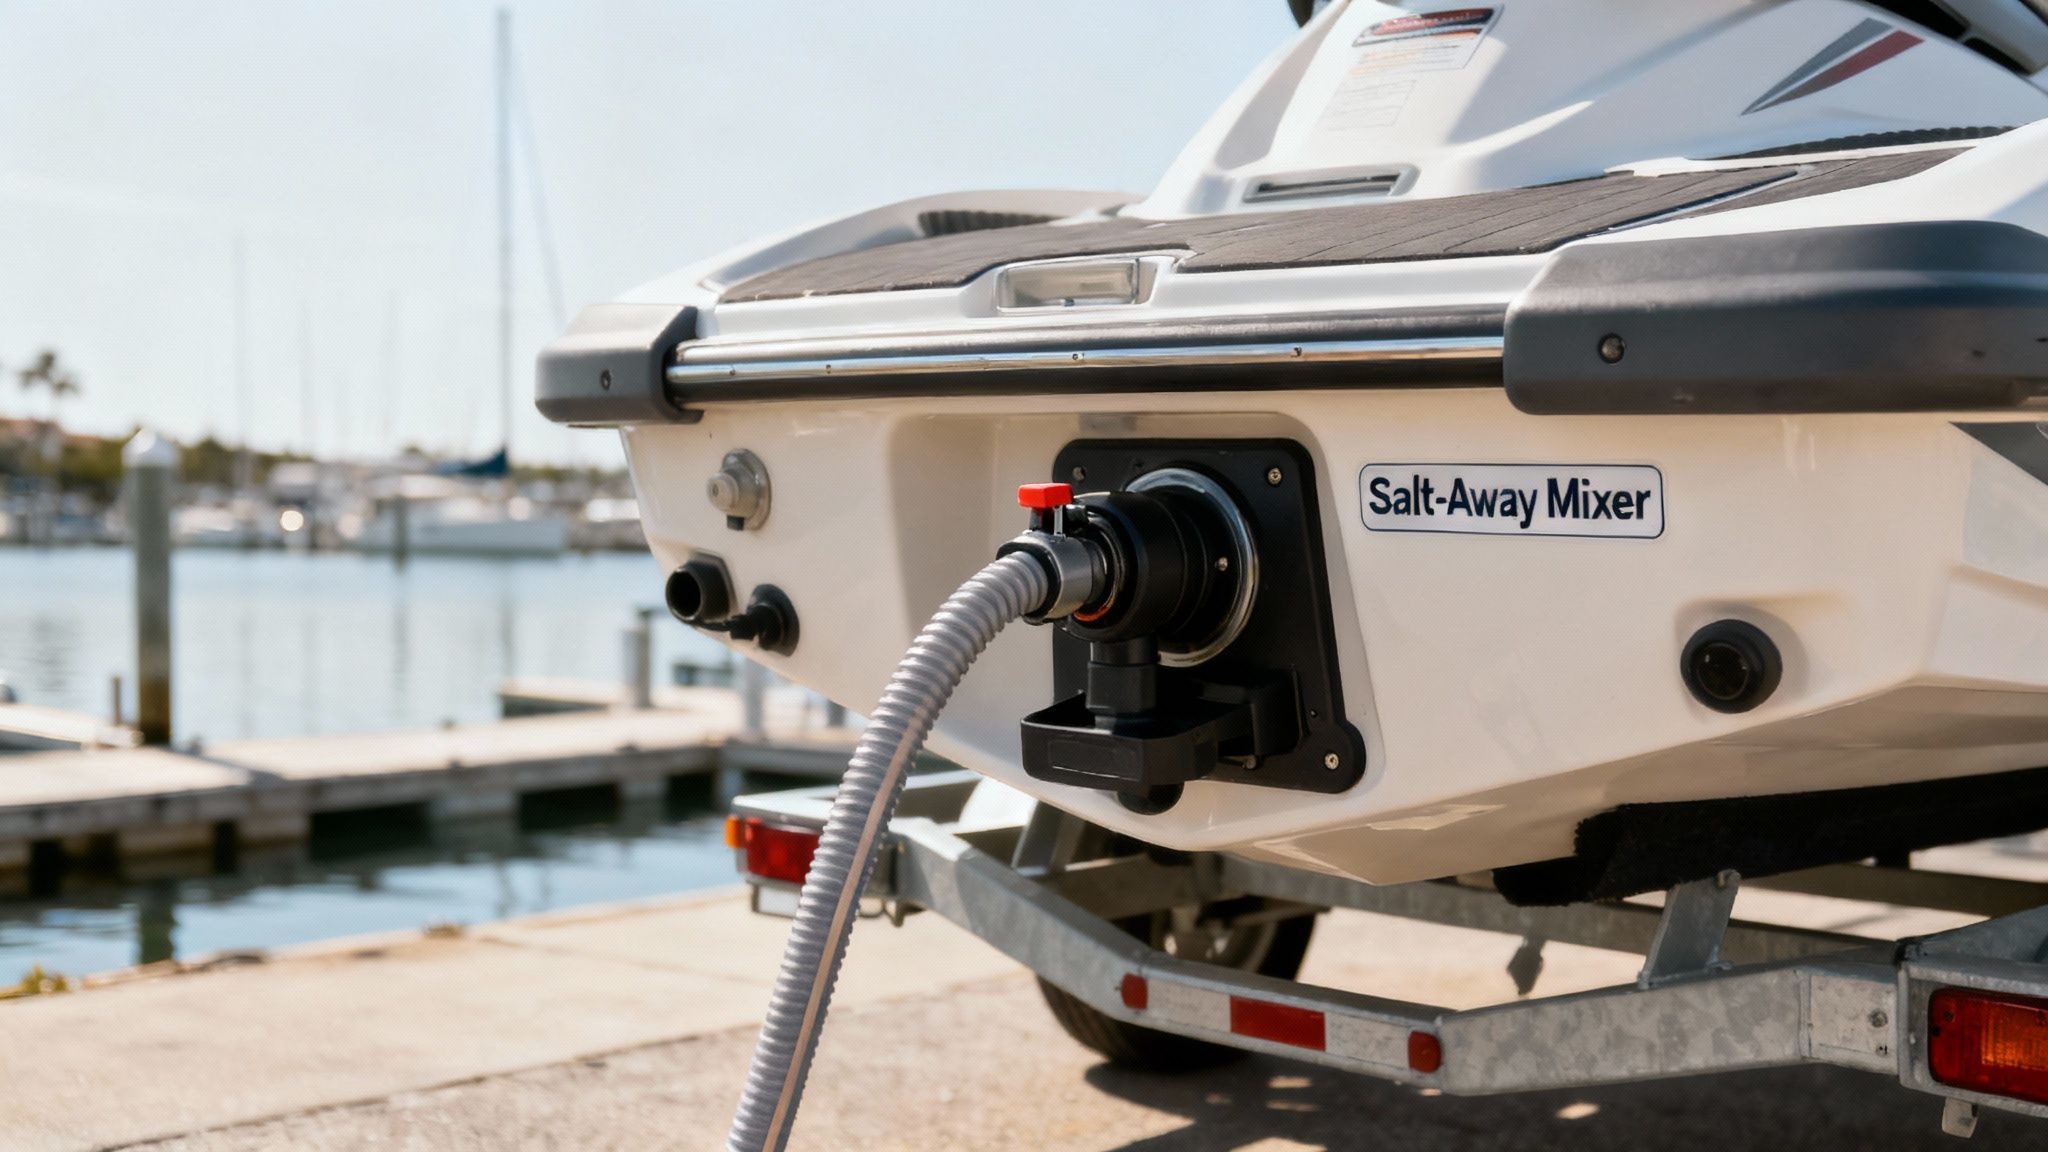
Jet Skis and other PWCs have a very specific, non-negotiable flushing sequence that’s different from other engines. They use a dedicated flush port, which you'll usually find on the stern. The most important thing you can possibly remember is the sequence: engine on, water on, water off, engine off.
Here’s the right way to do it for most PWCs:
- Connect your garden hose (with your hose-end mixer) to the flush port, but leave the water turned off for now.
- Start the engine first.
- As soon as the engine is running, turn on the water.
- Let it idle for about three minutes to circulate the fresh water and get up to temperature.
- Switch your mixer over to inject the salt removing solution for around 30 seconds.
- Next, turn the water off completely.
- Give the throttle a couple of quick blips to push any remaining water out of the exhaust.
- Finally, shut the engine off.
Following this exact order is critical. Pushing water into a PWC engine that isn't running can force it past the exhaust manifold and right into the cylinders. That can cause hydrolock, a catastrophic type of engine damage. When in doubt, always follow the manufacturer's specific instructions for your model.
Pro Tips and Common Flushing Mistakes
Getting the basics of a salt away engine flush down is a huge step, but a few insider tips can take your maintenance game from good to great. It's often the small tweaks and knowing what pitfalls to avoid that really maximize the benefit of every flush, truly safeguarding your engine from saltwater's relentless assault.
One of the best habits you can get into is flushing the engine while it's still warm, right after you pull the boat. Why? A warm engine means the thermostat is already open.
This guarantees the salt-removing solution gets everywhere it needs to go, right from the start. If you wait until it's cold, you're just wasting time and water waiting for it to warm up enough to open that thermostat.
Critical Don'ts of Engine Flushing
As any seasoned boater will tell you, knowing what not to do is just as important as knowing the right steps. A few common blunders can make your whole effort pointless, or worse, cause some serious internal damage to your engine.
Here are the big mistakes you absolutely need to sidestep:
- Never rev the engine on muffs. Don't do it. Anything more than a slow, steady idle can easily dislodge the muffs, starving the water pump of the water it needs to stay cool. You can destroy an impeller in just a few seconds this way.
- Never run the engine dry. This is a golden rule for any flushing method. Even a few moments without water can cook the water pump impeller, which relies on a constant flow for lubrication and cooling.
- Don't skimp on frequency. A salt away engine flush isn't a once-in-a-while task. To be effective, this has to become a non-negotiable ritual after every single trip in salt or even brackish water.
I've seen countless boaters think a flush every few trips is good enough. Salt begins its corrosive work immediately, so treating this as a post-trip cleanup step is the only way to truly stop damage before it starts.
Think Beyond the Engine
While the engine is obviously the main event, your salt-busting efforts shouldn't stop there. A good salt remover is incredibly versatile, so think of it as total vessel protection. After you're done with the motor, switch your mixer to the "rinse" or spray setting and give other vulnerable areas a quick coating.
Hit your boat trailer hard, paying special attention to the leaf springs, axles, and especially the brake calipers. Those calipers are notorious for seizing up from salt buildup.
Give your fishing reels, rods, and any other metal hardware on the boat a quick spray-down, too. This simple extra step adds a powerful layer of protection and prevents corrosion across all your valuable gear.
For a deeper dive, check out our complete guide on post-saltwater boat maintenance.
Answering Your Top Salt Flushing Questions
Even with a simple process, it's natural to have a few questions. Getting them answered is the key to flushing your engine with confidence and knowing you're doing it right. Let's dig into some of the most common things boaters ask about using a salt remover flush.
How Often Should I Flush My Engine?
The simple answer? After every single trip in saltwater or even brackish water.
This might sound like a lot of work, but salt starts its corrosive attack almost the second you pull your boat out of the water. Making a salt flush a non-negotiable part of your end-of-day routine is the single best thing you can do to protect your engine from expensive, long-term damage.
Can I Leave the Solution in My Engine?
Yes, you absolutely should! Once you’ve run the salt-removing mixture through for 30-60 seconds, the next step is to shut off the engine first, then turn off the water.
Do not rinse with fresh water afterward. This is a critical point. The formula is designed to leave a protective, anti-corrosive film on all the internal components, which acts as a shield against rust until your next trip.
The most common mistake people make is rinsing with fresh water at the end. This completely washes away the protective barrier left by the salt remover, which defeats a huge part of the purpose. Always leave the solution in.
Is It Safe for All Parts of My Boat?
You bet. A quality salt-removing concentrate is non-toxic, biodegradable, and non-hazardous, so it's perfectly safe for just about every material on your boat.
This includes:
- Aluminum and stainless steel
- Fiberglass and gelcoat
- Rubber hoses and seals
- Plastic and vinyl components
- Painted surfaces
You can flush your engine and then use the same setup to spray down your trailer, fishing gear, and the boat's exterior without worrying about causing any damage.
What if I Don't See Foam in the Exhaust?
Seeing foam shoot out of the exhaust is definitely satisfying, but don't panic if you don't see it. The absence of foam doesn't mean the product isn't working.
How much foam you get can vary based on things like your home's water pressure, the engine's temperature, and just how much salt is built up inside the cooling passages. The real proof is in the process itself.
As long as you see a strong, steady stream from the engine's tell-tale and you've run it long enough for the thermostat to open, you can trust the solution is circulating and doing its job. Focus on the process, not just the foam.
At Better Boat, our goal is to make boat care simple and effective. Our De-Salt Concentrate and Salt Remover is the perfect partner for protecting your engine and all your marine gear from the harsh reality of saltwater.


![Make your Boat Look Like New, Seriously [VIDEO]](http://betterboat.com/cdn/shop/articles/Make-your-Boat-Look-Like-New_-Seriously.jpg?v=1578089853&width=1080)