Replacing Boat Trailer Lights: The Complete Step-by-Step Guide
If you've ever owned a boat, you've almost certainly dealt with the headache of flickering or dead trailer lights. It’s not just a minor annoyance—faulty lights are a major safety hazard and an easy way to get pulled over. Figuring out why they fail so often is the key to a real, lasting fix instead of just another temporary patch job.
At its core, the problem is simple: the environment is brutal. Every single time you launch and retrieve your boat, the entire lighting system—from the wires and connections to the light housings themselves—gets a full dunking in water. That constant cycle of getting wet and then drying out is incredibly tough on any electrical part.
The Impact of Water and Road Vibration
Saltwater is especially nasty, and it will speed up corrosion on metal contacts and even work its way inside wire insulation. But even if you're only in freshwater, moisture has a knack for finding its way into any poorly sealed connection, which leads to shorts and failures.
On top of the water issue, you have the constant vibration from the road. Every pothole and bump in the road works to loosen connections, rub wires raw, and shake the filaments in old-school incandescent bulbs until they break. This one-two punch of water and vibration creates the perfect storm for electrical gremlins.
These common issues are a big reason why the global boat trailer market is projected to grow from USD 1.12 billion in 2025 to USD 1.70 billion by 2035. Strict safety regulations require working lights, which keeps the demand for replacement parts high.
The single biggest point of failure is almost always the ground wire. I'd say a weak or corroded ground connection is responsible for about 90% of all trailer light issues. This is what causes those classic symptoms like dim, flickering, or completely dead lights.
Diagnosing the Real Problem
Before you jump straight to replacing your boat trailer lights, a little bit of diagnosis can save you a ton of time and frustration. Don't just assume a bulb is burnt out—take a minute to find the root cause. This kind of quick troubleshooting is a crucial part of our recommended trailer maintenance checklist.
You can use this simple guide to match what you're seeing with the most likely culprit. It’s a great starting point before you start pulling things apart.
Quick Troubleshooting Guide for Common Trailer Light Problems
Here's a quick reference table to help you pinpoint the issue fast. Just find the symptom you're experiencing to see the most common cause and the first thing you should check.
| Symptom | Likely Cause | Recommended First Step |
|---|---|---|
| One light is completely out | Bad bulb or poor ground at the light | Check the ground wire for that specific light; ensure it's on clean, bare metal. |
| All lights are dim or flickering | Poor main ground connection | Locate the main white ground wire and clean the connection point on the trailer frame. |
| One turn signal doesn't work | Loose connection for that specific wire | Inspect the yellow (left) or green (right) wire for cuts or loose splices. |
| Brake lights work but not running lights | Issue with the brown (running light) wire | Test the brown wire for power using a circuit tester. |
Working through these simple checks first can often lead you right to the problem without having to replace parts that are still perfectly good.
Choosing the Right Lights and Tools for the Job
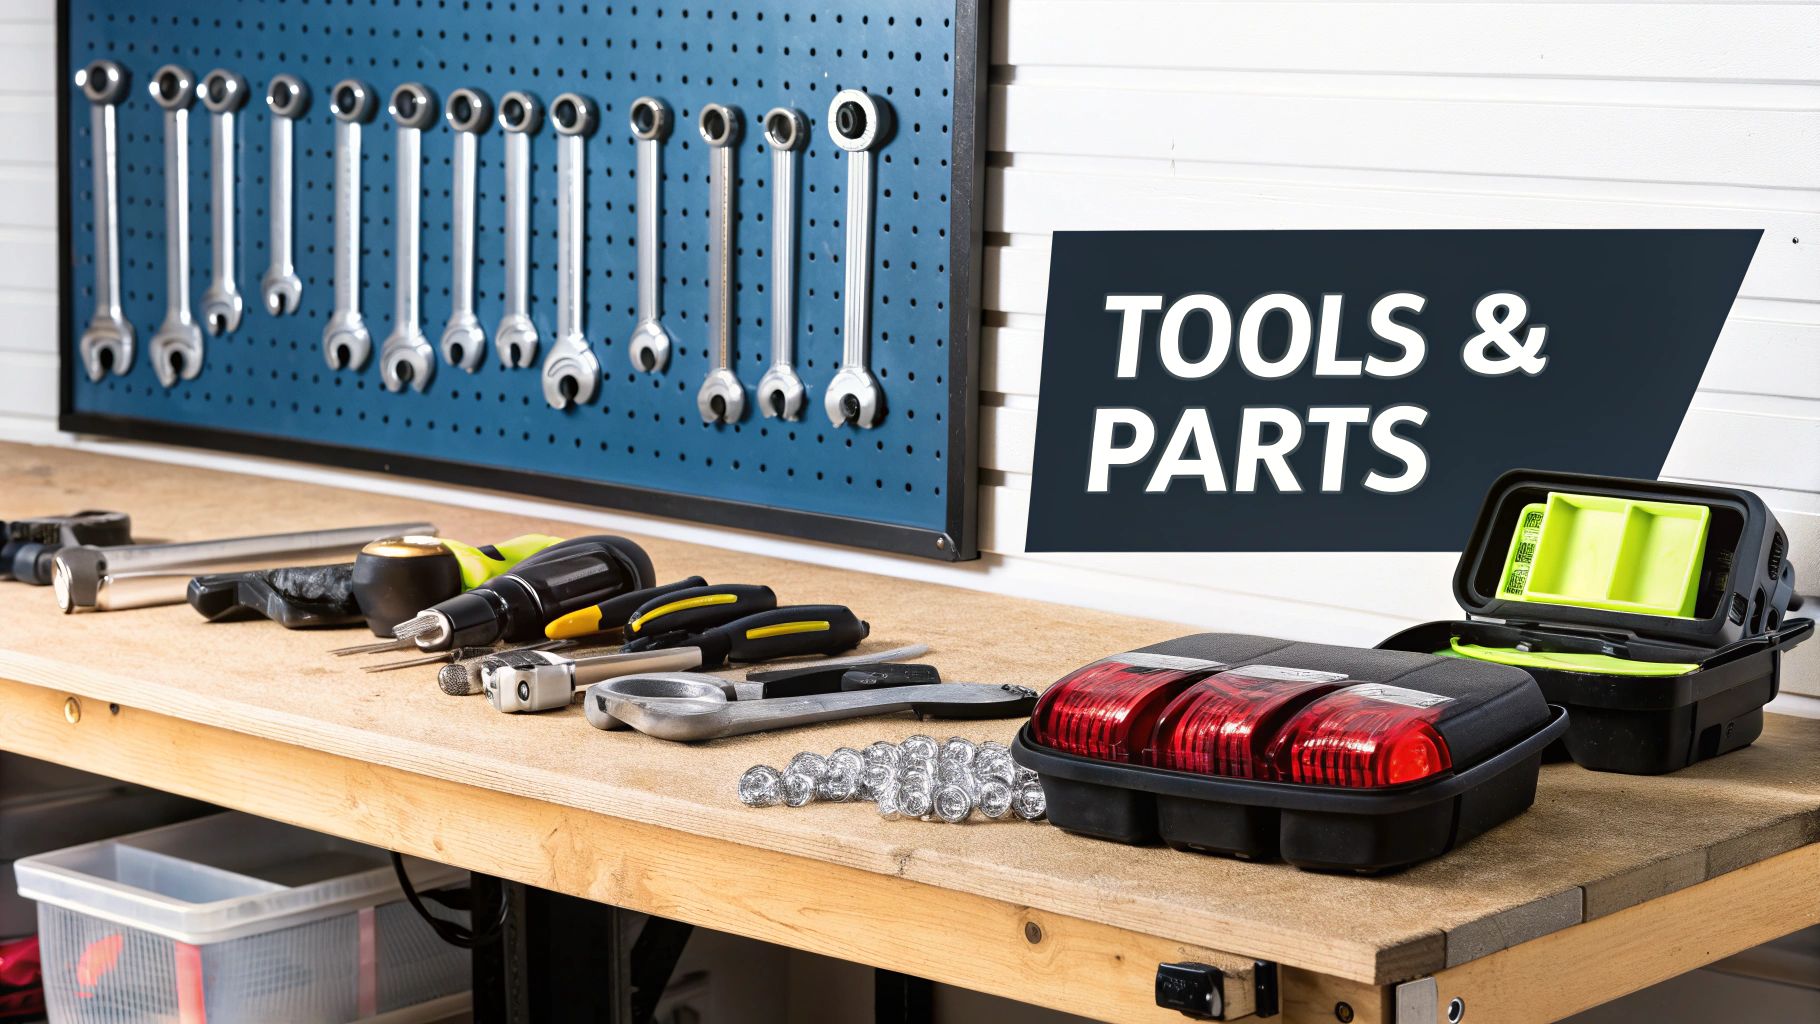
Before you even think about touching a wire, let's talk about getting your gear in order. Trust me, gathering the right tools and parts before you start is the difference between a quick, successful job and a frustrating afternoon of running back and forth to the auto parts store.
Think of it this way: you wouldn't head out on the water without checking your fuel, right? The same logic applies here. Proper preparation is what separates a professional, long-lasting repair from a temporary fix that will fail you on the side of the road.
Essential Tools for the Task
You probably have some basics like screwdrivers and a wrench set lying around, but a few specific tools will make this job infinitely easier and give you a much more reliable result. We're not talking about filling a whole toolbox, just getting the right tools for the job.
Here’s a quick checklist of what I always have on hand for a trailer light replacement:
- Quality Wire Strippers/Crimpers: A good combo tool is worth its weight in gold. It’ll give you a clean strip without nicking the wire and a rock-solid crimp that won’t pull loose.
- Circuit Tester: This little gadget is your best friend for troubleshooting. It’ll tell you instantly if you have power, saving you from guessing games.
- Heat Gun: Absolutely essential for sealing heat-shrink connectors. This is how you create that waterproof seal that stops corrosion in its tracks.
- Basic Socket Set and Wrenches: You'll need these to get the old lights off and bolt the new ones on securely. Pro tip: if you can, use stainless steel nuts and bolts for the new installation.
- Wire Brush: A simple but critical tool. You need a clean, bare-metal connection for your ground wire, and this is the best way to prep the spot on the trailer frame.
Upgrading to Submersible LED Lights
Now for the lights themselves. You have a choice: go with old-school incandescent bulbs or make the jump to modern LEDs. While incandescents are cheaper upfront, I can tell you from experience they’re a constant source of headaches from broken filaments and water getting inside the housing.
For any trailer that actually goes in the water, submersible LED lights are a no-brainer. They're completely sealed and have no fragile filament to break from road vibration. They're tougher, brighter, and pull less power from your vehicle.
Yes, a good LED kit costs more initially, but the long-term value is undeniable. You’ll save yourself a ton of time and frustration by not having to replace them every other season. Do it once, do it right, and forget about it for years.
To see what's out there, check out our complete collection of boat lighting to find a setup that's perfect for your trailer. Investing in a quality sealed LED system is genuinely one of the smartest upgrades you can make for both safety and peace of mind.
Removing Your Old Trailer Lights Without the Headache
Let's be honest, getting the old, corroded lights off a trailer can feel like the toughest part of this whole project. After years of being dunked in water and blasted with road grime, those fixtures can seem practically welded to the frame. But with a bit of patience and the right approach, you can get it done without the usual busted knuckles.
First thing’s first: safety. Before you even think about touching a wire, you must unplug the trailer's harness from your tow vehicle. This is non-negotiable. It takes two seconds and completely removes the risk of a nasty shock or, worse, frying your truck’s electrical system.
Document Your Starting Point
Here’s a trick that has saved my bacon more than once: grab your phone and take a few pictures. Before you snip a single wire, get a clear shot of how everything is connected. Note the wire colors and where they run. This creates your own personal wiring diagram, which is a lifesaver when you're putting it all back together.
Trust me, don't rely on your memory. A quick photo of the wire colors and connection points is an error-proof guide for later, especially if you get pulled away from the job halfway through.
Once you’ve got your photos, you can start the demo. I like to cut the old wires a few inches back from the light itself. This leaves a little pigtail to work with if you need it and keeps the main wiring harness intact for now.
Tackling Rusted and Stubborn Hardware
Now for the main event: seized hardware. Rusted-on nuts and bolts are pretty much a guarantee on any boat trailer.
Your absolute best friend here is a can of quality penetrating oil. Give those nuts, bolts, and mounting studs a generous spray. Let it sit for at least 15-20 minutes to really soak in and break down the rust. Don't be shy with it; a good drenching can be the difference between success and a stripped bolt head.
- Get a Good Grip: Use a six-point socket or wrench. It gives you the best bite and dramatically reduces the chance of stripping the hardware. Apply slow, steady pressure instead of jerky, angry movements.
- Bring the Heat: If a bolt just won't give, a little heat from a small propane torch can work wonders. Heating the nut causes it to expand just enough to break the rust’s grip. Just be smart about it and watch out for any nearby wires or plastic.
- The Final Option: Sometimes, you have to know when to quit. If the hardware is completely fused, a grinder with a cut-off wheel or a reciprocating saw will make short work of it. Cutting your losses is often the fastest path forward.
With the old light finally off, take a wire brush and give the mounting area a good scrub. Getting rid of the rust and gunk now ensures the new light will sit flush and, more importantly, gives you a clean surface for a solid ground connection later on.
A No-Nonsense Guide to Trailer Light Wiring
Wiring can feel like the most intimidating part of this whole job, but I promise you, it’s a lot simpler than it looks. It really just boils down to a color-coded matching game. Once you get the standard system down, the whole process clicks into place.
The good news is that almost every boat trailer out there uses a standard 4-way flat connector. This consistency is your best friend. The system uses four specific wire colors for four different jobs, and knowing what they do is the key to getting this done right the first time.
This picture gives you a good idea of where we're starting—physically getting the old, busted light off the trailer to make way for the new one.
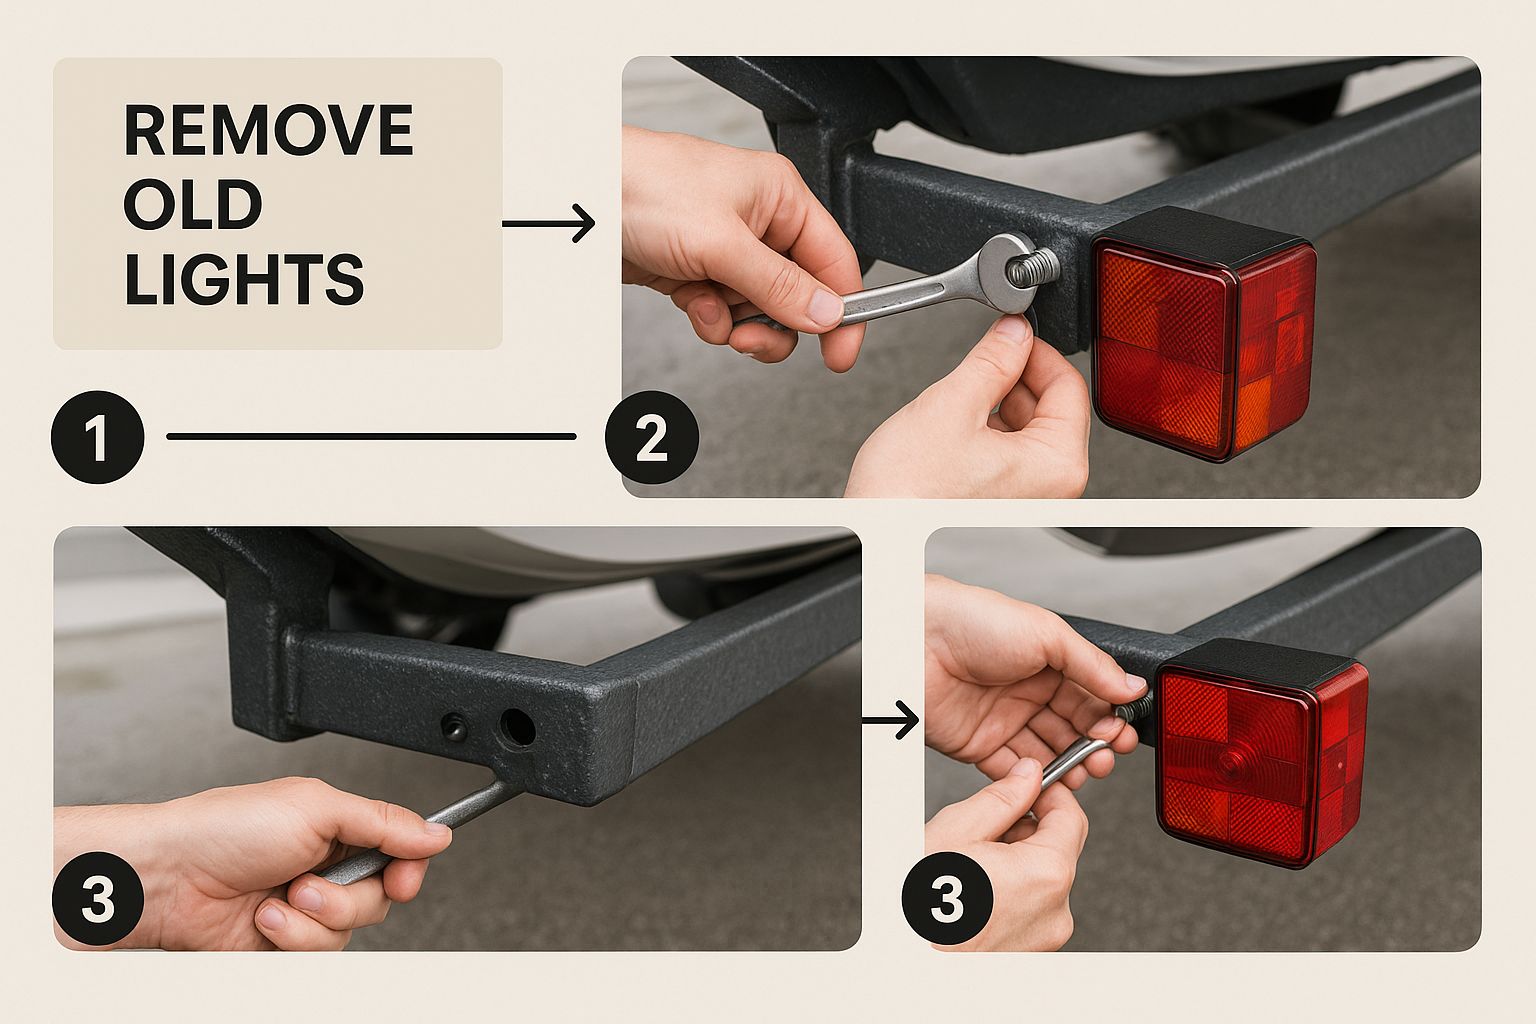
As you can see, the hands-on work begins with a few simple bolts or screws. Get the old hardware out of the way, and then you can focus on the electrical connections.
Decoding the Wire Colors
Let's break down the color code. Think of this as the universal language for trailer wiring. Burn these into your memory, and you'll be set for any trailer light job in the future.
Before you start connecting wires, it's a good idea to have a quick reference handy. Most boat trailers stick to a standard color scheme, which makes life a lot easier.
Standard Boat Trailer Wiring Color Code
| Wire Color | Function | Connector Pin |
|---|---|---|
| White | Ground | Exposed Pin |
| Brown | Running Lights / Taillights | Pin Next to Ground |
| Yellow | Left Turn Signal & Brake Light | Center Pin |
| Green | Right Turn Signal & Brake Light | Last Pin |
This table covers the essentials for a typical 4-way setup. The white wire is always your ground, brown is for the lights that stay on, and yellow and green handle your signals and brakes for each side. It’s a simple, logical system once you see it laid out.
The ground wire is the source of at least 90% of all trailer light problems. A bad ground creates a weak or open circuit, which is why your lights flicker, run dim, or just plain don't work. Give this one wire extra attention.
Making Connections That Last
When you're ready to splice the new lights into your trailer's harness, your choice of connector is absolutely critical. Do yourself a favor and throw away any electrical tape you were planning to use. It will fail when it gets wet, leaving you with corroded wires and another dead light in a few months.
The only way to do this right is with heat-shrink butt connectors. These little marvels have an adhesive lining inside that melts when you heat it, creating a completely waterproof seal around the splice. It's the single best way to protect your work from the harsh marine environment.
Mastering the Ground Connection
Since the ground is the root of most evils in trailer lighting, let's make sure we get it perfect. That white wire needs a direct, solid connection to a clean, bare metal spot on the trailer frame. Any paint, rust, or grime will act as an insulator and kill your connection.
Grab a wire brush or a small piece of sandpaper and scrub your chosen spot on the frame until you see shiny, bare steel. Then, secure the ground wire's ring terminal with a screw and make sure it's good and tight. That clean metal-on-metal contact is non-negotiable for lights that you can rely on.
After your connections are made, you can protect the entire harness from getting chafed or snagged by wrapping it with a quality wire harness tape. Bundling the wires neatly along the frame is a simple step that prevents a lot of headaches down the road.
Installing and Testing Your New Lights
Alright, the old lights are out, the wiring is prepped, and now for the satisfying part: bringing the new lights to life. This is where all that careful prep work really pays off. A little extra attention here means you'll have a clean, professional-looking install that’s actually built to last. First up, getting those new fixtures mounted securely.
Your new light kit probably came with mounting hardware, but give it a good look. If those bolts and nuts aren't stainless steel, I’d seriously recommend a quick trip to the hardware store. Spending a few extra bucks on stainless steel hardware now will save you the absolute nightmare of dealing with rusted-on fasteners down the road.
Securing the Fixtures and Protecting Connections
Once you've got your hardware sorted, go ahead and bolt the new light fixtures firmly to the trailer frame. You want them good and snug so they won't vibrate loose after a few trips.
Now, before you make the final connections, grab your tube of dielectric grease. This stuff is a cheap, non-conductive paste that works wonders at stopping corrosion in its tracks.
Put a small dab of dielectric grease on each wire end before you slide them into the butt connectors. It’s a simple move that creates a moisture-proof barrier, protecting the metal contacts from water—especially saltwater. Think of it as a cheap insurance policy against future electrical gremlins.
With the grease applied, crimp your heat-shrink butt connectors to create a solid, permanent splice. Then, gently wave your heat gun over the tubing. You'll know you've got a perfect, waterproof seal when you see a little bit of the adhesive lining ooze out from the ends.
Routing and Managing Your Wires
With everything connected, it’s time to clean up the wiring. Just letting the wires hang loose is asking for trouble. They can easily get snagged on road debris or dragged through the water at the boat ramp, which is a fast track to stripped insulation and shorts.
The best approach is to secure the wiring neatly along the trailer frame. Use heavy-duty zip ties every 12 to 18 inches to fasten the wire harness tightly against a main frame rail. This keeps everything tucked away and out of harm's way.
A clean wiring job isn't just for looks—it's for reliability. Tidy, well-supported wires are far less likely to fail from vibration or physical damage. That means your lights will work every single time you tow.
You can't overstate how important this is, especially when you consider the scale of the industry. In 2024, the global market for boat trailers was valued at around USD 1.15 billion, with North America leading the pack. A big driver for this market is stringent towing safety regulations, which makes reliable lighting non-negotiable for both compliance and accident prevention. You can learn more about the boating industry's market trends if you're curious.
The Final Testing Checklist
Everything is installed, secured, and looking sharp. Time for the moment of truth. Hook up the trailer's wiring harness to your tow vehicle and get ready for a quick but crucial function test.
Having a helper makes this part a lot easier, but you can definitely fly solo. Just prop your phone up to record a video or watch the reflections in a storefront window or your garage door.
Here’s what to check:
- Running Lights: Turn on your vehicle's headlights. Both trailer taillights should light up.
- Left Turn Signal: Hit the left blinker. The left trailer light should flash, and the right one should stay off.
- Right Turn Signal: Now switch to the right blinker. The right light should be flashing while the left one is off.
- Brake Lights: Have your helper step on the brake pedal (or use a brick if you're alone). Both trailer lights should illuminate nice and bright.
If everything checks out, congratulations! You just knocked out the job. You’ve now got a reliable, bright, and safe set of trailer lights ready for your next trip to the water.
Common Questions About Replacing Trailer Lights
Even when you have a solid plan, a few questions always seem to pop up right in the middle of a project like this. It’s easy to get hung up on a small detail, but don't worry—chances are, it's a problem plenty of us have run into before. Let's walk through some of the most common snags to clear up any confusion and get you back on track.
Can I Mix LED and Incandescent Lights on My Trailer?
I get this question a lot. It seems like a quick, cheap fix to just swap one busted incandescent bulb for a new LED, but mixing light types is asking for trouble.
LEDs and old-school incandescent bulbs pull completely different amounts of electricity. This mismatch can really throw your tow vehicle's electrical system for a loop, causing flickering lights, one side being dimmer than the other, or other weird, unpredictable issues.
For reliable, consistent performance, you absolutely should replace lights in pairs. Better yet, upgrading the entire trailer to a matching, sealed LED kit is the smartest move for the long haul. You'll get balanced power draw across the board, plus the fantastic water resistance and durability that LEDs are known for.
My New Lights Aren't Working—What Did I Do Wrong?
This is that classic moment of panic, but the fix is almost always surprisingly simple. I'd say 90% of the time, the culprit is a bad ground connection.
Before you do anything else, go back and check that main white ground wire. Is it screwed down tight to a clean, bare metal spot on the trailer frame? Any paint, rust, or grime will kill the connection.
If the ground looks solid, the next place to look is your wire splices. Even one loose crimp inside a butt connector is enough to break the whole circuit and leave you in the dark.
Still no luck? Grab a circuit tester and see if you're even getting power from your vehicle's plug. If that tester doesn't light up, the problem is likely on the truck side—probably a blown fuse or a wiring issue there, not with your trailer at all.
Pro Tip: Don't just glance at the ground connection point. Take a close look at the wire itself right near the terminal. I've seen corrosion creep up inside the insulation where you can't see it, creating a hidden failure. If the copper wire looks green or crusty, snip it back to a fresh, clean section before reattaching it.
How Can I Make My New Trailer Lights Last Longer?
Getting years of life out of your new lights boils down to one word: waterproofing. Water is the sworn enemy of your trailer's electrical system, so your mission is to seal it out at every possible entry point.
- Seal Every Splice: Use marine-grade heat-shrink butt connectors for every single wire connection. The glue lining on the inside melts and creates a bulletproof, waterproof seal that electrical tape just can't compete with.
- Use Dielectric Grease: Squeeze a dab of this stuff inside your trailer plug and around the bulb sockets if you have non-sealed lights. It's a non-conductive grease that blocks out moisture and stops corrosion before it can start on the metal contacts.
- Rinse After Saltwater Use: If you're a saltwater boater, this is non-negotiable. Give your lights, wiring, and the back of the trailer a quick rinse with fresh water after every trip to wash away that destructive salt residue.
Finally, make sure all your wires are neatly secured to the trailer frame with zip ties. This keeps them from bouncing around, chafing on sharp edges, or getting snagged on something. If the job feels like it's getting too complex, remember that a professional vehicle lighting service is always a great backup plan.


