


A Complete Guide to Boat Motor Flushing
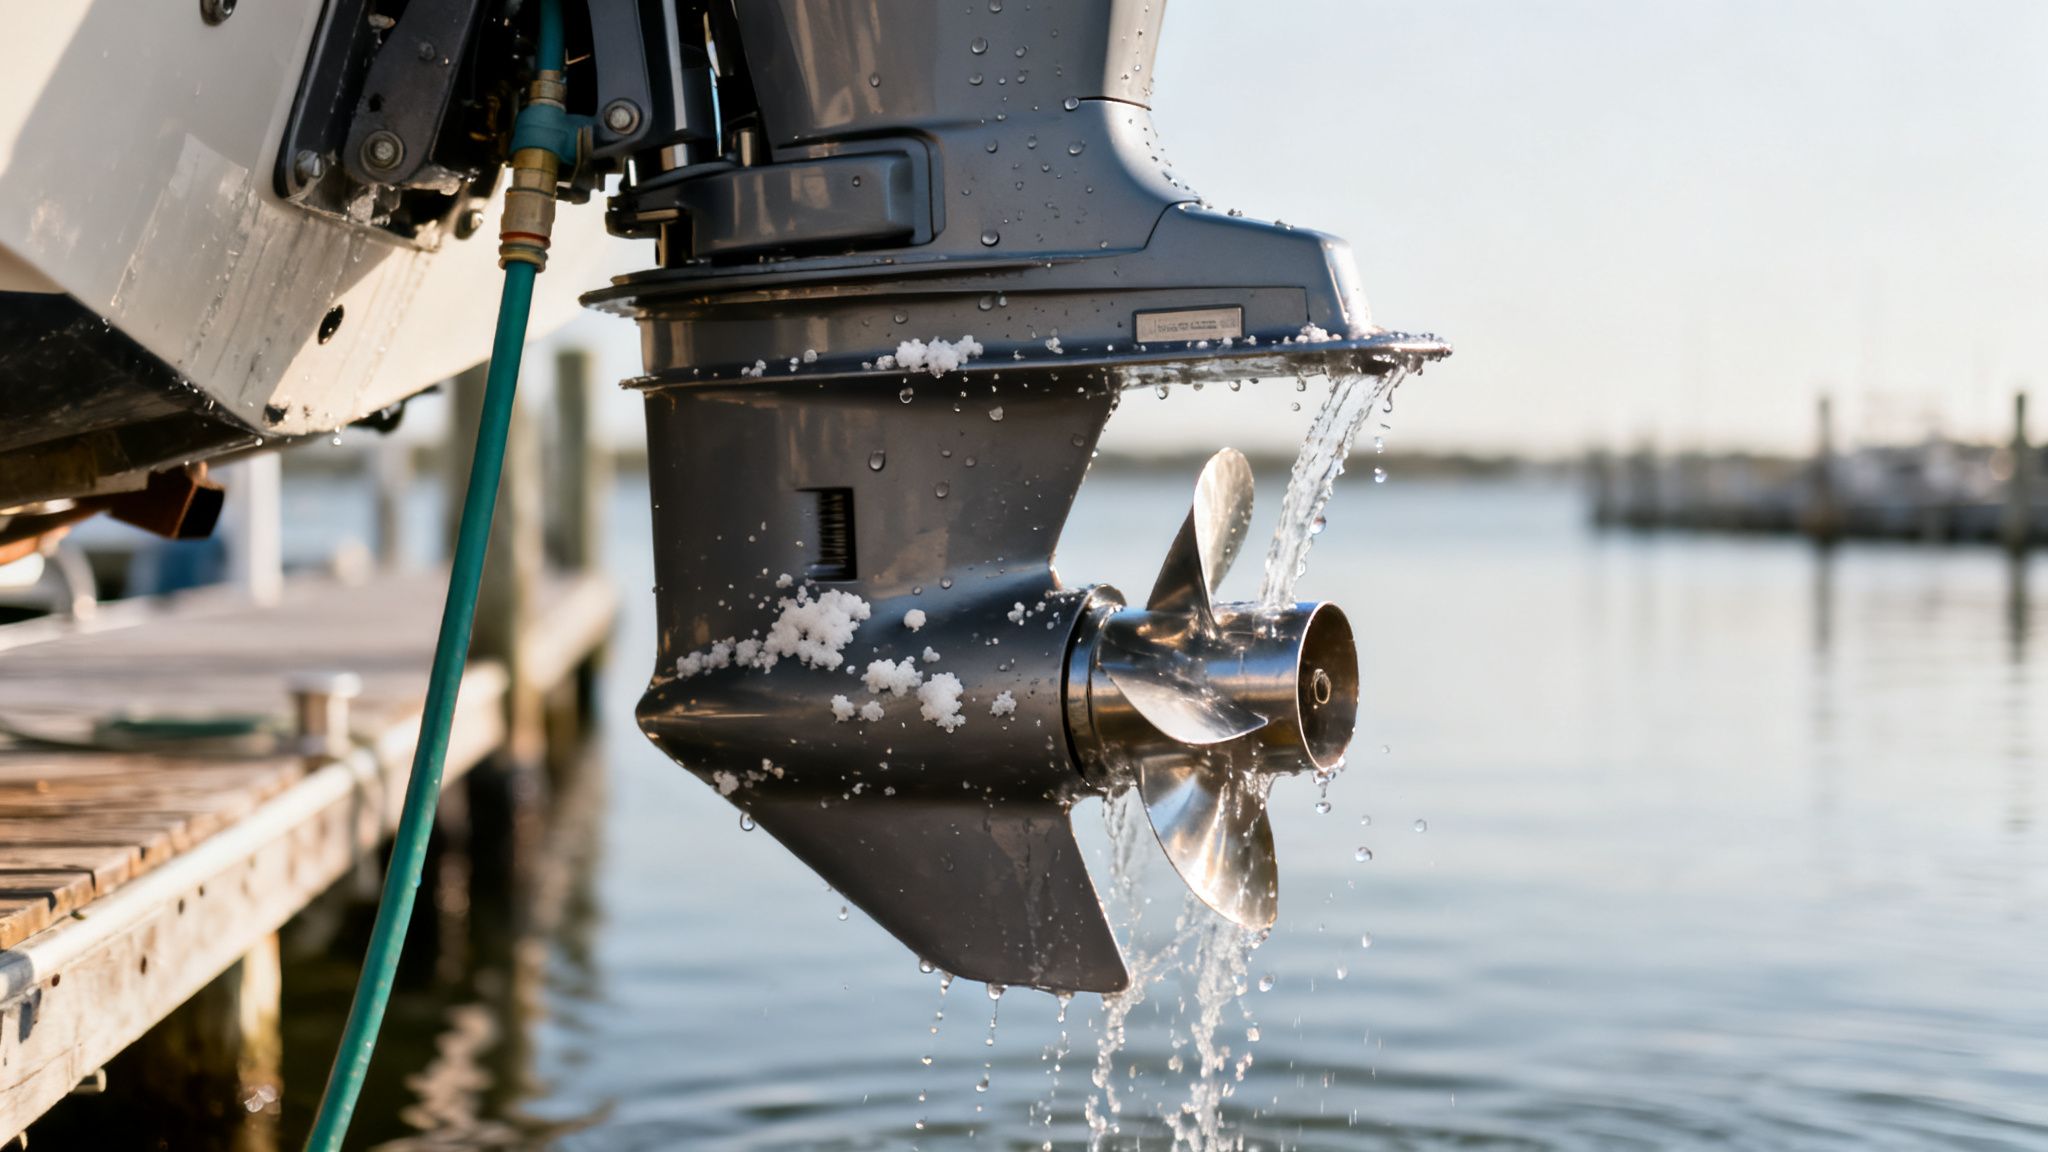
Boat motor flushing is a simple, five-minute chore that involves running fresh water through your engine's cooling system after you pull your boat out of the water. This is, without a doubt, the single best defense you have against saltwater corrosion—a silent killer that can lead to overheating, eye-watering repair bills, and even catastrophic engine failure. If you're running your boat in the salt, flushing is non-negotiable.
The Critical Role of Flushing Your Engine
Think of your engine's cooling passages as its arteries. Every time you dip into saltwater, these passages get a nasty coating of salt, sand, and other minerals. If you leave it sitting, that gunk hardens and builds up just like cholesterol, slowly choking off the flow until your engine can't cool itself down anymore.
This isn't some minor inconvenience we're talking about; it's a direct threat to your engine's health and your wallet. Ignoring this simple task can ruin a weekend on the water, but worse, it can lead to repair bills that stretch into the thousands.
An overheating engine isn't just a pain—it's often a sign of a massive failure that could have been completely avoided with a garden hose and five minutes of your time.
The Hidden Enemy: Saltwater Corrosion
Salt is brutally corrosive. When those salt crystals form inside your engine's cooling passages, they get to work eating away at sensitive metal parts like your thermostat, water pump impeller, and even the engine block itself. This is a slow-motion demolition job that’s usually invisible until it’s way too late.
The first sign you'll probably see is a weak stream coming from the "tell-tale" outlet. The next thing you'll hear is the piercing scream of an overheating alarm. By that point, the damage has already started.
Regular flushing stops this threat dead in its tracks. Proper boat care, starting with flushing, is crucial for anyone who wants their investment to last, especially those lucky enough to have homes for sale with boat docks in Florida and constant saltwater exposure.
A Preventative Strike Against Failure
Don't think of flushing as a chore. It's a preemptive strike. Every single flush washes away the corrosive junk that's trying to shorten your engine's lifespan. And it’s not just about longevity—it’s about reliability. A clean, well-maintained engine is one you can trust, whether you’re miles offshore chasing tuna or just cruising the bay. That peace of mind is priceless.
Flushing is the difference between a reliable engine that starts every time and one that leaves you stranded. It's the cheapest insurance policy you can buy for your boat's motor.
The threat is real, particularly in coastal areas. Studies have shown that outboards that aren't flushed can see 30-50% faster degradation of their impellers and cooling systems. This directly leads to overheating failures, which can spike your repair costs by as much as 40%.
Flushing vs. Neglecting Your Motor: A Cost and Performance Snapshot
To really drive the point home, let’s look at what happens when you make flushing a priority versus when you let it slide. The impact on your wallet, your boat's performance, and its overall lifespan is stark.
| Maintenance Aspect | With Regular Flushing | Without Flushing |
|---|---|---|
| Engine Lifespan | Significantly extended, often by years. | Drastically reduced due to corrosion and overheating. |
| Performance | Maintains optimal cooling and peak efficiency. | Prone to overheating, reduced power, and poor fuel economy. |
| Repair Costs | Minimal; routine impeller changes and basic upkeep. | High; potential for complete engine rebuild or replacement. |
| Reliability | High; dependable starts and worry-free operation. | Low; increased risk of getting stranded on the water. |
When you look at it this way, the choice is pretty clear. The few minutes you spend flushing after each trip pays you back in spades, keeping your boat ready for your next adventure. For a complete look at other key tasks that go hand-in-hand with a good flushing routine, check out our full guide on essential outboard motor maintenance.
Gathering the Right Gear for a Perfect Flush
Before you ever hook up a hose, let's talk about setting yourself up for success. A good flush is more than just running water through the engine; it's about having the right tools to do the job properly. Getting the gear right turns this chore into a powerful preventative maintenance routine that actively protects your investment.
The heart of any flushing setup is the attachment itself. What you choose here really depends on your engine and how you plan to use your boat.
Choosing Your Flushing Attachment
Not all flushers are created equal, and picking the right one means getting fresh water exactly where it needs to go. For most of us running outboards and sterndrives, the classic "ear muffs" are the go-to tool. These clamp over the raw water intake grates on the lower unit, using the hose pressure to form a seal and push water through the cooling system. They're simple and effective.
You might have noticed a threaded port on your engine cowling. That's a built-in flush port, which is super convenient for a quick rinse after a day on the water. Just know that this method is typically an "engine-off" flush. Because the engine isn't running, the thermostat stays closed, meaning you're not circulating fresh water through the entire powerhead. It's better than nothing, but it's not a deep clean.
If you want the absolute best, most thorough flush—especially before putting the boat up for a while—a flushing bag is the ticket. You fit this heavy-duty bag around the lower unit and fill it with water. This completely submerges the intakes, just like the engine is sitting in the water, ensuring the water pump never runs dry. It’s the closest you can get to the real thing on dry land.
Key Takeaway: For a complete and thorough cleaning, nothing beats using ear muffs with the engine running at a nice, steady idle. This allows the thermostat to open up, circulating fresh water through the entire cooling system—not just the lower unit.

Your Essential Flushing Checklist
Once you've got your attachment sorted, the rest of your kit is pretty straightforward but no less important. Having everything laid out and ready to go makes the whole process quick and painless.
- A Kink-Free Garden Hose: Seriously, don't skimp here. A hose that constantly kinks and collapses will starve your engine of water, and that's the last thing you want. A good, heavy-duty hose provides that steady, reliable flow your pump needs.
- Reliable Water Source: Make sure your spigot provides decent, consistent pressure. Weak water pressure can keep the muffs from sealing right and might not be enough to fully prime the system.
- High-Quality Salt-Dissolving Solution: Fresh water is good, but it often isn't enough to break down the crusty salt deposits that can build up inside. A dedicated engine flush concentrate like our De-Salt Concentrate and Salt Remover is designed to actively dissolve those salt crystals and leave a protective anti-corrosion coating behind.
- Superior Sealing Muffs: The seal is everything. If your muffs are leaky or don't fit right, you're just not getting enough water to the pump, which can risk damage. A quality set of muffs gives you that superior, tight seal you need to prevent water starvation and maximize flow.
This little bit of prep work pays off big time. Industry reports show that boaters who flush consistently can see a 10-15% boost in fuel efficiency and may prevent up to 70% of corrosion-related engine problems. It’s clear that taking a few minutes to gather the right gear makes every flush a worthwhile investment in your boat's health.
How to Flush Every Type of Boat Motor
Figuring out the right way to flush your boat motor might seem complicated, but it really just comes down to your engine type. Whether you've got an outboard, an inboard, or a sterndrive, the goal is always the same: push fresh water through the system to get the corrosive saltwater out.
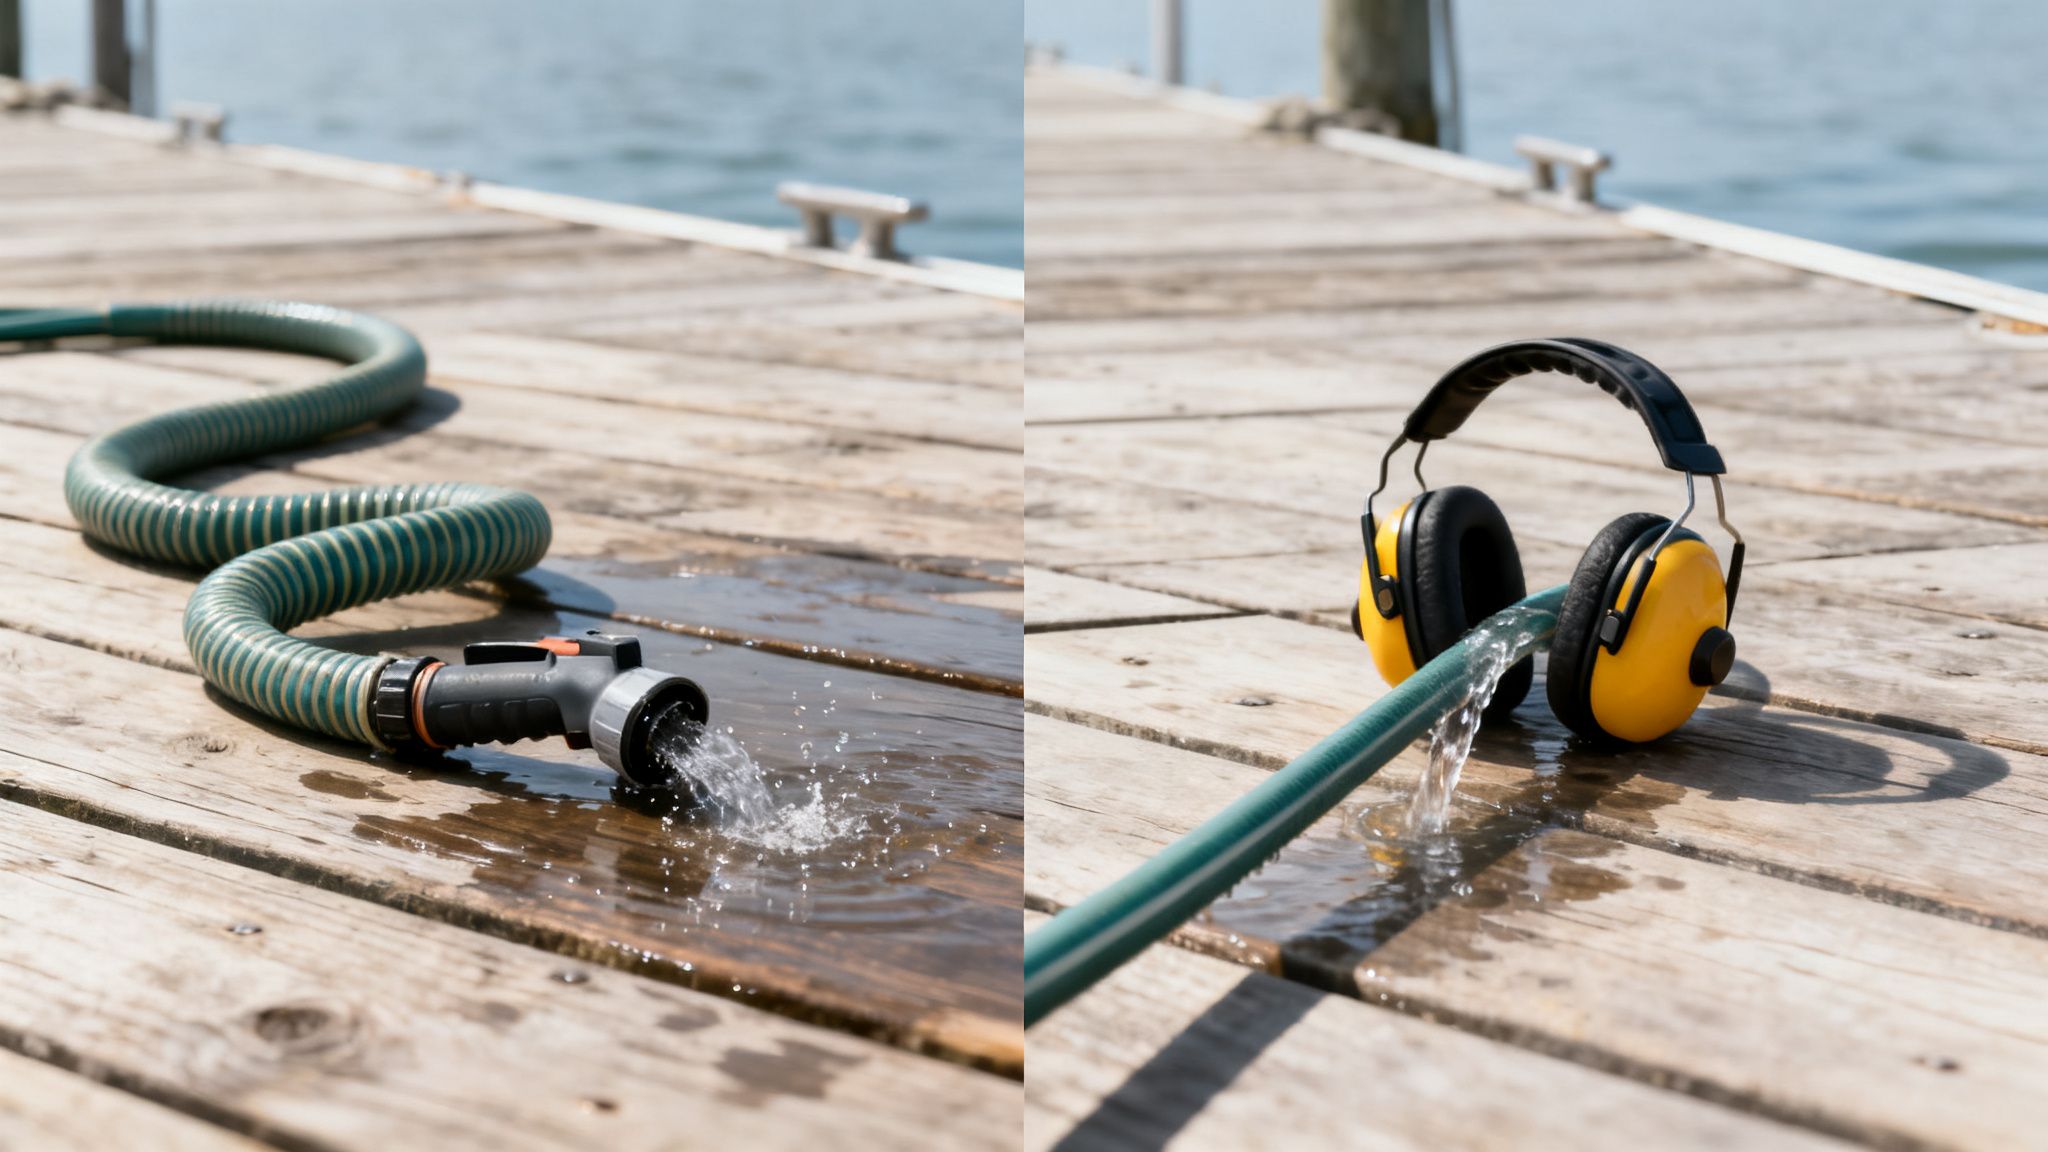
Let's break down the process for each one so you can get it right every time. The gear you'll need is pretty simple, as you can see here.
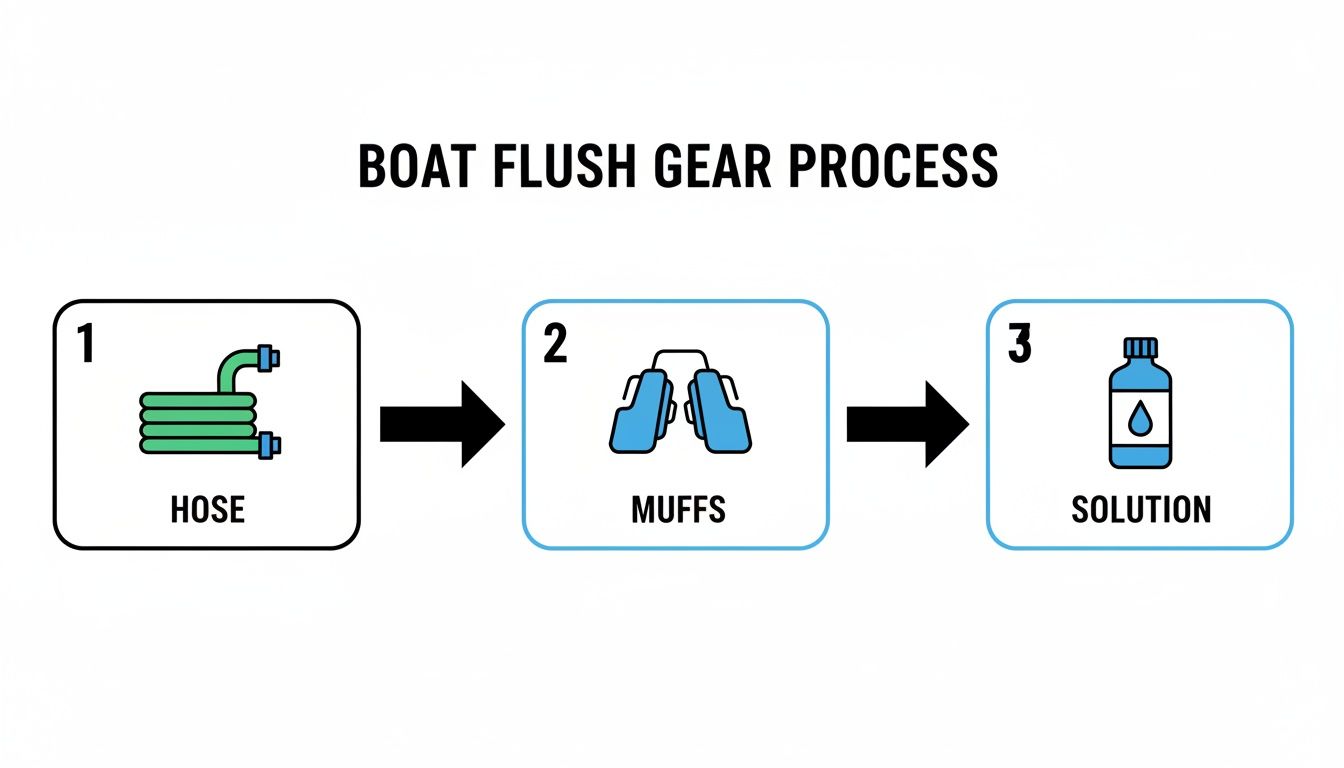
This just shows the basics for a good flush—a garden hose, the right attachment for your motor (like muffs), and maybe a salt-removing solution to do the job right.
Flushing an Outboard Motor
Outboards are everywhere, and luckily, they're also the easiest to flush. You've got a couple of options here, and which one you choose usually depends on how much time you have and how thorough of a job you're looking to do.
Using Ear Muffs: The Most Effective Method
For a true, deep clean, nothing beats a good set of ear muffs. This method runs fresh water through the entire cooling system with the engine on, mimicking how it works in the water. It’s the gold standard for getting the salt out.
First, slide a set of quality muffs over the raw water intake grates on the lower unit. Make sure you have a tight seal; this is the most important step. If it's loose, water will just spray everywhere, and you could starve the water pump, which can lead to a fried impeller and an overheated engine.
Once the muffs are on snug, hook up your garden hose. Now, crank the water on full blast before you even think about turning the key. You should see water squeezing out from the edges of the muffs—that tells you you've got good pressure and a solid seal. Now you can safely start the engine.
Let it run at a nice, low idle. Never rev the engine on muffs. You could knock them loose or make the pump suck air. Keep an eye out for a steady stream of water coming from the "tell-tale" port. Let the motor run for a good 10-15 minutes. This gives it enough time to warm up, open the thermostat, and circulate fresh water through the entire powerhead.
Critical Safety Warning Always turn the water on before starting the engine and turn the engine off before turning the water off. Running the engine even for a few seconds without water will destroy the water pump impeller. Also, stay clear of the propeller at all times while the engine is running.
Using the Built-In Flush Port
Most newer outboards have a handy built-in flush port. It’s a threaded connection designed for a quick, engine-off rinse. This is a great option when you’re in a hurry.
Just unscrew the cap, connect your hose adapter, and turn on the water. The engine stays off for this one. The water pressure alone pushes fresh water through some of the cooling passages, rinsing out loose salt and junk.
Let the water run for about five minutes. It's super convenient, but keep in mind that since the engine isn't running, the thermostat stays closed. That means the fresh water won't get to the upper parts of the engine block. It's definitely better than doing nothing at all, but it shouldn't be a permanent replacement for a proper engine-on flush with muffs.
Flushing an Inboard Motor
Flushing an inboard is a different ballgame since the whole engine is inside the boat. You won't be using ear muffs. Instead, you'll feed fresh water directly into the cooling system's intake.
Start by closing the seacock (the raw water intake valve). This is crucial to prevent water from flooding your boat. Next, find the raw water strainer—it's usually a clear canister that catches weeds and debris before they get to the engine's water pump.
Open up the strainer and use a hose to fill it and the intake hose with water. You can find flushing kits that make this a cleaner job, but a simple funnel and hose can work in a pinch. Once the system is primed, you can start the engine.
You'll need to keep a steady flow of water going into the strainer while the engine idles. The trick is to supply enough water for the pump without making a huge mess. Let the engine run for 10-15 minutes so it warms up and circulates the fresh water all the way through. When you're done, kill the engine, then the hose, and close the strainer up tight. The most important part: remember to reopen the seacock before you head out again!
Flushing a Sterndrive or I/O Motor
Sterndrives, or inboard/outboards (I/O), are a mix of both worlds. The engine sits inside the hull like an inboard, but the drive unit hangs off the transom like an outboard. That means you’ll go back to the ear muff method, just like with an outboard motor.
The process is pretty much identical. Lower the sterndrive all the way down. Fit the muffs securely over the water intakes on the outdrive. Turn the water on full, check that you have a good seal, and then fire up the engine. Let it idle for 10-15 minutes to get up to temp, which ensures you’ve flushed the engine block and all the passages in the outdrive.
And just like with an outboard, don't rev the engine, and always keep a safe distance from that spinning prop. This simple habit is the absolute key to stopping corrosion from wrecking the internals of your sterndrive and engine.
Pro Tips for a Deeper Engine Flush
Just doing a basic flush puts you way ahead of the game, but if you want to take your routine from good to great, there are a few key techniques that seasoned boaters absolutely swear by.
These pro tips are all about getting the deepest, most effective clean possible, which pays off big time in long-term engine health and reliability. It really boils down to two things: maximizing water circulation and actively fighting corrosion on a chemical level.
The first step toward a superior flush is simply patience. Sure, running water through a cold engine for five minutes is better than nothing, but you're missing out on the full benefit. You need to give your engine time to get up to its normal operating temperature.
The Importance of a Warm Engine
The real magic happens when the engine’s thermostat pops open. Think of the thermostat as a gatekeeper; it stays shut when the engine is cold to help it warm up faster. Once the engine hits its sweet spot, temperature-wise, that thermostat opens and lets coolant—or in this case, fresh water—circulate through the entire powerhead.
This is exactly why a longer flush is so critical. You should aim to run the engine for at least 10 to 15 minutes. This gives the thermostat plenty of time to open, letting your fresh water get into every nook and cranny where salt and mineral deposits love to build up. A quick, cold flush really only cleans out the lower unit, leaving the most important parts of your engine exposed.
A warm engine with an open thermostat is the key to a truly comprehensive boat motor flushing. It guarantees that fresh water is circulating through the entire cooling system, not just the lower passages.
The Power of a Salt-Removing Solution
While fresh water is a great starting point, it's often not enough to break down the stubborn, crusty salt deposits that have already started to form. Salt actually bonds to metal surfaces, and plain water can leave trace amounts behind to keep doing their corrosive damage. This is where a dedicated salt-removing product makes a night-and-day difference.
Using a specialized concentrate like our De-Salt Concentrate and Salt Remover takes your flush to a whole new level. This kind of solution is formulated to do two critical things:
- It chemically dissolves salt: The active ingredients break down salt and mineral buildup at a molecular level, allowing it to be flushed away completely.
- It leaves a protective film: After the salt is gone, the solution leaves behind a thin, corrosion-inhibiting film on the internal metal surfaces, giving you a barrier against future salt exposure.
Adding an engine flush concentrate to your routine is simple. Most products connect right to your hose with a dispenser, mixing the solution into the water stream for you. It's a small extra step that provides a massive boost in protection, especially for any boat that spends its time in saltwater.
Skipping these deeper cleaning steps can have some serious consequences. Globally, a shocking 60% of outboard breakdowns are directly tied to cooling system neglect, a major contributor to the $6.81 billion marine engine repair industry. By just flushing after every single use with the right techniques, you can slash corrosion by over 50% and dramatically extend the life of parts like your water pump impeller from 100 hours to as many as 300 hours.
Special Care for Winterization
Your final flush of the season, right before you put the boat up for storage or winterization, is the most important one you'll do all year. This is your last chance to get every last bit of corrosive salt and mineral-rich water out of the system before it sits for months.
Any water left behind can also freeze and expand, which can crack the engine block or manifolds—a catastrophic and incredibly expensive failure.
For this final flush, you really need to go the extra mile. Run the engine for a full 15 minutes with a salt-removing solution to get everything spotless. Afterward, it is absolutely critical to make sure every drop of water is drained from the system. Lower the outboard or outdrive to its lowest position and let gravity do its job. For inboards, you may need to open specific drain plugs on the engine block and manifolds.
This meticulous approach ensures your engine is clean, protected, and dry, ready to be stored safely through the off-season without any nasty surprises come springtime. For more detailed info on salt-fighting products, check out our guide on the benefits of using a salt-away engine flush.
Common Flushing Mistakes and How to Avoid Them
We've all been there. You learn a lot from your own trial and error on the water, but believe me, learning from somebody else's mistakes is a whole lot cheaper. Even with the best intentions, a few simple slip-ups when flushing your motor can cause some serious, wallet-draining damage.
Flushing your engine is about more than just spraying some water through it. It's about doing it the right way. Let's walk through the most common blunders I see boaters make so you can steer clear of them completely.
Running the Engine Dry
This is the big one—the absolute worst thing you can do to your engine's cooling system. That little rubber impeller inside your water pump needs water for lubrication and cooling. Firing up the engine before the water is flowing, even for a split second, will cook that impeller, shred it to pieces, and leave you with a massive headache.
The fix is incredibly simple: water on first, engine on second. Always, always make sure a solid stream of water is flowing into the intakes before you turn that key. When you're finished, just reverse the order: engine off first, water off second.
Revving the Engine on the Muffs
It’s tempting to give it a little gas while it’s running on the hose, but fight that urge. A standard garden hose just can't deliver the sheer volume of water an engine demands at higher RPMs. When you rev it, the water pump starts sucking air, which quickly leads to overheating and can easily damage the impeller you just saved.
On top of that, a revving prop can kick the flush muffs right off the lower unit, instantly starving your engine of water. The rule is simple: keep it at a low, steady idle for the entire flush. No exceptions.
Using Poorly-Fitted Flushers
A loose, sloppy set of ear muffs is just asking for trouble. If they don't create a tight seal around the water intakes, water will just spray out the sides instead of being forced up into the engine where it needs to go. This starves the water pump and you could overheat the engine without even realizing it.
Do yourself a favor and invest in a quality set of muffs that fits your lower unit snugly. A quality pair will have a reinforced design for a superior seal, ensuring maximum water flow. Before you start the engine, give them a good wiggle to check the fit. You want to see water squeezing out from under the edges—that's a sign of good pressure.
Pro Tip: If your muffs feel a bit loose, grab a bungee cord and wrap it around the lower unit to add some extra pressure. This simple trick can make a huge difference in getting a good seal for a safe and effective flush.
Cutting the Flush Too Short
I get it, you want to get home. But a quick two-minute rinse just won't cut it. For a proper flush, the engine needs to get up to its normal operating temperature. Why? Because that’s when the thermostat opens up, allowing fresh water to circulate through the entire powerhead—which is exactly where those corrosive salt deposits love to hide.
A short flush only really cleans out the lower unit, leaving the heart of your engine vulnerable. You should always aim for a 10 to 15-minute flush. That's plenty of time for the engine to warm up and for the fresh water to get everywhere it needs to go, protecting your whole cooling system.
Your Boat Motor Flushing Questions Answered
To wrap things up, we’ve gathered some of the most common questions boaters have about flushing their engines. Here are some quick, clear answers to help you dial in your maintenance routine.
How Often Should I Flush My Boat Motor?
This is the golden rule, especially for saltwater boaters: you should flush your engine after every single use in saltwater. There are no exceptions. Salt is incredibly corrosive, and letting it bake inside your cooling passages is the fastest way to invite expensive, long-term damage.
If you're boating in freshwater, the urgency isn't quite as high, but it's still a smart habit. Flushing every few trips helps get rid of any sneaky sand, silt, weeds, or minerals that can build up and clog the system over time. A thorough flush is absolutely mandatory before any long-term storage or winterization.
Can I Damage My Engine by Flushing It?
Flushing is an incredibly safe and vital procedure when you do it right. Almost all the risk comes from a couple of simple, preventable mistakes: starting the engine before the water is flowing or revving the engine above a low idle. Either of these can starve the water pump of lubrication and lead to a fried impeller.
Just remember this simple sequence: always get a steady stream of water going to the intake before you turn the key. Keep the engine at a low, steady idle for the entire flush. Do that, and you'll avoid any potential for damage while getting all the benefits.
Do I Really Need a Salt-Dissolving Solution?
While fresh water is good, a dedicated salt-dissolving solution is way better, especially if you spend your time on the ocean. Plain water just can't get rid of all the stubborn salt deposits that cling to metal surfaces and continue corroding them long after the boat is out of the water.
A specialized concentrate chemically breaks down salt crystals and leaves behind a protective anti-corrosion film, offering a level of protection that fresh water alone can't match.
For the best long-term results, using a quality solution is a great idea. You can see how a de-salt concentrate and salt remover works to protect your engine's internal components. It's especially critical to use one for that final, pre-storage flush of the season.
Flush Port or Ear Muffs on My Outboard?
This is a great question, and the answer is that they serve different purposes. The built-in flush port is designed for a quick, engine-off rinse. It's super convenient for a fast flush of the lower unit and some of the main cooling passages.
However, using ear muffs with the engine running at idle is the more thorough method. When the engine is running, it warms up and the thermostat opens. This is key because it allows fresh water to circulate through the entire cooling system, including the powerhead, giving you a complete and deep clean. If you want the best possible flush, the ear muff method is the way to go.
At Better Boat, we know that proper maintenance is the key to worry-free time on the water. Our full range of premium cleaning products and accessories is designed to make protecting your investment easier than ever. Explore our collection at https://www.betterboat.com.


