What Is Gelcoat On A Boat A Complete Guide
Walk up to almost any fiberglass boat, and that glossy, colorful finish you see isn't paint—it's gelcoat. This specialized polyester resin is your boat's first and most important line of defense against the elements, acting as a tough, beautiful shield for the underlying structure.
The Protective Armor Of Your Boat
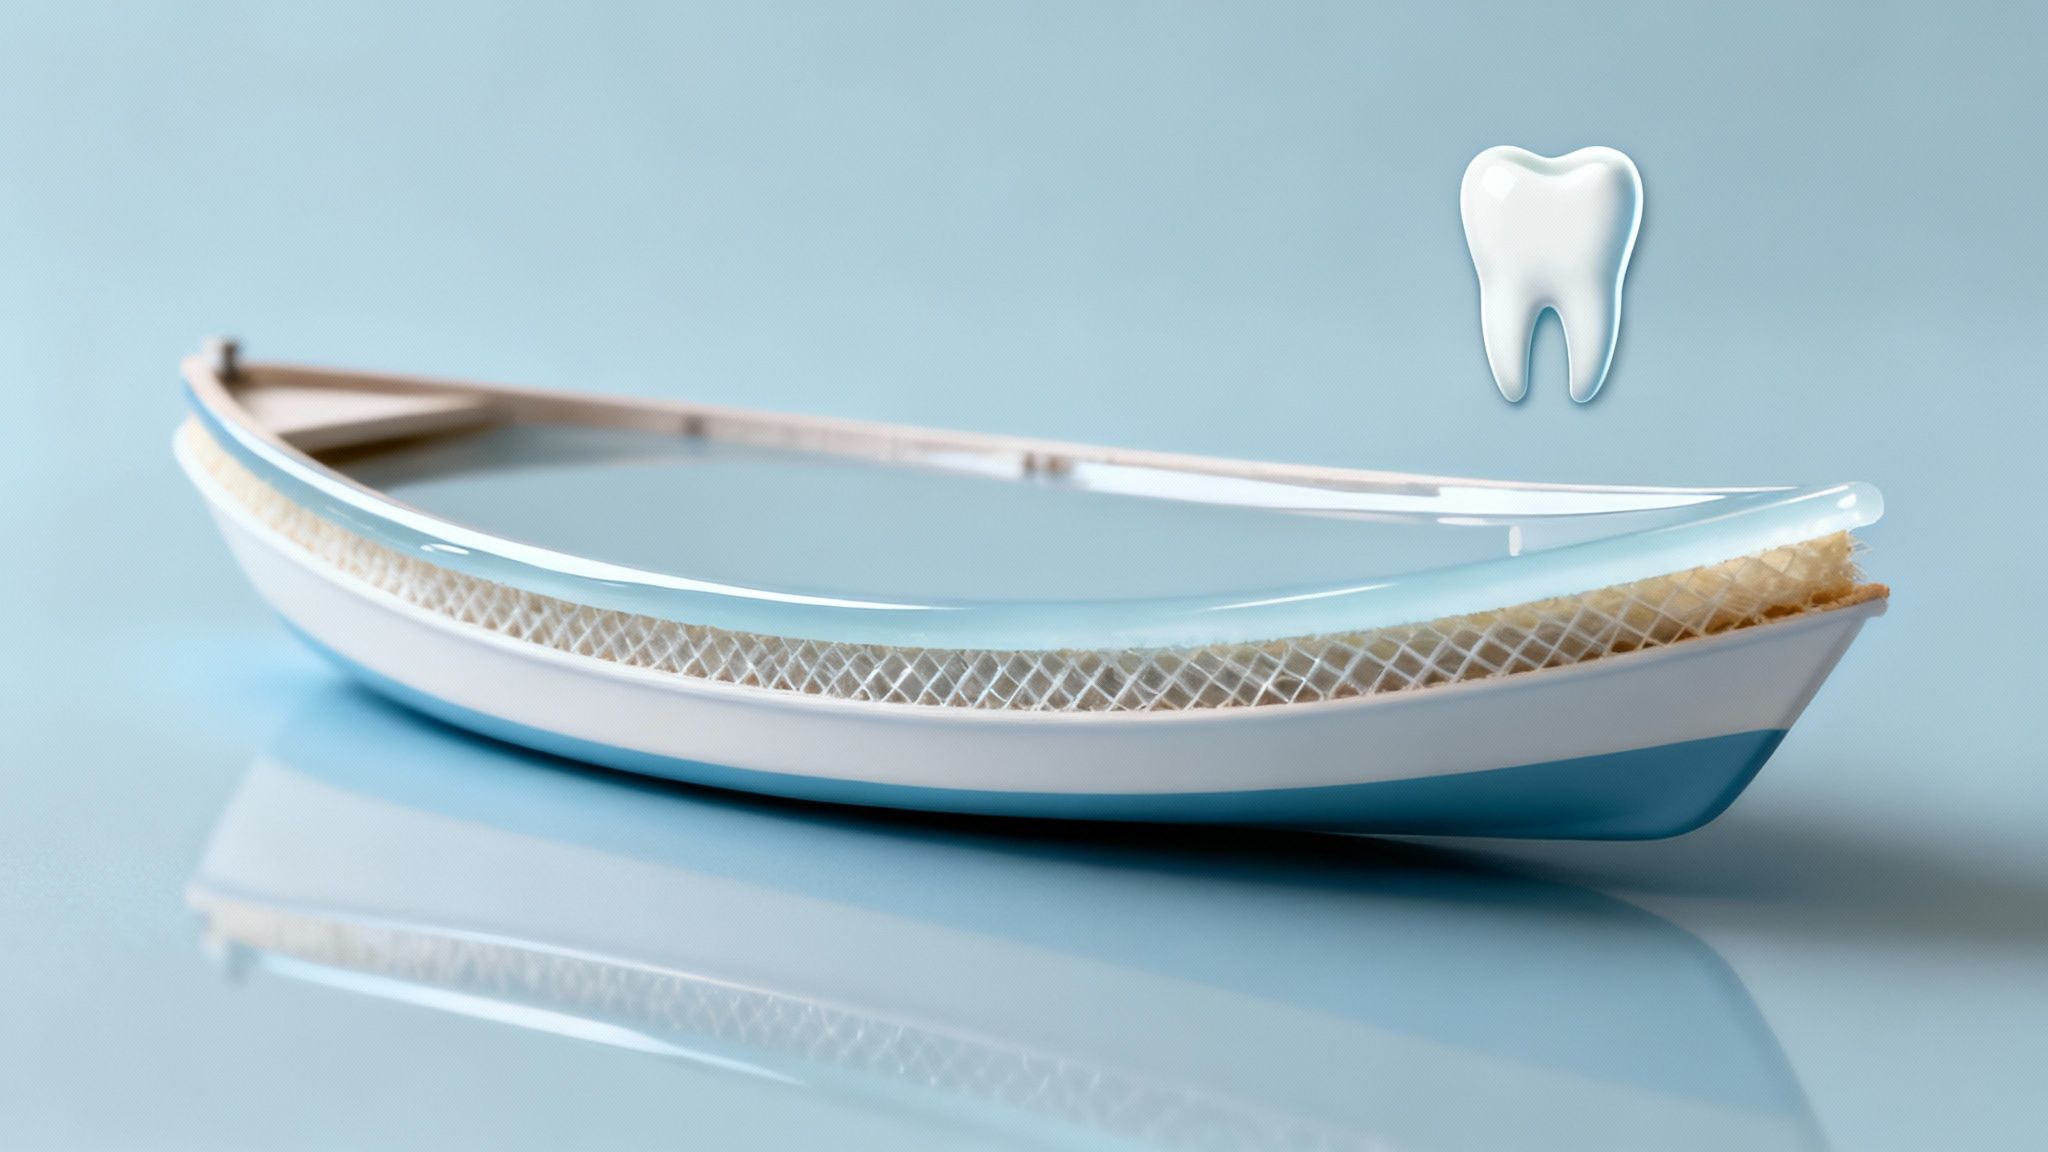
Think of gelcoat like the tough, protective enamel on your teeth. It’s not just a coating applied at the end; it's an integral part of the boat's construction from the very beginning.
Here’s how it works: the gelcoat is applied as a thick liquid to the inside of the boat's mold before any fiberglass is laid down. When the fiberglass and resin cure, the gelcoat chemically bonds to it, becoming the permanent, seamless exterior finish once the part is pulled from the mold. This is a world away from paint, which is just a layer sitting on top of a finished surface.
More Than Just A Pretty Finish
That brilliant shine is what turns heads at the dock, but gelcoat’s most critical job is protection. It creates a waterproof barrier that seals the fiberglass laminate from water intrusion, which is crucial for preventing serious structural issues like osmotic blistering down the road.
This protective layer also takes a constant beating from UV radiation, saltwater, and minor bumps and scrapes. The sun is particularly relentless; boats left uncovered in direct sunlight can lose up to 20% of their gelcoat thickness over a single decade from UV damage alone. This really drives home how vital regular maintenance is. The experts at ACBS have great insights on the long-term effects of the elements on fiberglass boats.
Key Takeaway: Gelcoat isn't just for looks; it's a structural component that seals and protects the core fiberglass material, preserving both the value and integrity of your vessel.
To give you a clearer picture, here’s a quick breakdown of gelcoat’s primary responsibilities.
Key Functions Of Boat Gelcoat At A Glance
| Function | Description |
|---|---|
| Waterproofing | Seals the porous fiberglass laminate to prevent water absorption, delamination, and osmotic blistering. |
| UV Protection | Contains additives that resist degradation from the sun's harsh ultraviolet rays, which can cause fading and chalking. |
| Aesthetics | Provides a smooth, high-gloss finish that gives the boat its color and shine. |
| Abrasion Resistance | Offers a durable surface that withstands minor scuffs, scratches, and everyday wear and tear better than paint. |
As you can see, keeping that gelcoat healthy is non-negotiable for a happy boat.
Maintaining this vital shield means using the right products. Harsh, abrasive chemicals can strip away protective waxes and speed up the aging process. Using a quality, pH-neutral wash like Better Boat Boat Soap is the smart move. It’s tough on salt and grime but gentle on your gelcoat, making it the perfect foundation for any cleaning routine. Simply put, regular washing is the easiest thing you can do to keep that finish looking brilliant for years to come.
How To Spot Common Gelcoat Problems
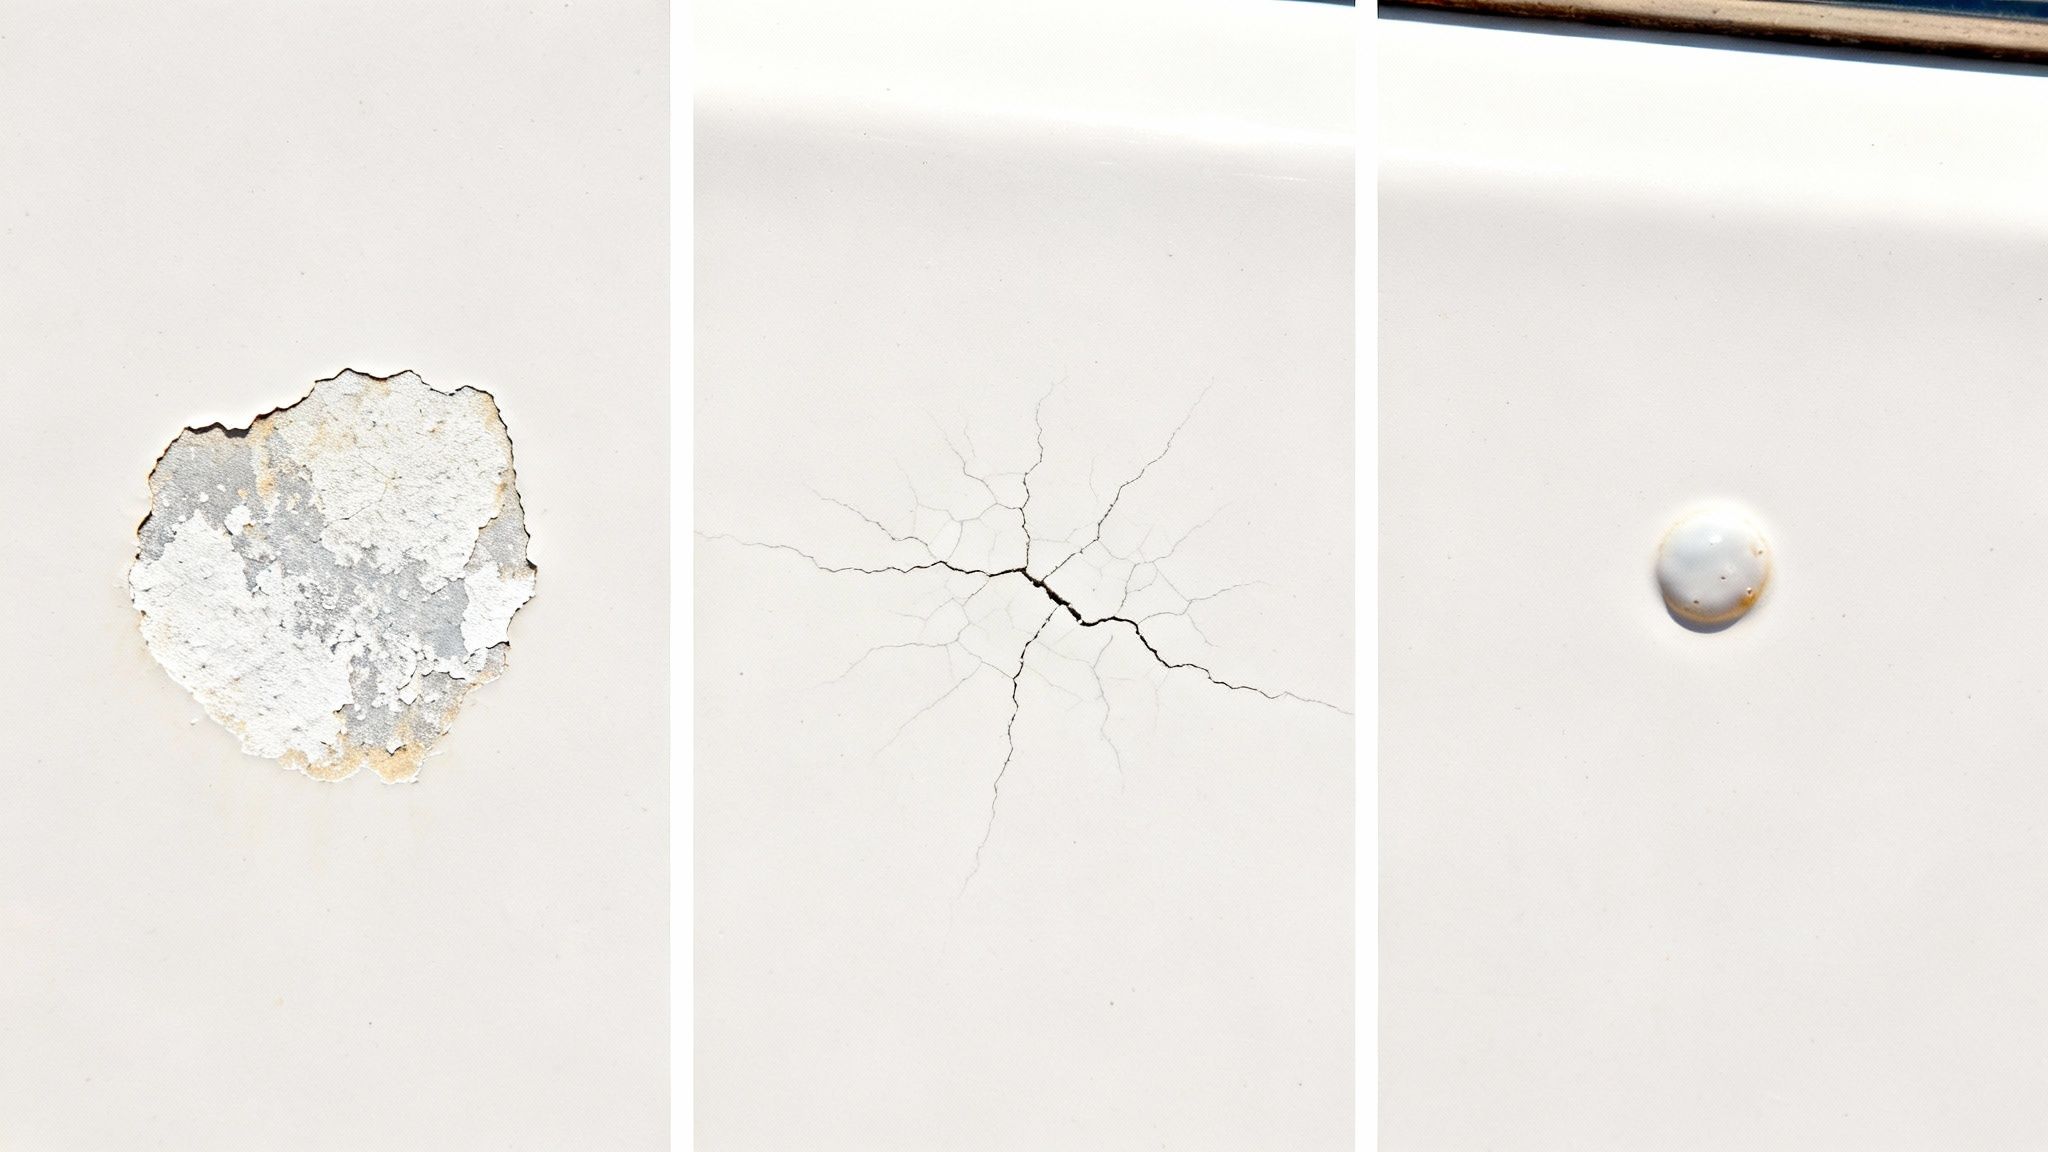
Just like a good mechanic can tell what’s wrong with an engine just by listening to it, a savvy boat owner can spot gelcoat trouble long before it spirals out of control. Your boat’s finish is always telling you how it’s doing—you just have to learn to speak its language.
Catching the early warning signs of wear and tear is the absolute key to stopping a minor cosmetic issue from becoming a major, wallet-draining repair. A healthy gelcoat, typically 0.5 mm to 0.8 mm thick, can look great for 10 to 20 years. But that lifespan really depends on how well you maintain it and what kind of sun and salt it’s up against.
The Hazy Look Of Oxidation
The most common headache for any boat owner is oxidation. It's the inevitable result of sun, oxygen, and water slowly breaking down the gelcoat's resin, leaving the pigment behind. What you see is a dull, chalky, or hazy look that makes even the most vibrant hull look tired and faded.
An easy test? Run your hand over the surface. If you pull back a powdery residue, that’s oxidation. It's a dead giveaway that the top layer is shot.
The good news is that oxidation is usually just on the surface. With the right approach, you can bring that shine right back. Our complete guide on how to remove oxidation from your boat gives you a step-by-step plan, from cutting compound all the way to the final protective wax.
Pro Tip: If you catch oxidation early, a medium-cut rubbing compound followed by a quality protective wax will do the trick. Our Marine Polish & Wax kit includes a powerful polish to scrub away the damaged layer and a premium wax to seal the deal, restoring that deep gloss and shielding it from future UV rays.
Stress Cracks And Blistering
Not all gelcoat problems are as simple as a faded finish. Sometimes, you’ll see issues that point to something more serious going on underneath. Two big ones to watch for are crazing and blistering.
-
Crazing (Spider Cracks): These are tiny, web-like cracks that pop up in the gelcoat. You'll often find them in high-stress areas like around cleats and fittings, on sharp corners, or anywhere the hull might have taken a knock. They might look small, but they can be a red flag for underlying structural flexing.
-
Osmotic Blistering: These look like pimples or bumps on the hull, almost always below the waterline. They happen when water seeps through the gelcoat and reacts with chemicals in the fiberglass, creating pressure that pushes the gelcoat out. Blisters are a big deal—they mean water is getting into your hull, and you need to address it fast.
Learning to tell these issues apart is a massive part of smart boat ownership. It helps you know when you can DIY a fix and when you need to call in a pro.
Identifying Gelcoat Damage
To help you get a quick read on what's happening with your hull, here's a simple breakdown of the common culprits. Knowing the what, why, and how is the first step in any good repair.
| Damage Type | Visual Appearance | Common Cause |
|---|---|---|
| Oxidation | Dull, chalky, or hazy finish; loss of gloss. | UV radiation, air, and saltwater exposure. |
| Crazing | Fine, interconnected "spider web" cracks. | Hull flexing, stress, or minor impact. |
| Blistering | Bumps or pimples on the surface (usually below waterline). | Water penetrating the gelcoat and reacting with laminate. |
Keep this table handy. A quick visual check against it can save you a lot of guesswork and help you decide on the best course of action for keeping your boat looking its best.
Is It Gelcoat Or Marine Paint?
Before you start scrubbing, polishing, or patching anything up, you’ve got to know exactly what you’re working with. A lot of boat owners just assume their hull is covered in the original gelcoat, but a previous owner might have slapped a coat of paint on it somewhere down the line.
Treating marine paint like gelcoat (or the other way around) is a surefire way to ruin your boat’s finish, so taking a moment to identify it is non-negotiable.
This really matters because gelcoat and paint don't play well with the same chemicals and abrasives. A rubbing compound that could bring a tired gelcoat back to life might just strip a layer of paint clean off. Figuring out which one you have is the key to choosing the right products and techniques for the job.
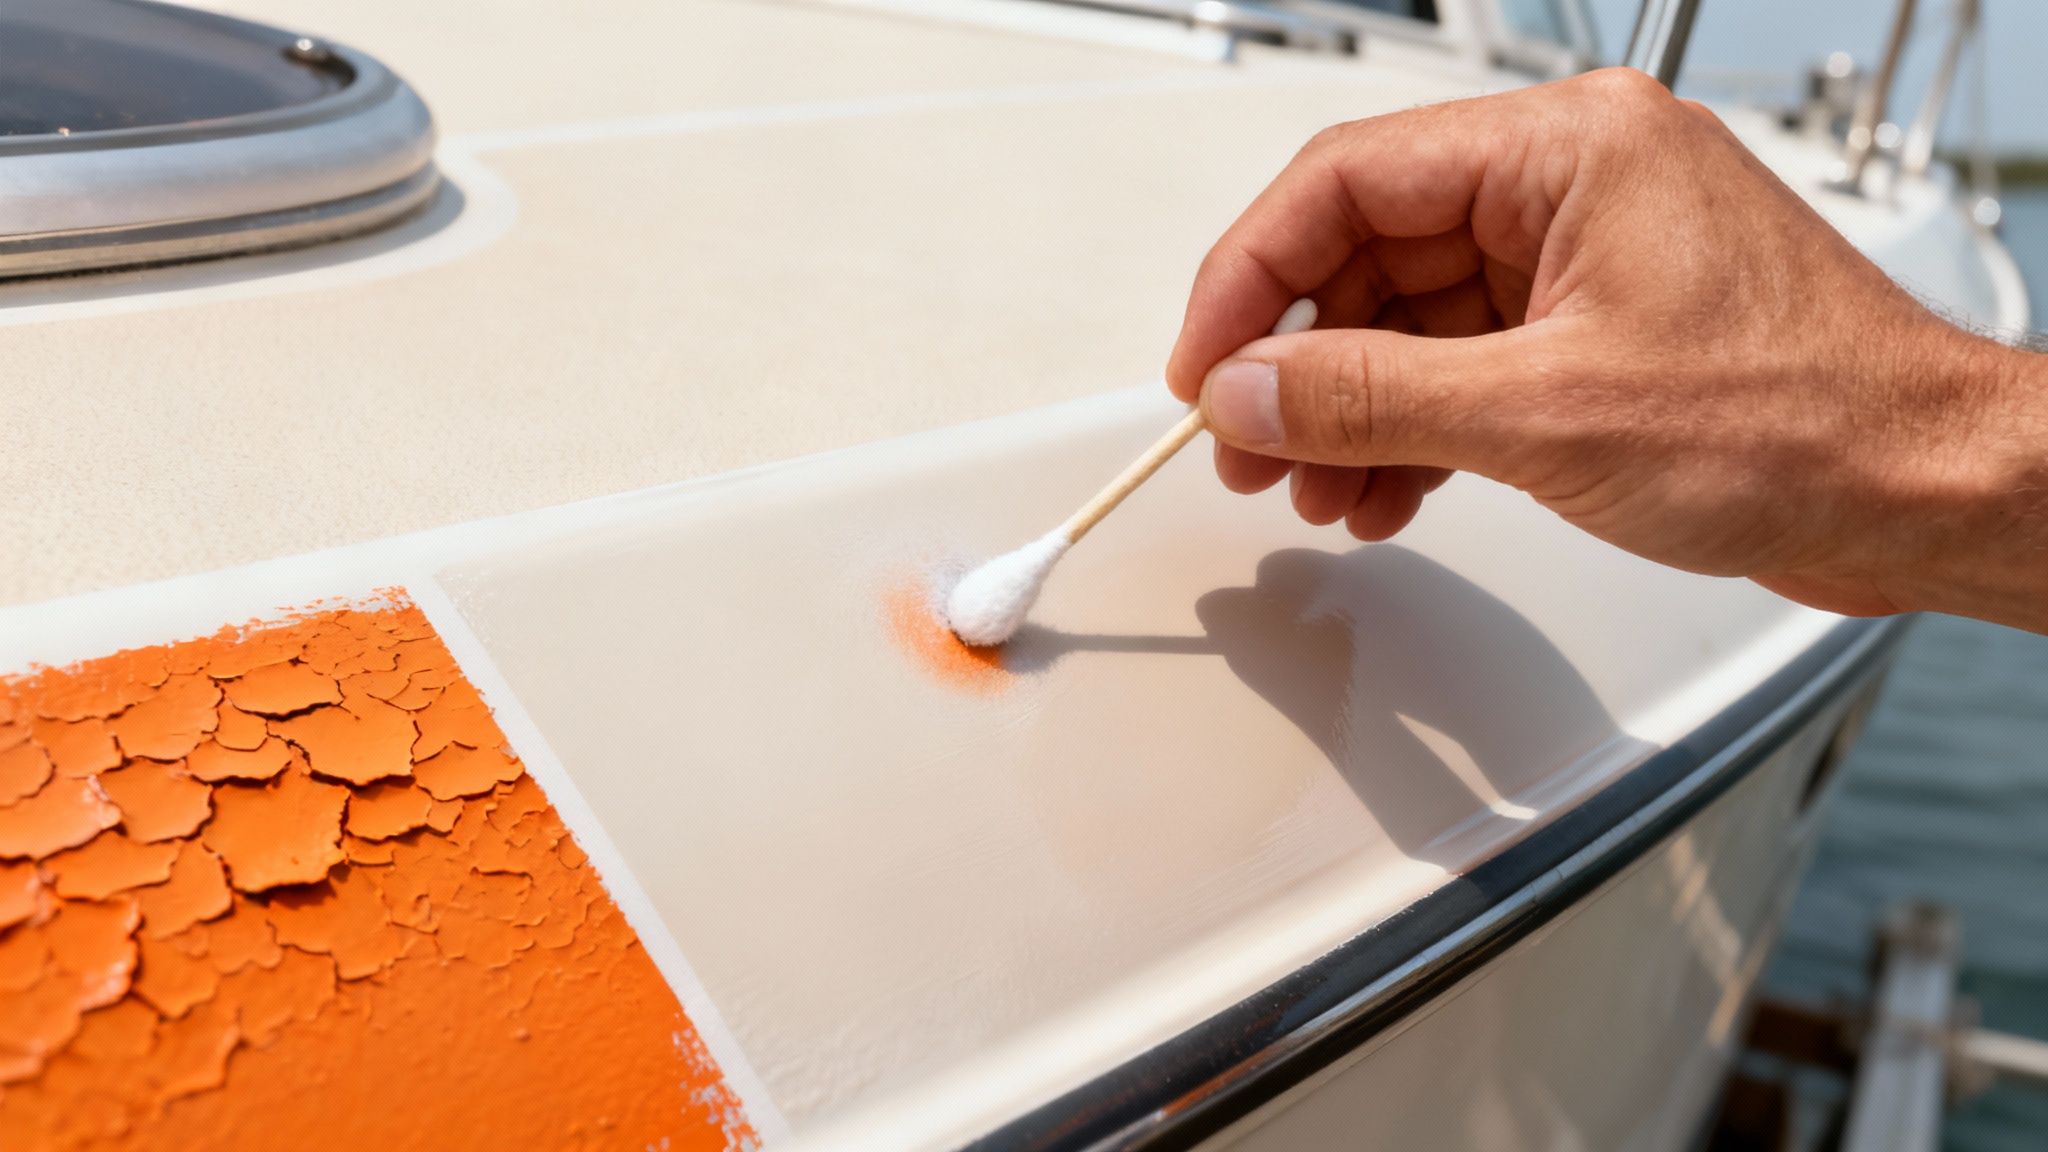
The Foolproof Acetone Test
The single best way to know for sure what’s on your hull is the acetone test. It’s dead simple, takes just a few seconds, and gives you a clear answer. All you’ll need is a clean white rag and a little bit of acetone.
- Choose a Hidden Spot: Find a place that’s out of sight, like the inside of a storage locker, behind a cleat, or way down low on the transom.
- Apply Acetone: Just dampen a corner of your rag with acetone. You don't need to soak it.
- Wipe the Surface: Give the test spot a gentle but firm wipe for a few seconds.
- Check the Rag: Now, take a look at the rag.
The result tells you everything you need to know. If the rag is clean or only has a bit of dirt on it, you’re looking at gelcoat. If the rag has your hull's color on it, you’ve got marine paint. Acetone is a potent solvent that easily dissolves paint but won’t do a thing to cured gelcoat.
Visual Clues Of A Paint Job
Sometimes, you can spot a paint job just by giving your boat a close look. A top-notch professional paint application can be tricky to distinguish, but older or DIY jobs often leave behind some dead giveaways. Keep your eyes peeled for these clues.
- Masking Lines: Look for sharp, crisp lines or even a tiny ridge of material around hardware, thru-hulls, or along the boot stripe. These are tell-tale signs left by masking tape during the painting process.
- Drips or Runs: Inspect vertical surfaces for any evidence of paint drips or sags. This is a classic sign that a liquid finish was applied.
- Orange Peel Texture: Get down low and view the surface at an angle in bright sunlight. A slightly bumpy texture that looks like the skin of an orange is a common trait of sprayed-on paint.
- Uneven Sheen: A painted hull might have subtle changes in its gloss or texture that you just don't see on a uniform, factory-finished gelcoat.
Once you’ve confirmed you’re working with gelcoat, you can get to work with confidence, knowing the products and methods you use are the right ones for protecting and restoring your boat's tough, original finish.
Your Essential Gelcoat Cleaning And Maintenance Routine
Keeping that gelcoat finish looking sharp and brilliant isn't about some secret formula—it's all about consistency. Think of it less like a chore and more like a simple system for protecting your investment. By getting into a "Wash, Polish, Protect" habit, you can get professional-looking results and keep your boat looking like it just left the showroom, season after season.
This routine is far from complicated. It's really just about doing the right thing at the right time. A regular wash gets rid of abrasive salt and grime, a good polish brings back the gloss, and a seasonal coat of wax or sealant creates that all-important barrier against the elements.
The Foundation: Regular Washing
The absolute cornerstone of gelcoat care is washing it often. Salt, bird droppings, and all the other gunk from the environment aren't just ugly; they're corrosive. If you let that stuff sit, it can literally etch into your gelcoat. Washing your boat after every trip out—or at least every couple of weeks—is the single best thing you can do for it.
But hold on, not all soaps are created equal. One of the biggest mistakes we see is people using household detergents like dish soap. That stuff is designed to cut grease, and it will strip your protective wax layer right off, leaving the gelcoat naked and exposed to harsh UV rays. Always, always grab a pH-neutral boat soap made specifically for the job, like our Boat Soap.
Key Insight: A dedicated boat soap is engineered to lift away salt and dirt without destroying the wax or sealant you've already applied. Making this simple choice means your protective coatings last longer, which ultimately saves you a ton of work down the line.
Reviving The Shine: Periodic Polishing
Even with the best care, your boat will eventually start to look a little less vibrant due to minor oxidation. It’s unavoidable. This is where polishing saves the day. A quality marine polish isn't the same as a heavy-duty compound you'd use for serious restoration; instead, it uses very fine abrasives to gently buff away that dull, top-most layer of faded gelcoat, revealing the fresh, glossy surface right underneath.
Think of it like a deep exfoliation for your boat. It smooths out tiny imperfections and brings back that deep, wet look that really makes a boat pop. Most people will polish once or twice a year, usually at the start of the season, to give the finish a fresh start before laying down a new layer of protection.
The principles are similar across different industries; for example, automotive detailers follow a similar process for restoring clarity to dull or oxidized surfaces on cars, which also involves cleaning, correcting, and protecting the finish.
The Final Shield: Seasonal Protection
You've washed it, you've polished it, now it's time to seal the deal. This is arguably the most critical step because you're creating a sacrificial barrier between your pristine gelcoat and everything Mother Nature can throw at it.
A good coat of marine wax or a modern polymer sealant shields the gelcoat from UV radiation, makes water bead right off, and makes your next cleanup a whole lot easier. Our Marine Polish & Wax kit provides the perfect one-two punch for polishing and protecting your finish.
Here’s a quick rundown on why this last step is so important:
- UV Blockers: High-quality waxes contain inhibitors that absorb damaging UV rays before they have a chance to fade your gelcoat.
- Hydrophobic Properties: A waxed surface is slick, causing water to bead up and roll away, taking dirt and salt along for the ride.
- Enhanced Gloss: Wax fills in the microscopic pores of the gelcoat, creating a perfectly smooth surface that reflects more light, giving you that brilliant, head-turning shine.
Applying a protective coat at the beginning of the boating season and another before you put it away for winter storage will dramatically extend the life and look of your gelcoat. This simple, three-step rhythm is the heart of effective fiberglass boat care. To dive deeper into the first step, check out our comprehensive guide on how to clean a fiberglass boat.
Tackling Gelcoat Repairs: DIY vs. Professional
Finding a scratch, chip, or gouge in your boat's otherwise perfect finish is a heart-sinking moment for any owner. The good news? Not every flaw means a costly trip to the boatyard.
The real trick is knowing when you can roll up your sleeves and tackle it yourself versus when it's time to call in a professional. Understanding that difference will empower you to fix the small stuff with confidence and protect your investment from much bigger headaches down the road.
Plenty of minor cosmetic issues are perfect for a confident DIYer. Small nicks from a stray lure, shallow scratches from a brush with the dock, and minor "dock rash" can often be handled with a little patience and the right materials. The basic process involves cleaning up the area, carefully applying a color-matched gelcoat paste, and then sanding and polishing until it blends right in.
When to DIY Your Gelcoat Repair
For most boat owners, handling minor surface damage is a totally manageable weekend project. If the damage is purely cosmetic and hasn't dug deep into the fiberglass laminate, you're likely in DIY territory.
These are the kinds of jobs that are usually ideal for a home repair:
- Small Chips: Minor impacts that just create little divots or flakes in the gelcoat.
- Shallow Scratches: Surface-level scuffs and scrapes that haven't gone all the way through the gelcoat layer.
- Minor Gouges: Small scrapes that are completely contained within the top gelcoat layer.
If you're ready to give it a shot, our complete guide to gelcoat repair walks you through every step, from prep to final polish.
This chart is a great way to quickly map out your next move depending on what your gelcoat is telling you.
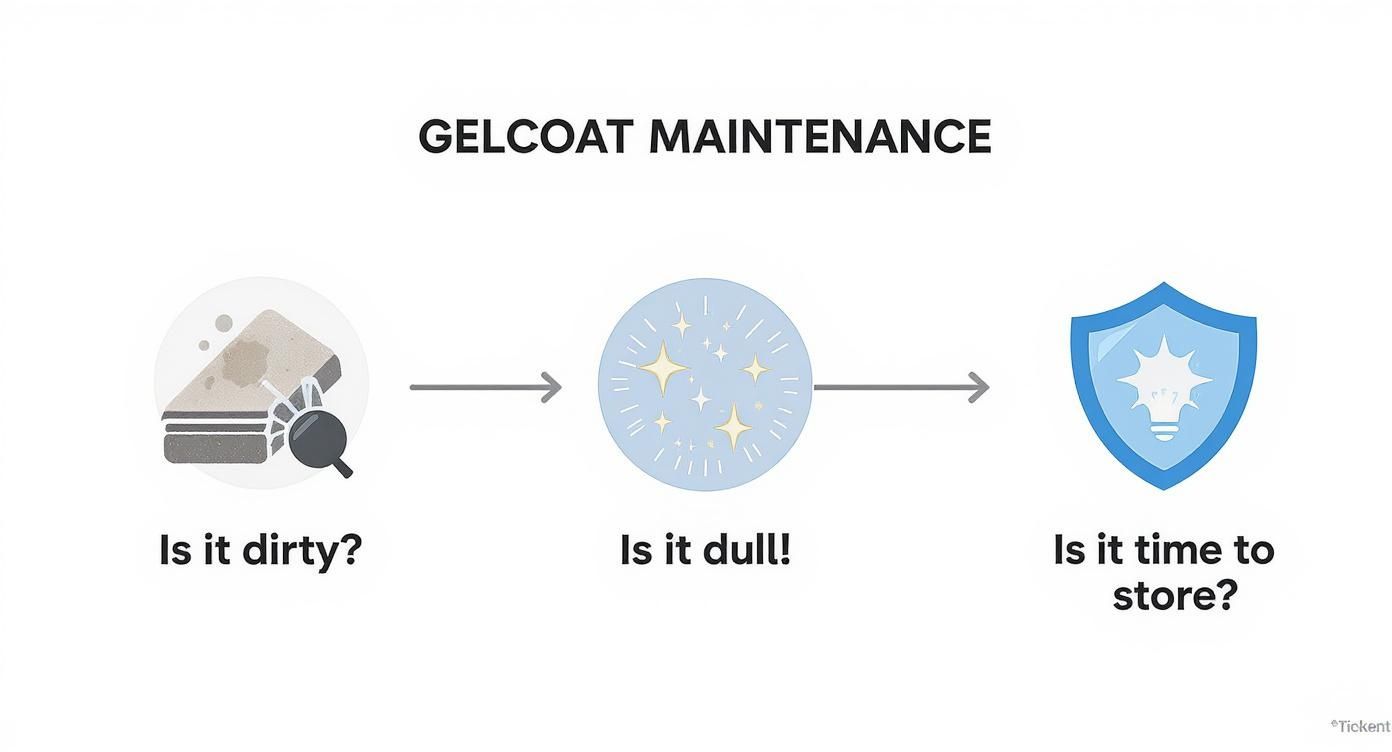
The key takeaway here is to work systematically. Always tackle the dirt first, then the dullness, and finish with protection. It's the most effective path to a lasting, beautiful finish.
When to Call a Professional
While DIY repairs are fantastic for small jobs, some damage patterns are major red flags. These are the moments when it's time to put down the tools and call an expert. Trying to fix serious issues without the right skills or equipment can easily make things worse, leading to much more expensive repairs later on.
A professional has the controlled environment and specialized equipment needed to ensure a perfect color match and a durable, long-lasting repair that is structurally sound.
It's best to bring in a pro when you spot any of these issues:
- Extensive Spider Cracks: Widespread crazing often points to an underlying structural flex or a significant impact. This needs a professional assessment to find the root cause.
- Deep Structural Damage: Any crack or gouge that exposes the fuzzy-looking fiberglass laminate underneath isn't cosmetic anymore—it's structural.
- Osmotic Blistering: The appearance of blisters below the waterline is a classic sign of water getting into the hull laminate. This is a serious issue that demands expert attention to prevent long-term damage.
Getting the application right is everything. In fact, some data suggests that up to 30% of gelcoat failures stem from improper application or curing, which can cause cracking and blistering over time. A pro knows how to avoid these pitfalls, ensuring the repair doesn't just look good, but lasts.
Long-Term Gelcoat Protection Strategies
When you get past the routine wash and wax, you start thinking about the long game. True gelcoat preservation is all about minimizing its exposure to its number one enemy: the sun. This means shifting your mindset from reactive repair to proactive care, and these simple habits will dramatically cut down your maintenance time and keep your boat looking sharp.
The single best thing you can do? Get a high-quality boat cover. Shielding your gelcoat from the sun’s relentless UV assault is hands-down the most effective way to prevent oxidation and fading. Think of a good cover as a physical barrier that preserves your boat's finish for years to come.
Smart Storage Habits
How you store your boat in the off-season is just as critical. Whether you're lucky enough to have indoor storage or you rely on a solid shrink-wrap or cover, the goal is always the same: protect it from sun, rain, and snow. Before you tuck it away, always make sure the surface is spotless. Trapping dirt and grime under a cover is a recipe for scratches and stains, which makes a final wash with a gentle boat soap an absolutely essential last step.
By protecting your boat from the elements, you’re not just saving yourself future cleaning and polishing work; you’re extending the functional lifespan of the gelcoat itself.
This proactive approach is really the modern evolution of what gelcoat was invented for in the first place. The development of gelcoat was a huge breakthrough, allowing for the mass production of fiberglass boats with consistent, beautiful finishes and making boating accessible to more people. You can actually learn more about how fiberglass boats evolved at ACBS.org.
For those looking for an even higher level of protection, modern chemistry offers some incredible solutions. Many boaters are now turning to synthetic coatings that create a harder, more durable barrier than traditional wax ever could. If you're curious about this next-level protection, you can discover more about what a ceramic sealant is and how it works in our detailed guide. Putting these strategies into play now will save you from some costly repairs down the road.
Got Questions About Boat Gelcoat? We’ve Got Answers.
Here are some of the most common questions we hear from boat owners about gelcoat. Getting a handle on these will help you care for your boat like a seasoned pro.
How Long Does Boat Gelcoat Last?
A well-cared-for gelcoat can easily last 20 years or more, but that number isn't guaranteed. Its biggest enemy, hands down, is the sun. Constant, harsh UV exposure is what breaks down the finish, leading to that chalky, oxidized look we all want to avoid.
The secret to a long life is consistent maintenance—regular washing, polishing, and a protective coat of wax are non-negotiable. It also helps if your boat has an easier life. A boat stored under a cover will always outlast one left exposed, just like a freshwater boat will see less abuse than one battling saltwater day in and day out.
Can You Paint Over Gelcoat?
Absolutely, but it's not a slap-it-on-and-go kind of job. If you want the paint to actually stick and not peel off in a year, you have to do the prep work. You can't just paint over a shiny, waxed gelcoat and hope for the best.
Getting it right involves a few critical steps:
- A Deep Clean: You need to get every last bit of dirt, grime, and old wax off the surface.
- Serious Sanding: The goal is to scuff up the entire surface, usually with 220-400 grit sandpaper. This gives the new primer something to bite into.
- Quality Primer: Don't skip this. A two-part epoxy primer is the way to go. It seals the old gelcoat and creates the perfect canvas for your topcoat.
Cut corners on any of these, and you're just setting yourself up for a frustrating and expensive do-over when the paint starts blistering and peeling.
How Often Should You Wax Your Boat?
A good rule of thumb is to give your boat a solid waxing at least twice a year. Think of it as sunscreen for your boat. One coat at the start of the season puts up a strong barrier against UV rays and water, and a second coat before you put it away for winter protects it during the offseason.
That said, if your boat lives in a high-sun area like Florida or spends most of its time in saltwater, you'll want to step it up. Waxing every 3-4 months is a much better plan. Not sure if it's time? Just spray some water on the hull. If it beads up into tight little drops, you're good. If the water just sheets off, your wax has worn away and it's time to reapply. Our Marine Polish & Wax is perfect for keeping that essential protective layer topped up.
Keeping your boat's gelcoat looking sharp is all about having a solid routine and the right products in your corner. For a finish that protects your investment and turns heads at the dock, check out the complete lineup of marine care solutions from Better Boat. From our hard-working Boat Soap to our shine-restoring Marine Polish & Wax, we’ve got everything you need.


