


Powerful Guide to Painting a Boat Trailer: Quick Prep and Finish
Painting a boat trailer is one of those projects that’s easy to put off, but it’s absolutely vital. It’s a full-on process—cleaning, sanding, priming, and finally laying down some tough marine-grade paint. Done right, this job protects the metal from corrosion caused by constant dunkings and road salt, which extends its life and keeps it safe to tow.
Why Repainting Your Trailer Is an Essential Project
Let's be honest, your boat trailer has a rough go of it. It gets repeatedly submerged in fresh or saltwater, blasted with road grime on the highway, and then left to bake in the sun. It’s a common mistake to overlook its condition, but it's a costly one. Repainting isn’t just about making it look pretty; it's a critical act of preservation.
Think of a fresh coat of high-quality marine paint as a shield. It creates a solid barrier that defends the trailer's steel or aluminum frame against its worst enemies: moisture and oxygen, the main ingredients for rust. Without that protection, small chips and scratches become open invitations for decay to set in.
The Real Cost of Neglect
Ignoring a failing paint job leads to some predictable and expensive problems. What starts as a few innocent-looking bubbles of surface rust can quickly turn into deep, structural corrosion that eats away at the trailer's integrity. This isn't just an eyesore; it's a serious safety hazard that could lead to frame failure on the road.
Beyond the safety aspect, a well-maintained trailer holds its value. A rusty, beat-up frame doesn't just look bad—it screams "poorly maintained" to any potential buyer, tanking its resale price. Regular maintenance, including a good paint job, is just a smart investment.
"A proper paint job is arguably the single most important defense for your boat trailer. It's the frontline barrier that prevents minor surface issues from turning into major structural failures, saving you thousands in potential repair or replacement costs down the line."
A Growing Need for Protection
The need for solid trailer maintenance is bigger than ever. With a global market valued at USD 884.9 million in 2024, the demand for durable trailers is climbing right alongside the popularity of recreational boating. Industry data shows that untreated steel trailers can corrode 30-50% faster in marine environments, making protective coatings absolutely essential.
This project is a cornerstone of responsible boat ownership and fits into a larger schedule of upkeep that keeps your entire rig reliable. You can dive deeper into a full checklist in our guide to essential boat trailer maintenance tips.
Beyond painting, there are various professional trailer services that can help keep your trailer in top condition. Taking these proactive steps now ensures your trailer will be ready for countless more trips to the water.
Mastering the Prep Work for a Bulletproof Finish
Let's get one thing straight: the final look and durability of your trailer's paint job are decided long before you ever hear the hiss of a spray can. This is where the real work happens.
I've seen it a hundred times—folks get excited about the final color and rush through the prep. But that's a huge mistake. A good 80% of your effort should be spent right here, in this stage. It’s the single most common reason DIY projects fail, guaranteeing a finish that will chip, peel, and rust within a single season.
This visualization shows the straightforward but costly result of neglecting your trailer's finish.
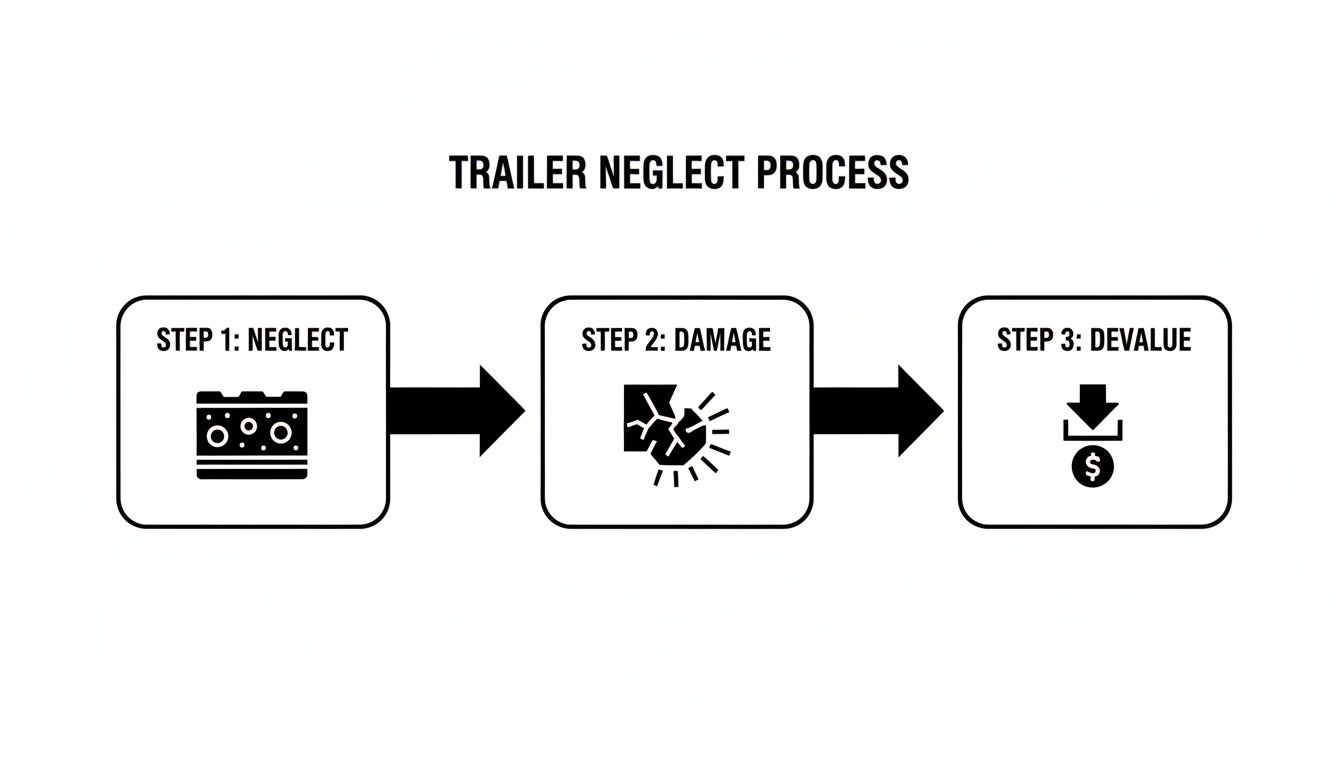
As you can see, what starts as simple neglect quickly snowballs into real damage and a major hit to your trailer's value.
Aggressive Cleaning: The First Line of Defense
Before you even think about picking up a sander, that trailer needs to be surgically clean. It's covered in a nasty cocktail of road grime, salt, bearing grease, and maybe even some algae. Paint simply will not stick to any of it.
Start with a pressure washer to blast away all the loose junk. Get into all the nooks and crannies—around the leaf springs, inside the frame channels, and under the cross-members where salt and mud love to hide.
Once the heavy lifting is done, it's time for a deep scrub. This is where a high-quality degreaser becomes your best friend. A powerful boat cleaner with degreaser is perfect for this.
Mix it up and get to work with a stiff-bristled brush, hitting every inch of the frame, axle, and winch post. This step dissolves the greasy, oily films that a pressure washer alone can't touch, giving your primer a perfectly clean surface to grab onto.

Confronting and Eliminating Rust
With the trailer clean and dry, the true condition of the metal is revealed. Now it’s time to deal with the inevitable rust. You have to know what you're up against, because the approach for each type is different.
-
Light Surface Rust: This is the reddish-brown powder or faint discoloration you see on the surface. It hasn't penetrated deeply, and it's the easiest to handle. A wire wheel on an angle grinder or drill makes quick work of this. You can also get it done with some elbow grease and 80-grit sandpaper.
-
Flaking or Scaly Rust: See that bubbling paint and chunks of rust you can flake off with a scraper? That means the corrosion is more advanced. You have to remove every bit of that loose scale with a wire wheel or grinder until you're back down to solid, clean metal.
-
Deep Pitting or Structural Corrosion: If you find deep pits, or areas where the metal feels thin, brittle, or has actual holes, you have a more serious problem. This is especially common inside C-channel frames where water gets trapped. If you have any doubts about the trailer's structural integrity, stop right there and consult a professional. Before you even think about painting, review some trailer repair safety tips to make sure you handle any serious issues correctly.
For any stubborn rust left in pitted areas that are tough to reach mechanically, a chemical rust converter is your ace in the hole. These products chemically change the iron oxide (rust) into a stable, paintable black surface. You can learn more about how acids can tackle rust here: https://betterboat.com/blogs/news/acid-remove-rust.
A classic mistake is painting directly over light rust, thinking the primer will just "seal it in." This is a recipe for disaster. Trapped rust will keep growing under the new paint, eventually causing it to bubble up and flake off from below.
Creating the Perfect Surface Profile With Sanding
Sanding isn't just about getting rid of old paint and rust; it's about creating a mechanical profile that the primer can physically grip. A smooth, glossy surface gives the paint nothing to hold onto. You need to create microscopic peaks and valleys across the entire surface.
Stick with 80- to 120-grit sandpaper for this phase. Your goal is to scuff every square inch that's getting painted. That includes any old paint that's still in good shape, as well as the bare metal you've just exposed. When you're done, the entire surface should have a dull, matte look to it.
After all that sanding, your trailer will be covered in fine dust. You have to get rid of it. Wipe the whole thing down with a tack cloth or a clean rag lightly dampened with a solvent like acetone or denatured alcohol. This final wipe-down removes every last bit of dust and oil, leaving you with the perfect canvas.
The Art of Masking for Clean, Professional Lines
The final prep step is masking. This is what separates a professional-looking job from a sloppy one. It prevents overspray on all the components you don't want painted and gives you those crisp, clean lines. Take your time here. A rushed masking job is always obvious in the final product.
Key Areas to Mask Off:
- Lights and Wiring: Completely cover your taillights, marker lights, and any visible wiring harnesses with painter's tape and plastic sheeting.
- Tires and Wheels: Use masking paper or plastic bags to completely cover the tires and wheels.
- Winch Strap and Bow Stop: If you can, remove the winch strap. If not, wrap it tightly in plastic. Don't forget to cover the rubber bow stop roller.
- Bunks: Unless you plan on replacing them, carefully mask off the carpeted or rubber bunks.
- Coupler and Jack: Cover the entire coupler mechanism and the crank for the trailer jack.
Using a high-quality painter's tape will save you a world of frustration. It sticks well but comes off clean without leaving that gummy residue behind. Make sure to press the edges down firmly to stop any paint from bleeding underneath.
Choosing the Right Primer and Paint for Your Trailer
After pouring all that sweat equity into prepping your trailer, the absolute last thing you want is a paint job that gives up after one season. Walking into a paint store can be overwhelming, with endless aisles of automotive, industrial, and household paints all competing for your attention.
Let's cut through the noise: for a boat trailer, standard automotive paint will not work. It simply isn't engineered to handle being dunked in water—especially saltwater—and it lacks the heavy-duty corrosion inhibitors your trailer desperately needs.
The coatings you pick aren't just for looks; they form a multi-layered defense system. It all starts with the right primer, which is the single most important layer for getting the paint to stick and keeping rust at bay.
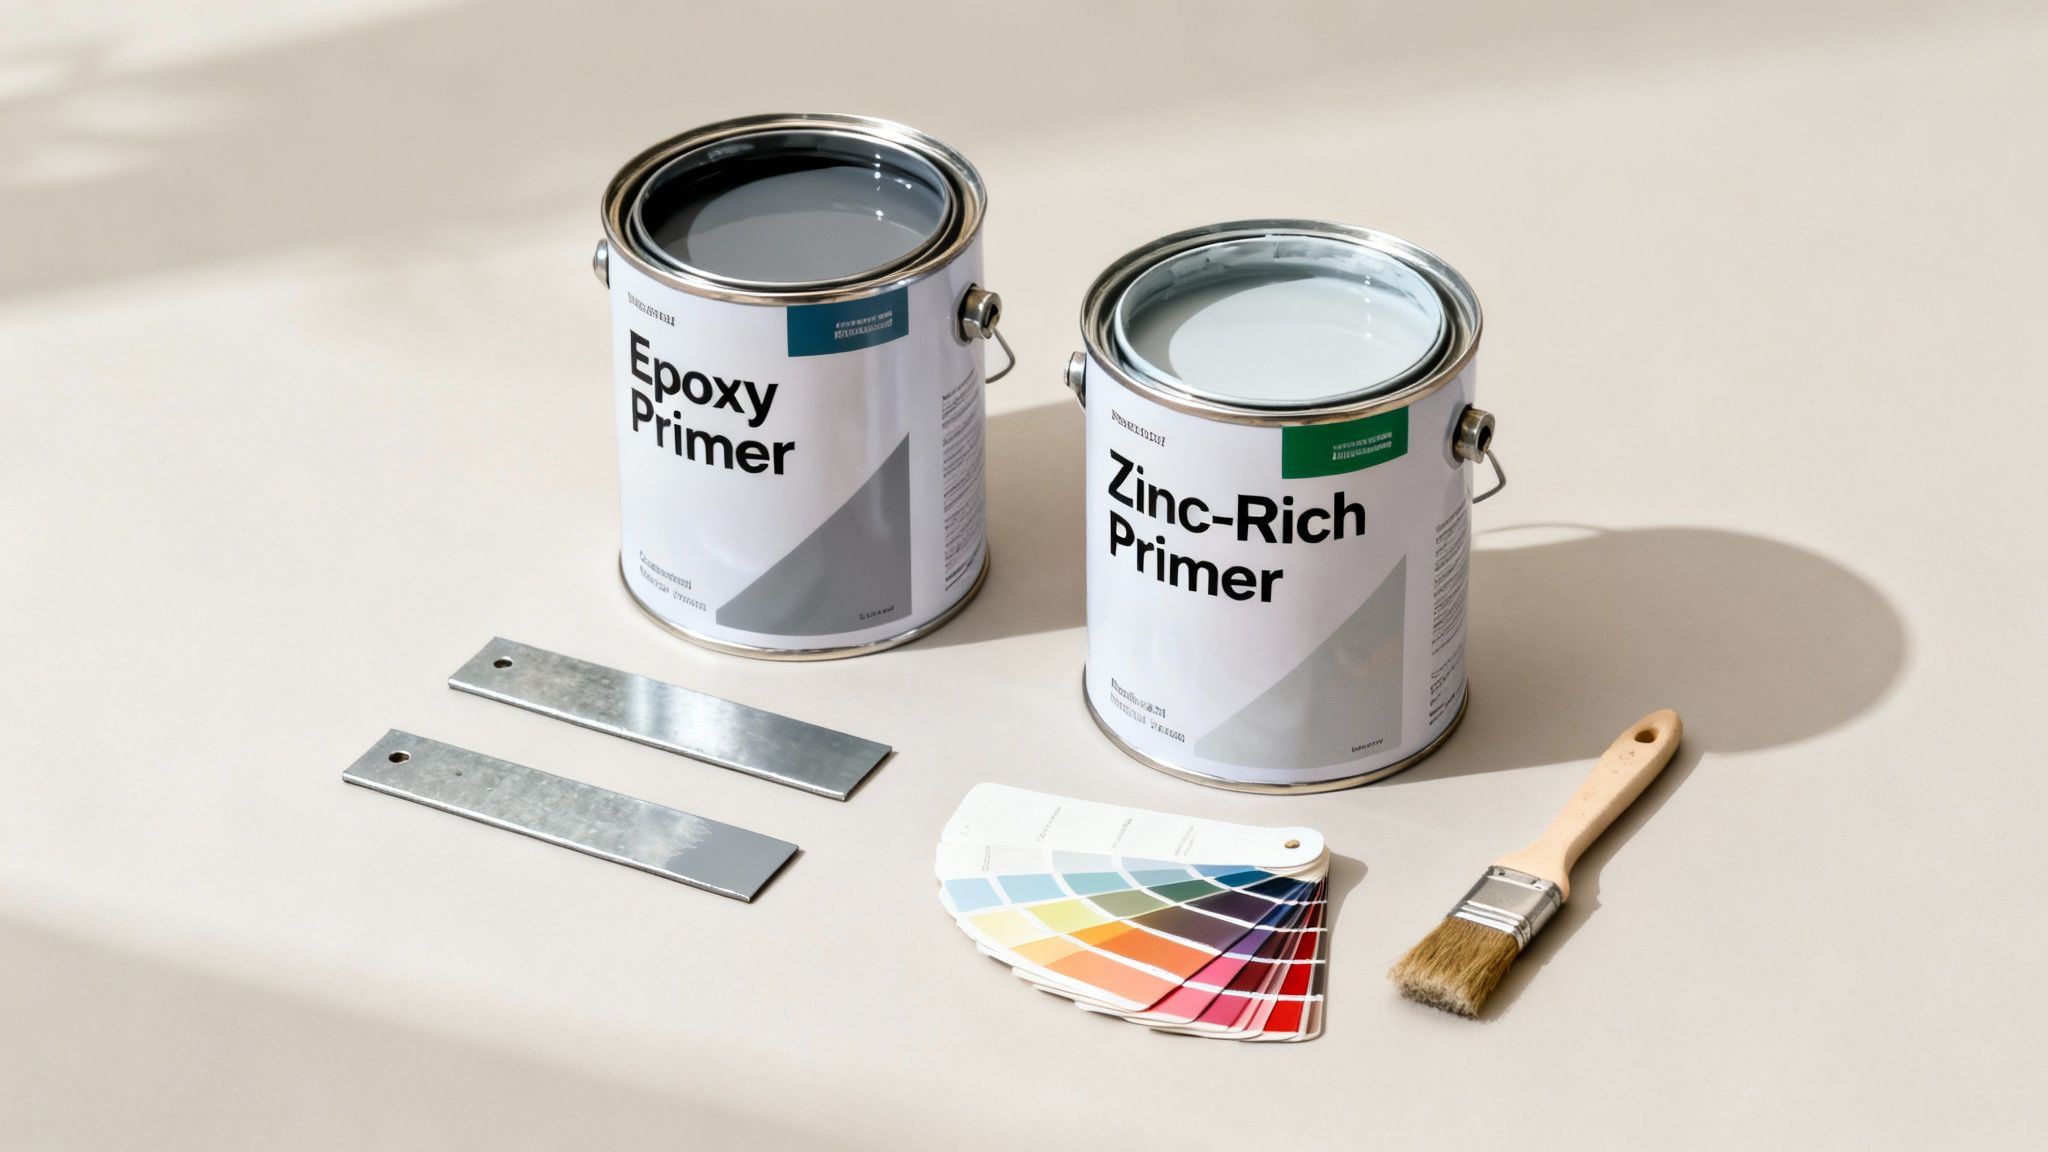
The Foundation: Your Primer Selection
Think of primer as the bridge between the bare metal of your trailer and your colorful topcoat. Its primary job is to bite into that prepped surface and create a stable, uniform base that the paint can lock onto for dear life. When it comes to boat trailers, two main types of primer really stand out.
-
Epoxy Primers: These are the undisputed heavyweights. A two-part epoxy primer creates a chemical bond as it cures, forming an incredibly tough, non-porous, and waterproof shield. It provides phenomenal adhesion to properly sanded steel and is the top choice for maximum corrosion resistance, particularly if you're boating in saltwater.
-
Etching Primers: If you’re working with a galvanized steel or aluminum trailer, an etching primer is non-negotiable. It contains a mild acid that microscopically etches the slick metal surface, creating a tenacious grip where other primers would just peel right off. For a deeper look at this, check out our guide on choosing the right aluminum boat primer and paint.
A classic mistake is slapping a standard primer over galvanized steel. That galvanization is a zinc coating that stops rust, but it's notoriously difficult for paint to adhere to. Without the right etching primer, your beautiful new paint job will likely start flaking off in huge sheets before you know it.
Choosing Your Topcoat: The Armor Layer
Once your primer is down and cured, it's time for the topcoat. This is the layer that delivers the color and gloss, but more importantly, it provides the critical protection against UV rays, abrasion from road debris, and chemical exposure.
The choice you make here has a direct impact on how long your hard work will last. This isn't a small decision; the leisure boat marine coatings sector was valued at $2 billion globally in 2021 and is on track to nearly double by 2031. Given that properly selected anti-corrosive paints can prevent up to 70% of structural failures, picking the right product is a serious investment in your trailer's future. You can find more details on these trends and technologies in this industry analysis.
Steel vs. Galvanized Trailers: A Critical Distinction
Before you buy a single can of paint, you have to know what your trailer is made of. The material dictates your entire approach.
A steel trailer is pretty straightforward. Once you've ground away all the rust and sanded the surface, you’ll hit it with an epoxy primer for the best possible protection. Follow that up with a compatible topcoat, like a tough marine enamel or polyurethane, and you're good to go.
A galvanized trailer demands a more specialized technique. The zinc coating is the rust protection. If it's still in good shape, your goal is to paint over it for looks or to add another layer of defense. You have to start by cleaning it meticulously with a degreaser, then scuff the entire surface to a dull finish.
The crucial step is applying a DTM (Direct-To-Metal) or etching primer made specifically for galvanized surfaces before you even think about the topcoat. Never sand through the galvanization to bare steel unless you plan to immediately prime that spot with a zinc-rich primer to restore its protective properties.
Marine Paint System Comparison for Boat Trailers
To make your decision a bit easier, here’s a look at some common primer and topcoat combinations. This table breaks down the pros and cons to help you weigh your options based on your trailer type, budget, and how much durability you really need.
| Paint System | Best For | Durability | Application Difficulty | Estimated Cost (Materials) |
|---|---|---|---|---|
| Etching Primer + 1-Part Marine Enamel | Galvanized trailers; DIY-friendly projects | Good | Low | $$ |
| Epoxy Primer + 1-Part Marine Enamel | Steel trailers; good balance of cost and performance | Very Good | Medium | $$$ |
| Epoxy Primer + 2-Part Polyurethane | Saltwater trailers; maximum durability & gloss retention | Excellent | High | $$$$ |
As you can see, a two-part polyurethane system offers the ultimate in protection, but it comes with a higher price tag and a much steeper learning curve due to precise mixing ratios and short working times. For most freshwater boaters, a high-quality single-part marine enamel over the correct primer provides an excellent, long-lasting finish that’s far more forgiving to apply.
Ultimately, selecting the right coatings when painting a boat trailer is about creating a compatible system. Always take a minute to read the product data sheets to confirm your chosen primer and topcoat are designed to work together. This one small step ensures the chemistry is on your side, giving you a finish that will stand up to the rigors of the road and the launch ramp for years to come.
Applying Paint Like a Pro
All that hard prep work is finally behind you. Now comes the best part of the whole project—laying down some fresh paint. This is where you see all that meticulous cleaning, sanding, and masking pay off as you transform a tired old frame into something that looks brand new.
Getting that smooth, almost factory-like finish is totally achievable, no matter your skill level. It just comes down to picking the right method and sticking to a few key techniques.
Whether you’ve invested in a fancy sprayer or you're going old-school with a brush and roller, patience is what will really make the difference here.
Choosing Your Weapon: Spray, Roll, or Brush
You've got three main ways to get the paint from the can onto your trailer. Each one has its pros and cons, and the best choice really depends on your setup and desired finish.
-
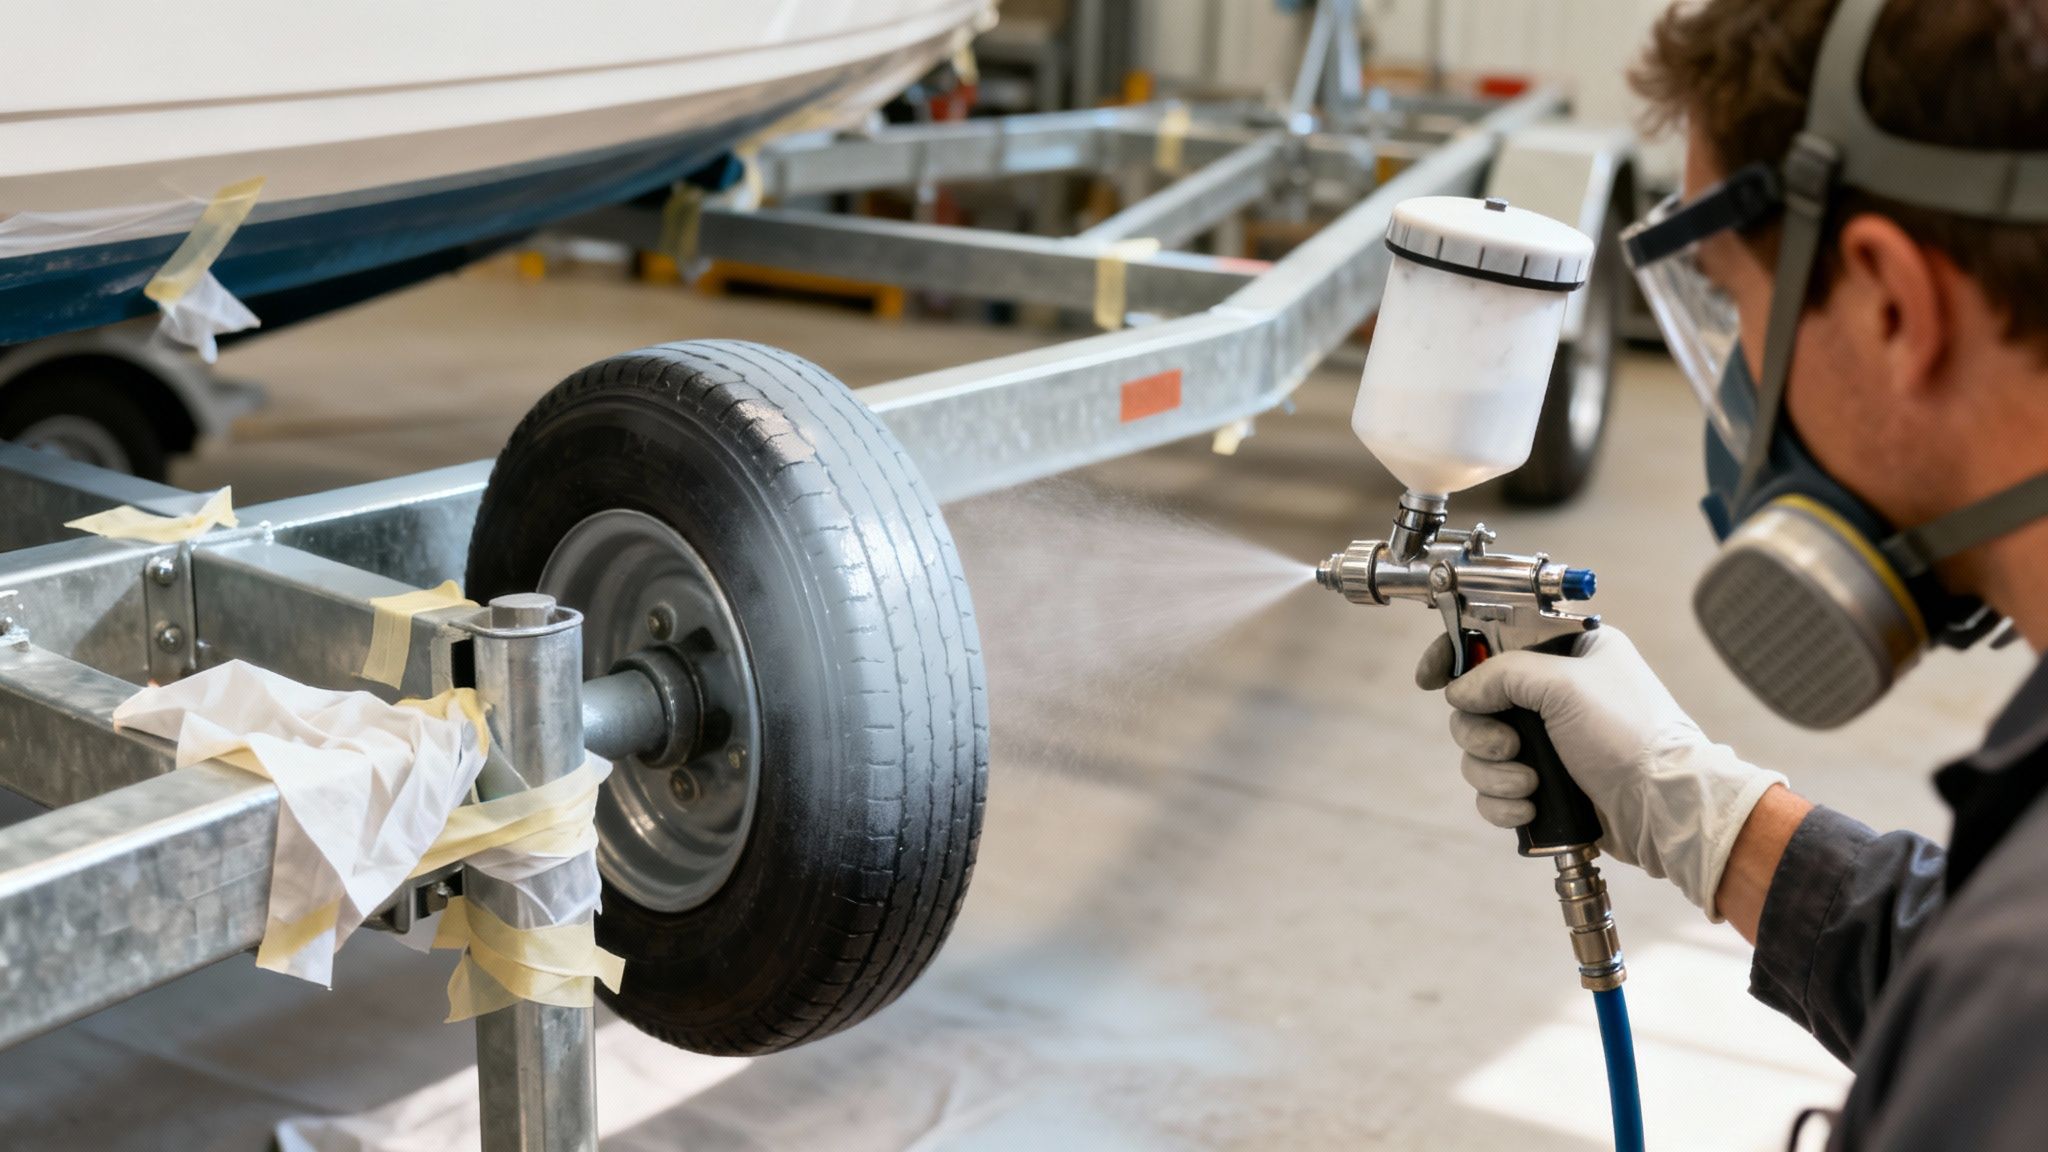
HVLP Spray Gun: If you're chasing that ultimate, glass-smooth professional finish, a High-Volume, Low-Pressure (HVLP) spray gun is the way to go. It atomizes the paint into a super-fine mist, letting you lay down thin, even coats with very little overspray. For covering big areas fast, nothing beats it.
-
Aerosol Cans: Don't write off the humble spray can. For smaller trailers, quick touch-ups, or navigating tricky spots like the suspension, a quality aerosol marine paint is a fantastic choice. You get great control without the hassle and cleanup of a full spray system.
-
Brush-and-Roll Method: The classic approach is still a classic for a reason—it works, and it works well. Using a high-density foam roller on the big, flat sections and a quality brush for the corners and welds is a dead-reliable way to get a tough, durable finish. Plus, there's virtually no overspray, which is a huge bonus if you're working in a tight space or dealing with a bit of wind.
Pro Tips for a Flawless Application
No matter which tool you pick up, your technique is what will separate a DIY-looking job from a professional one. You can't just slap the paint on and hope for the best; that's a recipe for drips, uneven coverage, and a finish that won't last.
If you’re using an HVLP gun, do yourself a favor and practice on some scrap cardboard first. Play with the nozzle's fan pattern and the fluid control until you get a consistent, cigar-shaped spray.
When you move to the trailer, keep the gun about 6-8 inches from the surface and maintain a steady pace. Overlap each pass by about 50% to ensure everything is covered without creating thick spots.
For the brush-and-roll crowd, the secret to avoiding that bumpy, orange-peel texture is a technique called "tipping off." After you roll out a small section, take a dry, high-quality brush and lightly drag just the tips of the bristles across the wet paint. Make it one long, smooth stroke. It's almost magical how it pops the tiny air bubbles and smooths out the roller stipple, leaving a surprisingly flat finish.
The single biggest mistake you can make when painting is trying to get it all done in one thick coat. It traps solvents, makes the paint take forever to dry, and almost guarantees you'll get runs and sags. Always, always apply multiple thin coats.
The Power of Thin Coats
This rule applies to both primer and your topcoat: two to three thin coats are infinitely better than one thick one. Thin coats allow the solvents to evaporate correctly, which results in a much harder, more durable paint film. It also gives you way more control and dramatically lowers your risk of drips and runs.
Pay close attention to the manufacturer's directions for the "recoat window." That’s the specific amount of time you need to wait between coats. If you paint the next layer too soon, you can cause the first one to wrinkle up. But if you wait too long, the surface might be too slick for the next coat to stick properly, meaning you'll have to sand it all over again.
Safety Is Not Optional
Let's be clear: you're working with some serious chemicals here. Proper safety gear is completely non-negotiable. Both paint fumes and the dust from sanding can do real harm.
Your Essential PPE Checklist:
- Respirator: A paper dust mask won't cut it. You need a proper respirator fitted with organic vapor cartridges to protect your lungs from solvents and fumes.
- Safety Glasses: Keep your eyes protected from splashes and overspray at all times.
- Gloves: A good pair of nitrile or chemical-resistant gloves will keep all that stuff off your skin.
- Ventilation: If you aren't working outside, you need fantastic cross-ventilation. Set up fans to create airflow that pulls fumes away from you and out of your workspace.
By taking the time to apply the paint correctly and safely, you're doing justice to all the hard prep work you've already done. This is the final step that brings it all together, leaving you with a tough, great-looking finish that will protect your trailer for years to come.
Protecting and Maintaining Your New Finish
With that final coat of paint on, it’s so tempting to call it a day and start bolting everything back together. But hold on. This final stage is what makes all that prep work and painting actually last. How you let the paint cure and how you maintain it from here on out will determine if your trailer looks this good for years or just a few months.
First, you have to get your head around the critical difference between paint that’s "dry to the touch" and paint that’s "fully cured." Just because it doesn’t feel tacky doesn’t mean it’s ready for action. The paint is still chemically soft underneath. A full cure is when the paint reaches its maximum hardness and chemical resistance, which can take anywhere from a few days to a solid week, depending on the paint you used and the weather conditions.
Don't rush this final step. Reassembling hardware or loading your boat onto a trailer with a semi-cured finish can easily lead to deep scratches, imprints, or gouges that send you right back to doing touch-up work.
Long-Term Care for a Lasting Finish
Once the paint is fully hardened, a little bit of preventative maintenance goes a very long way. The whole idea is to protect your new coating from the very same elements you were fighting off in the first place—salt, sun, and road grime. Proper care stops tiny chips from blooming into rust spots and keeps the finish from getting dull and chalky.
Your new maintenance routine doesn't have to be complicated. It's all about building a few simple but incredibly effective habits.
Essential Maintenance Habits:
- Freshwater Rinses are Non-Negotiable: After every single trip to saltwater or even brackish water, give the whole trailer a thorough rinse with fresh water. This is the single most important thing you can do to stop salt from eating away at your hard work.
- Wash Gently: When it's time for a proper cleaning, stick with a pH-neutral boat soap and a soft-bristle deck brush or a microfiber mitt. Stay away from harsh, abrasive cleaners or stiff brushes that will absolutely scratch up the new paint.
- Repair Chips Immediately: Give your trailer a quick look-over for any new chips or deep scratches from road debris. The moment you find one, get on it with a small touch-up brush and your leftover paint. You need to seal it up before moisture gets underneath and starts the rust all over again.
Adding an Extra Layer of Protection
If you really want to give your newly painted trailer the best possible defense, think about adding a protective coating. This acts as a sacrificial layer, taking the abuse from UV rays, salt spray, and road grime so the paint underneath doesn't have to.
A high-quality marine wax is a fantastic choice. Just apply it once or twice a season. It adds a brilliant shine and creates a hydrophobic barrier that makes water bead up and roll right off. Not only does this simple step make future cleanups way easier, but it also seriously extends the life and luster of your new paint job.
For a complete rundown on keeping your whole trailer in prime condition, be sure to check out our comprehensive trailer maintenance checklist.
Common Questions About Painting a Boat Trailer
Even with a step-by-step guide, you’re bound to have a few questions pop up. It happens on every project. Let's tackle some of the most common ones we hear from boat owners getting ready to paint their trailers.
How Much Does It Cost to Paint a Boat Trailer Yourself?
If you're doing the work yourself, plan on a budget somewhere between $200 and $700. Where you land in that range really boils down to your trailer's size and the quality of paint you decide to go with.
For a smaller, single-axle trailer, you can probably get by with good-quality single-part marine enamel and primer for around $200-$300 in materials. But if you're tackling a big tandem-axle trailer and want the toughest finish possible—think a two-part epoxy primer and a two-part polyurethane topcoat—you could easily be looking at $500-$600 just for the coatings. Keep in mind, this doesn't factor in tools like a grinder or spray gun if you don't already have them in your garage.
Can I Paint Over a Galvanized Boat Trailer?
Yes, you absolutely can, but there's a huge catch: the prep work is non-negotiable. If you try to paint directly over galvanized metal with standard paint, I guarantee it will peel off in sheets. It just won't stick.
First, you have to get the surface spotlessly clean and free of any grease. Then, you need to scuff up the entire surface with 80-120 grit sandpaper or a scuff pad. This gives the primer something to physically bite into. Finally, and this is the most critical part, you must use a specialized etching primer designed specifically for galvanized surfaces. Once that's on and cured, you can proceed with your marine-grade topcoat.
The single biggest mistake people make with galvanized trailers is skipping the etching primer. Standard primers just don't have the chemical makeup to bond with the zinc coating, and it's a recipe for guaranteed paint failure.
How Long Should I Wait Between Coats of Primer and Paint?
The answer is always on the can. You have to check the manufacturer's technical data sheet for the specific product you're using, as timing is everything and it varies wildly based on temperature and humidity.
As a general rule of thumb, most single-part marine paints require about 2-6 hours between coats. But when you get into two-part systems like epoxies or polyurethanes, that "recoat window" becomes much more strict.
You might have a very specific timeframe, say between 4 and 24 hours, to apply the next coat. If you miss that window, you'll likely have to sand the entire surface all over again to ensure the next layer will adhere properly. Don't guess—read the instructions.
What Is the Best Paint for a Saltwater Boat Trailer?
For the absolute best protection in a harsh saltwater environment, nothing beats a two-part system. The gold standard is a two-part epoxy primer followed by a two-part linear polyurethane (LPU) topcoat.
The epoxy primer acts like armor, creating an incredibly tough, waterproof barrier directly on the metal. The polyurethane topcoat then goes over it, providing a hard, glossy finish that's extremely resistant to UV damage from the sun. This one-two punch is the ultimate defense against the constant abuse of saltwater and sun.
With the right game plan and materials, you can get a professional-looking finish that will protect your trailer for years of launches and retrieves. For everything else you need on the road, from high-strength tie-downs to guide-on posts, Better Boat has the reliable gear to keep your boat secure. Check out our full line of trailering accessories.


